
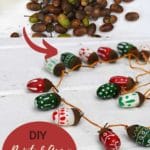

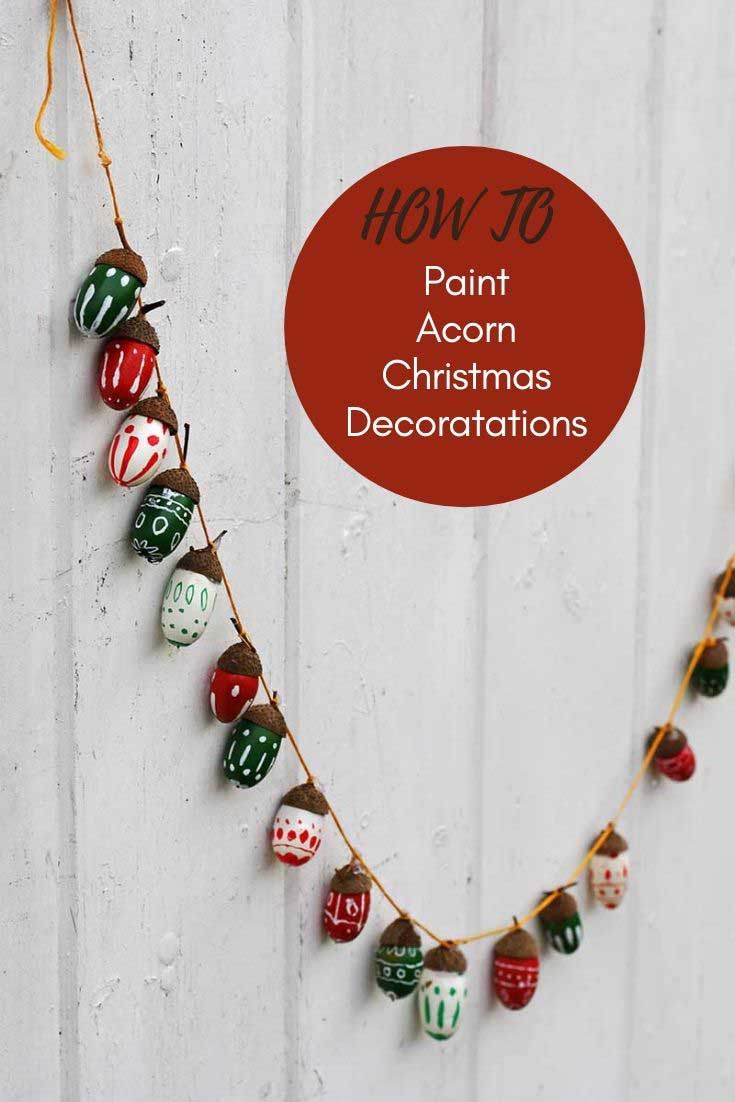
Inside: A tutorial on how to paint natural acorns and make them into Christmas decorations and garlands.
With my painted pine cone wings, my local park is already proving a rich source of craft inspiration. I didn’t forget the oak trees and made a lovely painted acorn Christmas decoration.
This is one of those fall crafts that crosses over towards Christmas because of my chosen colours. The painted acorns won’t look out of place on the mantle from September to December.
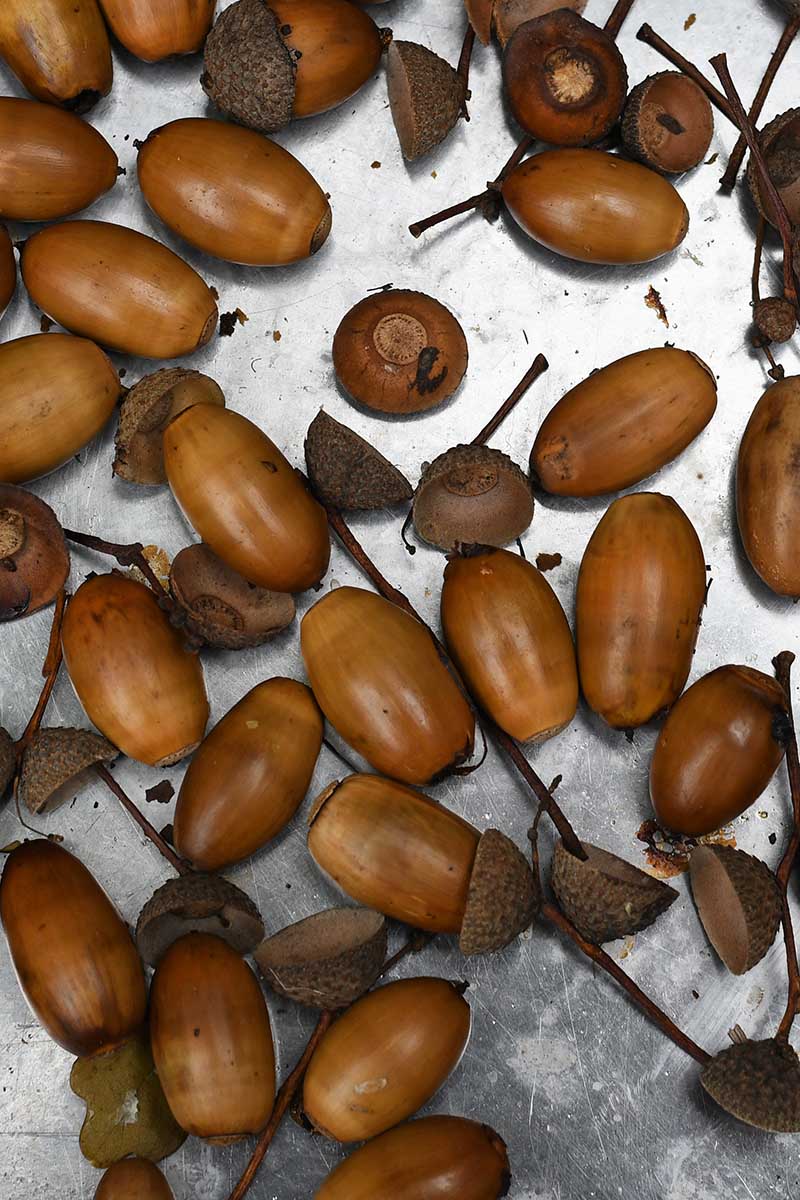
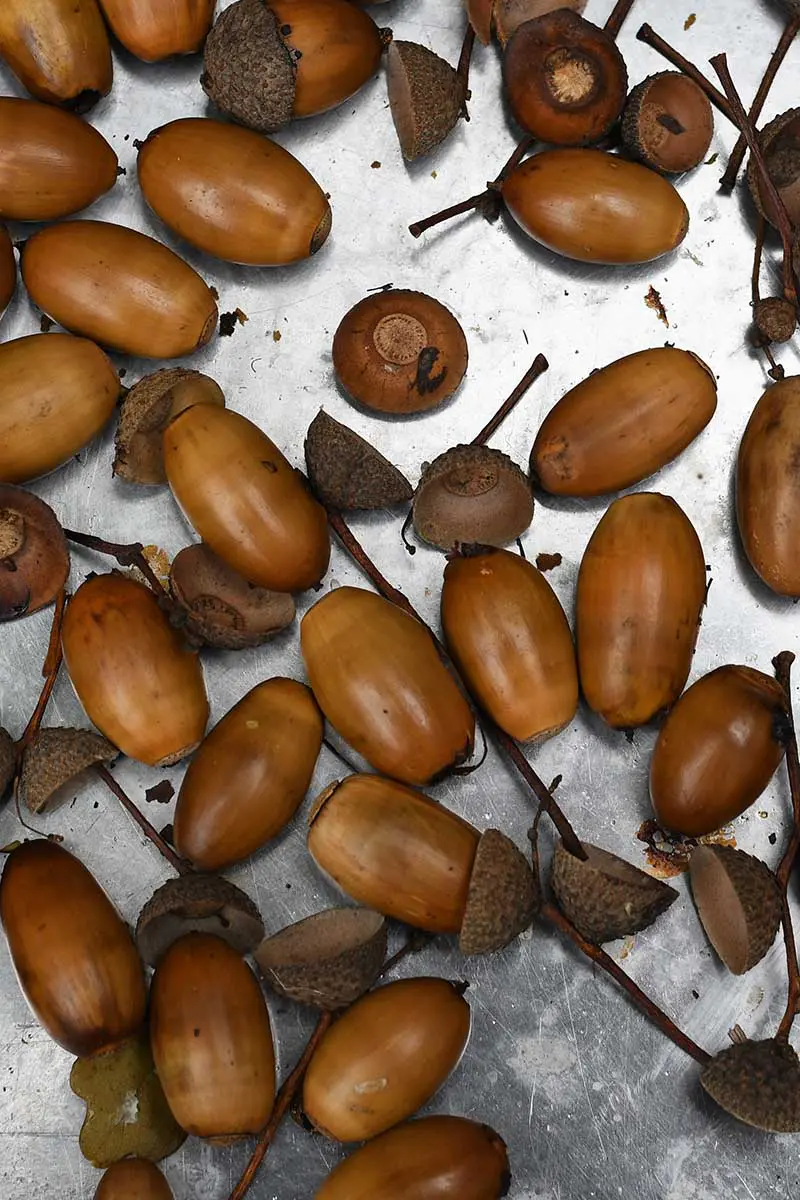
With the current world situation, I don’t venture very far from home, so I have to find inspiration for my crafts from my immediate surroundings. Every morning I get a coffee from the Kiosk in the park at the bottom of my street.
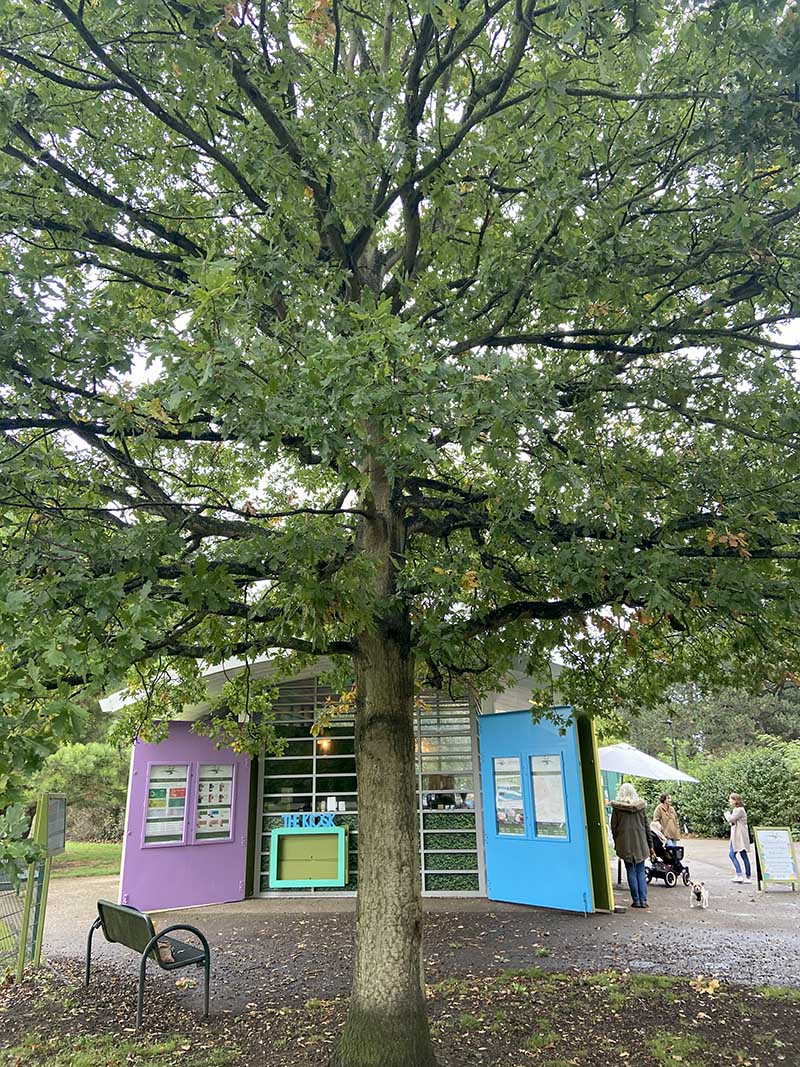

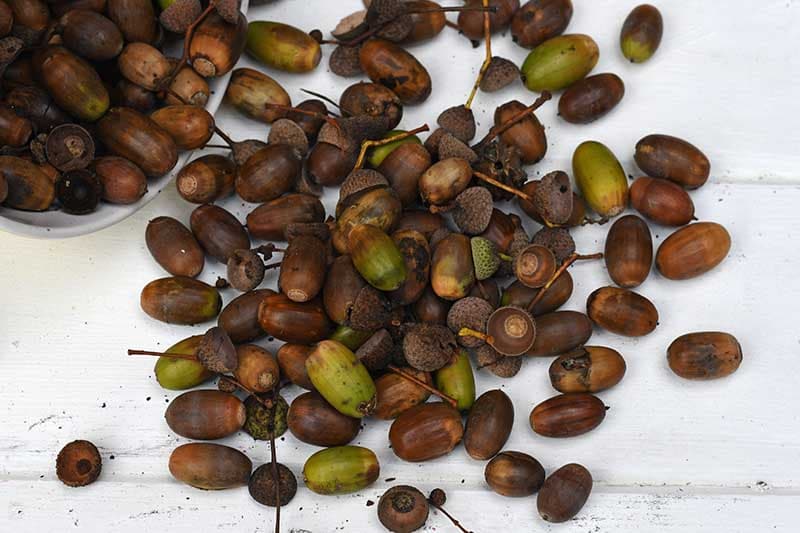
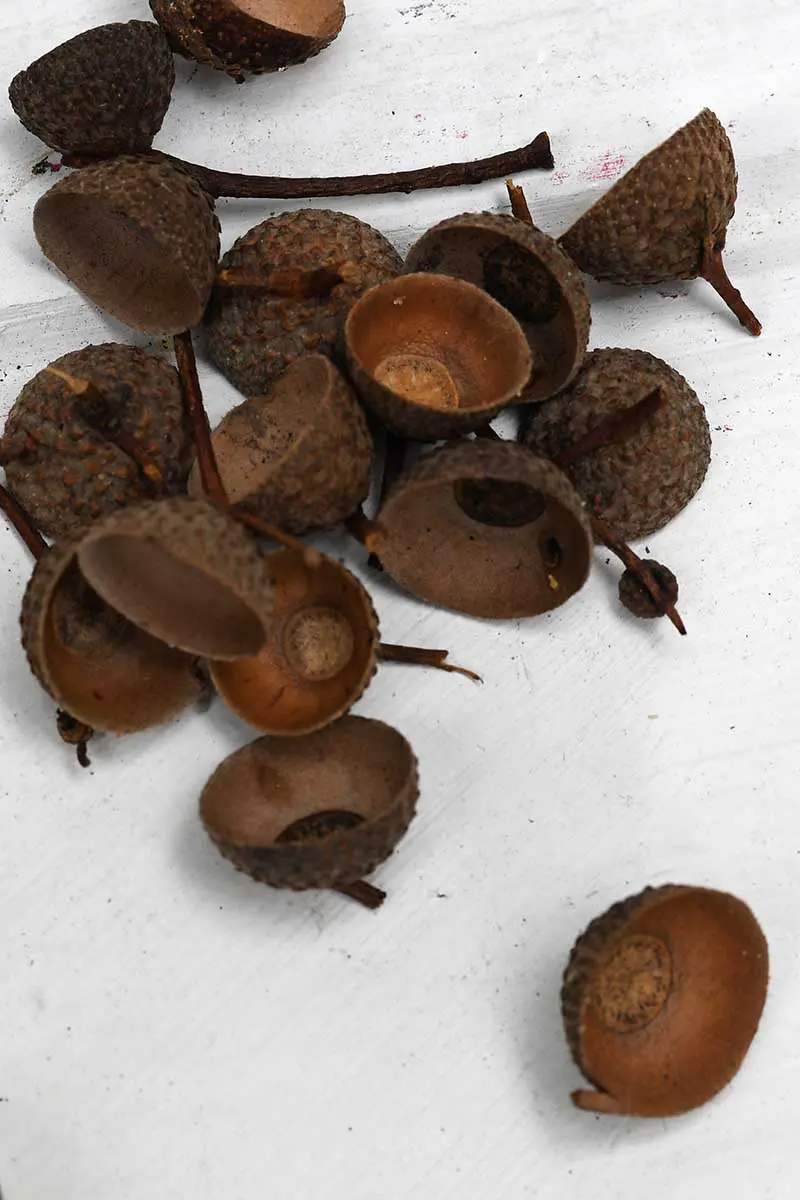
Outside the Kiosk beside the bench is a lovely oak tree laden with acorns. This year, there is a bumper crop of acorns; the ground is littered with them.
Usually, I only see the acorn caps on the ground as the squirrels get all the nuts. But there are even too many for them. An abundance of acorns is a sign of a harsh winter to come.
I had collected the acorn caps and used them to make felted acorns for big and small acorn wreaths. They have even inspired me to make upcycled acorn sweater pillows.
Since there are more than enough acorn nuts to share with the local squirrels, this time, I have crafted with the nuts as well as the caps of the acorns.
You’ll find many more Christmas nature crafts here too.
How To Paint Acorns
We’re a participant in the Amazon Services LLC Associates Program, an affiliate advertising program designed to provide a means for us to earn fees by linking to Amazon.com and affiliated sites. As an Amazon Associate, I earn from qualifying purchases.
What You Need
- Acorns – nuts and caps. Don’t worry if the caps have fallen off, as you will be glueing them back on later. Brown and green acorns are both acceptable to use.
- Spray paints in seasonal colours – red, white and green. My favourite spray paints to use for crafts are Montana Gold.
- Wooden push pins
- Acrylic paint pens again in seasonal colours of red, white and green.
- Embroidery thread or baker’s twine.
- Hot glue gun.
Preparing the nuts
After gathering the acorn nuts, I placed them in a bowl of hot water to wash away any dirt and debris. I then dried them a little with a kitchen towel.


Often some little mites and insects can be living inside the acorns. I baked the acorns first to ensure that none of these creatures crawled out of my acorn Christmas decorations.
I recommend putting the acorns in the oven at 150 deg for about 20 mins. If the oven is too hot or you leave them in too long, the acorns will split. I forgot about my acorns in the oven and left them in a bit too long, so many of them split. Luckily I had more than enough acorns to work with.
You may notice that after coming out of the oven, all the acorns were the same brown colour. Even the green acorns had turned brown.
Painting Acorn Christmas Decorations
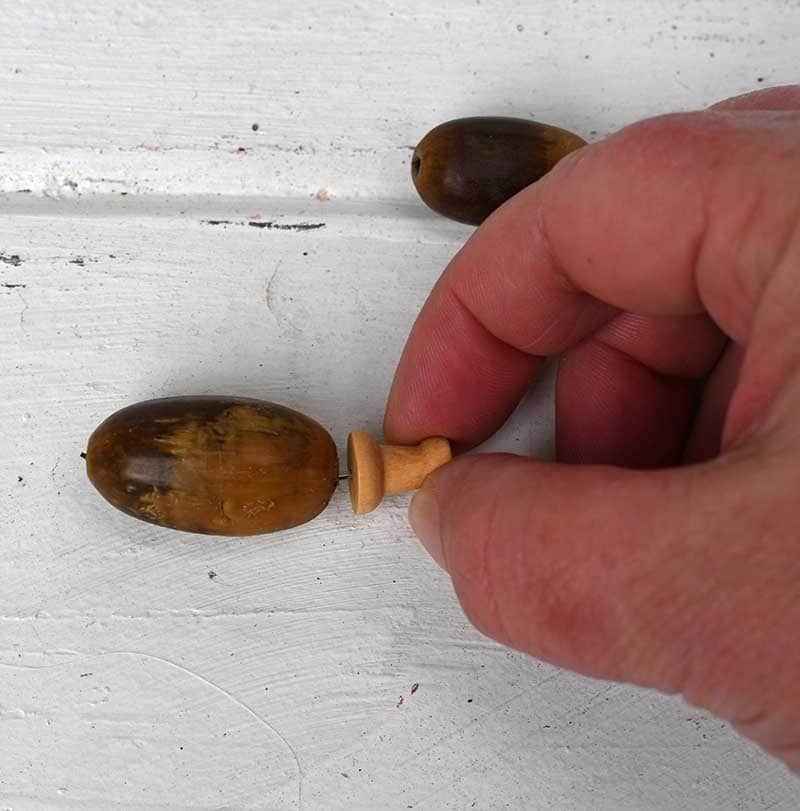
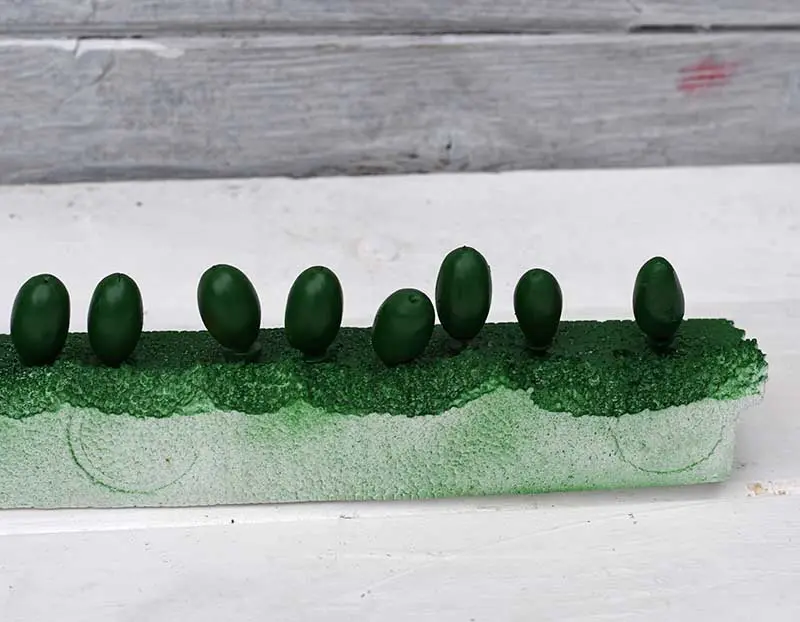
Step 1: Acorns are small and fiddly to hold. To make them easier to handle whilst painting, I stuck a wooden drawing pin into the base of each nut.

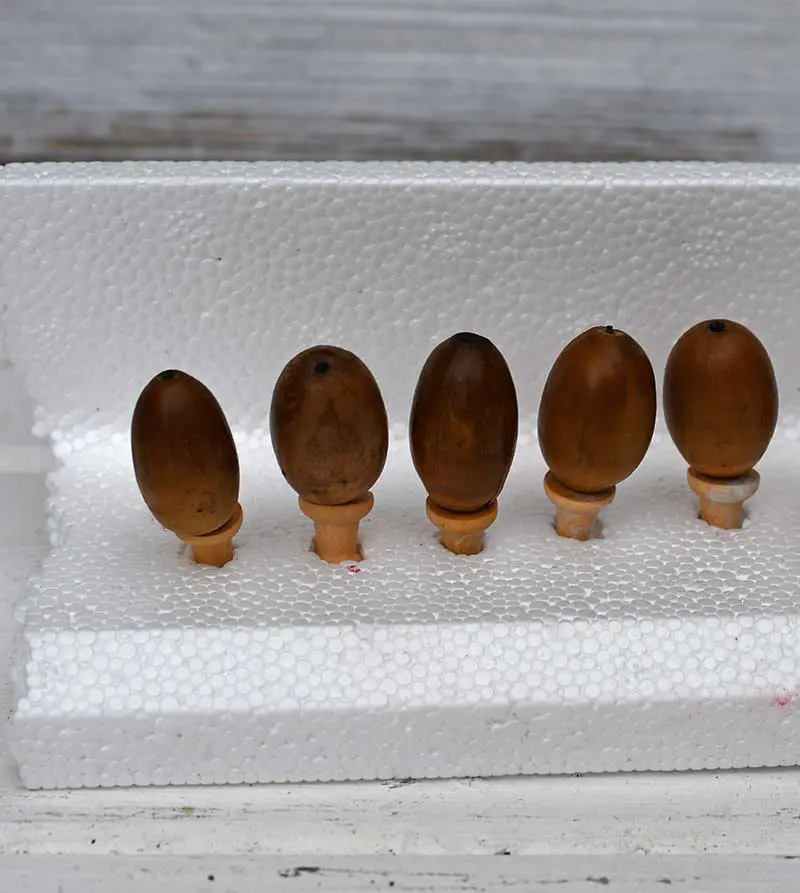
Step 2: Place the acorns into polystyrene or foam to stand upright. This will help with their first coat of paint.

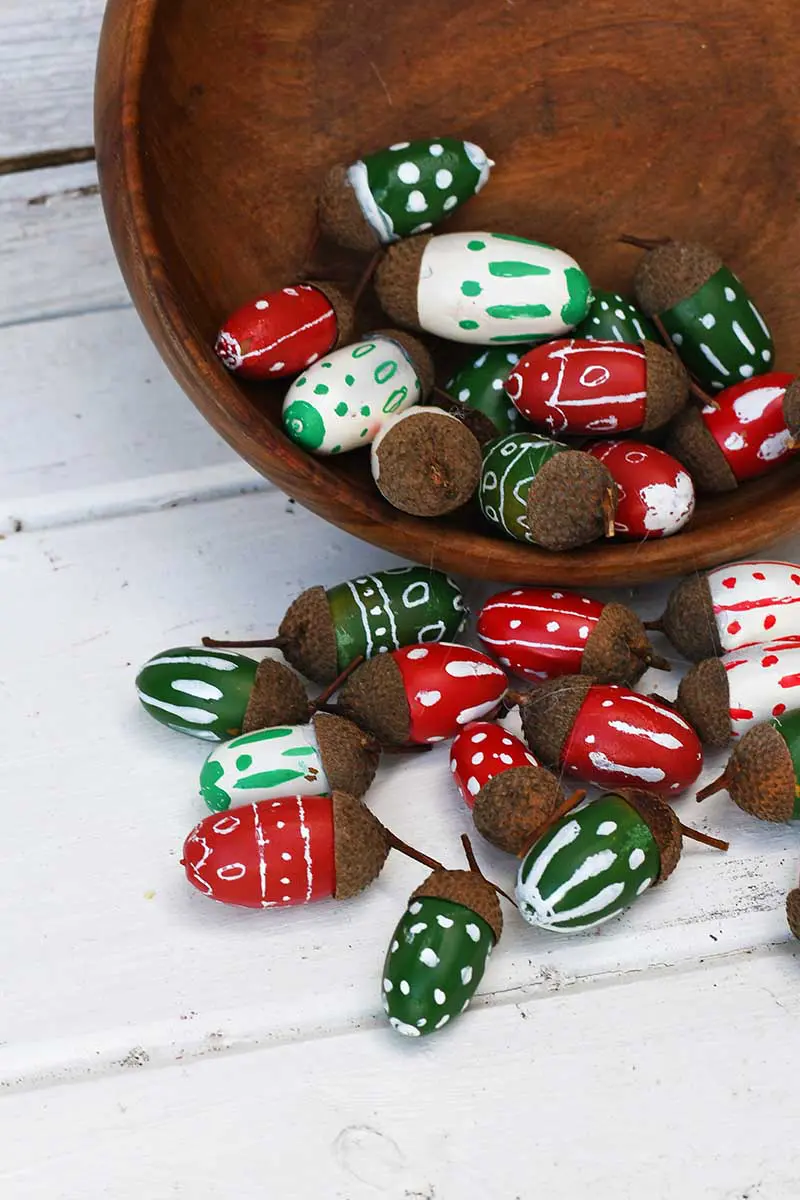
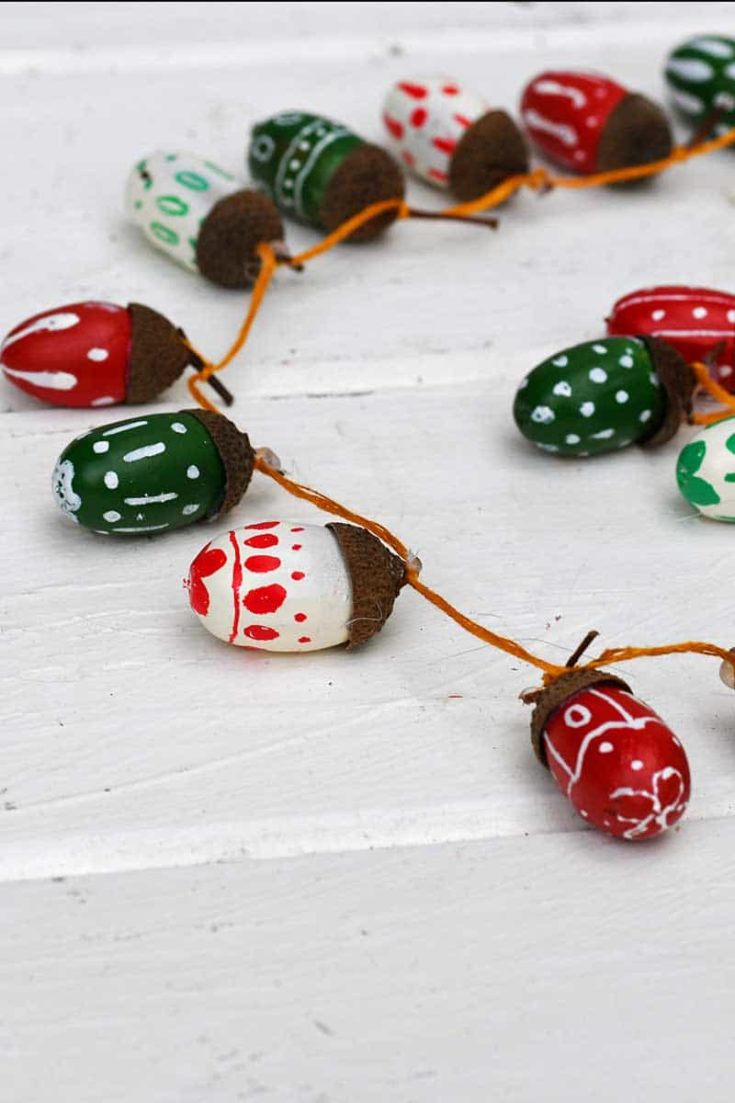
Step 3: Using the Montana gold spray paints, I painted about a third of the acorns red, another third green and the final third creamy white.
As usual, with spray paints, ensure you spray in a well-ventilated space, preferably outdoors.

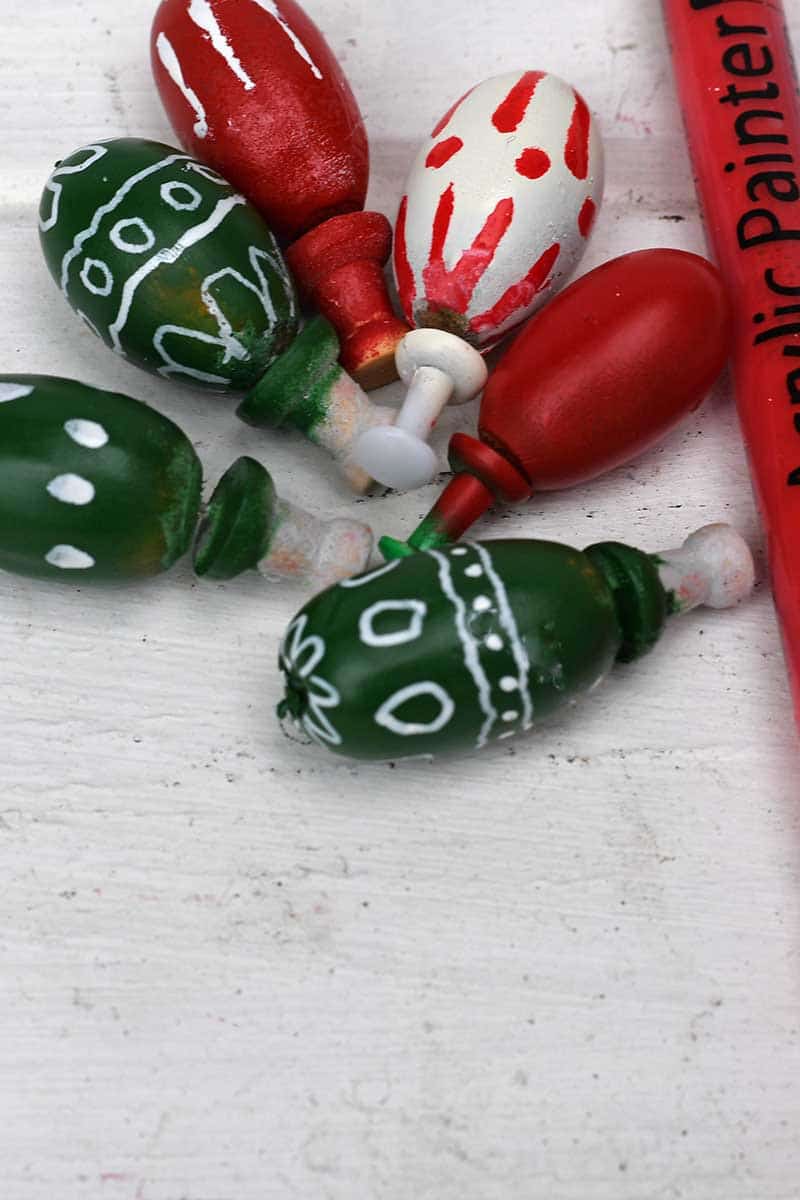
Step 4: Once the base paints have dried, draw decorations on the acorns in contrasting colours. Hold the acorn by the pushpin base and use the acrylic pens to paint the Christmas decorations on the acorn nut.
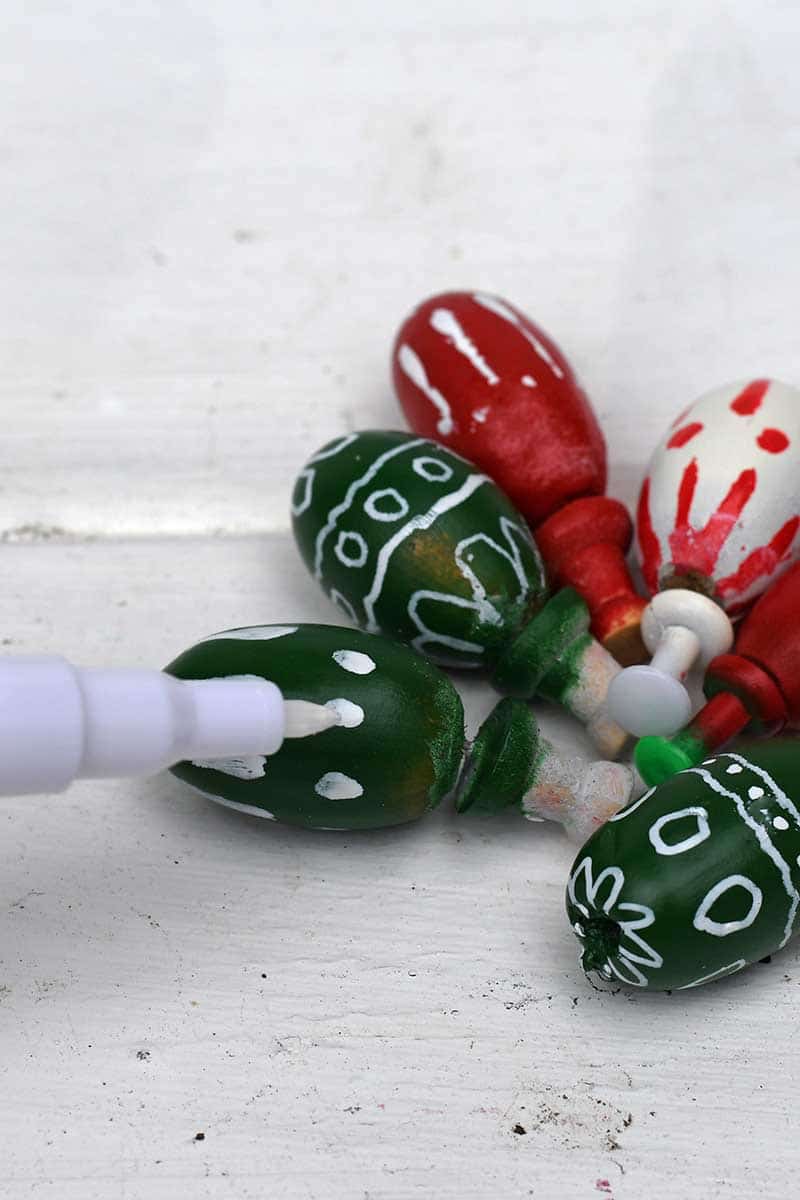
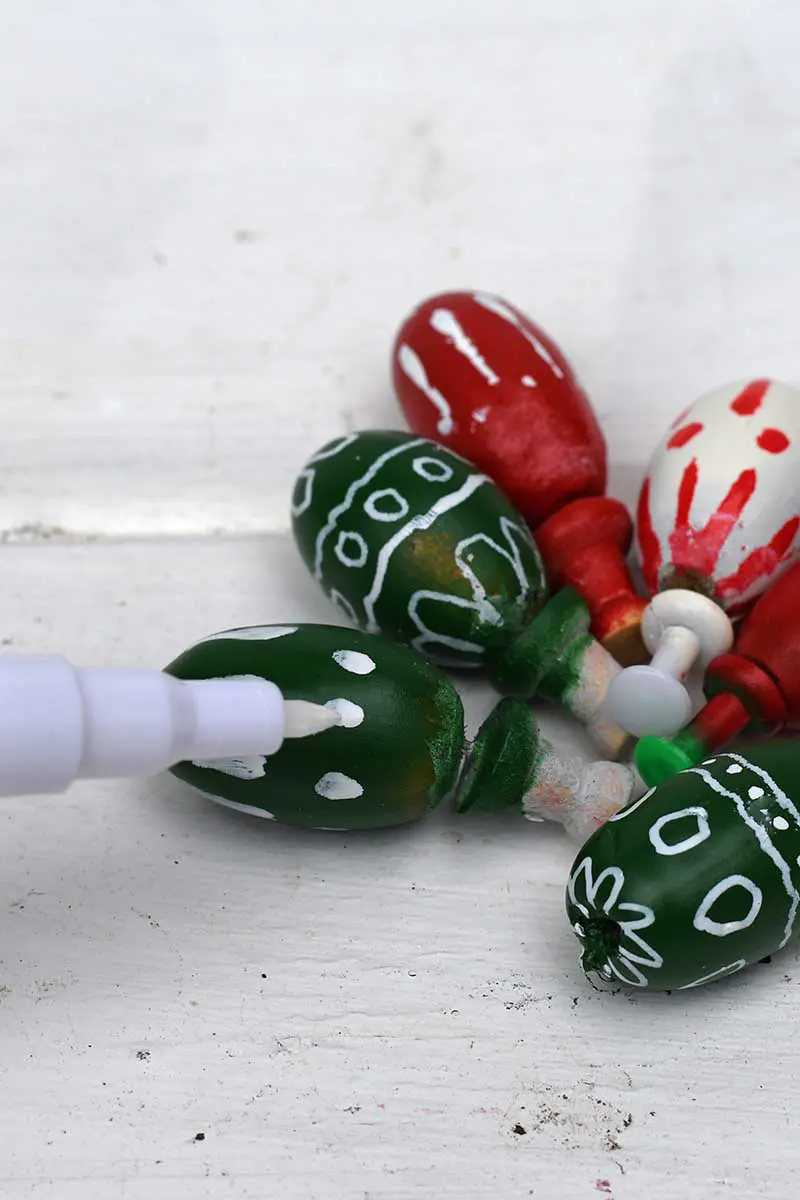
Step 5: Push down on the acrylic paint pens to get the paint flowing to the tip of the pen. Then use straightforward lines, dots and squiggles to decorate the acorn nuts.
If you have a steadier hand than me, then perhaps you can paint some more complicated decorations on the acorns.

Finishing The Painted Acorn Christmas Decorations
Step 6: Next, gather up the acorn caps. Then remove the drawing pins from the base of the painted acorns.

Step 7: Using a hot glue gun, stick a cap onto the base of each nut. Put a dap of hot glue into the cap and then push it onto the base for the acorn nut.
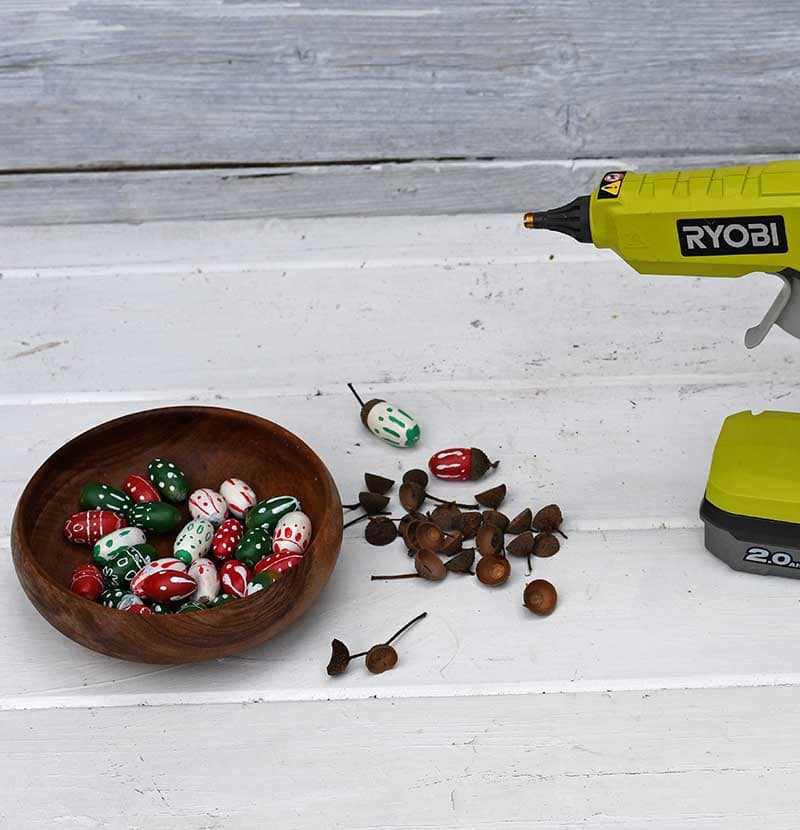


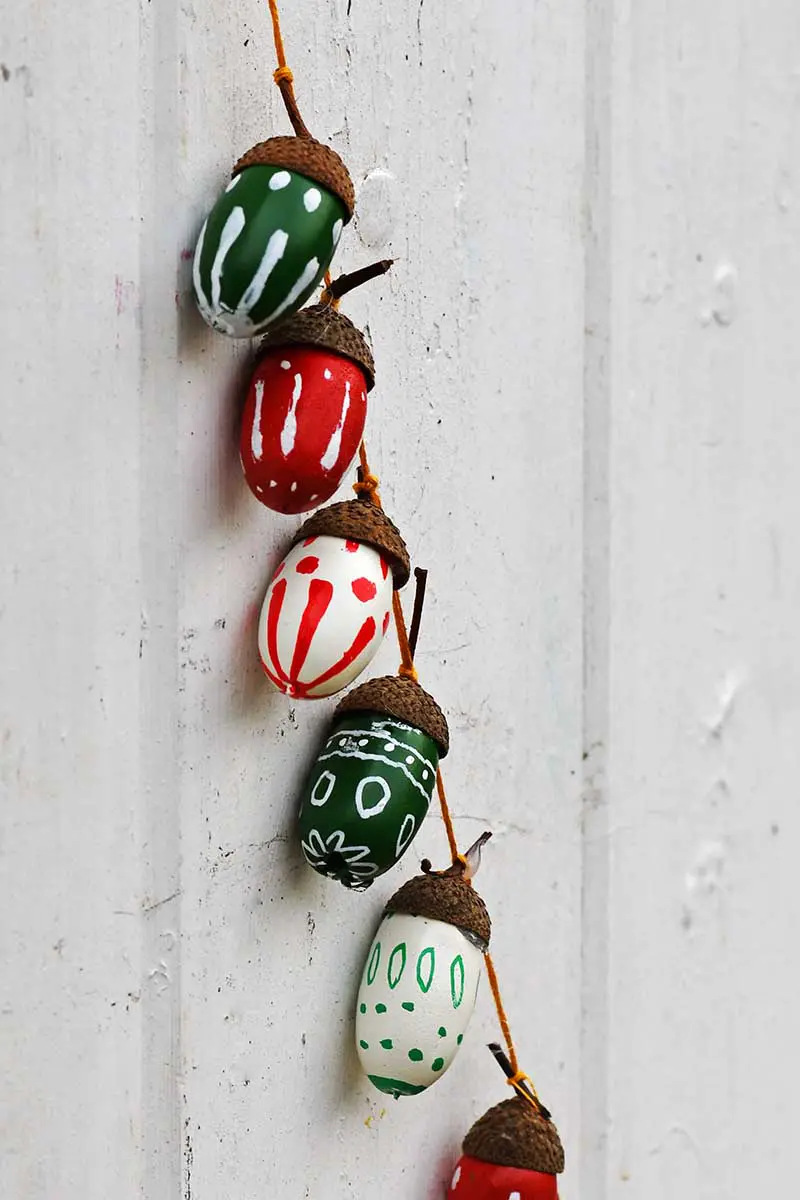
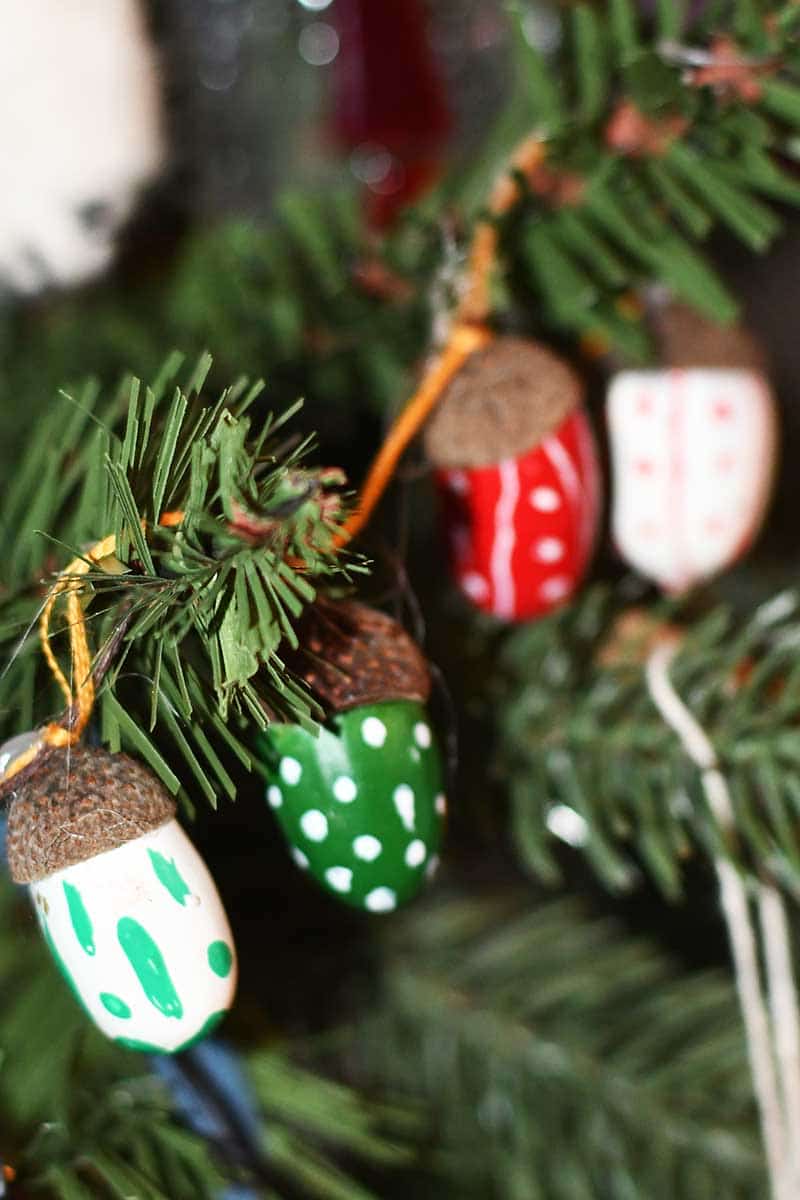
Step 8: The acorns look cute as they are in a simple bowl. But I strung mine together using some embroidery thread. You can tie the embroidery thread to the storks of the acorn caps or attach it with a simple dap of hot glue.


The simple childlike nature of these painted acorn Christmas decorations has a Scandi feel and fits perfectly with all my other Nordic crafts and decor.

If you like acorns like I, you should check out these vintage botanical acorn prints. Also, more acorn craft ideas here include these cute embroidered paper leaves.

Paint Acorns Christmas Decoration

There is an abundance of acorns this season. Why not gather some of them off the ground and make a fun Scandi style nature-inspired Christmas garland decoration with them.
Materials
- Acorns and their caps
- Montana Gold Spray paints
- Acrylic paint pens
- Wooden push pins
Tools
- Hot glue gun
Instructions
- Wash the acorn nuts and caps in hot water to remove dirt and debris.
- Next, dry the acorns with a kitchen towel.
- Bake the acorns in a low oven for about 20 mins to get rid of any bugs.
- Stick a wooden push pin into the base of each acorn.
- Stand the acorns up in a scrap piece of polystyrene.
- Spray paint a third of the acorns red, another third green and the final third white.
- Next, once the paint has dried, decorate the acorns using acrylic paint pens.
- Push the nips of the acrylic paint pens to get the paint flowing. Then use the pens to draw decorative spots, lines and squiggles on the acorns.
- Once the decorated acorn nuts have dried, stick the caps back on the base of the nut. Use a small dab of hot glue in the cap and push the nut into the cap.
- Finally, string the acorns together in a garland using embroidery thread. Alternate the colour of the acorns as you string them together.
- The nuts can either be tied one by one to the embroidery thread by the stork or secured with a small dab of hot glue.

For more green crafting ideas, visit favecrafts.
Terri
Wednesday 13th of October 2021
I have used acorns in my yard for many years, and love your designs and ideas. It's always nice to get new ideas. I used put glue on the outside of my acorn bases and sprinkled glitter on them. As you can imagine, they are beautiful. I want to thank you for mentioning the baking of the acorns. I have never done that but will now.
Melissa
Friday 11th of November 2022
@Terri, do you put the decorated acorns in a flower bed or like mulch? Im thinking of doing this at my school. Thanks!
Claire Armstrong
Wednesday 13th of October 2021
Thank you so much, your glitter acorns sound lovely.
Marta
Tuesday 7th of September 2021
Excellent idea. thank you so much for sharing. ????
Claire Armstrong
Tuesday 7th of September 2021
Thank you,they were fun to make.
Julie
Saturday 24th of October 2020
Oh my goodness Claire, what a brilliant idea! I dried some acorns in the oven once for a craft (one that didn't really work as it happens but that is unimportant!) and my son thought I had lost my mind when he caught me glueing the caps back on. Sometimes you have to be a craft person to understand!
Claire Armstrong
Sunday 25th of October 2020
Thank you. Yes, my kids give me a sideways look sometimes and roll their eyes at what I'm doing.
Michelle Leslie
Friday 23rd of October 2020
Why is it that every time I pop in for a visit I'm gobsmacked by your creations Claire? There's always something new and unique to inspire. Love this corn garland, not only because it's so doable for anyone but because it uses what Mother Nature gives away for free.
Claire Armstrong
Saturday 24th of October 2020
Thank you, Michelle. That’s my favourite kind of crafting, just using the stuff around us or the stuff we already have.
Naush Samama
Wednesday 21st of October 2020
Such a unique way to decorate. Thank you very much for sharing at Meraki Link Party. Naush
Claire Armstrong
Wednesday 21st of October 2020
Thank you.