
How To Make A Stunning Pine Cone Flower Heart Decoration
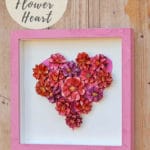
Give pine cones a whole new life: cut and paint them to look like flowers, then arrange them into a heart for a charming, creative wall decoration. This DIY uses bleach, acrylic paint, and a shadow-box frame to turn simple natural materials into a rustic-chic heart-shaped art piece, perfect for home décor or heartfelt gifts.
A few months ago, whilst making some pine cone fall mason jars, I noticed that if you cut the top off pine cones, they look like flowers. That is where I got the idea for this gorgeous Valentine's pine cone flower decoration.
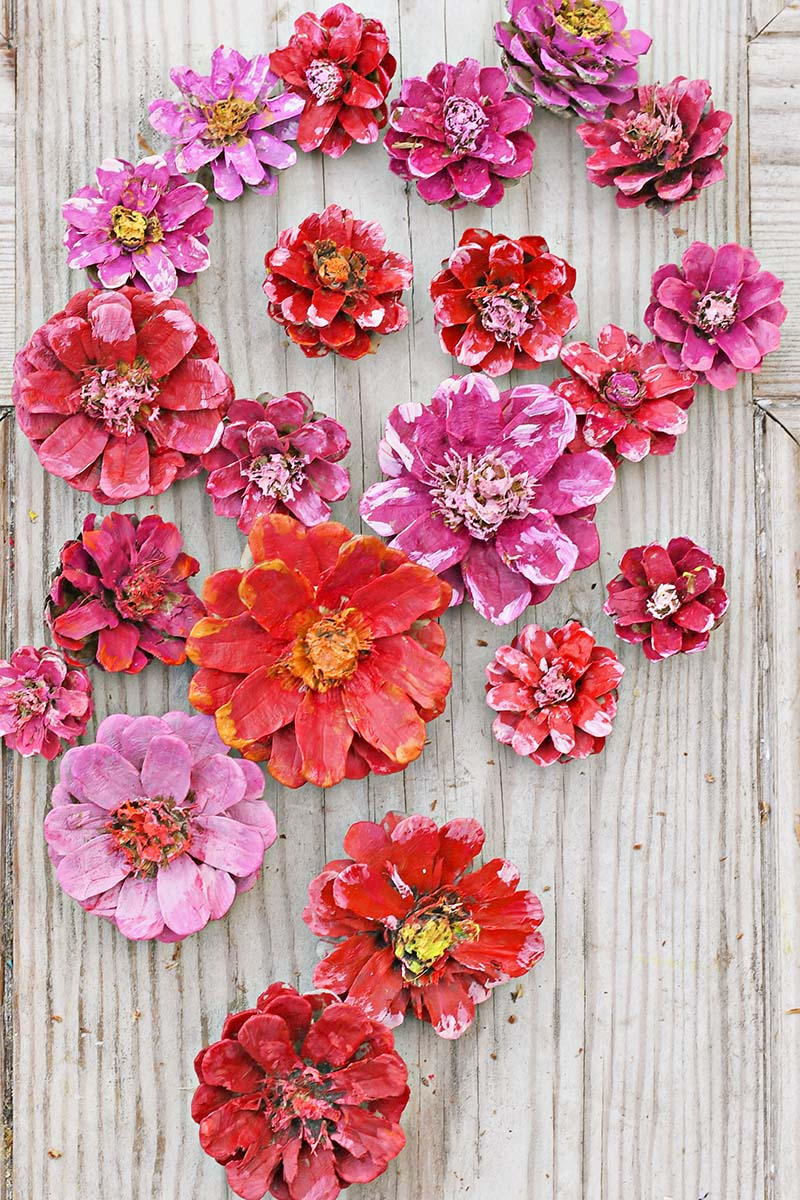
Even though pine cones can be cut to look like flowers, the colour isn't great. I'm not a fan of brown flowers! To pimp the pinecones for Valentine's Day decoration, I first bleached them, then painted them a riot of reds, purples,
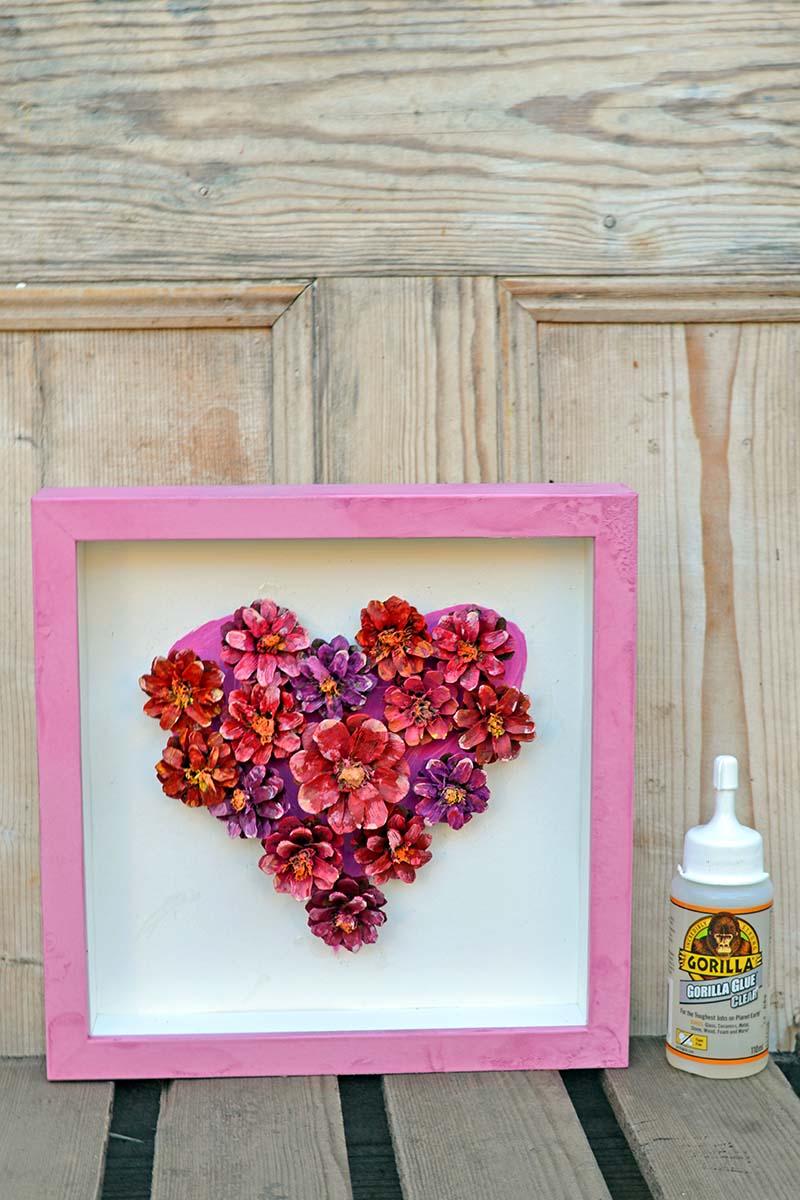
To show off these beautiful pine cones, they were arranged in a heart shape and glued onto the card so they could be displayed in a frame.
This gorgeous pine cone flower heart doesn't have to be for Valentine's. Why not be like the Scandis and decorate with hearts all year round?
This pine cone flower heart will go well with the painted wood slice rustic heart I also made for Valentine's Day.
We're a participant in the Amazon Services LLC Associates Program, an affiliate advertising program designed to provide a means for us to earn fees by linking to Amazon.com and affiliated sites. As an Amazon Associate, I earn from qualifying purchases.
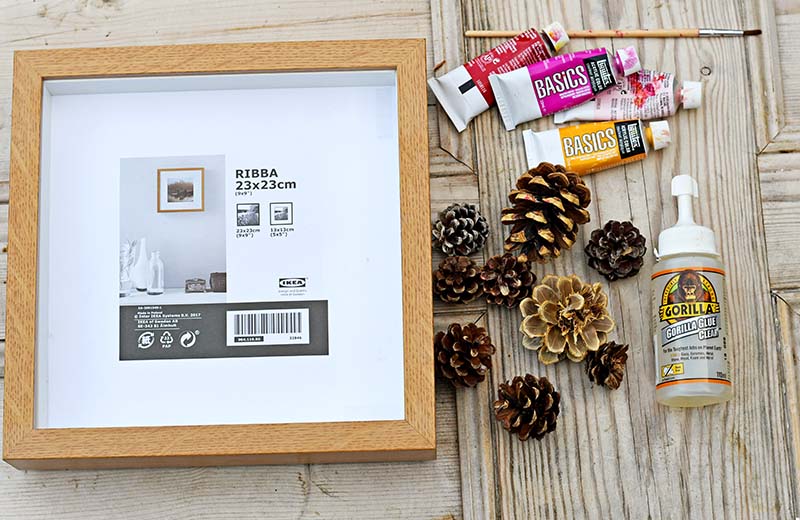
What You Need To Make Pine Cone Flowers
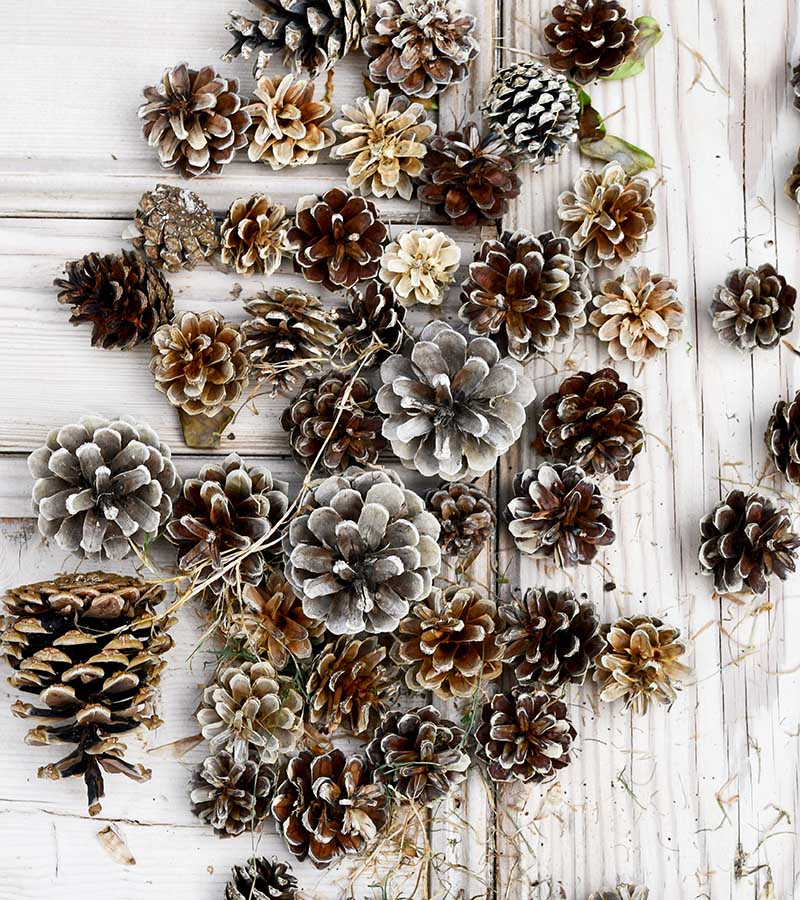
- Pine cones, smaller ones, are better. If you can only get hold of big ones, don't worry. You'll end up with a bigger heart. You'll need 15-18 pine cones, depending on their size.
- Bleach to lighten the pinecones, making them easier to paint. Regular household bleach works well.
- Acrylic paints in an assortment of pinks and reds—also a little yellow paint for the centre stamens of the pinecone flower.
- IKEA RIBBA 23cm shadow box frame
- Gorilla Glue Clear . This was the best glue for sticking the pinecones to the cardboard backing. It's crystal clear, and as the adhesive doesn't set straight away, you have time to fiddle with the flower heart arrangement before it sets.
- Pink chalk spray paint
- Secateurs
How To Make A Pine Cone Flower
Step 1: Bleach the pine cones. Place them in a large jar with a 50/50 bleach water solution for a few hours. The pine cones will close, but don't worry. They will open up again once taken out and dried. Bleaching the cones will not make them white; it will just lighten them a few shades.
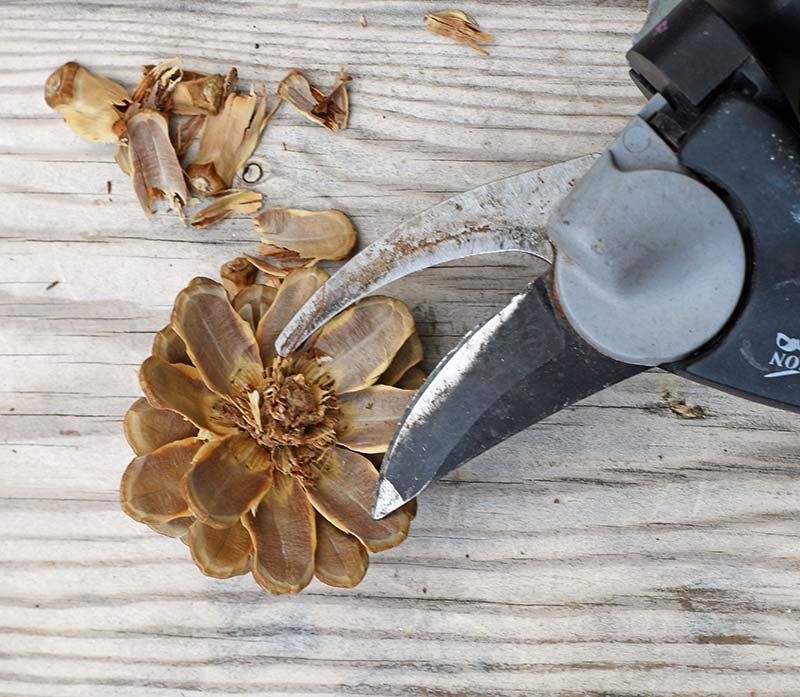
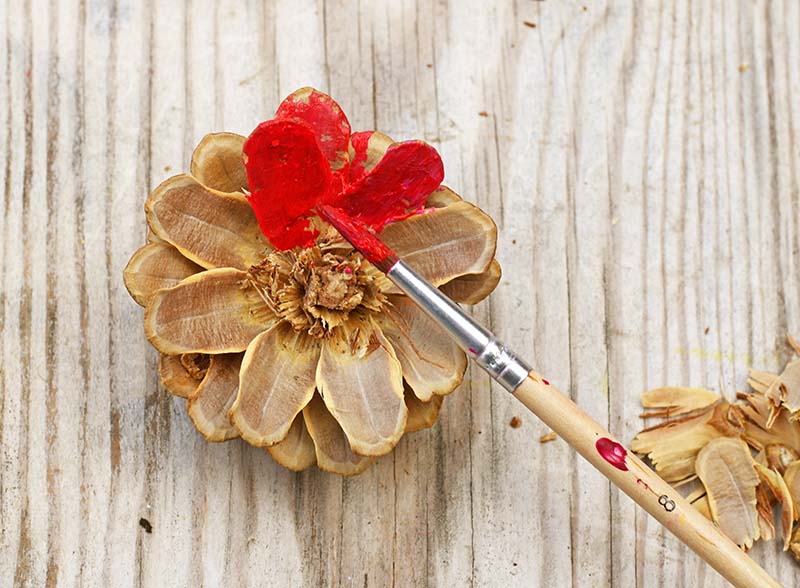
Step 2: Remove them from the bleach and let them dry overnight. Once dry, use the secateurs to cut down the pine cones by removing the top two rows of pine cone petals.
Step 3: They are now ready to paint. Paint the petals with a variety of pinks, purples, and reds. On the edge of the pine cone, petals paint a lighter shade of pink to achieve a variegated effect. Paint the centre of the pine cones yellow or pink, so they look like stamens.
Making The Flower Heart
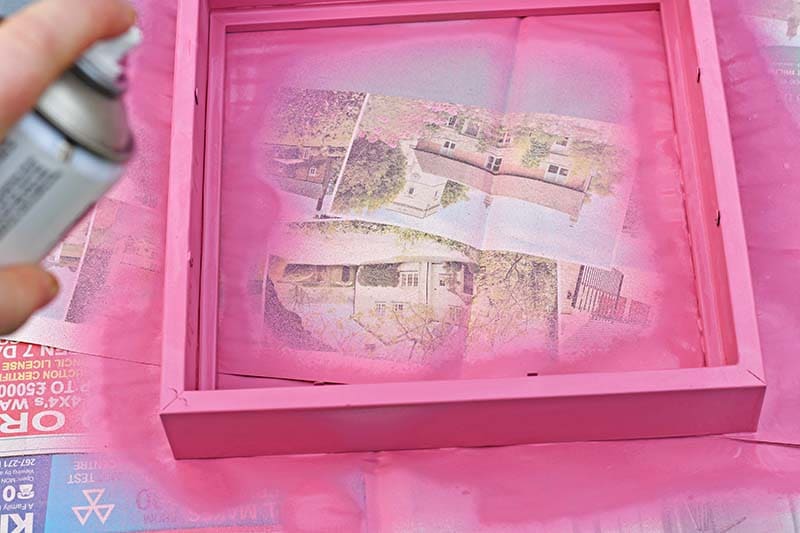
Step 4: First, spray paint the shadow box frame with pink chalk paint.
Step 5: Paint a pink heart on the cardboard mount. Use the same paints that you used for the pinecone flowers. The heart should be the size of the pine cone flower decoration.
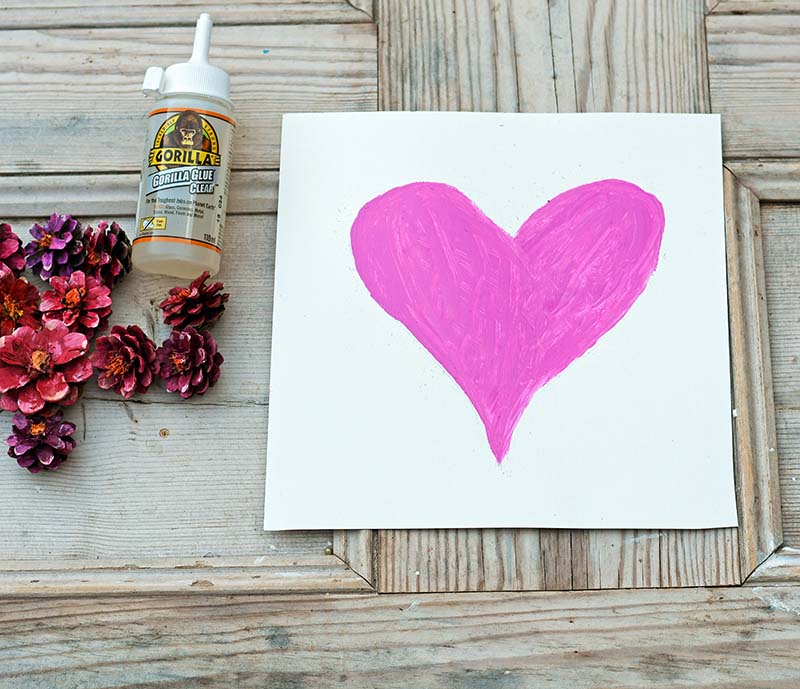
Step 6: Once the paint on the pine cones
Step 7: Next, glue the pine cones to the painted heart background one by one using the Gorilla Glue Clear. As both the cardboard and pine cone bottoms are porous, there is no need to wet them before glueing. Just squeeze a small amount of the glue onto the base of the pine cones before sticking them on the pink heart.
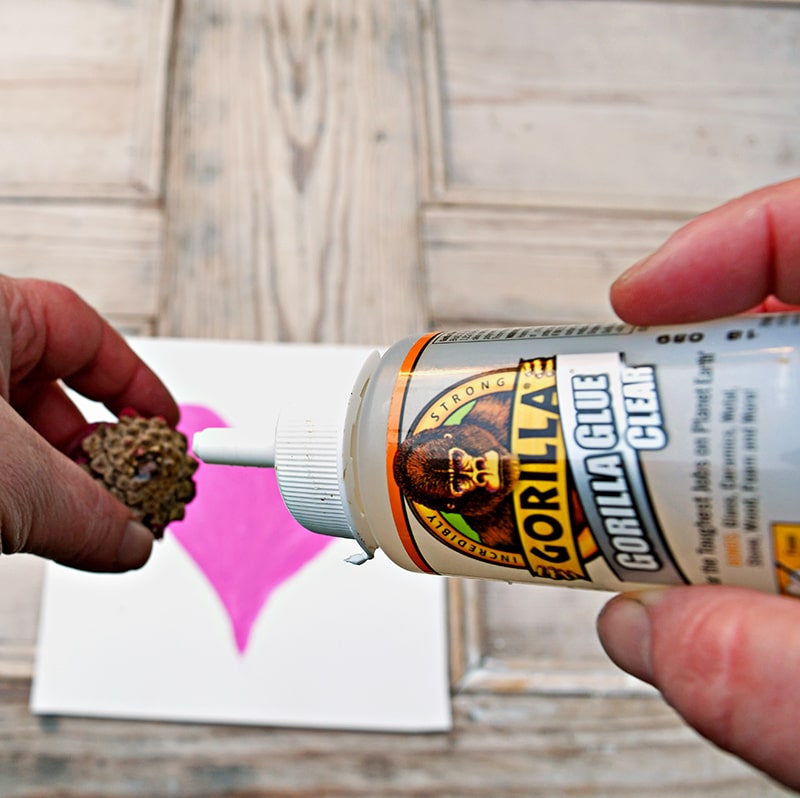
Step 8: Carry adding glue to the pine cones' base until the whole pink heart is covered.
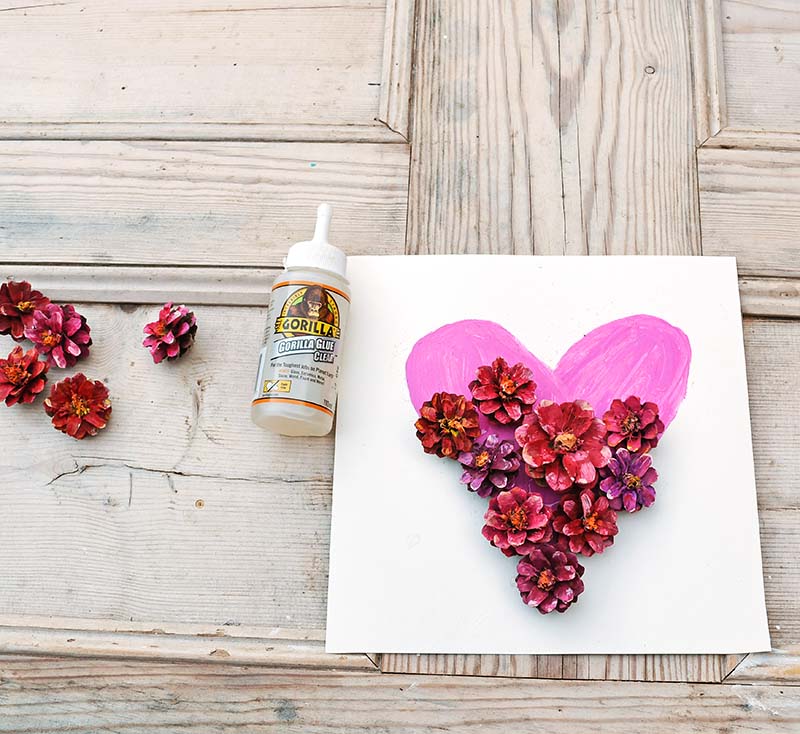
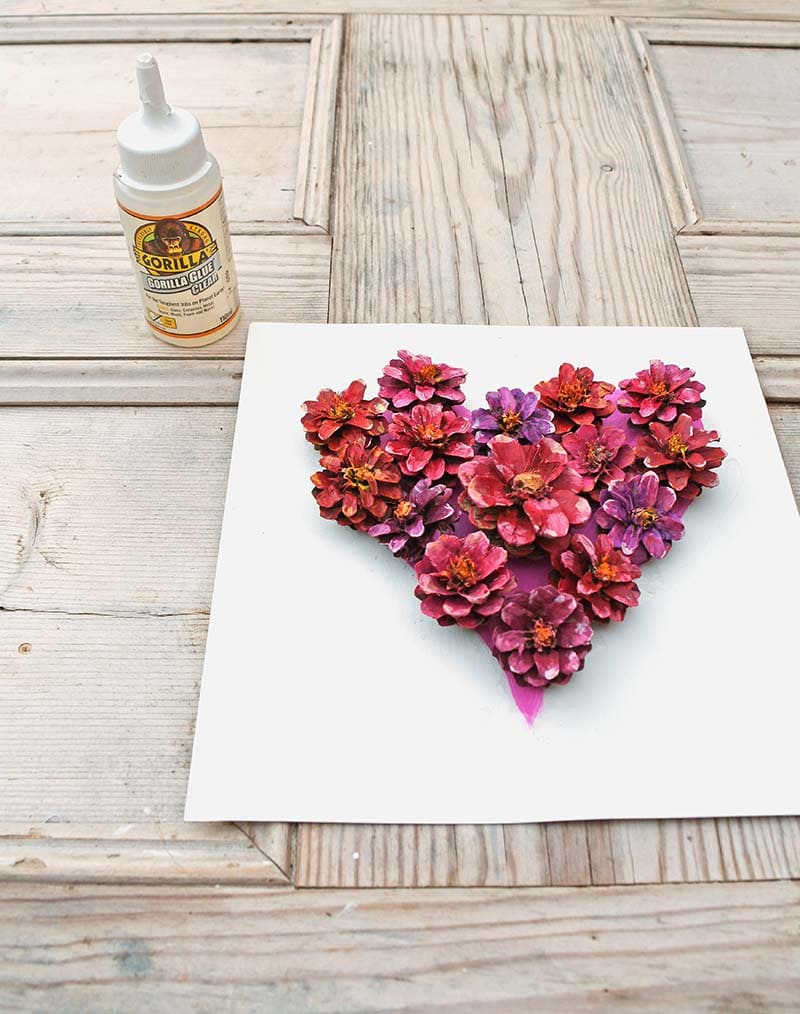
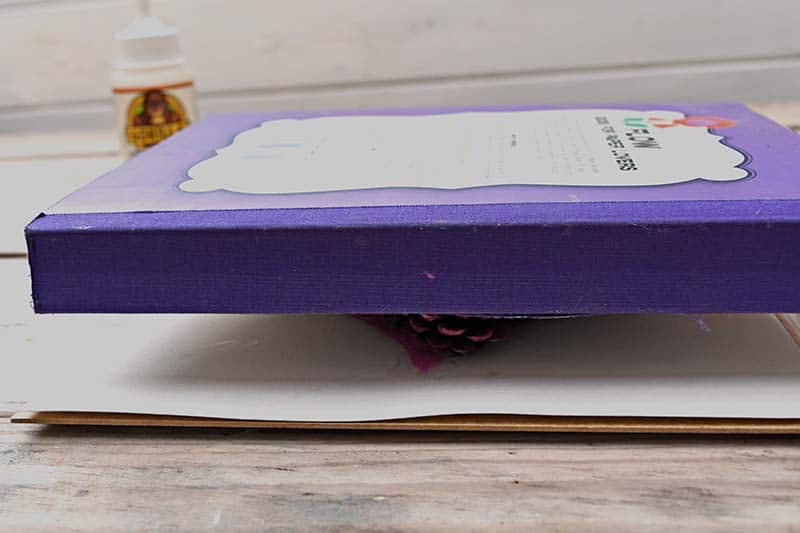
Step 9: Once you are happy with the arrangement of pine cone flowers, place a heavy object, such as a book, on top of them. This will weigh them down as the glue sets. Leave the arrangement for at least 2 hours before removing the book.
Step 10: Place the mounted pine cone flower heart in the shadow box frame.
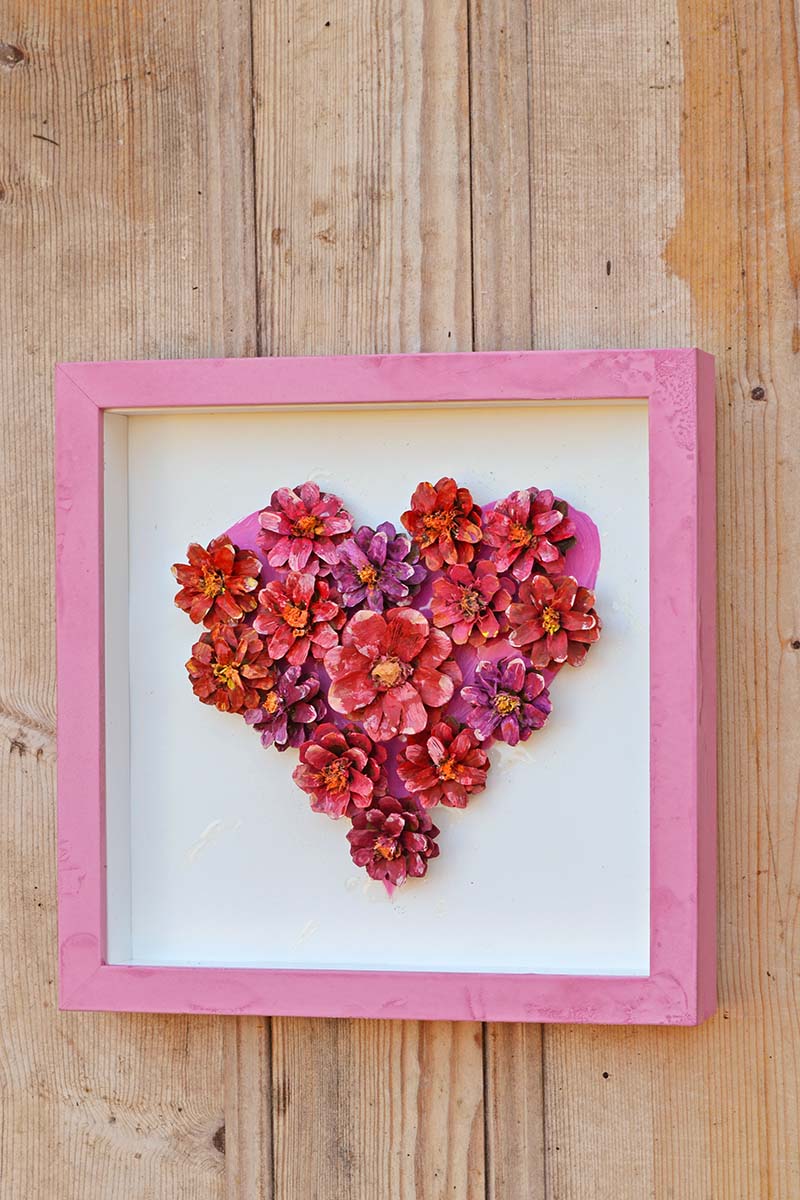
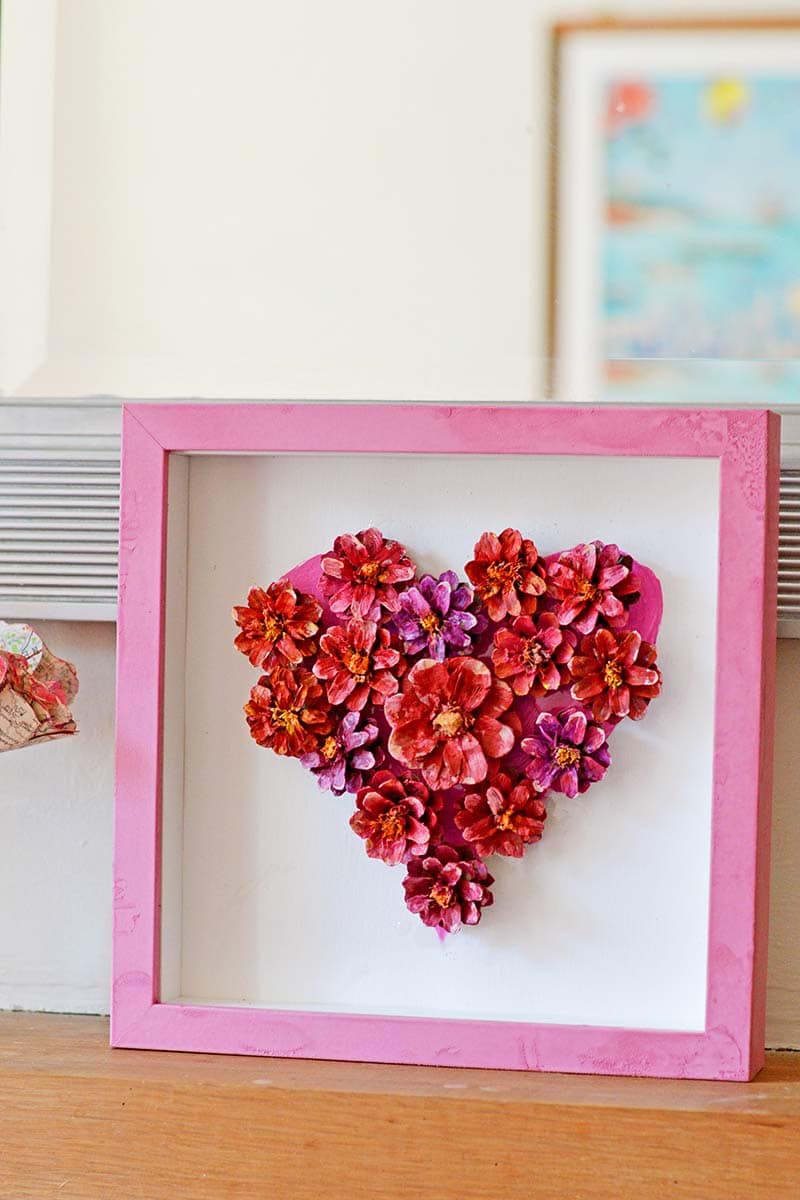
The pine cone flower heart can be hung on the wall. Or, as the box frame stands up on its own, you can place it on a shelf or mantle.
I've made another Valentine's craft for my mantle that also uses natural elements, featuring these embroidered hearts. Or if you fancy a wall hanging, check out these watercolour paper Mache hearts.
If you liked this post, you might want to check out other ways to paint pine cones and these pine cone craft ideas.
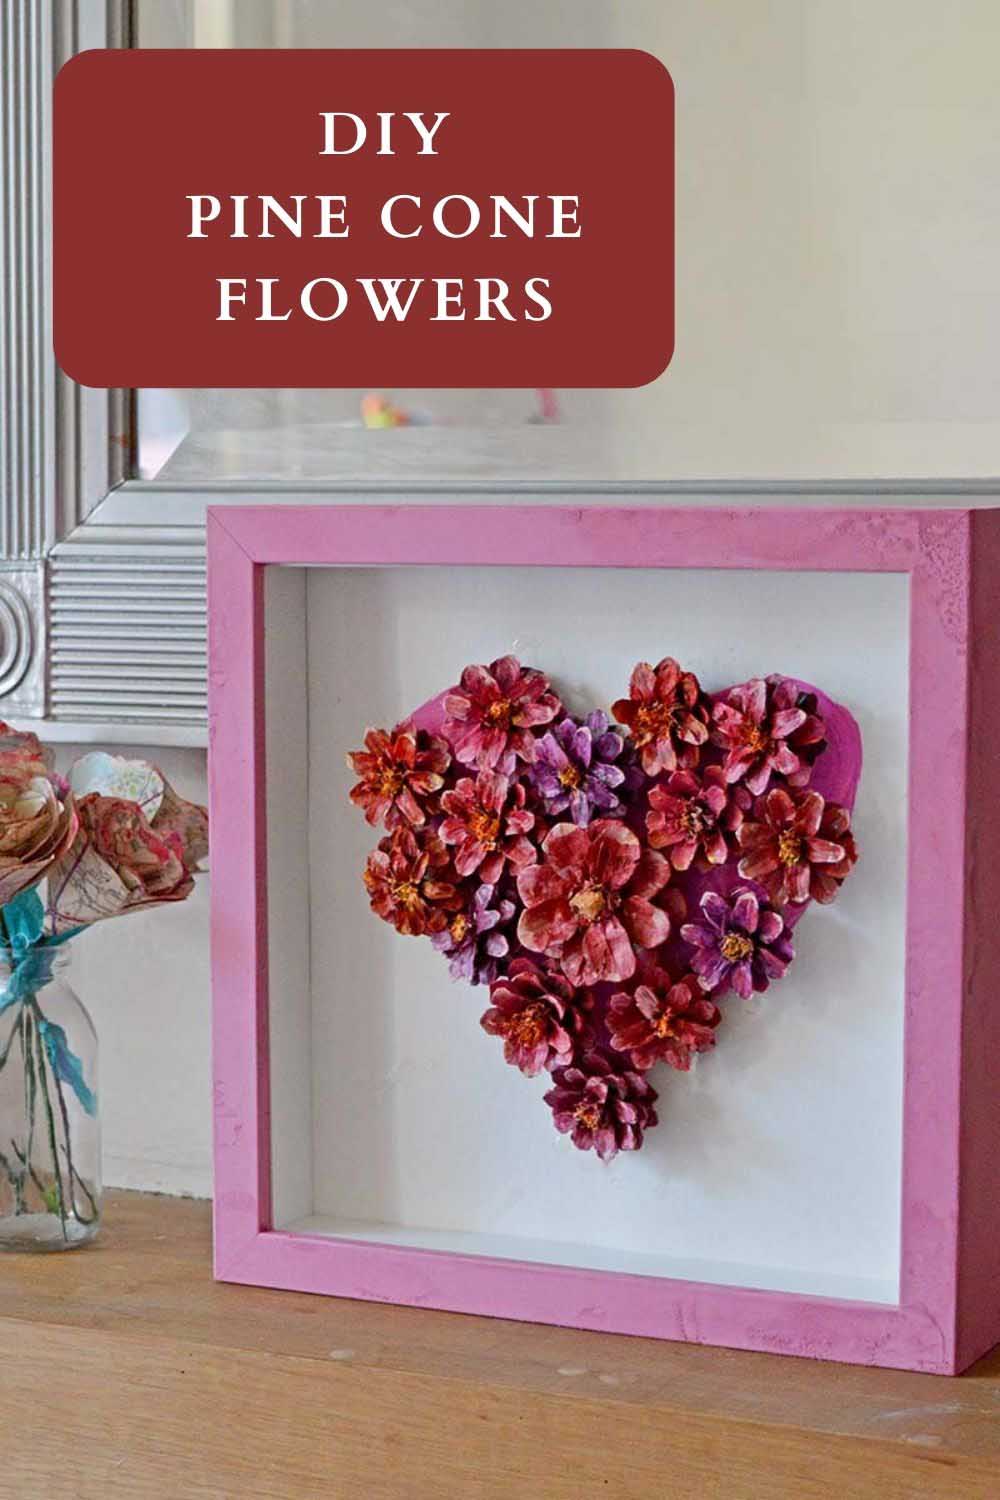
Please pin this pine cone flower craft.
For more Valentine's crafts, visit favecrafts.com
This is so pretty but I am wondering if you could miss out the bleaching stage. I am not on mains sewage and have a septic tank so I can't pour bleach down the drain. #GoingGreen
Thank you, Yes you can miss out the bleaching stage.
Claire I never knew pine cones could look so happy and festive. You have transformed them into something else!!
Thank you, Mary. It's amazing what a bit of paint can do.
Love this! Pinned.
Thank you so much.
This is beautiful; wish I had some pinecones right now! Just wondering how bleaching makes the pinecones easier to paint? Doesn't the paint cover them up anyway?
Thank you. The bleaching lightens the pinecones so you don't need as much paint. However, bleaching is optional.
What a clever idea! The pine cones look really pretty shaped into a heart. Not only pretty Valentine's decor but some that you could leave up all year long. Love it!
Thank you, Linda. It’s part of my gallery wall and will be staying up all year.
Wow, this is gorgeous, Claire! I love the colors! Thanks for sharing at Vintage Charm!
Thank you so much Cecilia.
That's very clever, and a great way to use those left over Christmas pinecones.
I love that Clear Gorilla Glue too, it's so versatile 🙂
Thank you, Julie. Yes the glue was perfect for this job.
Adorable, Claire! Pinned!
Thank you and thanks for the share.
I absolutely love this. Thanks for sharing at To Grandma's House We Go DIY, Crafts, Recipes and More Link Party. I pinned this! Hope to have you join again next week. Have a great day!
Aww, thank you so much. It was fun to use pinecones and they are free which is a bonus.
I absolutely love everything about this project - the reuse and originality! Thanks for sharing on "Sweet Inspiration"!
Thank you so much, I like to craft with the things around you,
Claire, I absolutely LOVE your creative mind!! These are absolutely beautiful!! Thank you so much for sharing them with us at the Thursday Favorite Things party, I'm featuring you this week! Congrats!
Happy weekend! xo
Theresa @ Shoestring Elegance
Thank you so much, I’m pleased you liked them and look forward to seeing the feature.
This colorful heart immediately caught my eye at Kathleen's party. So pretty and unique.
Amalia
xo
Thank you, the bright colours do make it stand out on the mantle
I love the three dimensional affect of the pine cones in this project Claire. It look absolutely fabulous!!
Thank you for sharing this DIY at Create, Bake, Grow & Gather this week. I'm delighted to be featuring it at tomorrow's party and pinning too.
Hugs,
Kerryanne
Thank you so much, I can't wait to see the feature.
How beautiful...Hi, I would like to invite you to my blog party "The Classy Flamingos" held each Wednesday thru Friday. You'll get large picture exposure and shout outs. You may get PINKED and get even more exposure! I hope you'll come join us. ~Linda poinsettiadr.com
Thank you so much, I will definitely visit.
Hello Claire! Sooooo cute!!! I am so glad that you are being featured this evening at Share Your Style #195 ~ such a fun, easy to make {and inexpensive} project to make. I am sure your pinecone heart is just brightening up your home so much.
Thanks again and congratulations on being featured,
Barb 🙂
Aww thank you so much that is awesome and I look forward to seeing the feature.