
How to Make Unique Scaffolding Board Furniture
Scaffolding board furniture is a cheap and affordable way to build strong sturdy furniture for the home or even the garden. In fact, scaffold boards are great for DIY garden furniture as they are well designed to be used outside.
The scaffolding boards are strong, structural timber, used as walkways on external building scaffolding. The standard size for scaffolding boards is a thickness of 38mm, a width of 225mm, and lengths going up to 3.9m (13ft). The boards also have a protective metal brace over the short edge.
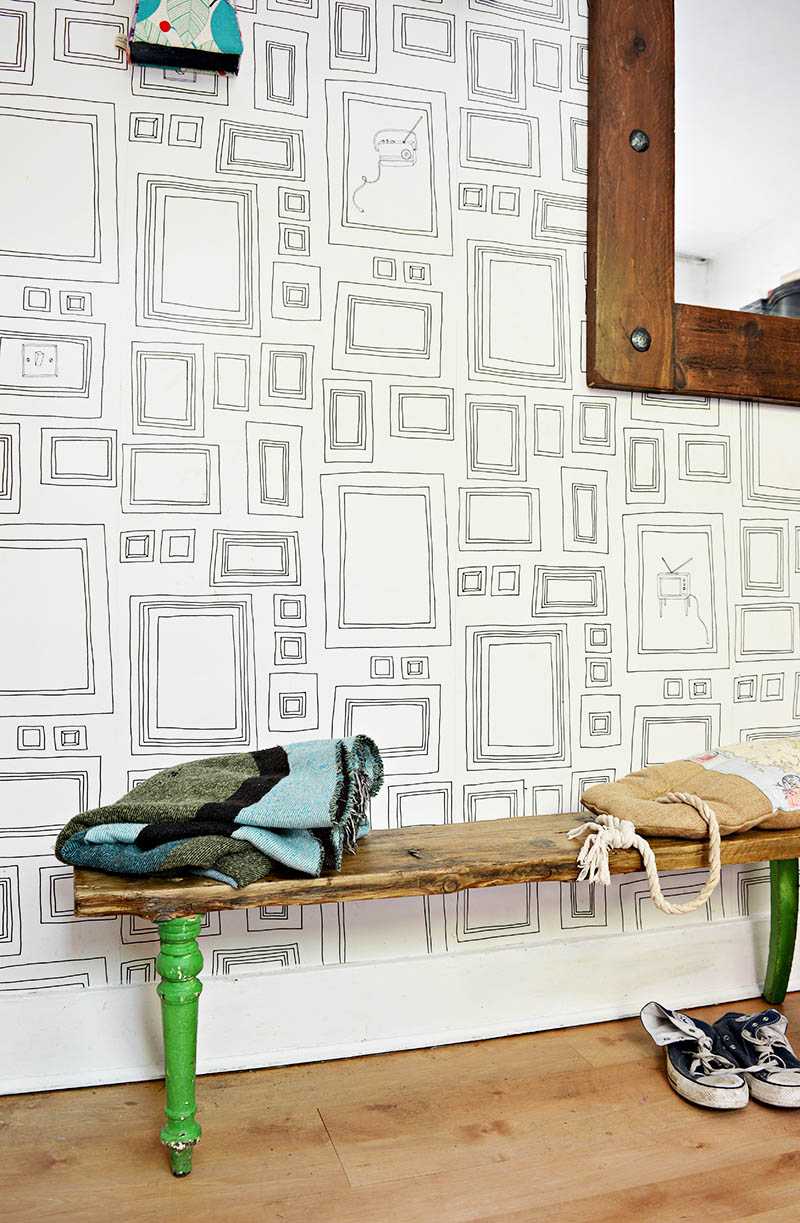
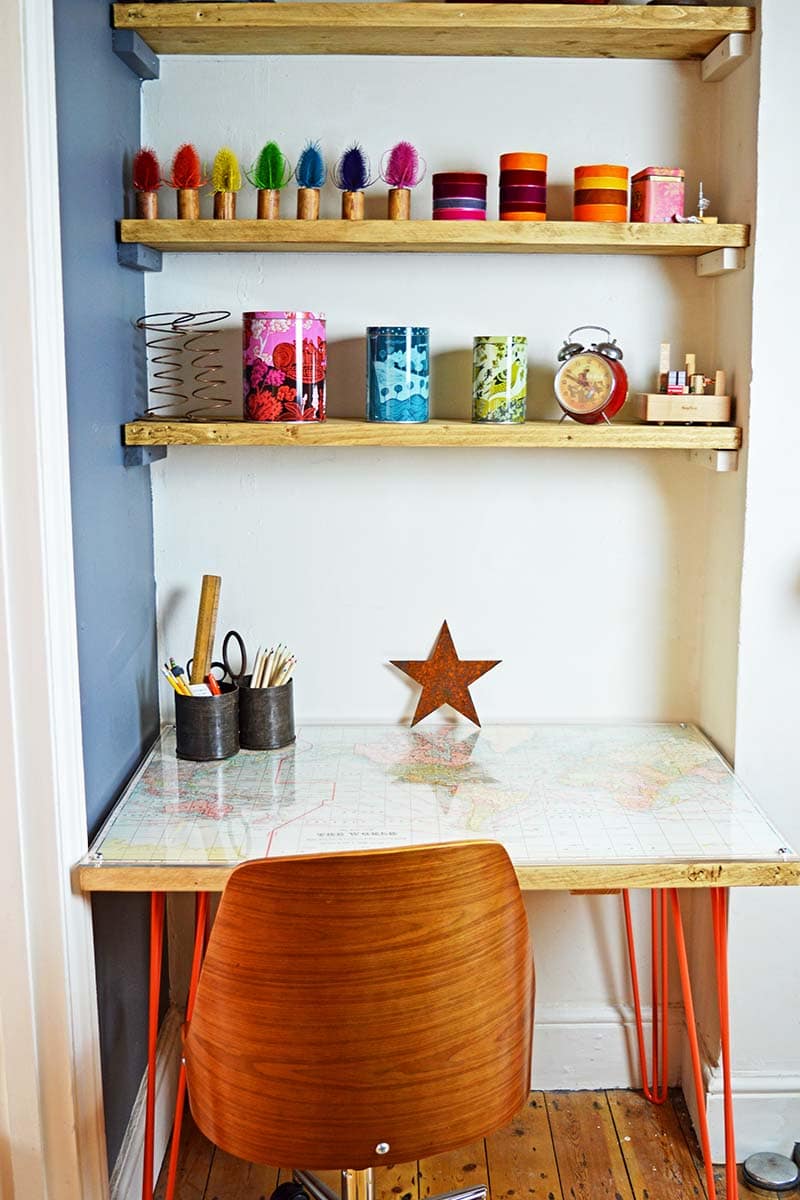
They are a chunky bit of timber that gives them a wonderfully rustic and industrial vibe when making furniture. I have used the boards for shelving and making a world map desk as this DIY bench.
As well as being good solid sturdy timber, scaffolding boards are very cheap. Especially old scaffolding boards, which can often be bought very cheaply and sometimes are even given away free by builders. Personally, I prefer to reclaim old boards for my scaffolding board furniture DIYs, as this only adds to their rustic aesthetic.
Tutorial For A Scaffolding Board Furniture Bench
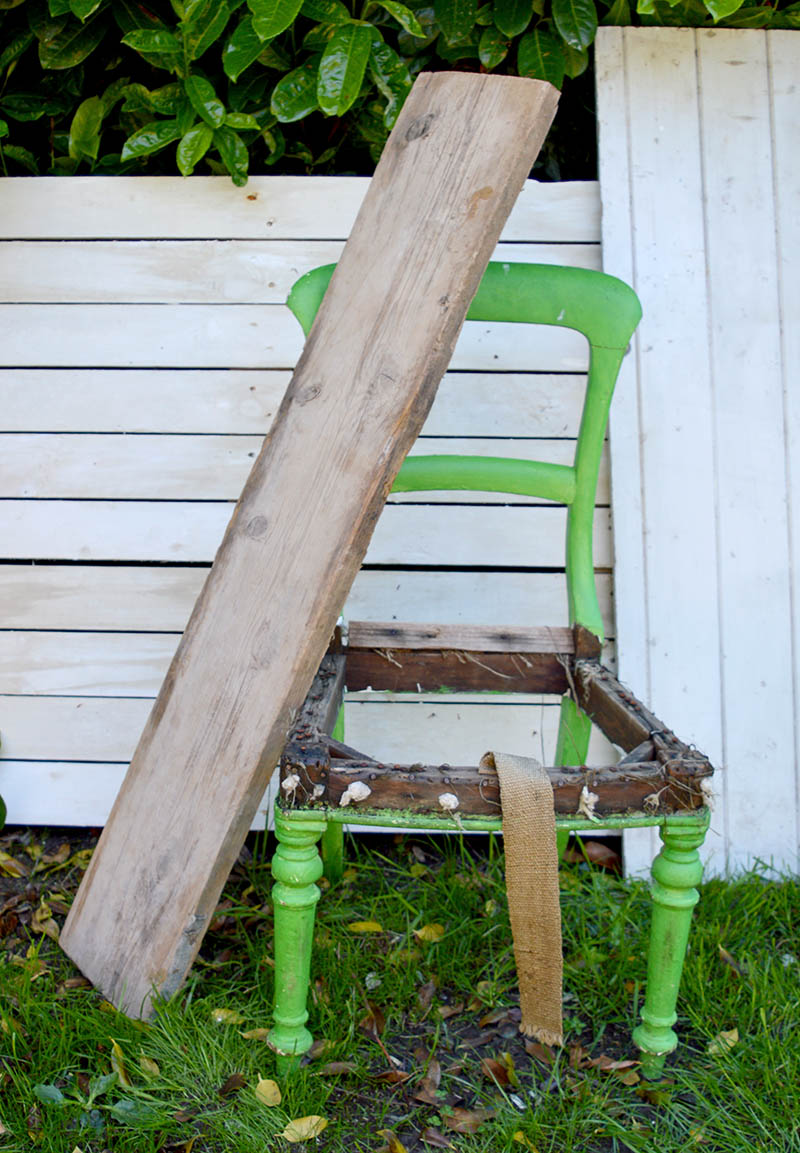
I knew I'd scored when I saw this scaffolding board sticking out of the skip I couldn't resist it. I loved the weathered look of the wood and thought it would look great once sanded and polished.
It wasn't until I added a broken old chair to my scrap hoard did I come up with an idea for my scaffolding board furniture. I decided to merge them both into a lovely reclaimed wood DIY bench.
Originally, the bench was going to be for just a bit of extra seating in the garden. As I like it so much I fancy having it in the house now. It's a handy little bench to sit on when you put your shoes on or take them off.
I might compromise and have the bench outside in the summer for extra seating or even just for pots and then bring it inside for the winter. I just love how good the reclaimed wood on the scaffolding board furniture looks now that it's been polished up. It still has a lot of character.
We're a participant in the Amazon Services LLC Associates Program, an affiliate advertising program designed to provide a means for us to earn fees by linking to Amazon.com and affiliated sites. As an Amazon Associate, I earn from qualifying purchases.
What I used to make my scaffolding board furniture
- Scaffolding board, my scaffolding board was a shorter one. You can cut them down to whatever size you want.
- Old Wooden Chair for the legs. Or you could use hairpin legs, these come in a range of colours and sizes.
- Saw - a handsaw or even better a Jigsaw/Reciprocating Saw
- Electric Sander
- Drill
- Dark Furniture Wax
- Outdoor wood varnish
- 4 long wood screws about 4"-6" in length.
How to Make A Scaffolding Board Bench
Preparing the scaffolding board
Step1: The first thing to do is to cut the scaffolding board to the length you would like the bench to be. Standard boards are 13ft long so you will probably want to saw the board in half (you can get two benches out of one standard scaffold board).
Once the scaffold board has been cut to size, sand it all over. The boards can be a bit rough, but if you use an electric sander they will be lovely and smooth in no time.
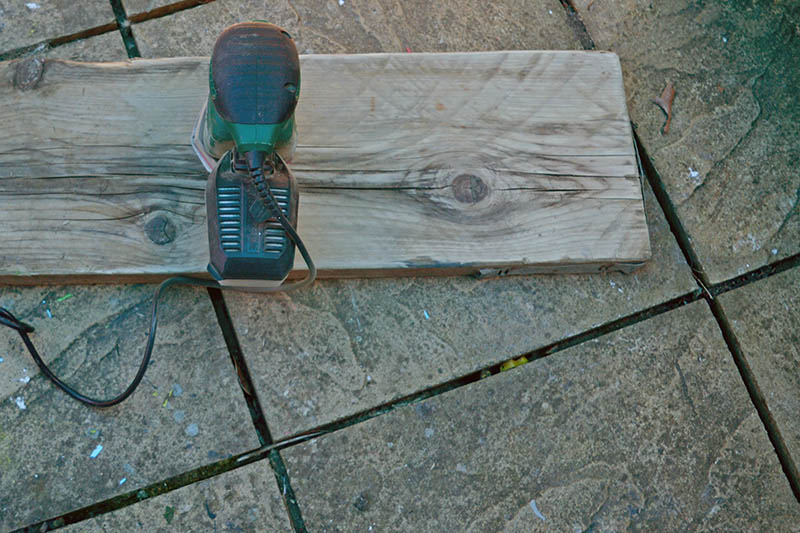
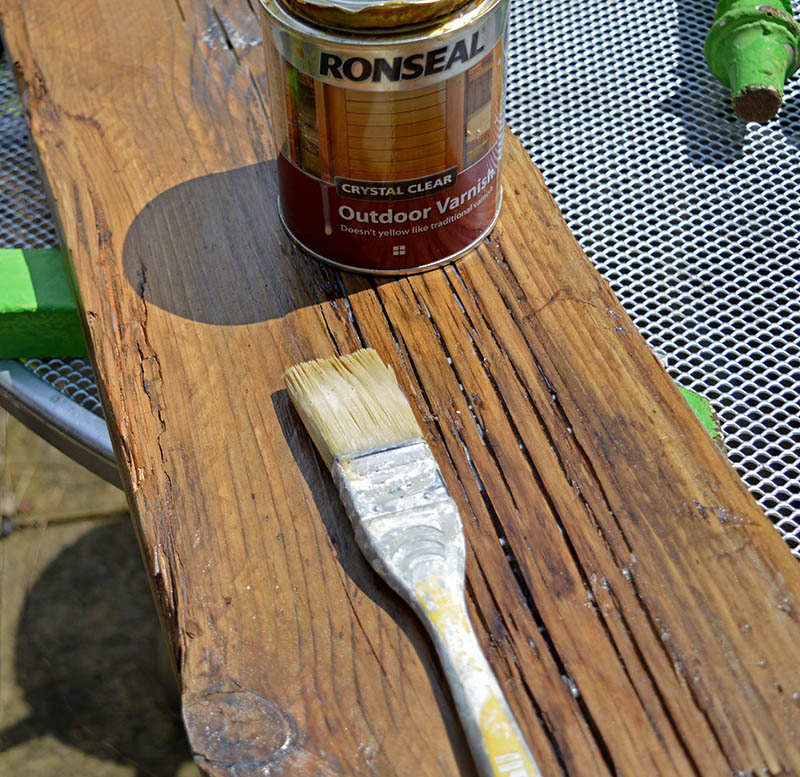
Step 2: Next, stain and varnish the scaffold board. I used dark furniture wax to stain the board and then an outdoor varnish for the topcoat. If you are just going to use the bench indoors, then there is no need for a weather protective varnish.
Making the scaffolding board bench
Step 3: Adding the legs to the bench. I sawed the legs off the old chair I was upcycling and made sure they were all the same length. If you are using hairpin legs, skip this stage.
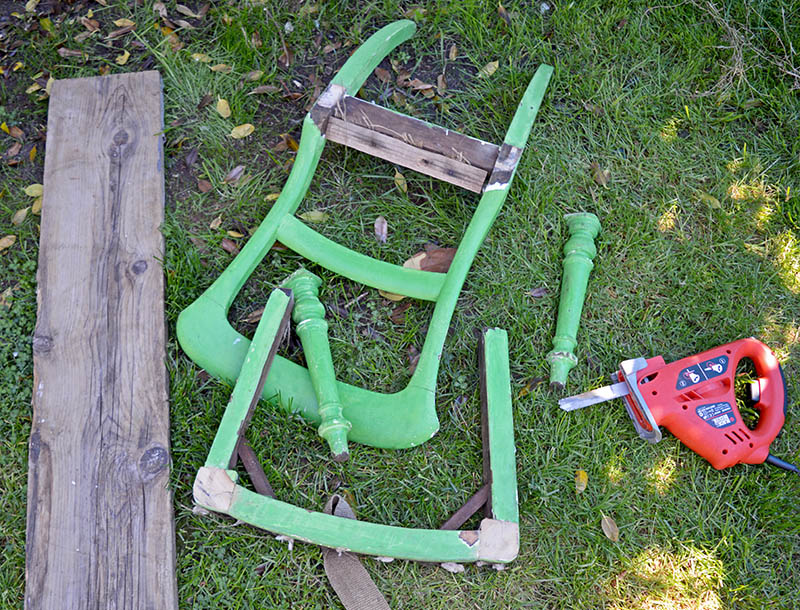
Step 4: Clamp each leg one at a time in a straight upright position and drill a small hole down the centre. You will want to make sure your legs are perfectly straight for this, otherwise, you will end up with a crooked bench.
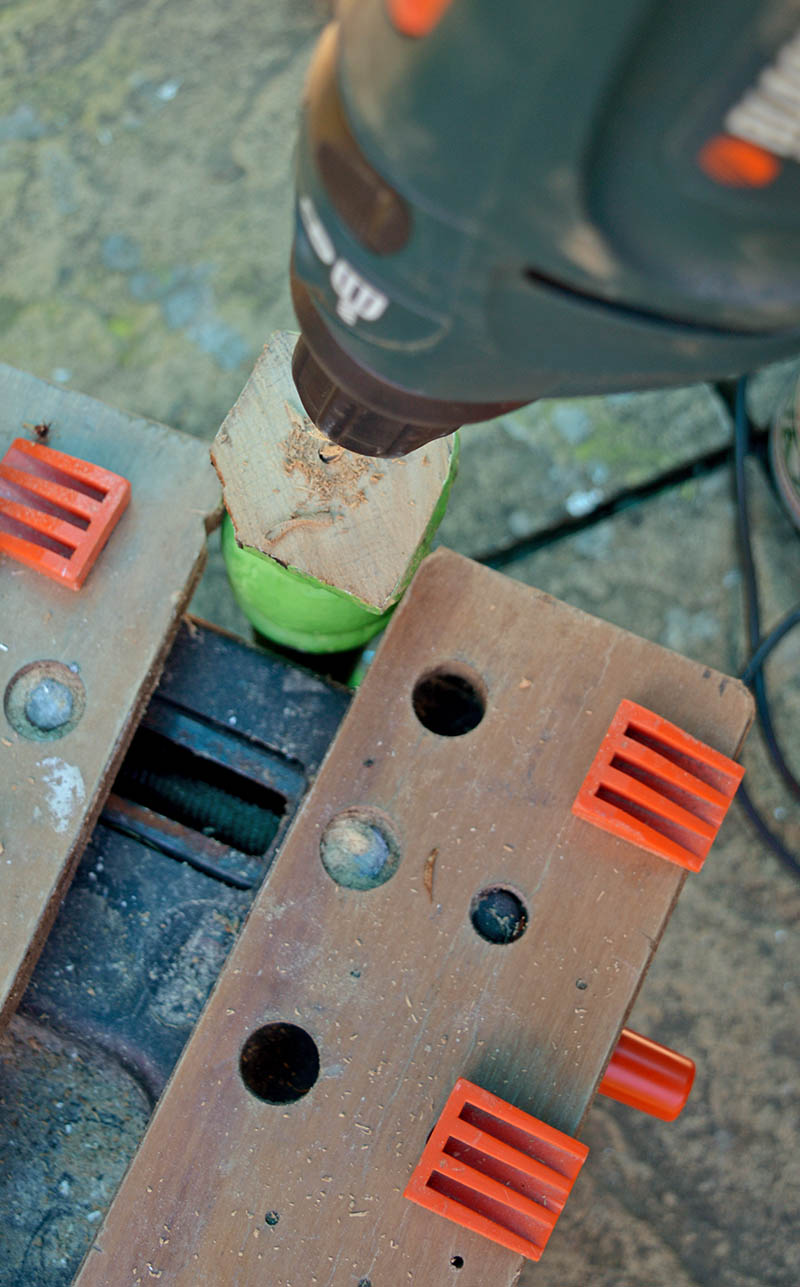
Step 5: Then, drill four holes through the top of the bench, one in each corner. Then with the very long screw the scaffolding board to the legs of the upcycled chair.
Top tip: If you want to tidy up the scaffolding board furniture you can use screw caps to hide the screw heads.
If you are using hairpin legs these can then be simply attached to the underside of the bench. Hairpin legs come with their own mounting plate so are easy to fix (see this DIY footstool for an example).
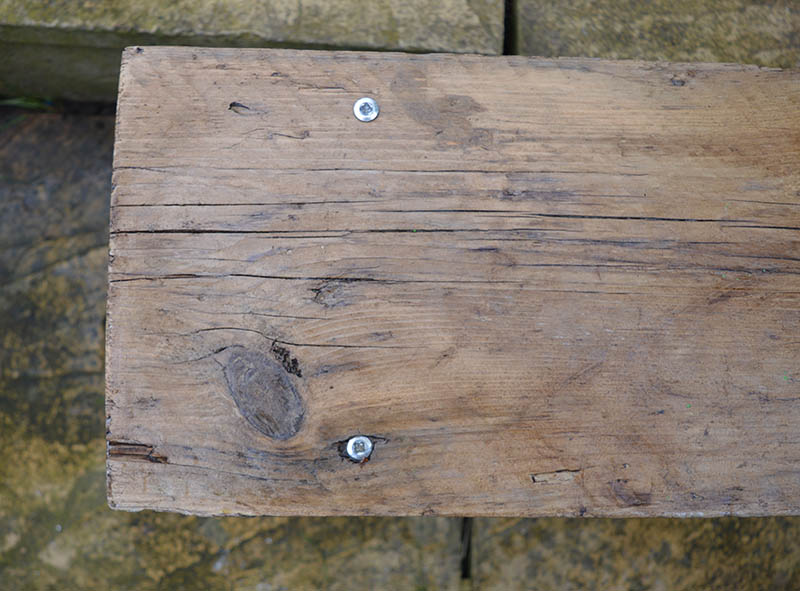
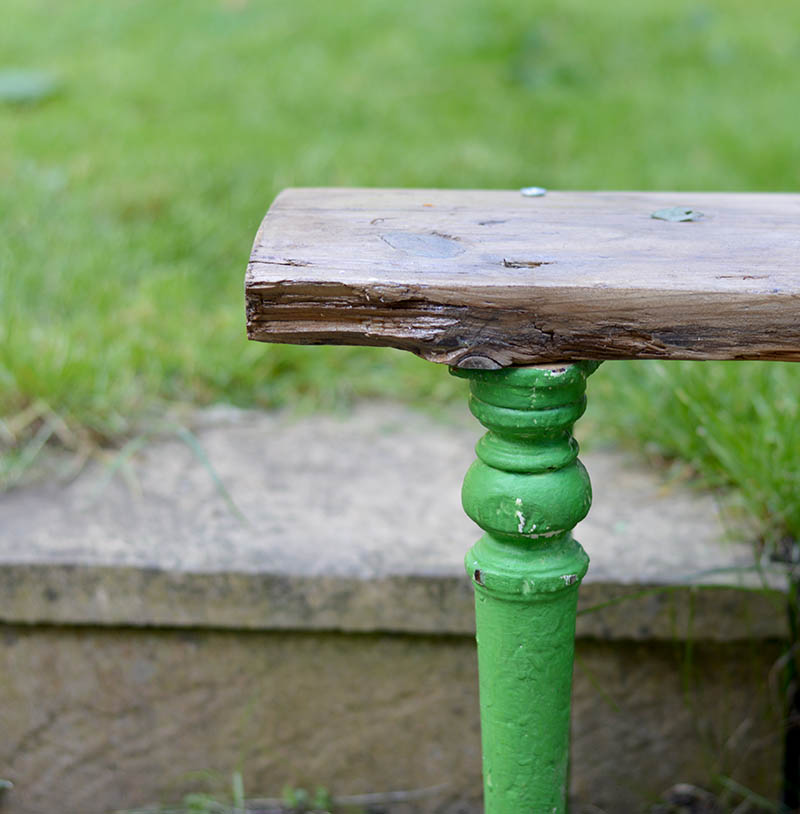
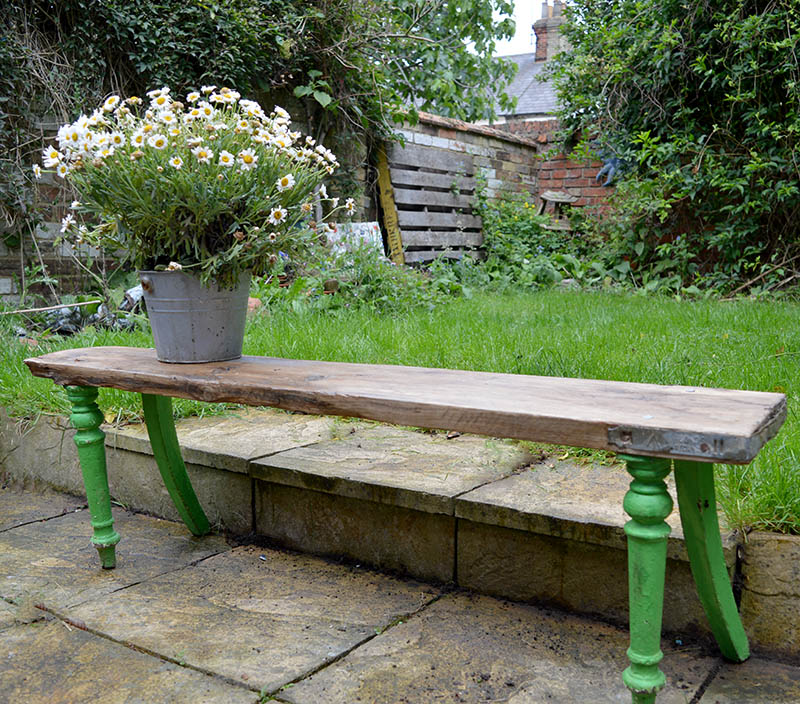
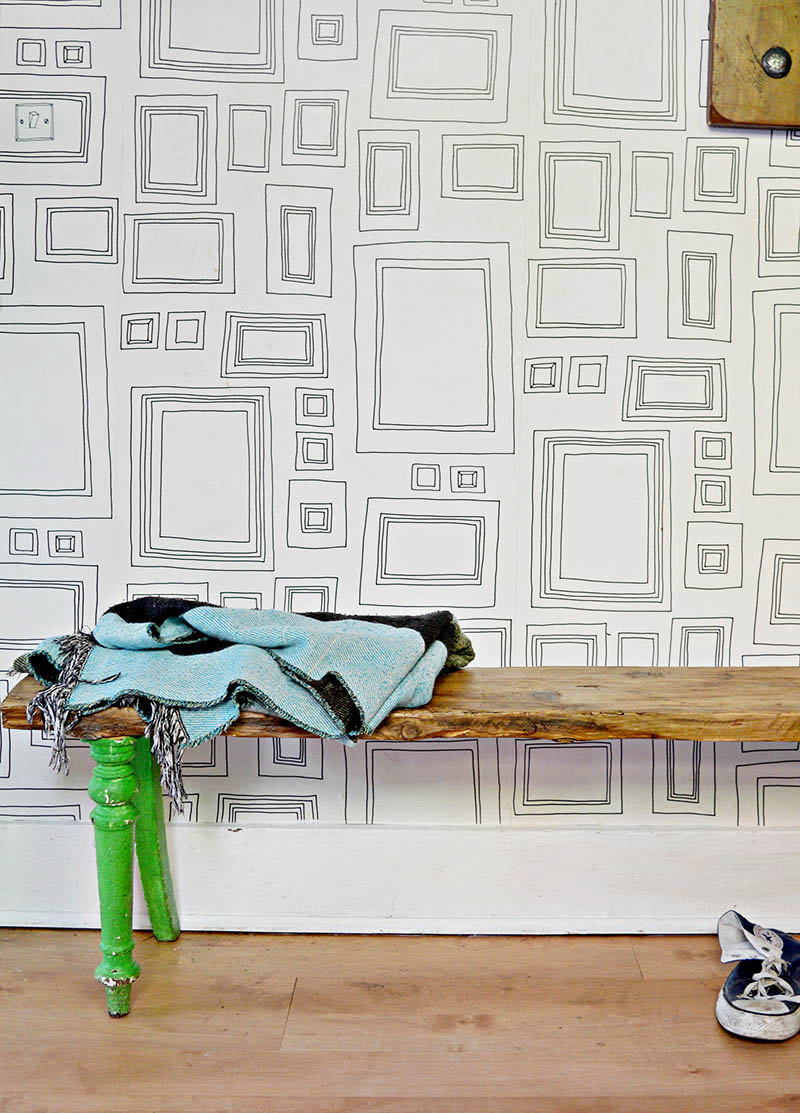
I told you it was easy. I liked the chippy green paint on my chair legs so kept them as they were. The fact that you can tell the legs are from an old chair also appeals to me it gives the bench a unique look. I also love the look of reclaimed wood.
Other Uses For Scaffolding Boards
These tough builders timber can be used for other projects besides DIY scaffolding board furniture. I like to use them for shelving in my home.
Because the boards are really strong and sturdy they make great shelves especially for storage as they can take a great weight. That is as long as they are fixed properly. I have some shelves in an alcove above my desk and I use wooden battens in the wall to hold them up.
One scaffold board on its own can be used to make a rather cool and unique chair.
Scaffolding boards can be used in the garden for several projects, from making raised flower beds, pergolas and decking.
If you like making things with reclaimed wood and old pallets you should check out these upcycles.
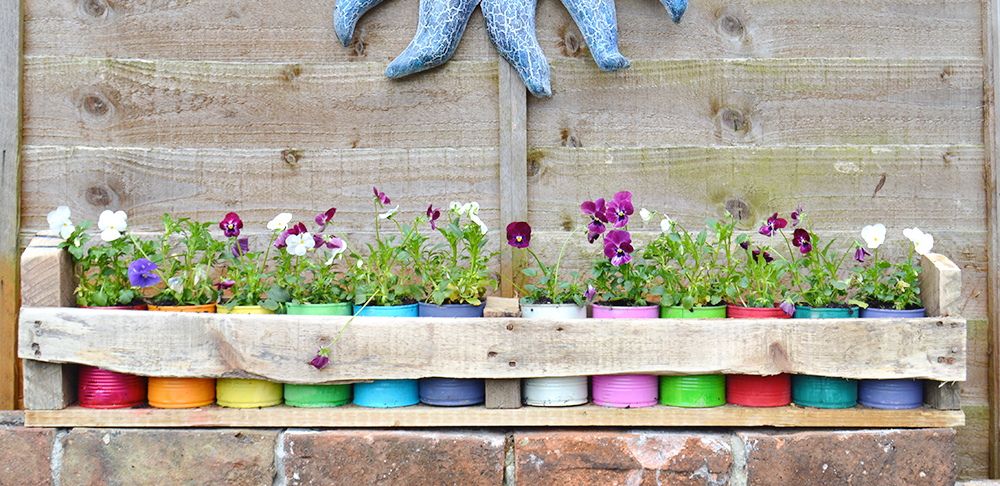
Colourful tin can planter & pallet holder
How to Make an Upcycled Window herb planter
DIY nightstand from an old wine box
DIY scaffolding board furniture featured in the A to Z of clever upcycling ideas.
Such a great upcycle. Added to my Pinterest queue. Thanks for sharing at the To Grandmas House We Go link party.
Thank you so much and thanks for the share.
Such a fun bench--pinned! Thanks for sharing @Vintage Charm, Claire!
Thank you and thanks for the share.
Claire, I'm kind of obsessed with benches in general. This one has me all googly eyed!! What vision you have. Great work. Such a cool unique piece!
Thank you, Janice. I think I will develop a thing about benches now they are fun to make and so handy.
Love the way the wood glows with character after it has been sanded and stained. And those quirky legs! Great eye! Thanks for sharing your finds and projects with us at Creatively Crafty #ccbg 🙂
Thank you, the reclaimed wood has come up good.
Such a cool make out of practically nothing. I love the green legs too. They give it a really quirky touch.
Thanks Julie, I always like a bit of quirkiness.
Hi Claire, I just popped by again to let you know your super de dooper bench is one of our features at Handmade Monday this week. 🙂
Thank you so much Julie, that is awesome!
I love the whole quirky look of your bench Claire. It turned out beautifully
Thank you, Michelle.
I love the green color of the legs. It does make such a unique, lovely, bench. Thanks for sharing on the #WasteLessWednesday blog hop.
Thank you so much.
Love the green, with the old wood it's gorgeous for a garden bench.
Thank you so much Leanna!
What a great idea! I love it! the color is perfect too!
Thank you so much! I like the leg colour too.
Just LOVE this Claire! You're so clever and creative! Those green legs are so cool!!
Thank you Sam! I know I just love those green legs that's why I left them as they were!
This is utterly fantastic, that board is so beautiful...so much character. And combined with those chair legs...perfection. Enjoy it...both inside and out.
Hugs Lynn
Thank you Lynn. I'm on the look out for more scaffolding boards.
I love the bench. But I do have a thing for using old chairs in different ways. I have a board very similar so I may need to give it a try. It sure looks great.
Thank you Debra. That board was a good find!
The legs on this piece are so unique! I love this Claire and hope you keep taking a peep into those skips! Thank you for sharing with us this week at Celebrate Your Story, and I hope your week is going great.
Thank you, don't worry I will keep peeking in the skips. In fact last night I picked some more wood out of a skip on my way home from the pub.
I absolutely love this! I want it! And it's probably a good thing we aren't neighbors; we could get into a lot of recycling trouble!
Thank you Wendy! I'm lucky in that I have a junk shop at the end of my street and an auction house a couple of streets away. Also as the houses are old in my neighbourhood there are plenty of restorations going on so lots of skips (dumpsters). So lots of recycling opportunities!
Super cool, Claire! Love the gree paint color and the combo with the bench wood. Visiting from Grandma's House party.
Thank you, Victoria. I liked the green legs that's why I left them as they were.
I am worried about the strength and stability of the legs when used as a sit on bench. With only one screw holding them in place will it get wobbly soon?
It's holding up well so far. I did use big long screws. You could always use 2 screws.