
How To Make A Minifigure Lego Picture Frame
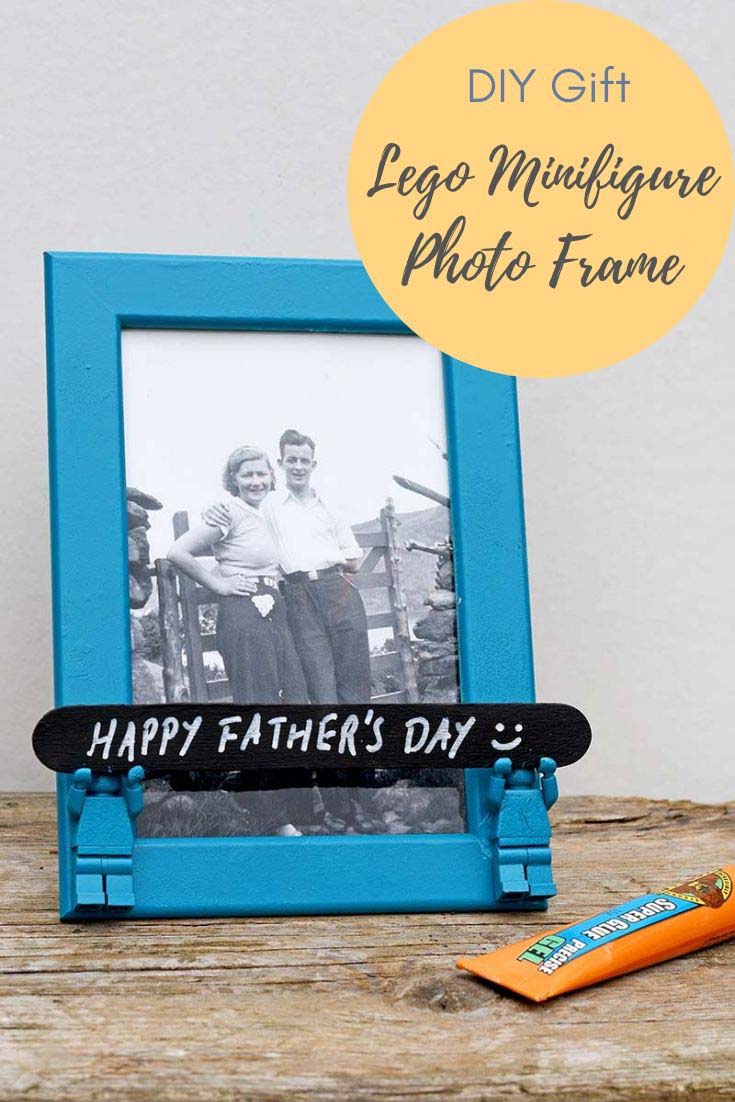
Inside: A tutorial to make an upcycled Lego picture frame with Lego Minifigures the perfect Father's Day gift.
My kids (and husband) all played with Legos. We had tons of the stuff, Star Wars, Batman, Harry Potter and Indiana Jones collections, to name a few.
Even though the Lego has long gone (except for the odd Architecture set), a few Lego Minifigures are still lying around. That's where I got the idea for this Lego Minifigure frame.
One of the wonderful things about Lego Minifigures is that their hands can grip things. I've used the Lego Minifigures to make push pins to hold the LED wire into a cool wall decoration for my son's room.
DIY Leg Picture Frame
I thought I would utilize this unique feature by making a fun changeable Minifigure DIY Lego picture frame.
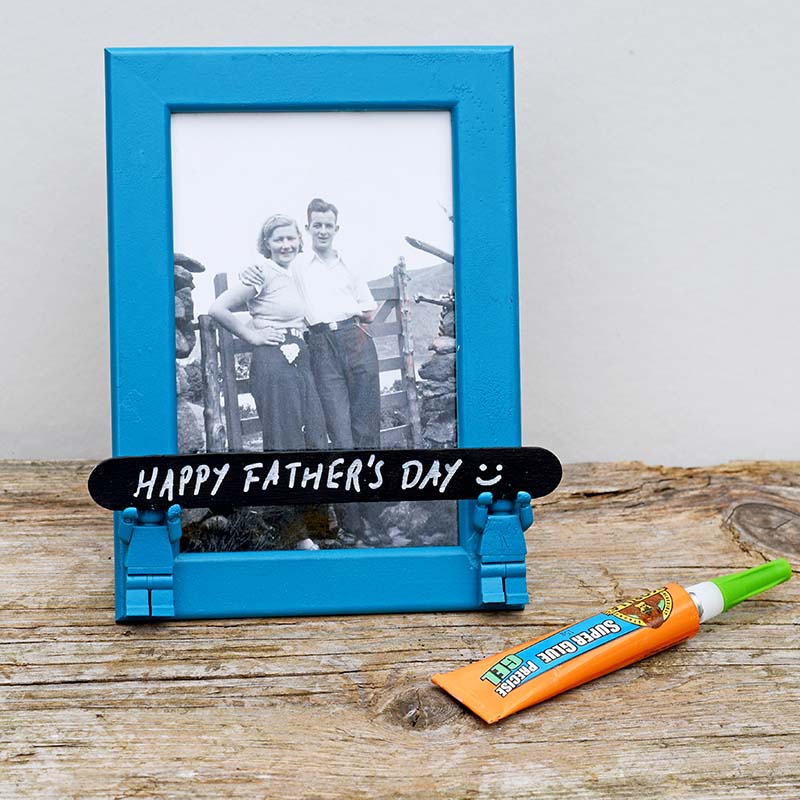
The idea is that the Lego Minifigures hold up a chalkboard sign in front of a photo. The writing on the sign can then easily be changed depending on the occasion. From Father's Day to Mother's Day or just Birthdays.
As the mini signs are easily altered, you could make fun captions for the Lego picture frames.
These fun Lego photo frames will make a lovely gift, especially for Father's Day. My husband would be thrilled to receive one, especially if I put a special family photo.
We're a participant in the Amazon Services LLC Associates Program, an affiliate advertising program designed to provide a means for us to earn fees by linking to Amazon.com and affiliated sites. As an Amazon Associate, I earn from qualifying purchases.
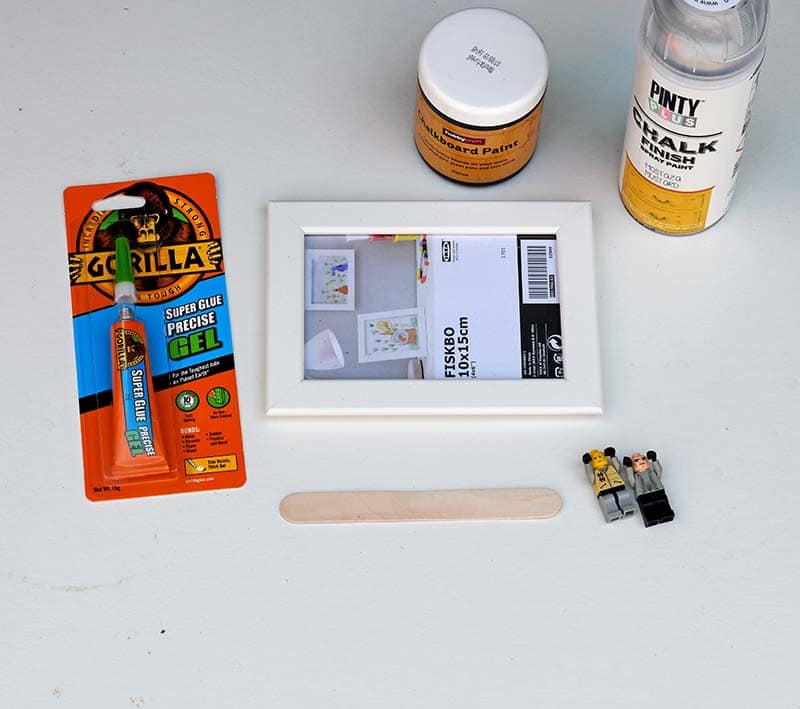
What You Need To Make A Leg Minifigure Frame
- A small photo frame. IKEA Fiskbo 10 x 15 cm frames are perfect for this and very cheap. A similarly sized frame from a charity shop would work just as well. The colour of the frame doesn't matter as they will be spray painted to match the Lego Minifigures.
- Jumbo wooden craft (lollypop) sticks
- Blackboard paint
- Chalk Marker
- Spray paint in any colour you prefer
- Gorilla Glue Superglue Precise Gel
- Two Lego Minifigures
How To Make The Lego Photo Frame
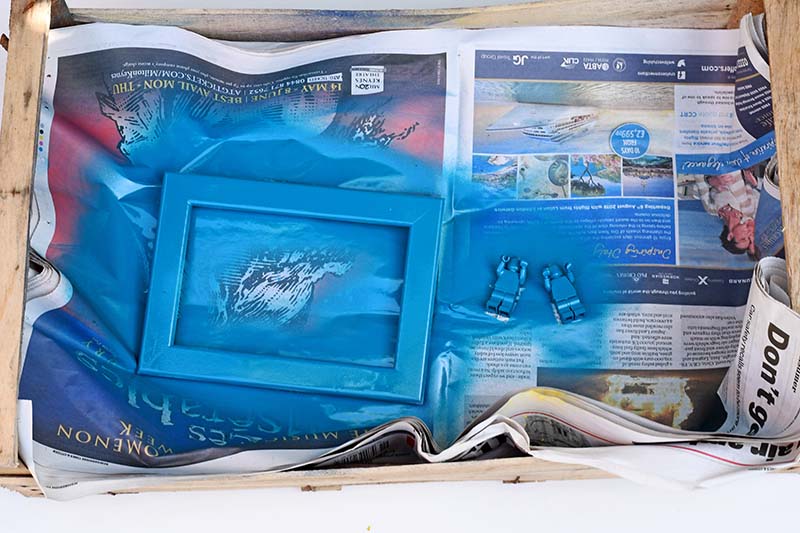
Step 1: First, remove the glass and backing of the photo frame. Then spray the frame and Lego Minifigures in any colour you like. I sprayed my Lego Minifigures and the frames the same colour.
If the frame is a gift for someone, it might be an idea to choose their favourite colour or one that will fit their decor. It is best to spray paint outside or in a well-ventilated room.
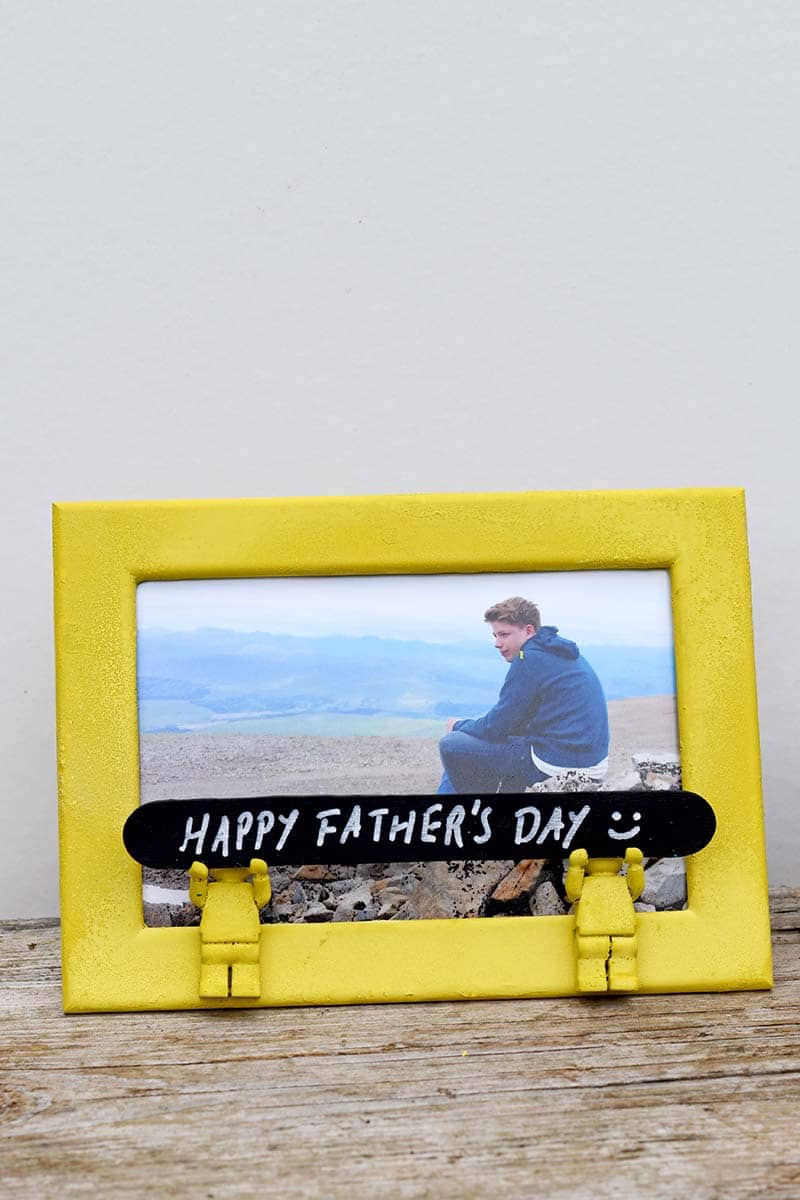
Step 2: Once the paint on the frame and the Lego have dried, decide whether you want the finished Lego Minifigure frame in portrait or landscape mode. This will, of course, depend on what photo you intend to use.
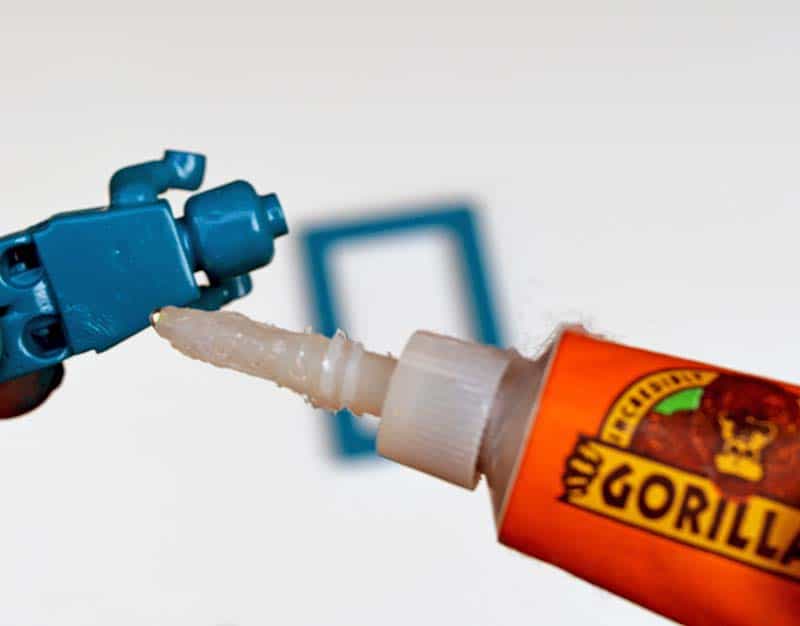
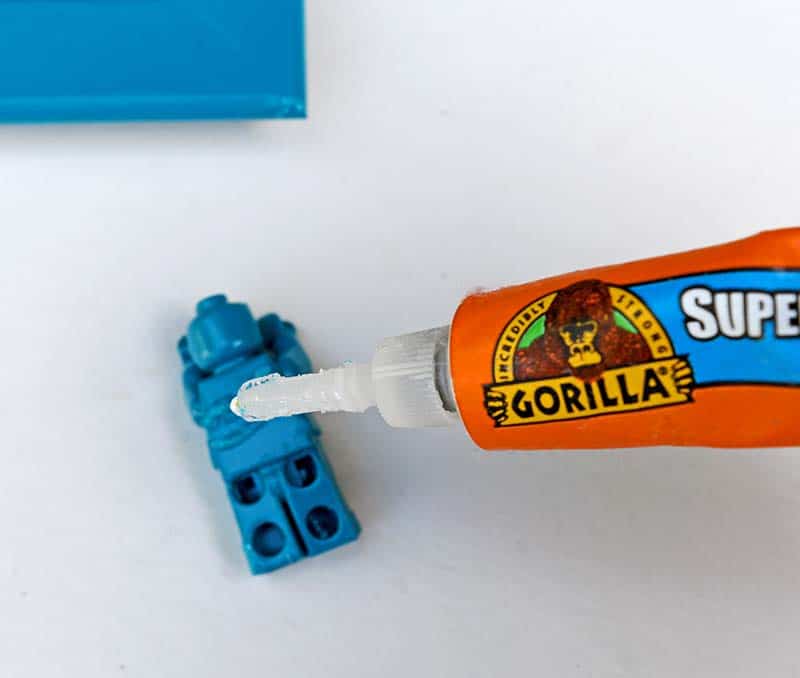
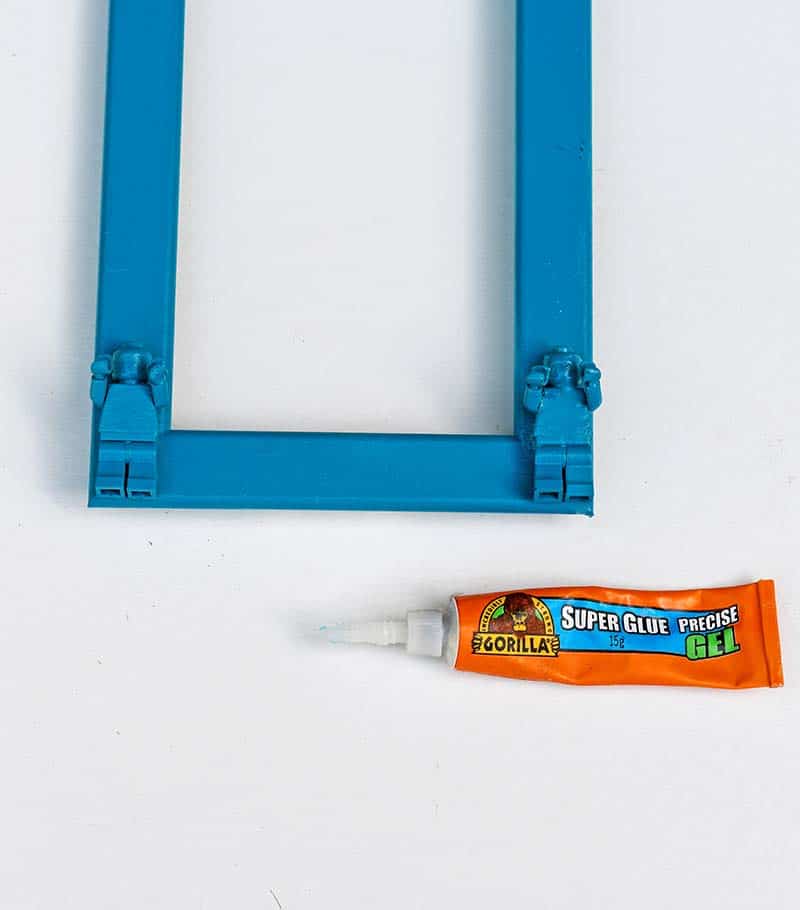
Next, glue two Lego Minifigures to the front of the frame at the bottom using Super Glue Precise Gel. Prepare the glue by puncture sealing the tube of glue with the white nozzle. Then apply a small amount of the glue to the back of one of the Lego Minifigures. Then press the figure firmly to the photo frame. Hold in place for about 10-45 seconds.
Repeat with the other Lego Minifigure. Stick this second Lego Minifigure approximately 11cm away from the first Lego figure.
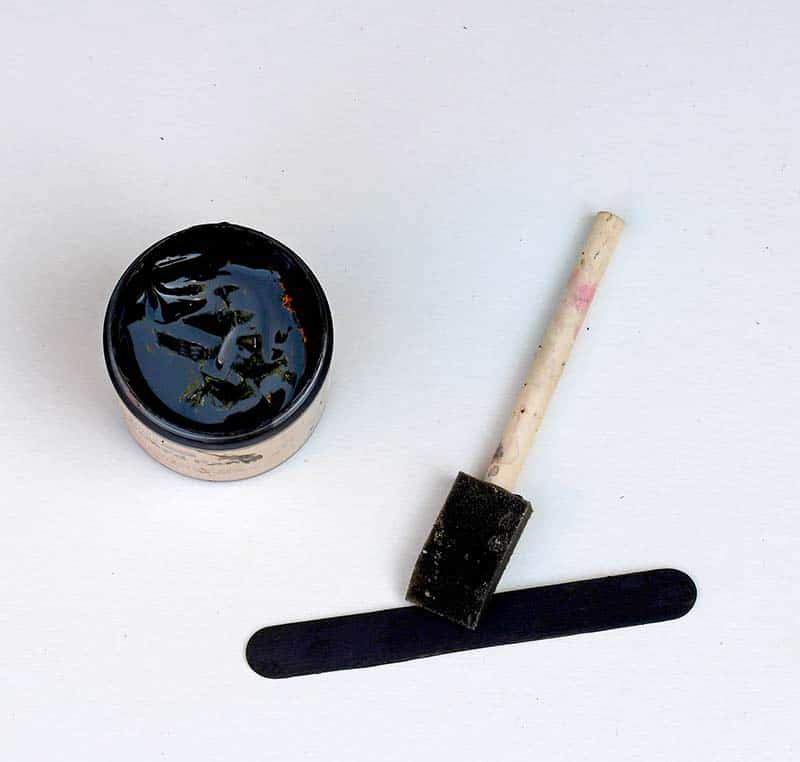
Step 3: Next, paint the jumbo craft stick with blackboard paint. Paint both sides of the wooden sticks.
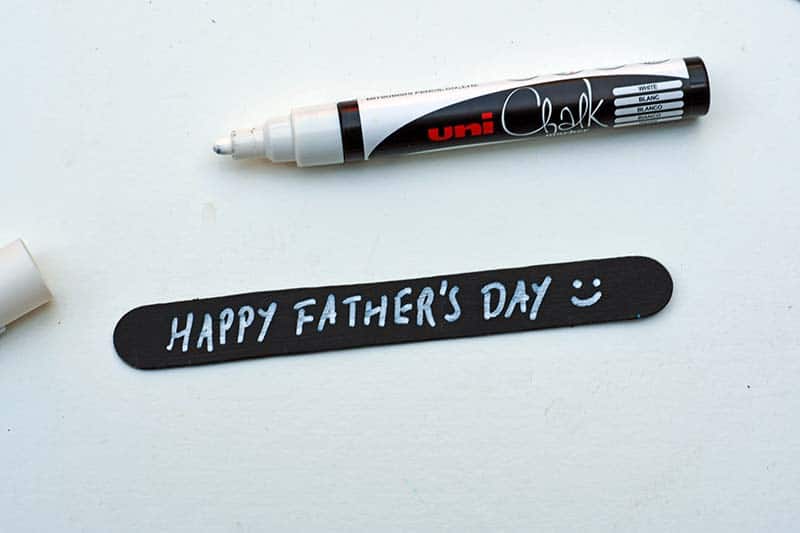
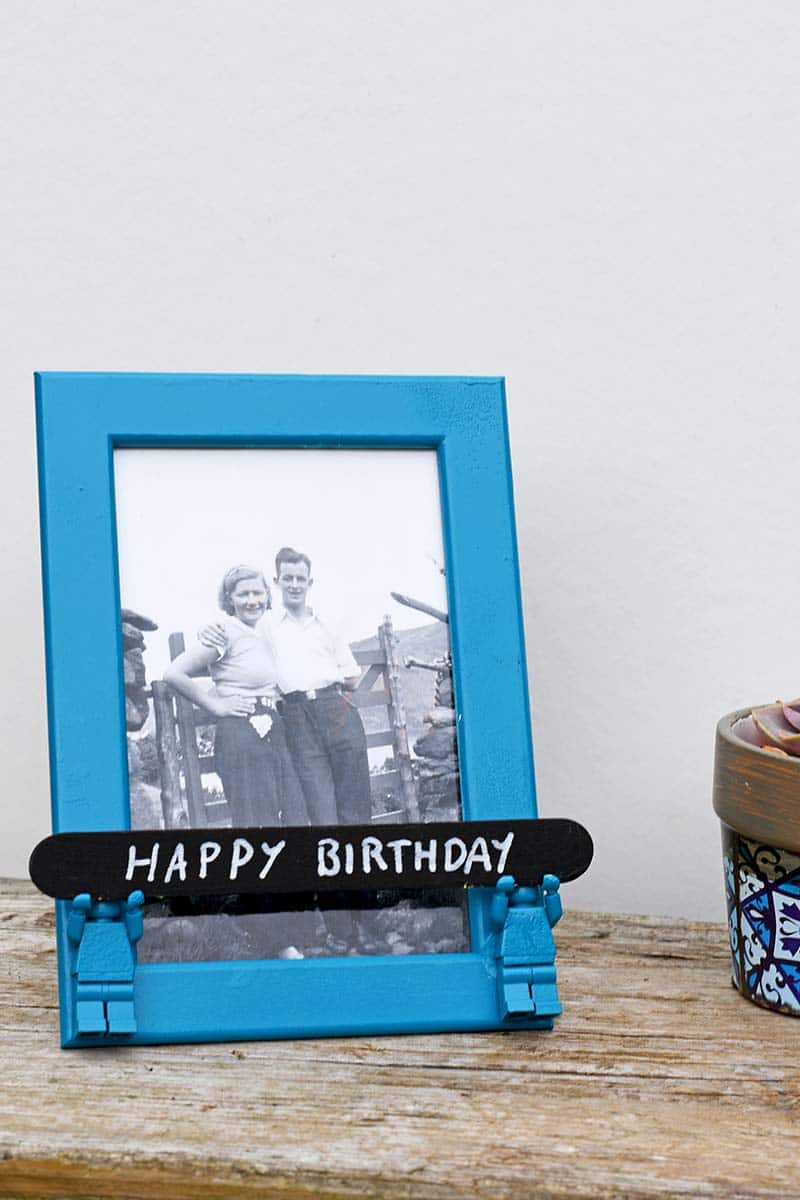
Step 4: Write on the jumbo sticks using a chalk marker once the chalkboard paint has dried. I wrote "Happy Father's Day" on one side and "Happy Birthday" on the other.
Step 5: To finish off, put the photo inside the Lego Minifigure frame and place the chalkboard sign in the Lego figure's hands.
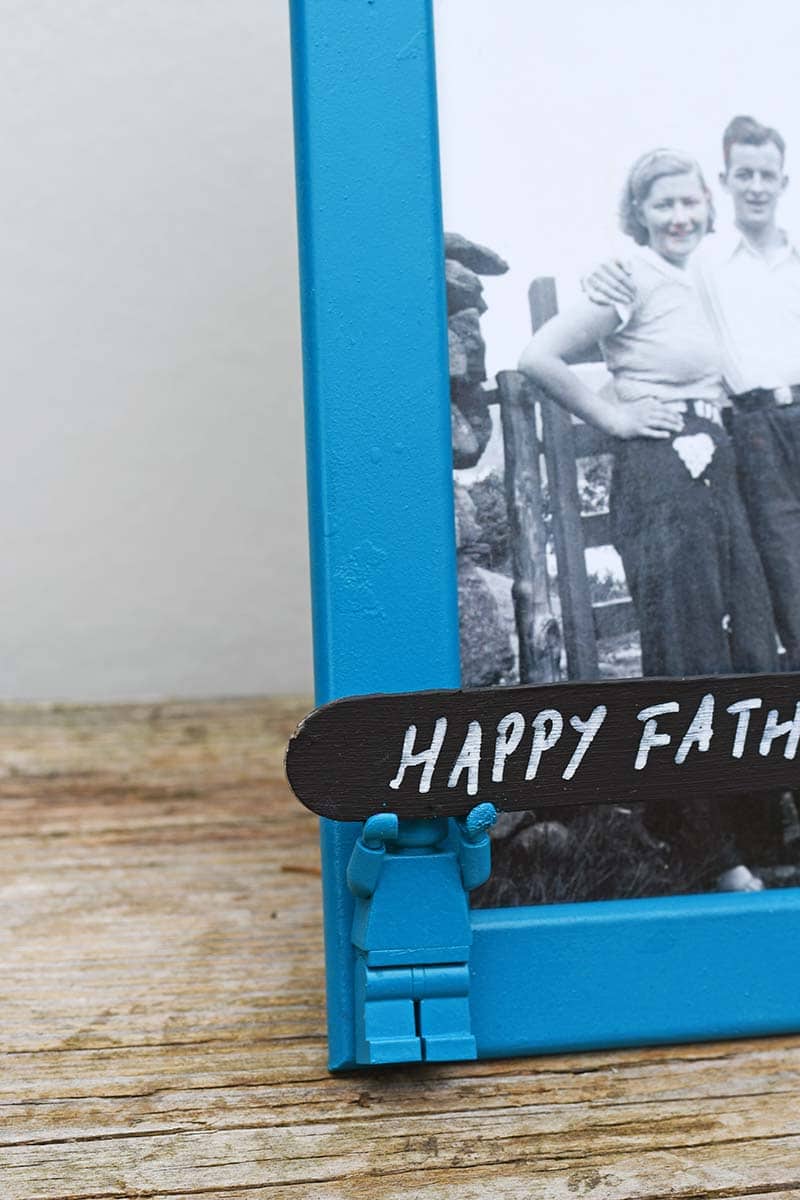
You can turn the chalkboard stick sign over when you feel like a change or simply write another one.
Other Craft Ideas To Check Out
You can use many other things to make a DIY picture frame, including a shoebox lid to make an upcycled picture frame.
Another good thing to make with leftover toy figures is a fun Christmas cloche. There is also a Lego pen pot idea here.
If you liked this craft, don't forget to check out these handmade gifts for men too.
For more DIY Father's Day ideas, visit allfreeholidaycrafts.com



I love that photo of Mormor and Morfar!
It is a lovely photo.
You are so imaginative, Claire! This would have never crossed my mind! Thanks for sharing at Tuesday Turn About!
Thank you so much Julie.
Such a cute project! Although I don't think my son or husband would ever let me paint the minifigures- LOL! Would love for you to share at our new link up; Handmade & Otherwise. http://petalspiesandotherwise.com/handmade-otherwise-link-up-week-2/
Thank you. I had to make sure the mini figures weren't special ones before painting them.
Thanks so much for linking up at the #WednesdayAIMLinkParty 38! Shared ♥
Thank you.
Brilliant Claire! thanks so much for sharing on craft schooling Sunday!
Thank you so much and thanks for hosting.
Very cool!
Our youngest was SO into lego, he loved the Star Wars and Indiana Jones stuff particularly too. He used them to act out the films as he watched them - it was very cute!
He's now 20 and has refused to part with any of it! He says it's all too precious and will be passed to his kids one day! It does come in handy if anyone comes round to visit with their children though.
I don't know if he could be persuaded to donate any to a craft project, maybe some of the power ranger ones......
Thank you, Julie. Yes, my kids loved lego too. I did make sure that I used generic lego mini figures and none of the special characters from the themed set.
Awe what a fun upcycle, and soooo cute! I will have to remember that when I run across the grandkids legos. They have so many they would never miss them. LOL
Thank you. I'm sure you could sneak a few mini-figures just make sure they aren't the collectable ones!
Now I wish I didn't give all my son's lego stuff to charity. This is such a cute idea Claire and I know a whole bunch of guys who would love a frame like this
Thank you. I still have a few of the Minifigures lying around in the kitchen drawer which are handy for the odd craft project.