
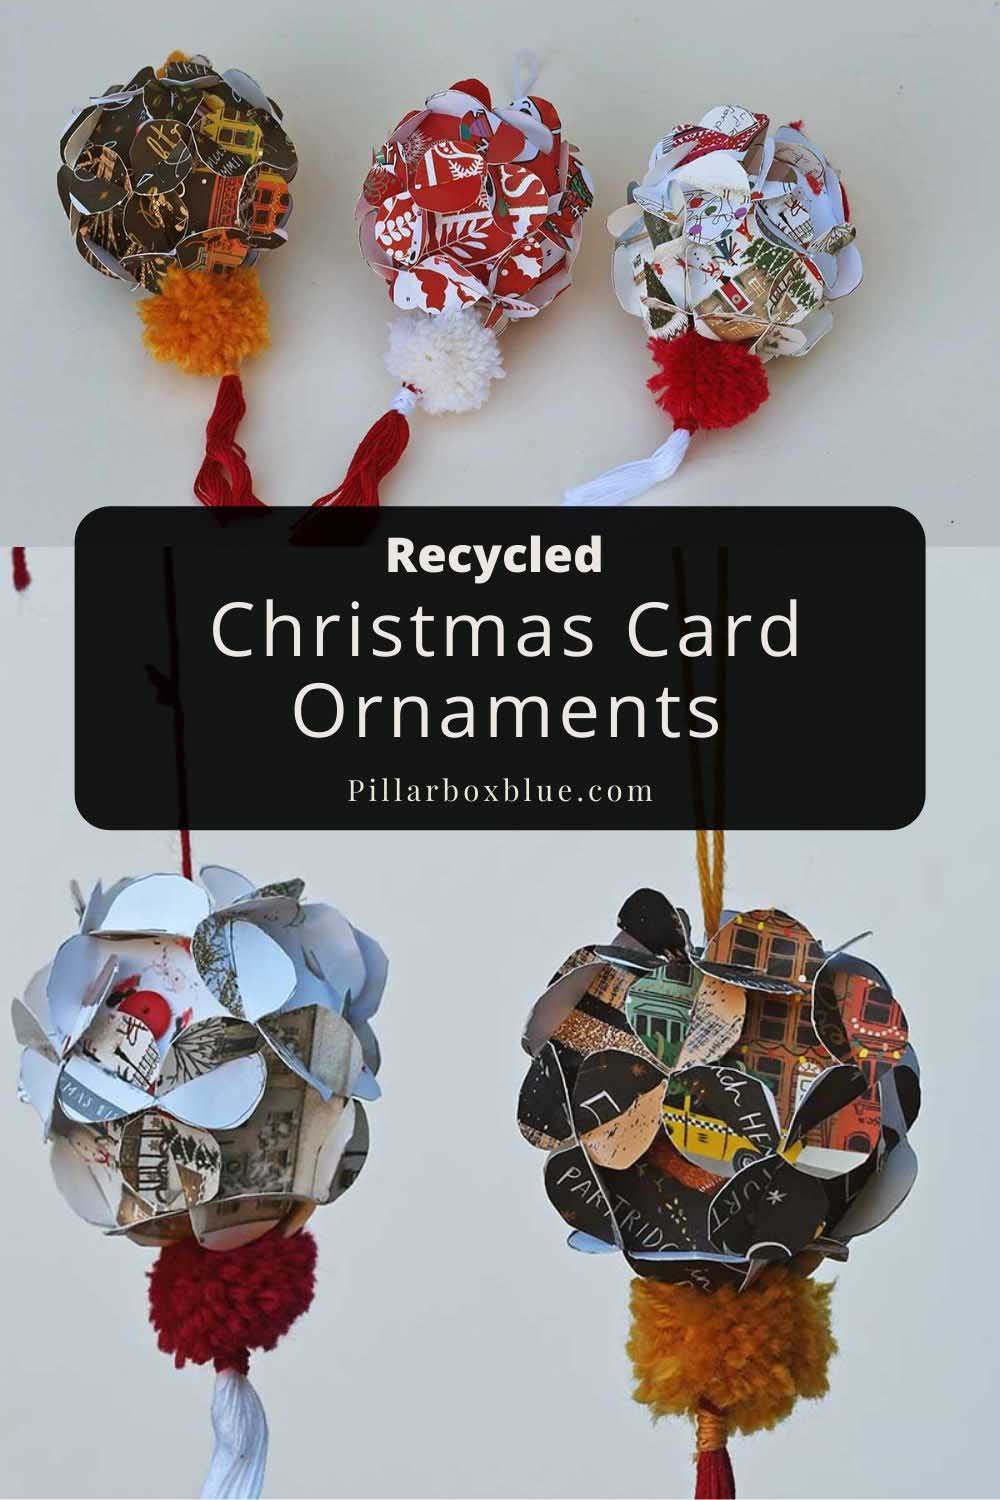
How To Make A Recycled Christmas Card Ornament
Recycling last year's Christmas cards into ornaments and decorations is not new. My Grandmother used to keep them and repurpose them as gift tags for the following year. I've used them to style a vintage printer tray for Christmas and to make tin can ornaments for the tree.
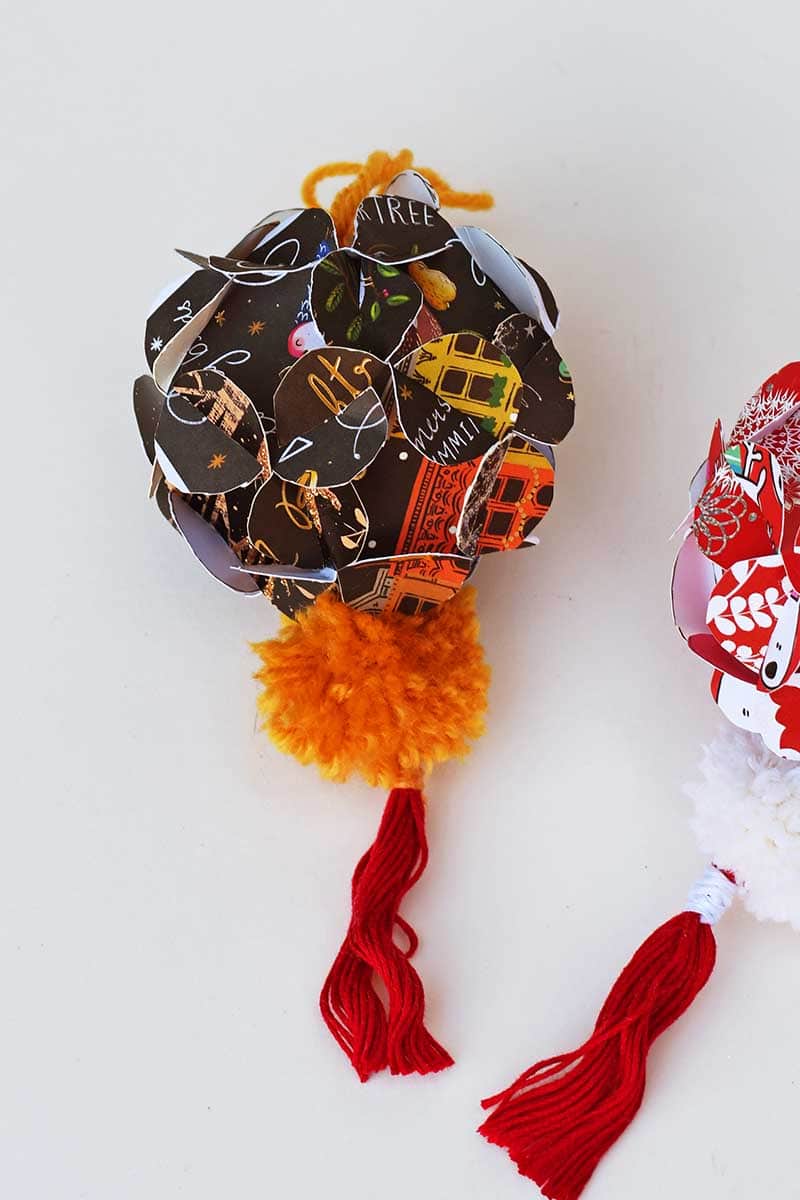
This time I've upcycled old Christmas cards into 3D ball Christmas ornaments. I love to make my own upcycled Christmas ornaments, and these cute recycled Christmas cards fit that brief perfectly.
Constructing these 3D Christmas card balls is like putting together a little puzzle. They remind me of those designer Danish puzzle lampshades that you get flat-packed and have to construct into a 3D shade. However, these ornaments are much easier to construct than those lampshades.
I got the idea for these Christmas ornaments by adapting this 3D paper ball tutorial.
We're a participant in the Amazon Services LLC Associates Program, an affiliate advertising program designed to provide a means for us to earn fees by linking to Amazon.com and affiliated sites. As an Amazon Associate, I earn from qualifying purchases.
What You Need To Make A 3D Christmas Card Ornament
The balls are simple to make. They practically cost nothing too. The only cost is for the embroidery thread to make the optional tassels for the ornaments.
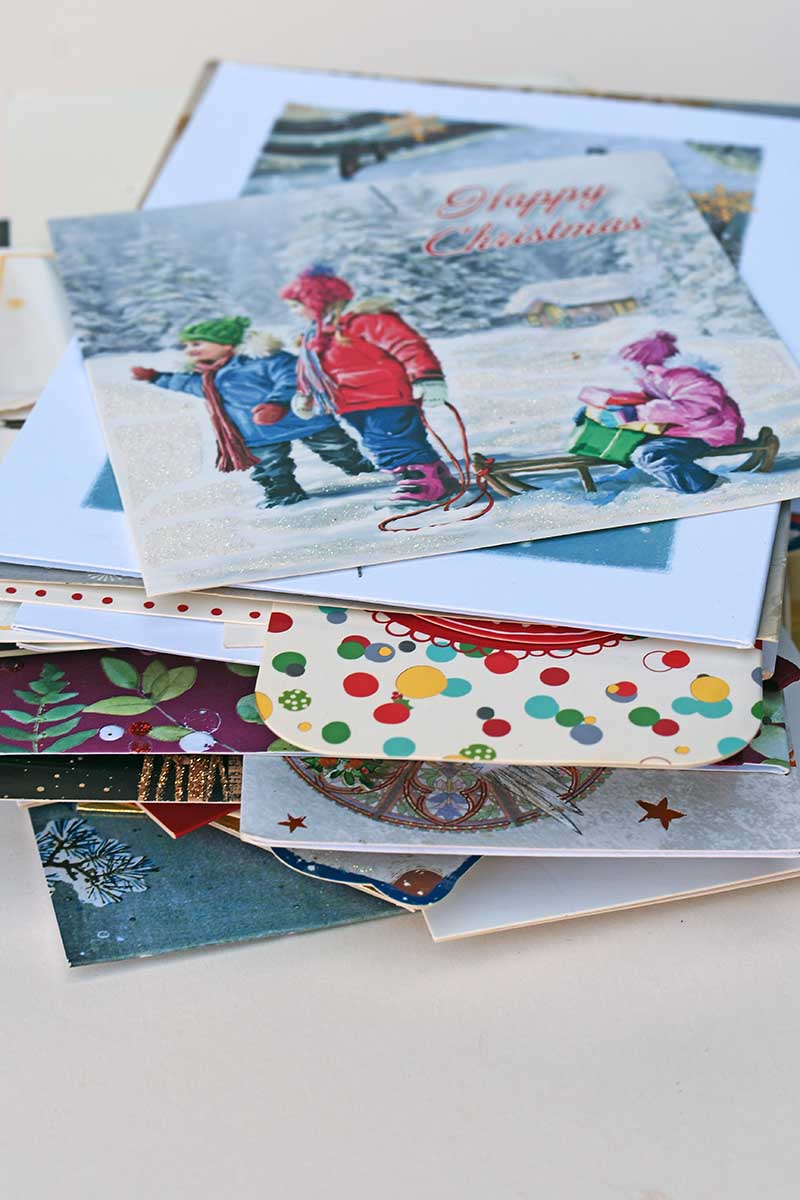
- Old Christmas cards - I keep mine from year to year for crafting. Friends and relatives also pass me on their old cards, as they know I will use them well.
- A pen and a pair of scissors
- Scrap wool for the pompom
- Embroidery thread for the tassels
How To Make A Christmas Card Ball
Step 1: Download and print out the basic stencil shape for the 3D ball. For these 3D ball ornaments, I used a small stencil. This made an ornament about 7-8cm (3") in diameter.
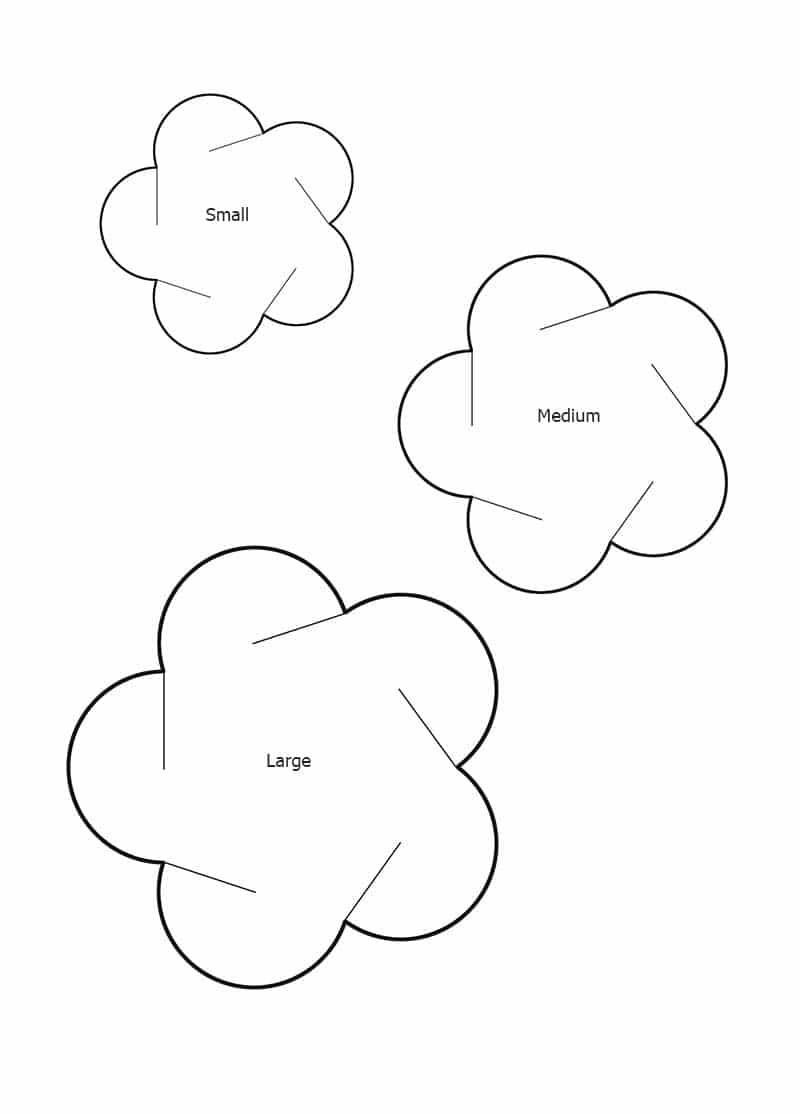
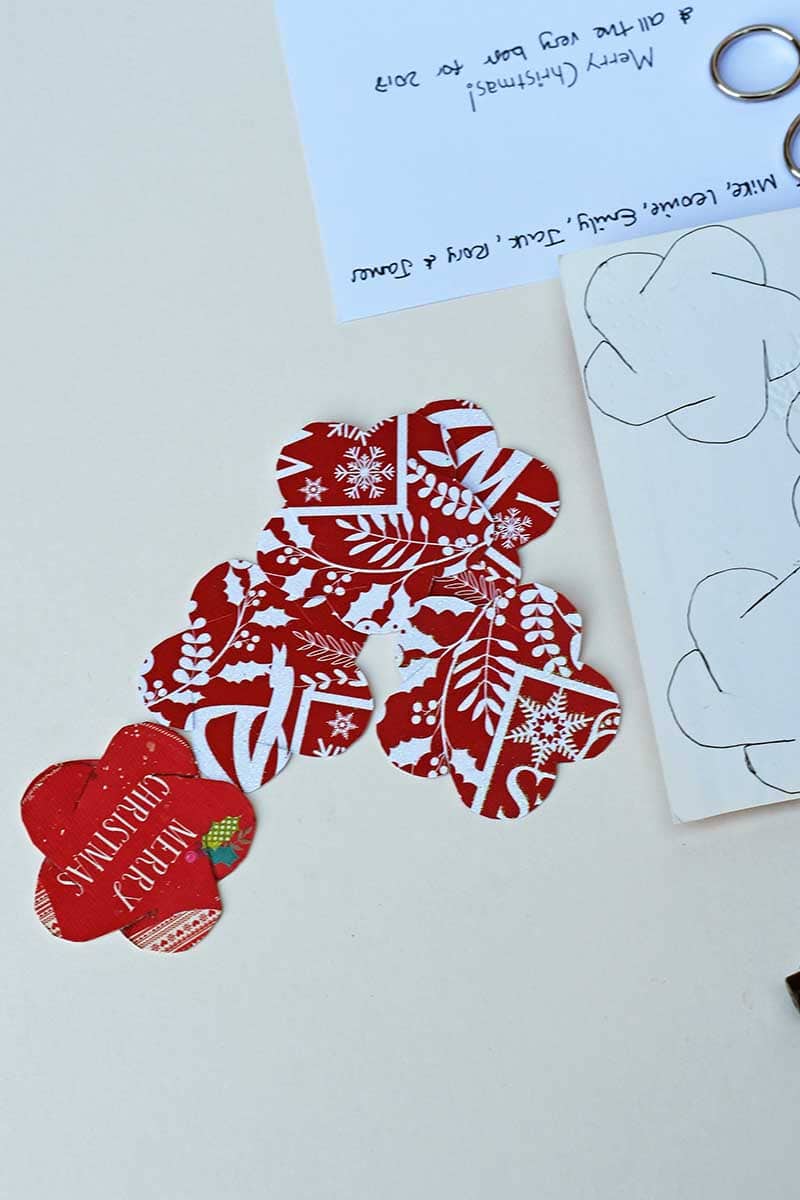
Step 2: Cut out the flower stencil shape you will use. Ensure you cut the slit marks inside the flower shape wide enough to fit a pen. Also, ensure the slits are cut to just over halfway across the petal.
Step 3: Sort the Christmas cards into roughly the same colour piles. This is optional, but I think it makes the ball ornaments look better if all the bits of card used to make them are of a similar colour.
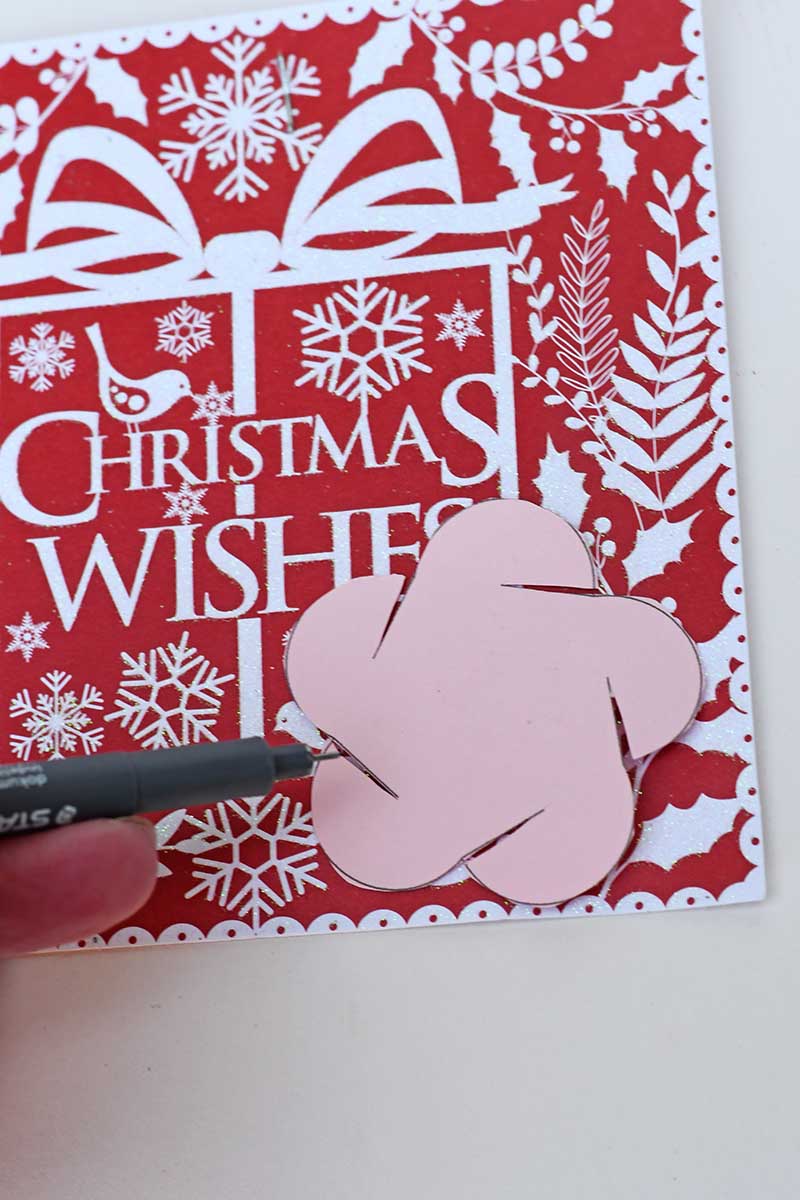
Place the flower stencil shape on the Christmas card and draw around it. You can draw around the front of the Christmas card to ensure you cover a particular image. Or draw the shapes on the back of the card.
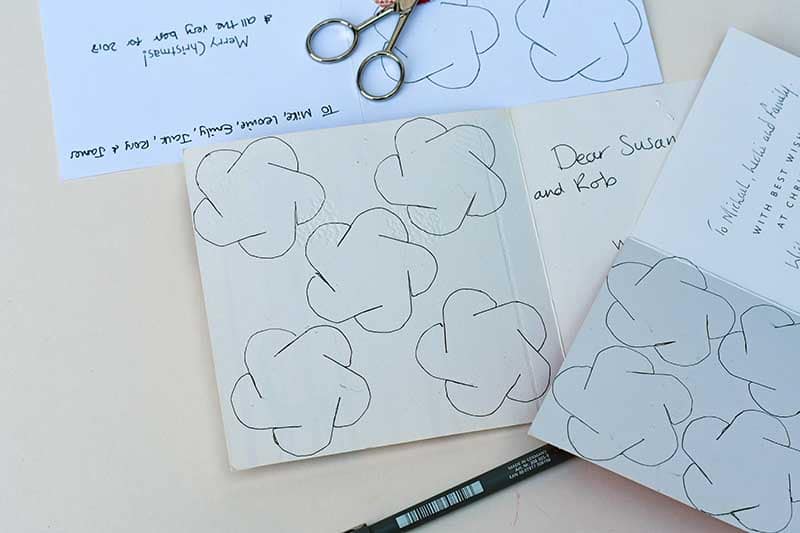
Step 4: Depending on the size of the Christmas card, you should be able to get four or five stencil shapes on each card. You will need 12 flower-shaped stencils for each recycled Christmas card ornament.
Top Tip: Make sure the stencil is the same for each shape; otherwise, the flowers won't slot together correctly.
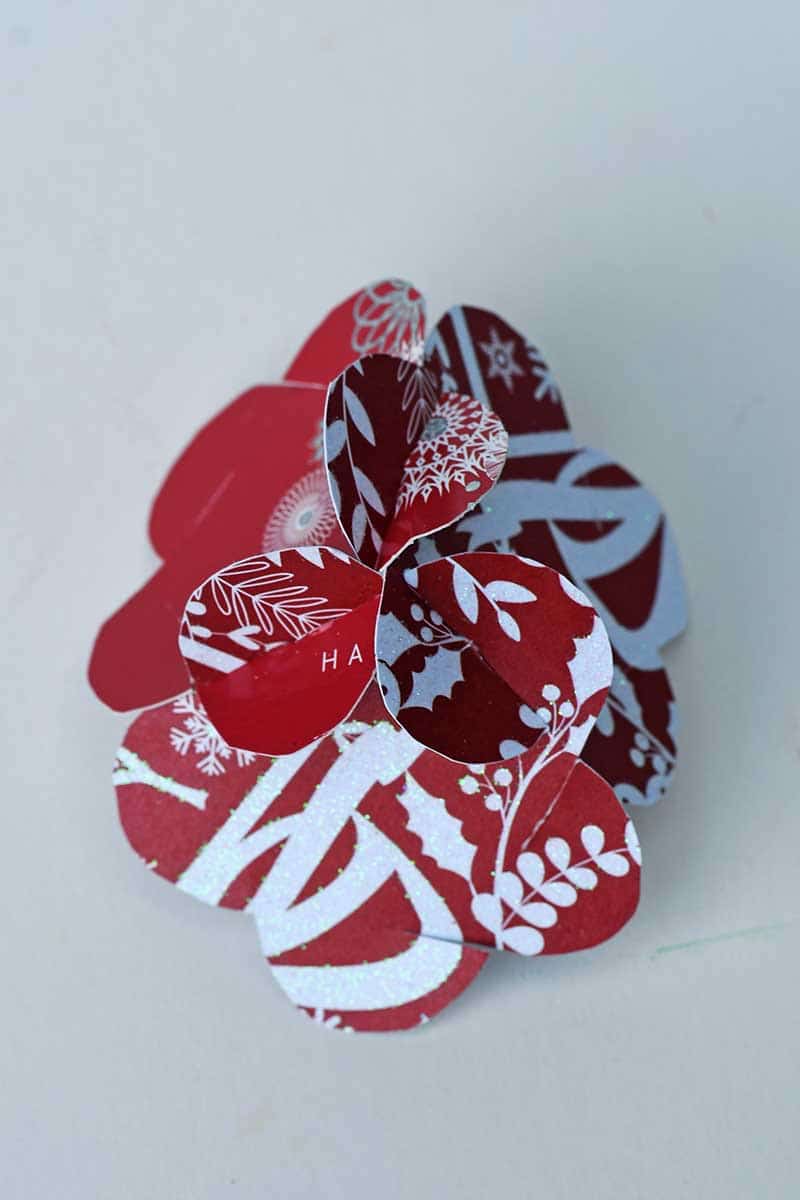
Step 5: Once all the flower stencil pieces have been cut out, it is time to construct the 3D ball. Start by slotting two pieces together along the slits.

Step 6: Slot in another stencil; this time, you will slot the petals in two places.
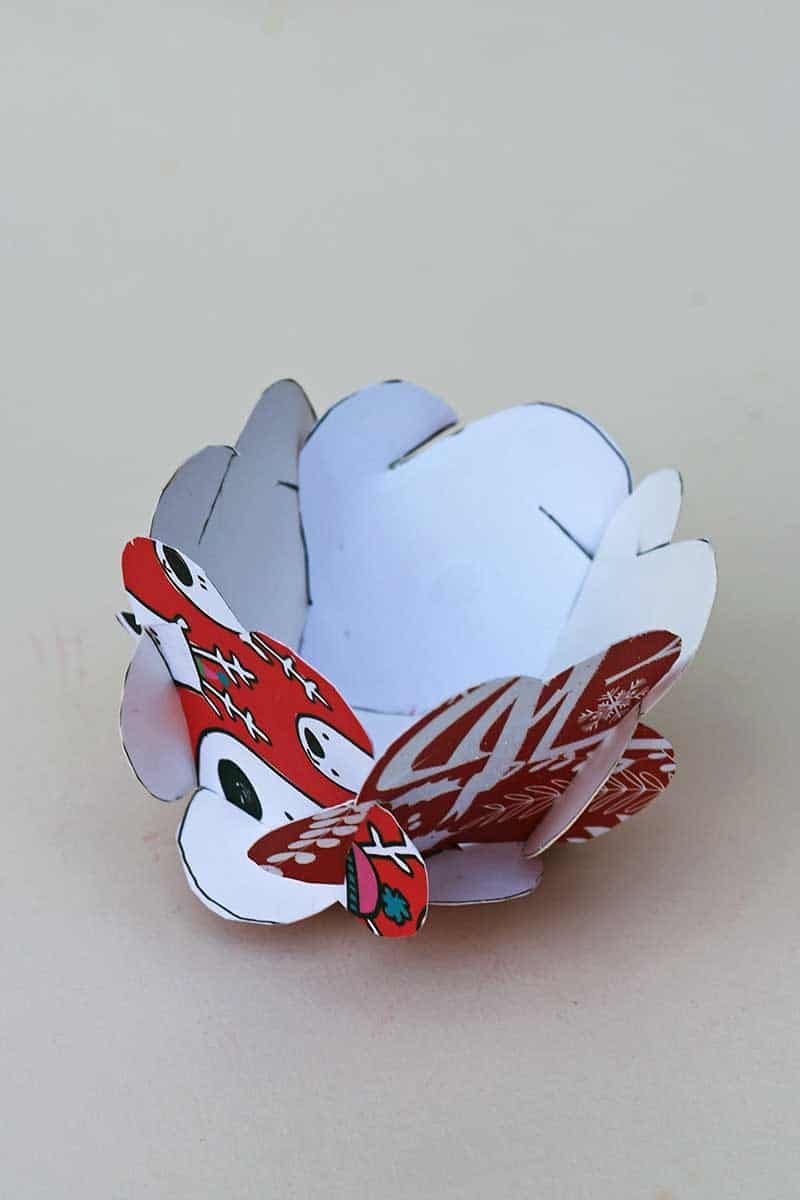
Step 7: Carry on slotting in the flower petals one by one. After 6, you will have a cup shape. As you add more and more shapes, it gets a bit fiddly. But as you can bend the cardboard, this helps. After a bit of practice, you will get the hang of it.
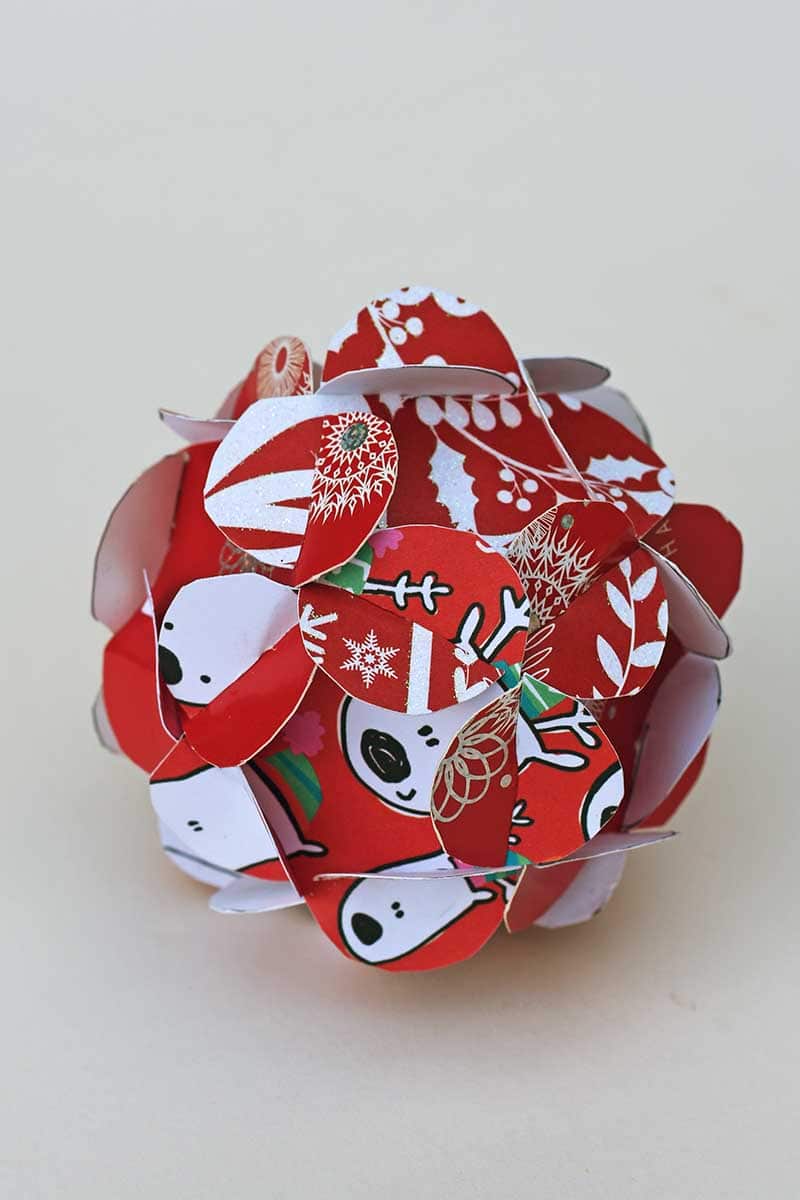
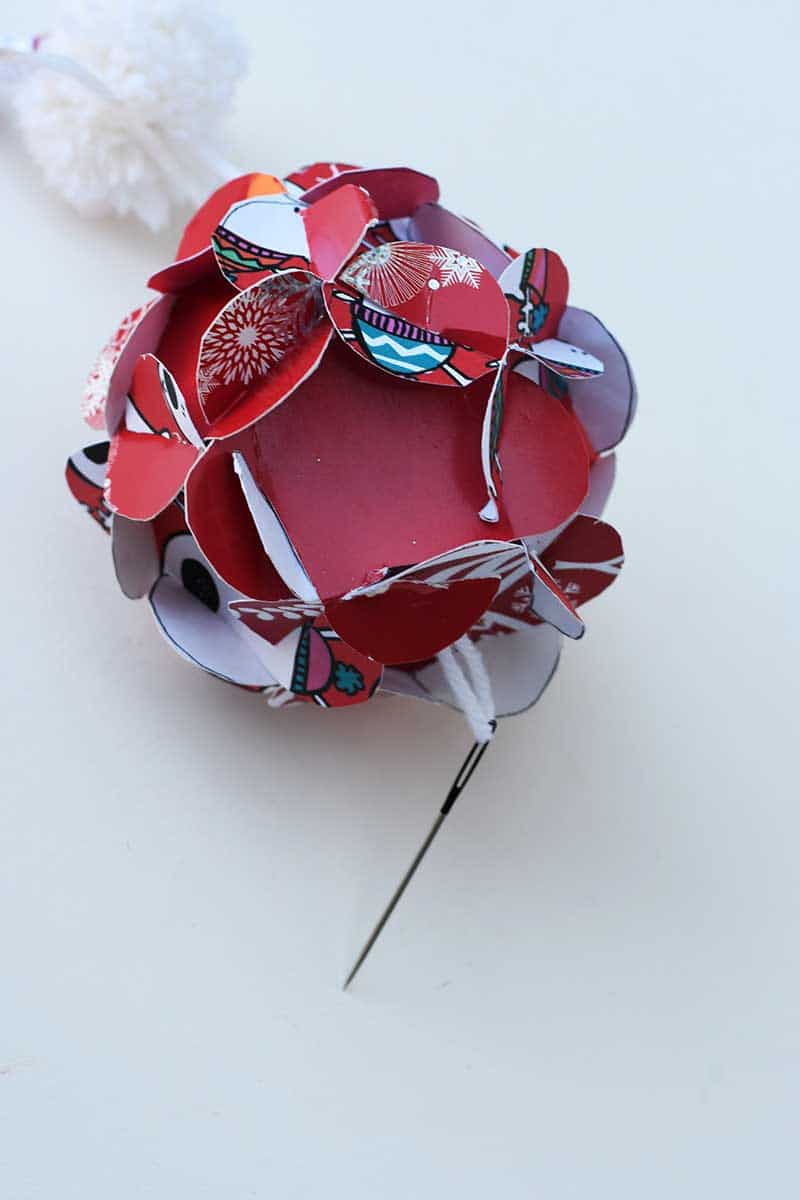
However, the last piece of this 3D Christmas card ball puzzle is the most tricky to add, as it slots into five different flowers.
Adding A Pompom and Tassel
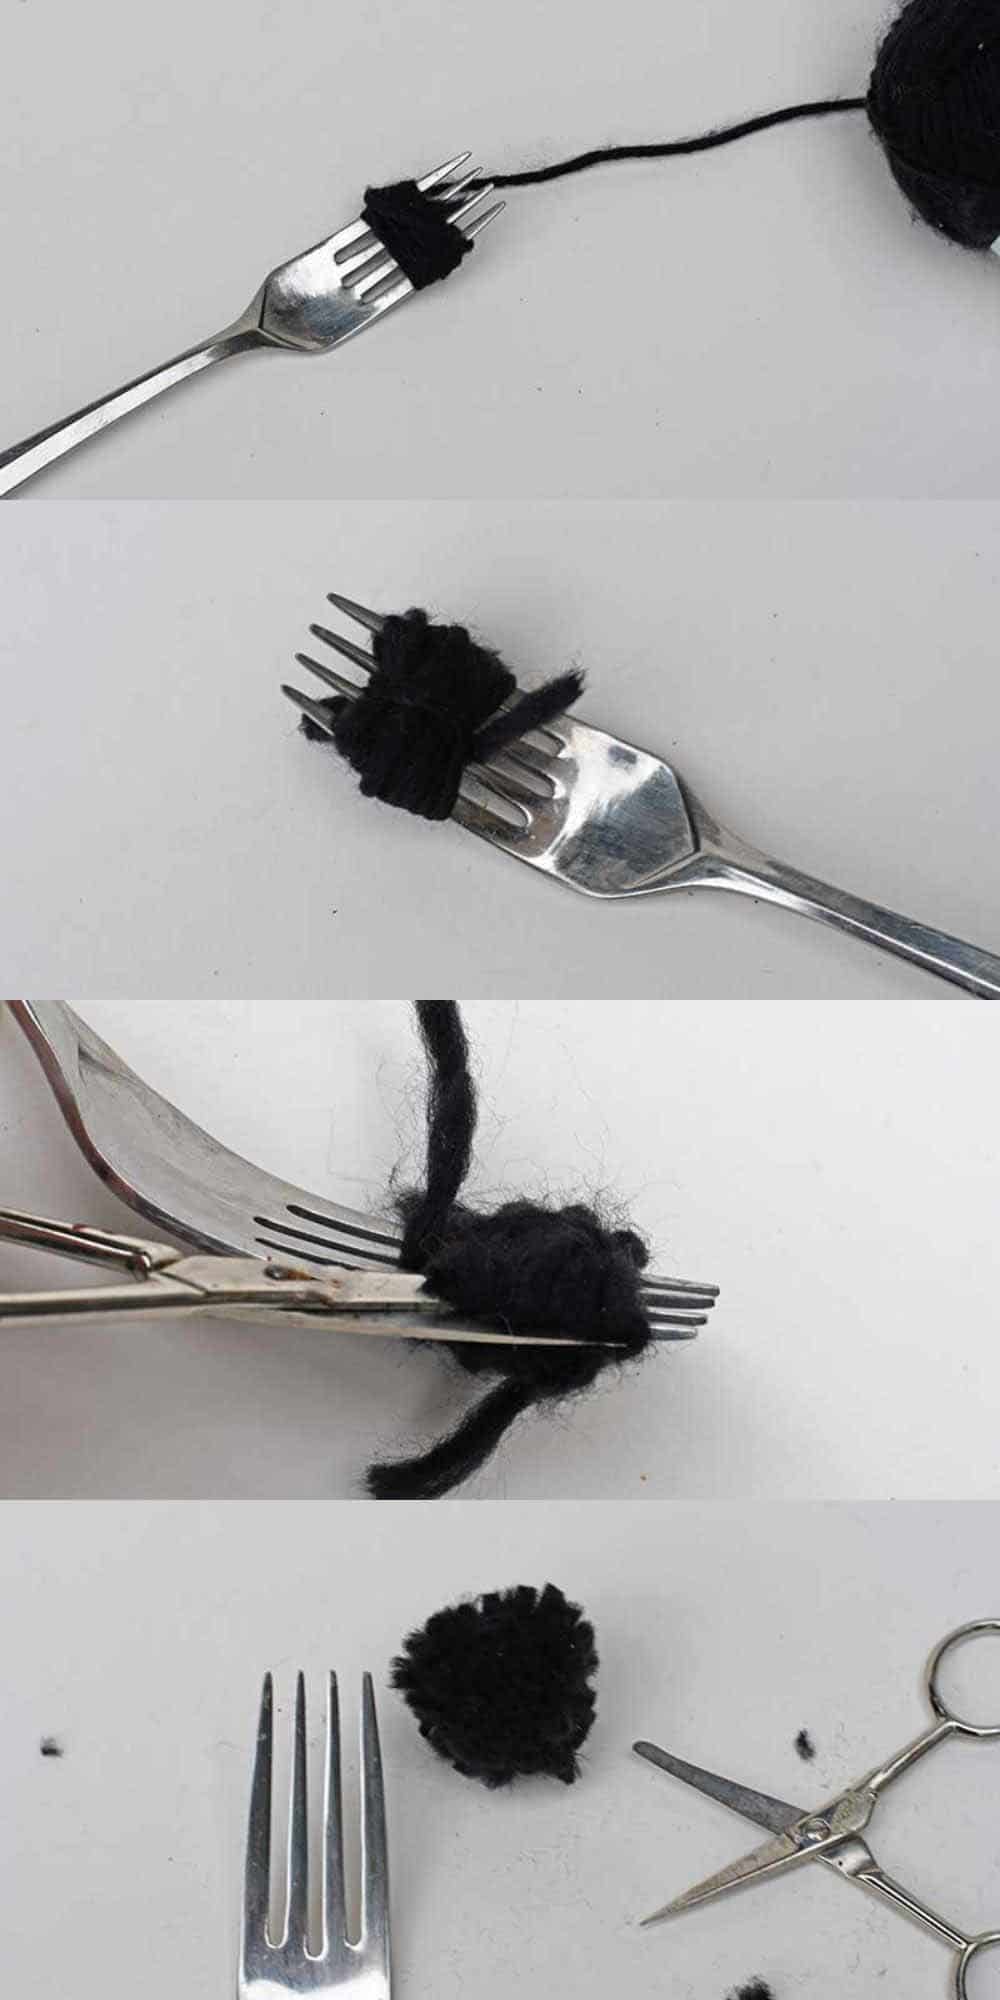
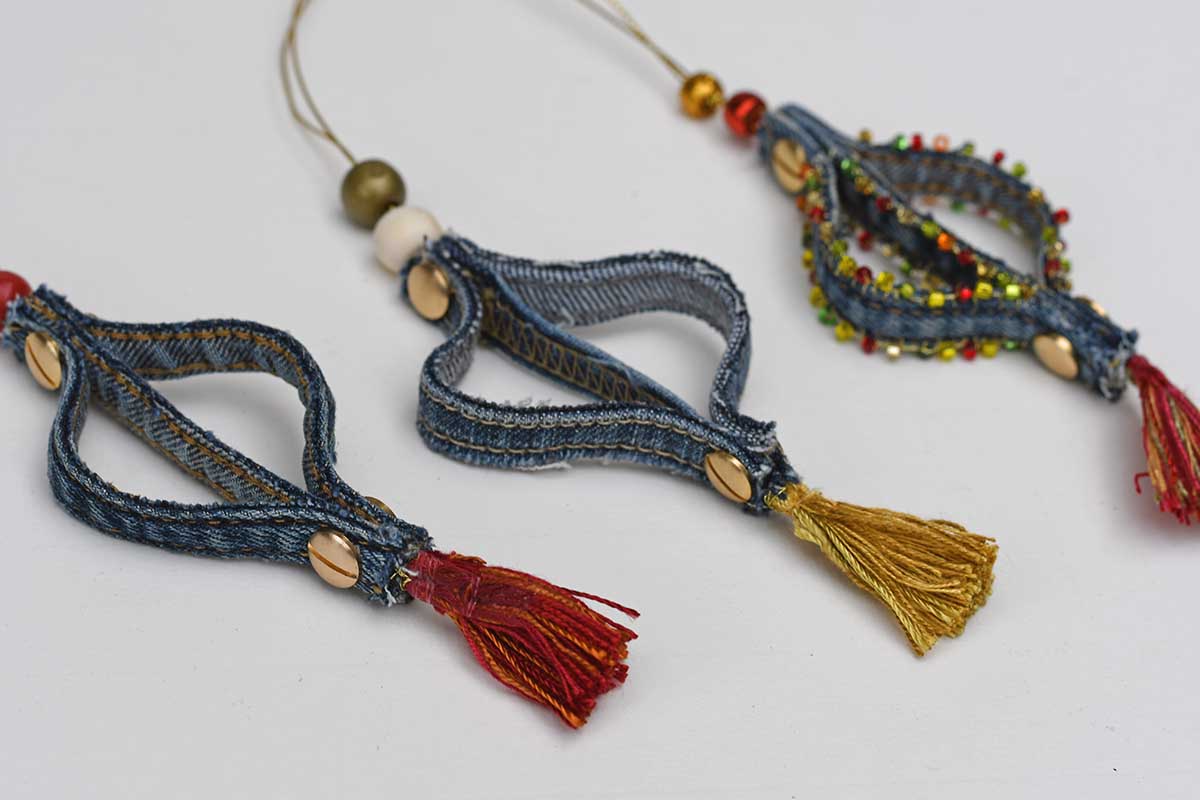
Step 8: I made a pompom and tassel for each to finish the recycled Christmas card ornaments. The small pompoms were made by wrapping yarn around the four prongs of a fork (see below).
The tassels were made with embroidery thread skeins like they were for my repurposed map decorations.
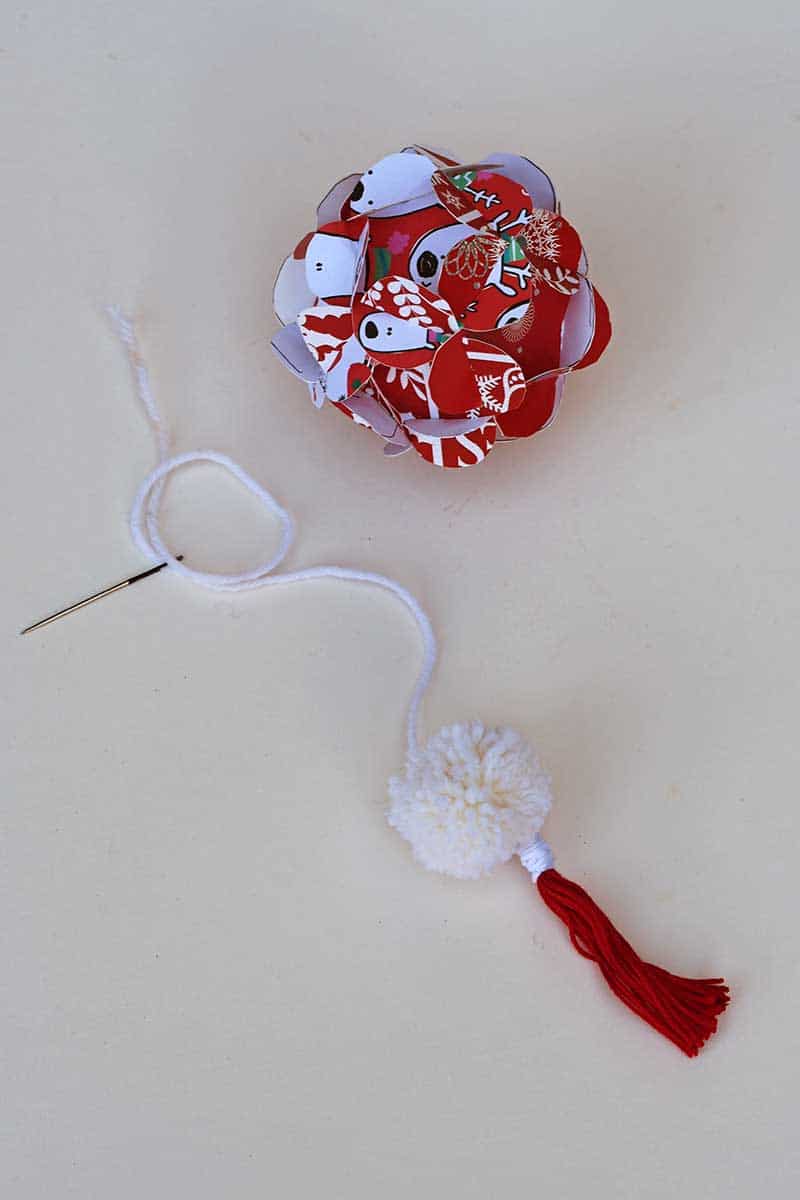
Step 9: Finish off the ornaments by threading the tassel and pompom decoration through the card at the base right through to the top. Use a needle to pierce the card and make a hanging loop at the top.
You can do this in one go with a long upholstery needle. Otherwise, adding the pompom tassel is best before placing the final flower stencil on the 3D ball ornament.
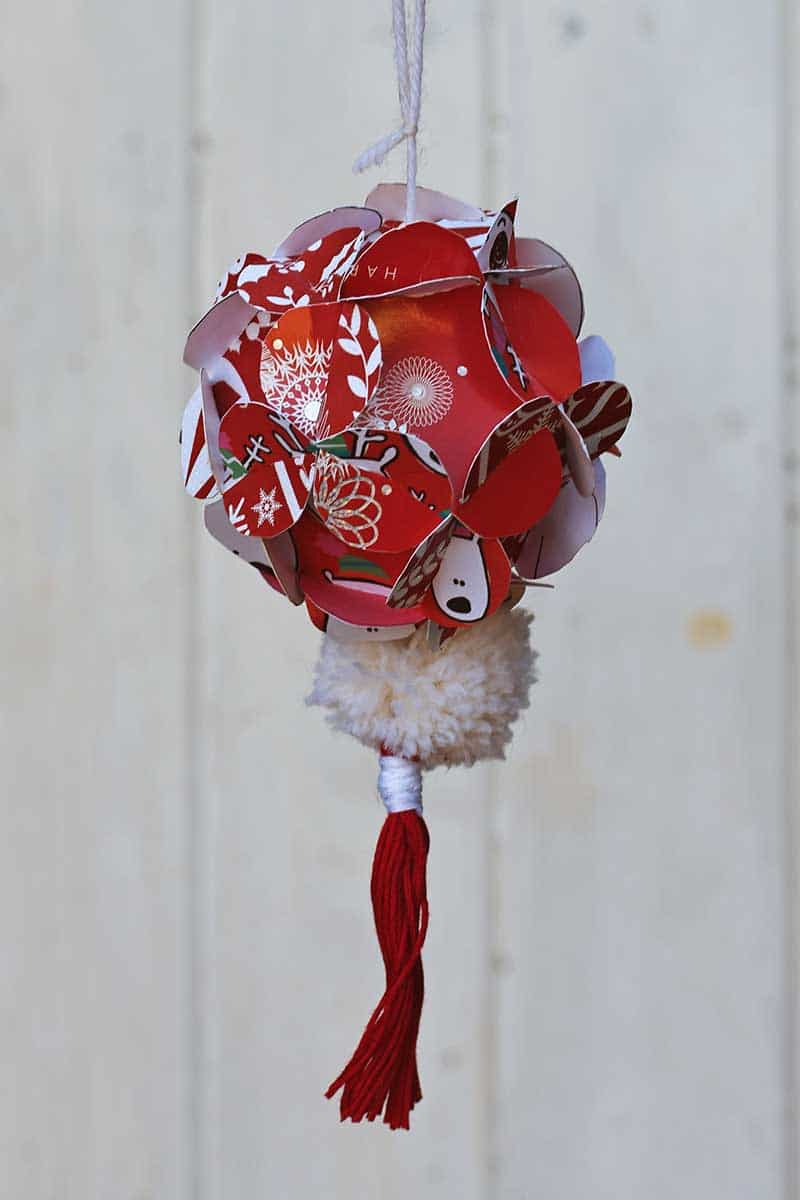
I made a few of these upcycled Christmas card ornaments in different colours. I also tried to make the pompom tassel decoration in complementary colours to the 3D balls.
After making the first couple of balls, I found slotting the stencil pieces much easier, and I got much quicker at making them.
I would love to try making a large paper ball using this method out of old maps one day. To perhaps use as a lampshade.
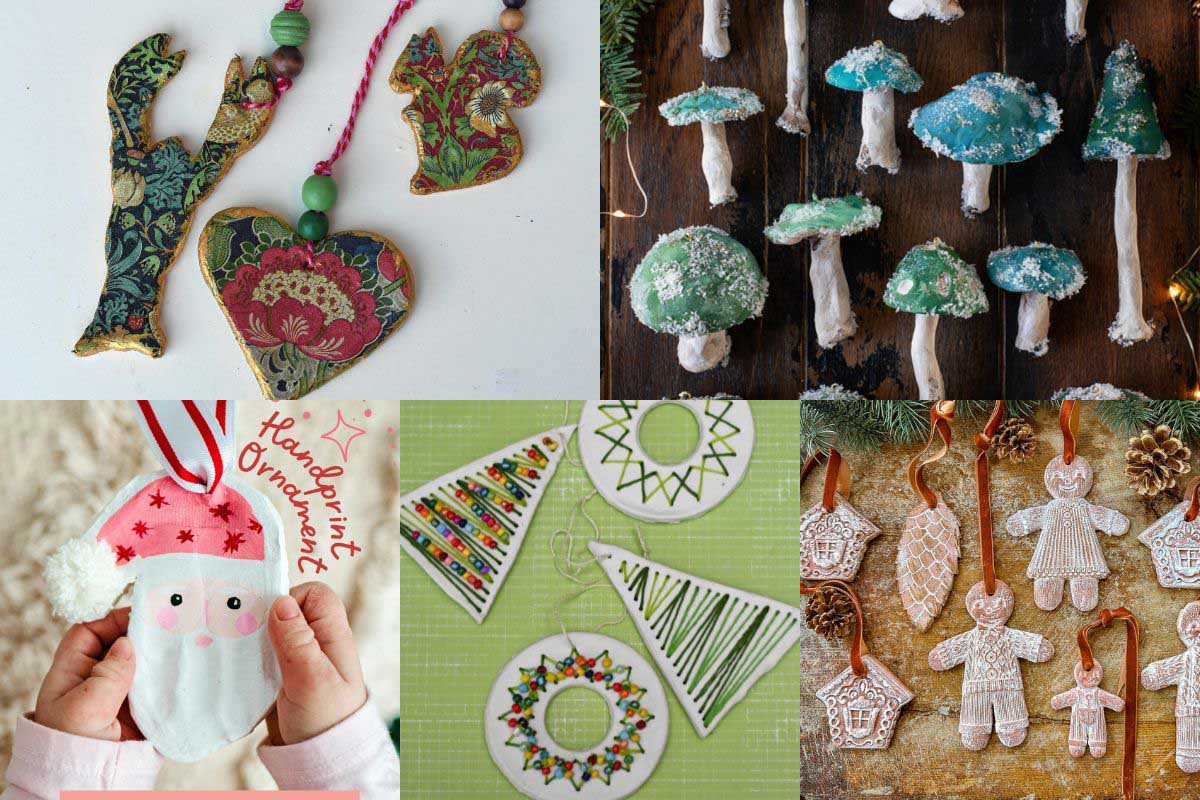
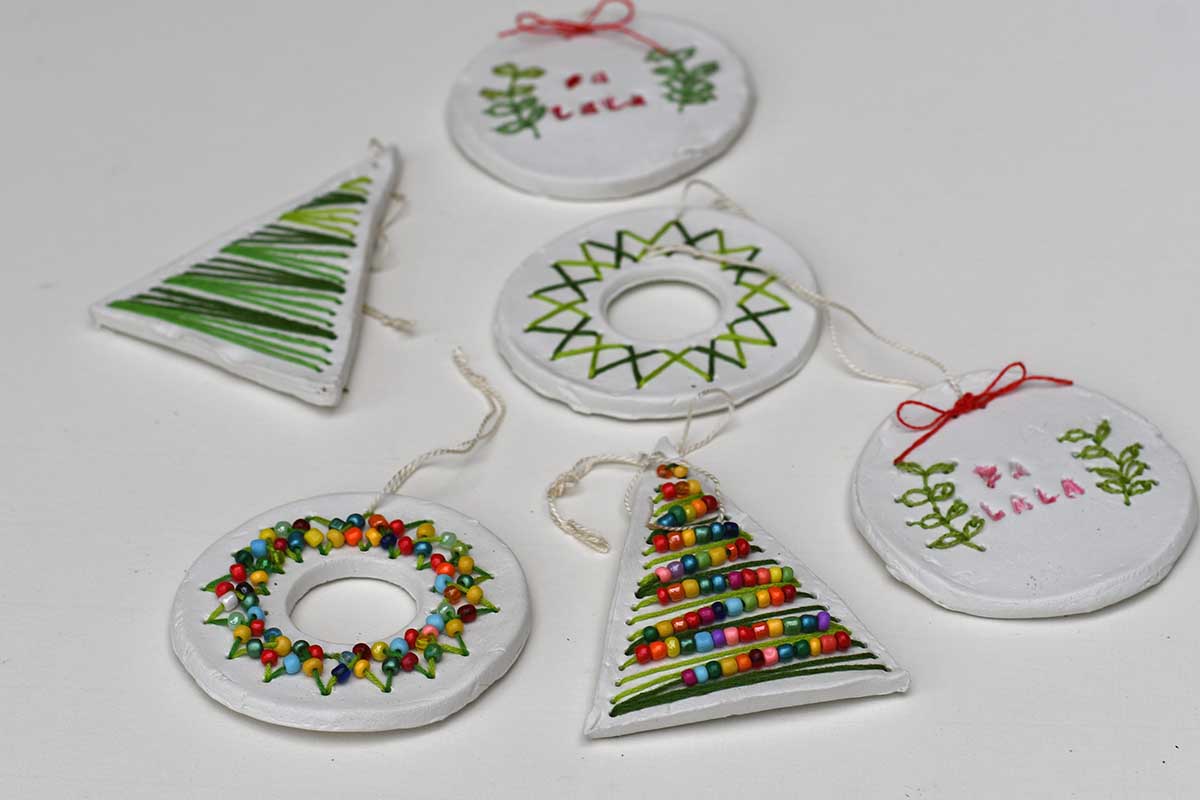
Check out all these other fabulous craft ideas for old Christmas cards.
I used the leftover Christmas cards to make upcycled personalized snow globe ornaments for my sons. These Christmas paper crafts can be made with old Christmas cards, including this cool Christmas card art project.
Don't forget to check out all my other fantastic Christmas craft ideas and the A to Z of upcycling ideas for more free, environmentally friendly crafts. Here is also a great collection of more cardboard Christmas craft ideas.
Love it! I'll be featuring you when the new party starts. Thanks for sharing with us at the To Grandma's house we go link party!
Thank you so much, I look forward to seeing it.
You always share such amazing ideas. I know I've said this before (probably many times too) but I wish I could have a cup of coffee (or G&T) with you and just explore crazy craft ideas. Love this idea.
A G&T or 2 sounds like a very good idea to me. Thank you!