

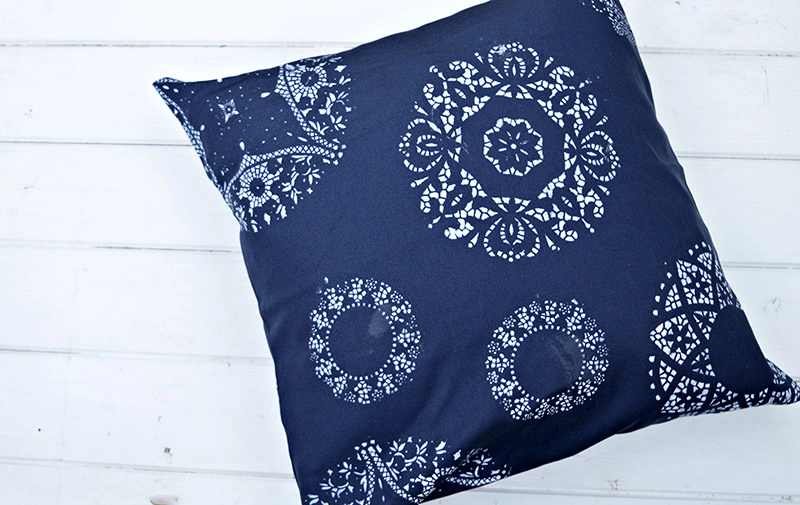
It is very easy to stencil a cushion or pillow with doilies.
I gave my outdoor canvas cushions a bit of a makeover by using doilies as stencils to paint pretty patterns on them.
It was a very affordable and fun pillow upcycle that gave great results with very little effort. It is a very addictive craft, as the cushions are so lovely. It’s very tempting to make many stencilled pillows; I’m on the lookout for more fabric.
I got so carried away with using doilies as stencils I even painted some old vintage plates for a cute upcycle.
A couple of weeks ago, I made some Map Table Mats. When I was putting them away in the kitchen with all my other table stuff, such as paper napkins and cloths, I struggled to shut the drawer. It was time for a clearout!
Firstly I discovered that I must stop buying paper napkins, no matter how pretty. Secondly, I found right at the bottom a packet of paper doilies.
I’m not one normally for fancy doilies; these must have been leftover from the traditional English garden party we held for the Queen’s diamond jubilee.
However, these doilies gave me an idea that didn’t involve cucumber sandwiches and Victoria sponge cake. I would use them as a stencil.
We’re a participant in the Amazon Services LLC Associates Program, an affiliate advertising program designed to provide a means for us to earn fees by linking to Amazon.com and affiliated sites. As an Amazon Associate, I earn from qualifying purchases.
Doily Stencil a Cushion/Pillow
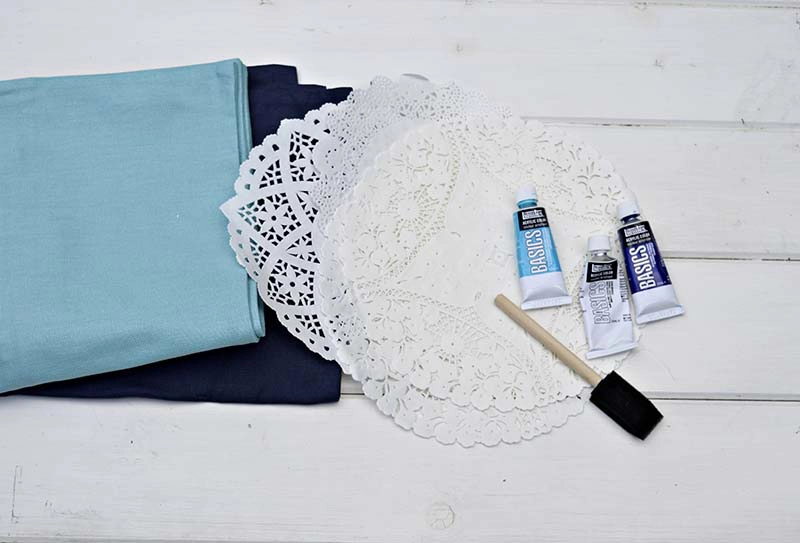
What you need to stencil a pillow
- An assortment of paper doilies.
- Repositionable spray mount
- Acrylic paint
- Fabric Paint medium
- Foam paintbrush
- Plain canvas pillow covers.

How to Doily Stencil a Pillow
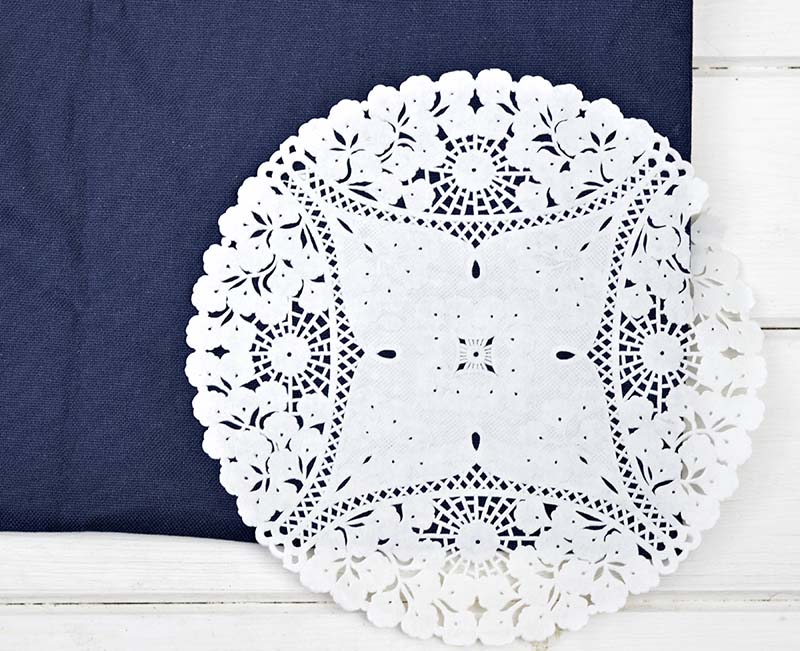
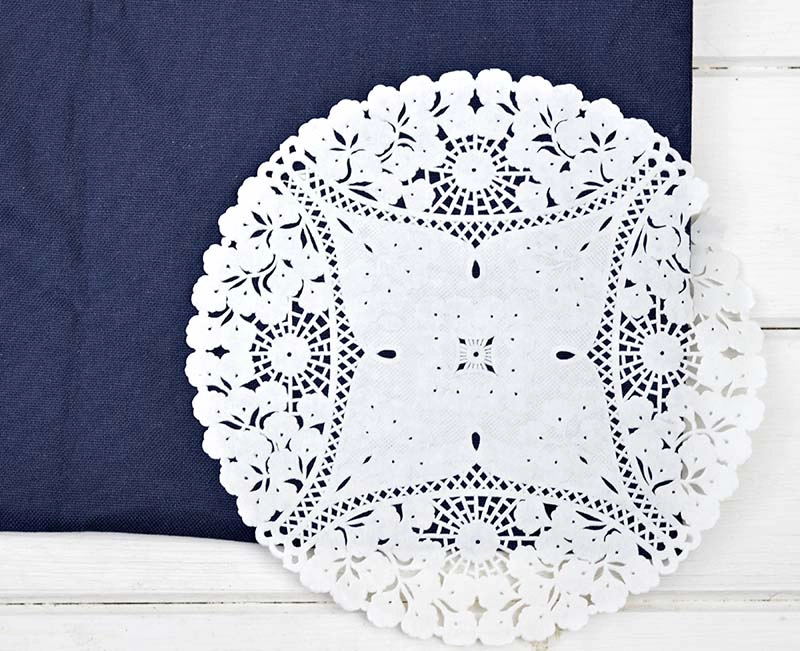
Step 1: First, remove the cover from the cushion/pillow. Then using the repositionable spray mount, spray one side of your doily. Place the doily on the cushion where you want to stencil.
I liked to create a random pattern with my doilies on the cushion covers and used doilies in an assortment of sizes as well as patterns.
Top tip: If you don’t want to use spray paint, another method is to pin the pillow cover to a foam board to stop it from moving around and to pin the doily stencil to the cushion cover.
The idea is to make sure that the cushion/pillow and doily don’t move while stencilling.
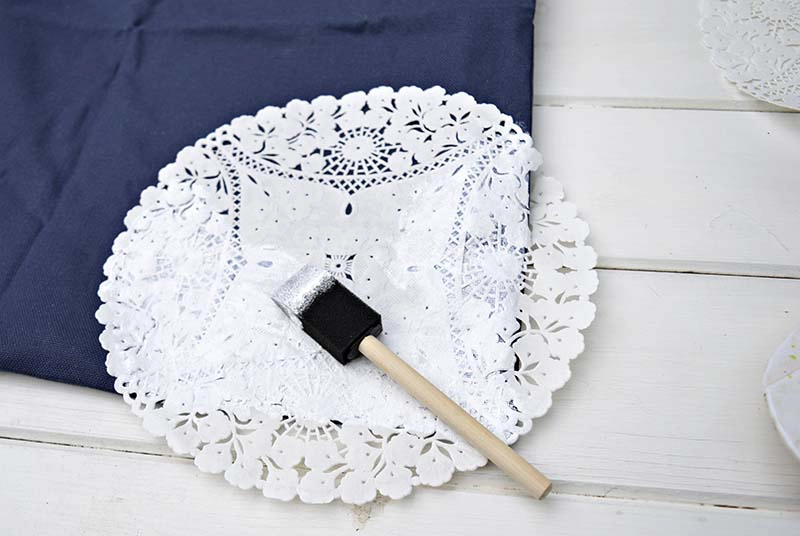
Step 2: Next, it is time to add the acrylic paint. I painted these cushions with acrylic paint neat, and they have lasted well.
However, I have since discovered a fabric medium that, if added to acrylic paint, turns it into fabric paint, making it more robust when washing.
When painting with a stencil, it is best to use a foam brush and a dabbing motion. Load up the foam brush with not too much paint and dab it over the holes in the doilies until all the fabric is covered.

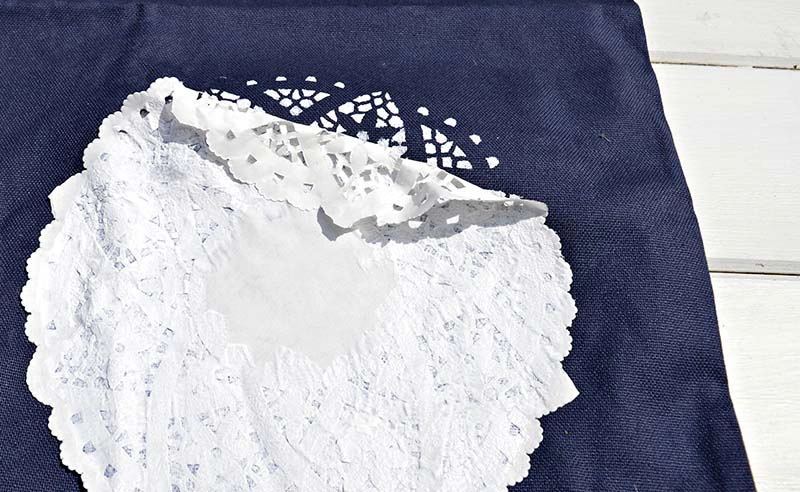
Step 3: When you’ve finished stencilling the cushion, quickly and carefully remove the doily.
Especially if you have used repositionable spray rather than pinning, leaving the doily too long on the pillow will get stickier and be harder to remove.

Step 4: Repeat with the next doily until you have the desired pattern. The paper doilies will get wet, so using a fresh doily with each pillow stencil is best.

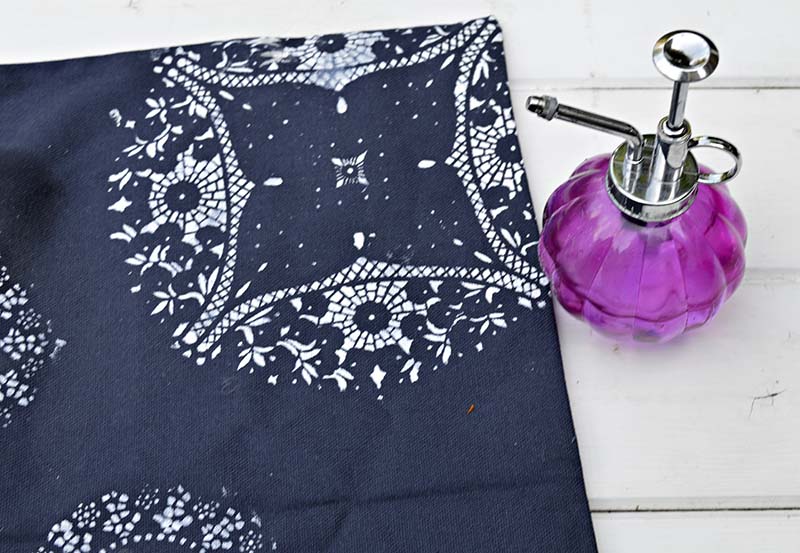
Step 5: To finish off, if you used paint and no fabric medium, seal and soften the doily stencilled pillow.
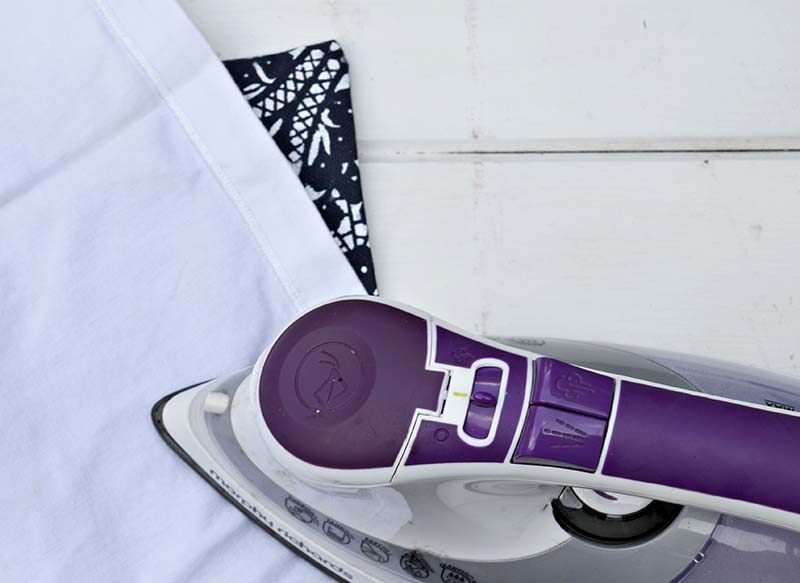
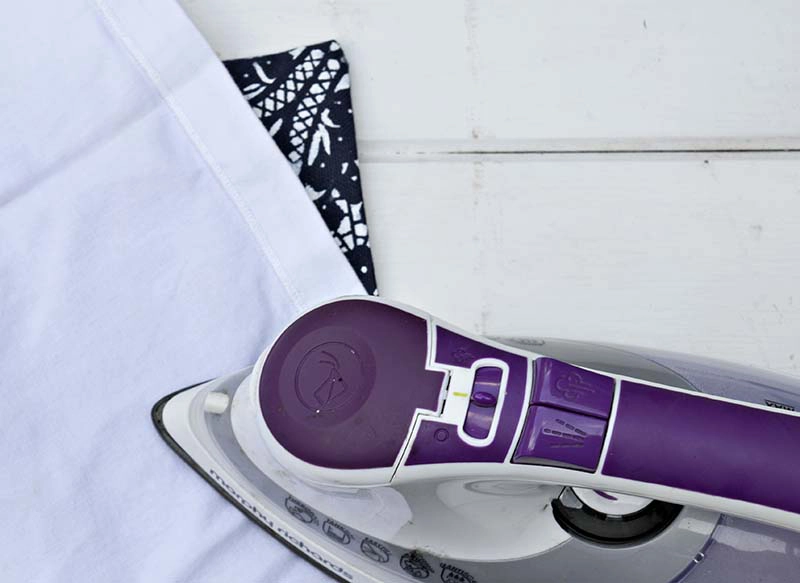
To do this, once the paint is thoroughly dry, spritz the paint with a 50/50 mixture of clear vinegar and water. Then place a clean cotton cloth, such as a tea towel, between the paint and the iron, and iron with a hot iron.


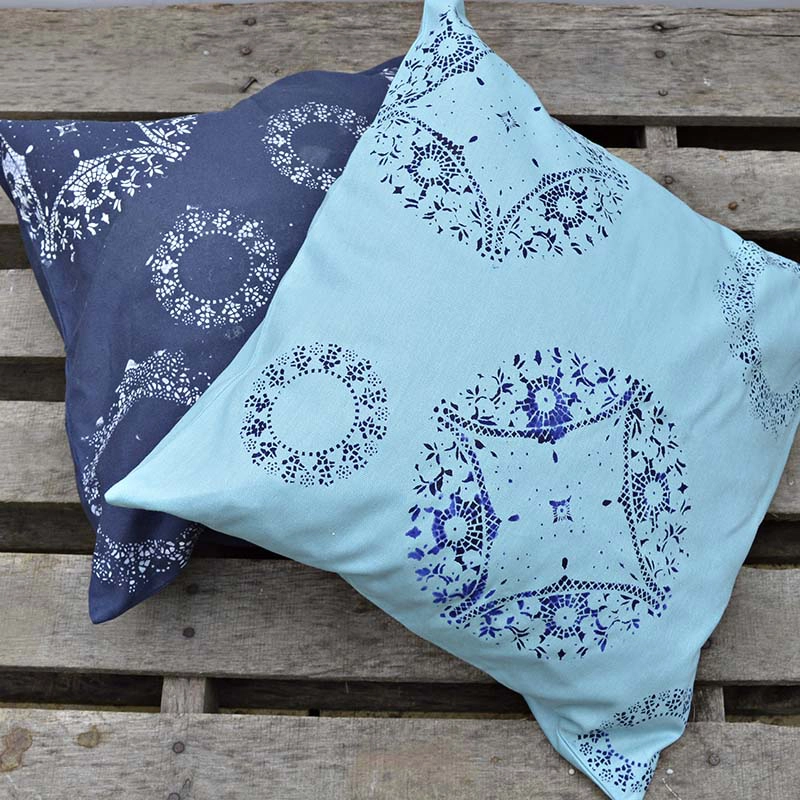
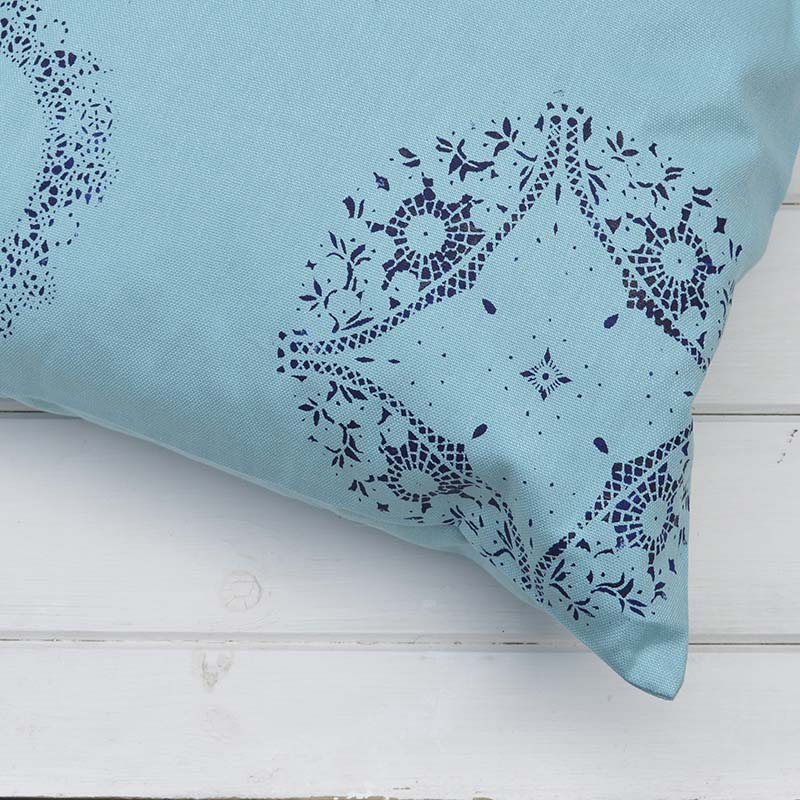
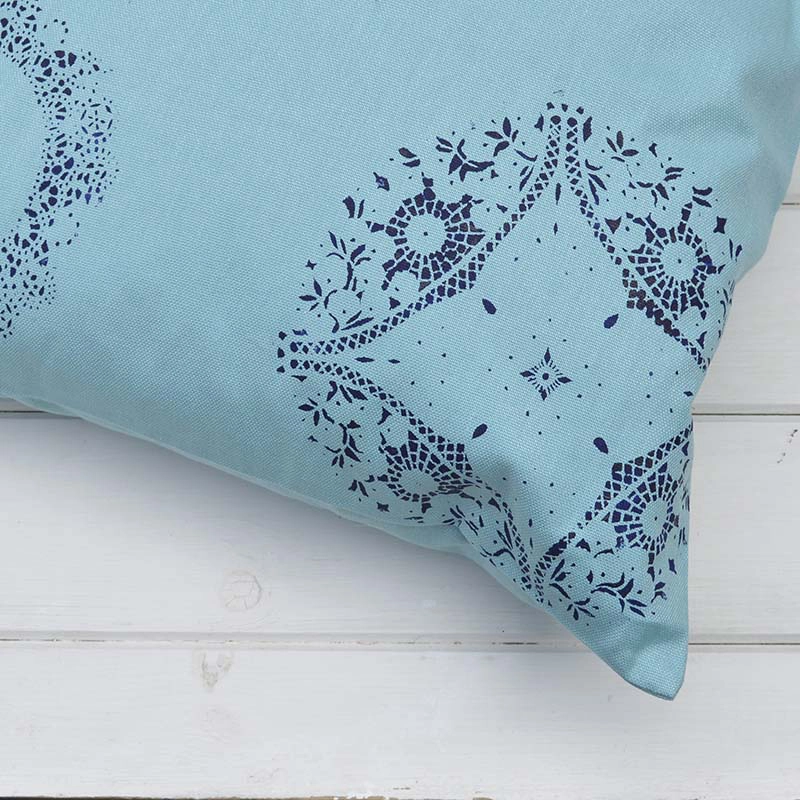
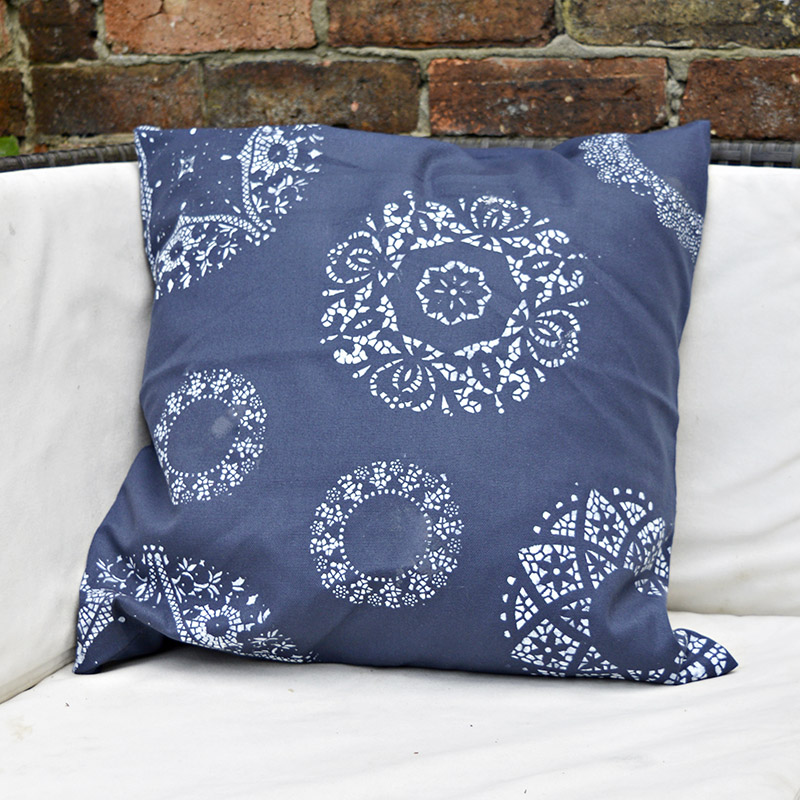
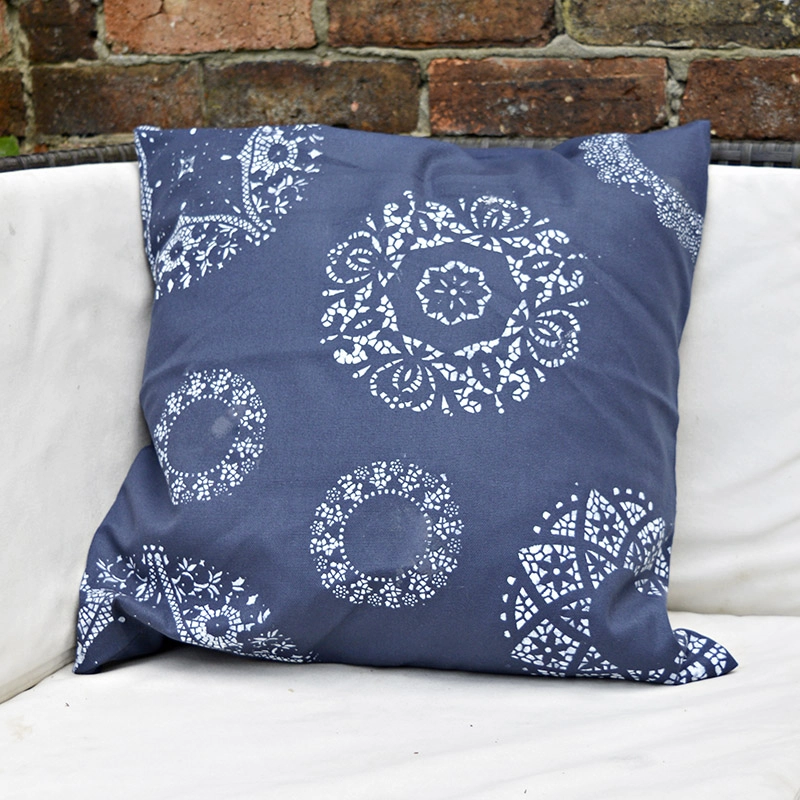
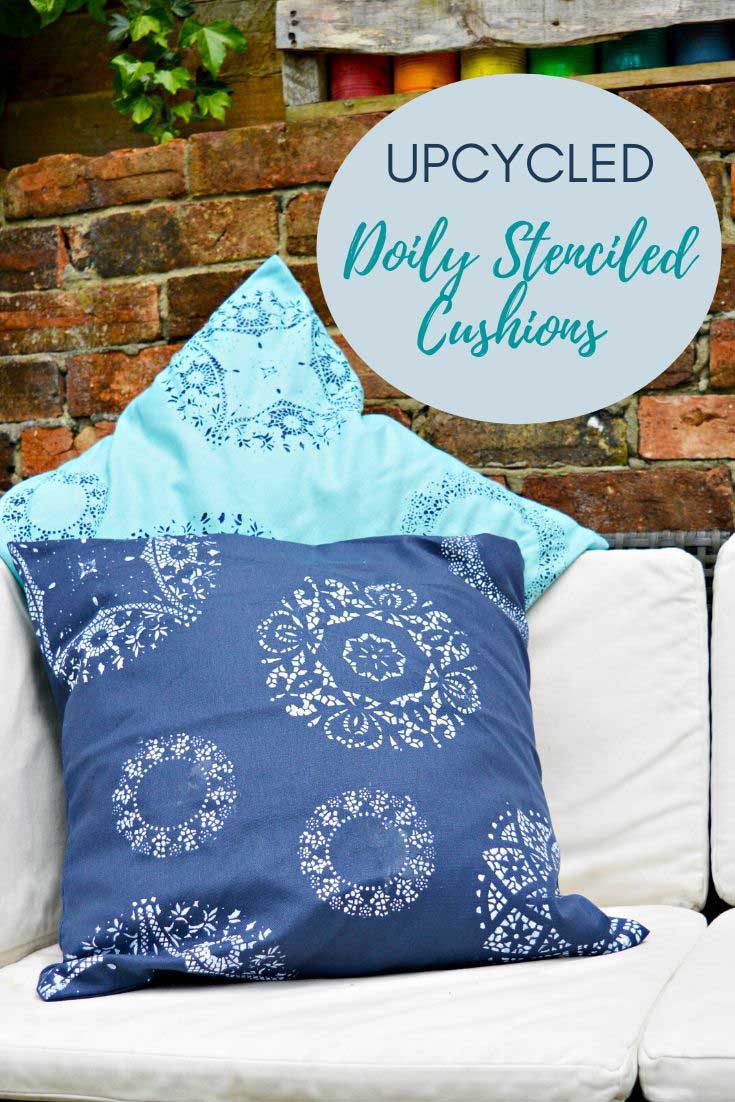
I love how these cushions turned out. Using a paint colour that contrasts with your cushion cover is best.
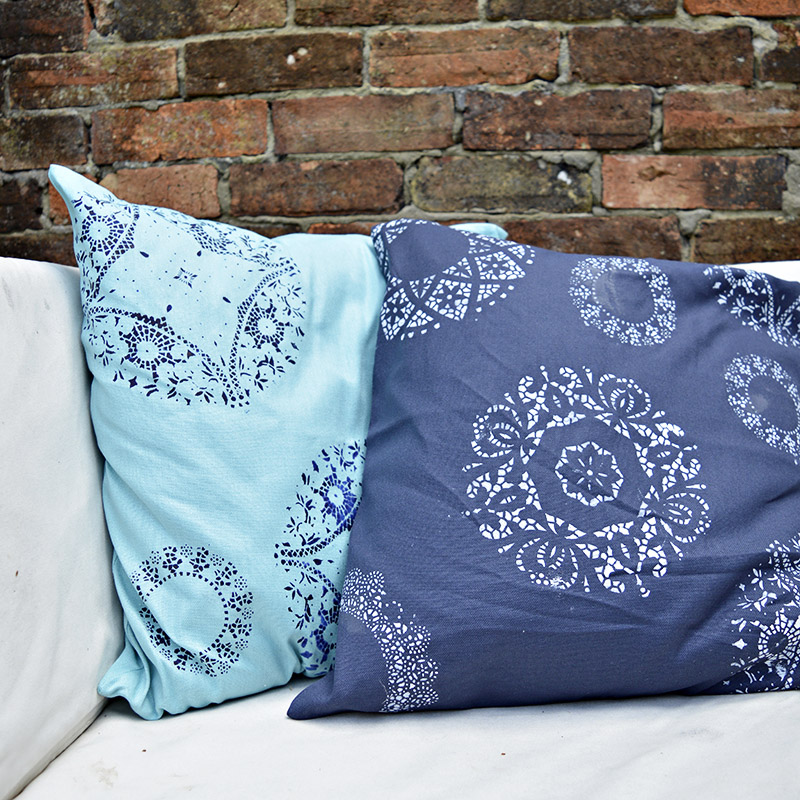
So if you have dark cushion covers, then use light paint. For example, I used a navy blue cushion and white paint. If you have a light cushion cover, use dark paint.
I had a light turquoise cushion and stencilled with dark blue paint. I’m tempted to buy more colourful cushion covers and try out many different colour combinations.


These doily stencilled pillows sit on my outdoor sofa in the summer. Since making the doily pillows, I have Shibori dyed the sofa cushions, and the doily pillows go well with them.
There are more ideas for stencilling with paper doilies here. I also have a tutorial for turning vintage cloth doilies into a cute angel wings ornament. Plus many more paper doily craft ideas here.
I have also stencilled a denim fish pillow, but I used bleach instead of paint this time.
As well as stencilling fabrics, I have stencilled a wooden pallet in my garden to make a Moroccan-painted wood planter wall that matches these cushions very well. I’ve also made a pineapple-stencilled table for my living room.
Check out these other ideas for DIY pillow covers.

Beverly A Stroupe
Thursday 3rd of February 2022
Love the Doily Stencil Pillow. Thinking of making this for my sister in laws for Christmas. Thanks so much for this project.
Claire Armstrong
Thursday 3rd of February 2022
Thank you so much. Doily's make for great cheap stencils because of their patterns. I'm sure your sister in law would love it.
Amazing Art and Crafts ideas for Home Decor | Dearlinks
Monday 27th of March 2017
[…] For DIY Details: pillarboxblue […]
Handmade Pillows and Pillow Cover Ideas - Organized Island
Wednesday 8th of February 2017
[…] How To Doily Stencil A Pillow from pillarboxblue.com […]
Denim DIY Draught Excluder (Door and Window) - Pillar Box Blue
Thursday 22nd of September 2016
[…] paint you may want to set it with and iron and a 50/50 vinegar/water mixture (like I did with my doily stenciled pillows). […]
Painted Plate - Upcycling Vintage Crockery with a Doily - Pillar Box Blue
Wednesday 31st of August 2016
[…] the past I’ve used doilies to stencil a cushion, this time I used them as a stencil to make a painted plate. This was another really quick and […]