
How to Make Marimekko Wallpapered Stairs
The first thing you see when you open my front door is the steep Victorian stairs. These stairs have been crying out for a transformation. I finally got rid of the boring beige carpet, which was just a dust and dirt magnet, and brightened them up with a touch of Marimekko. I will show you how I wallpapered the stairs.
Now, every time I open the front door, I can't help but smile at my lovely, cheery stairs. Even my teenage sons, who don't normally notice anything around the house, have told me without prompting how much they love the new stairs.
My Marimekko stairs were achieved by wallpapering the risers in Marimekko wallpaper. Other wallpapers are available, but I do have a thing about Marimekko.
In the past, I have Marimekko'd shoes, a bench, and even a giant paper mache cactus.
We're a participant in the Amazon Services LLC Associates Program, an affiliate advertising program designed to provide a means for us to earn fees by linking to Amazon.com and affiliated sites. As an Amazon Associate, I earn from qualifying purchases.
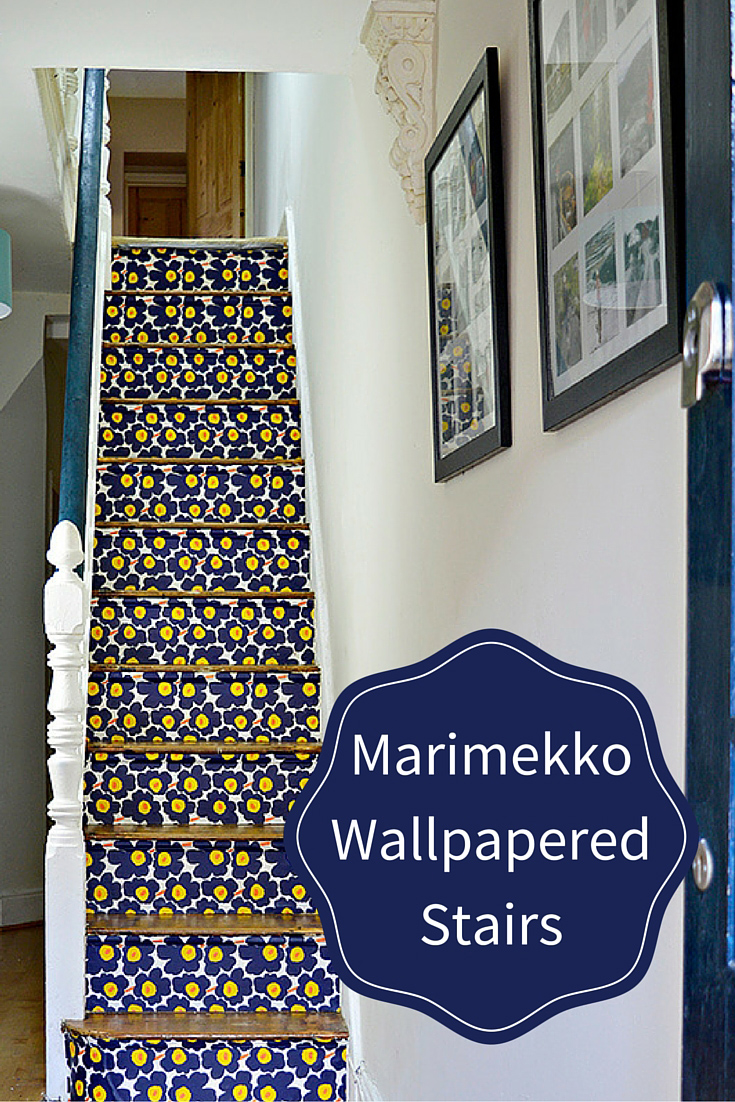
How I Marimekko Wallpapered My Stairs
Tools & Materials Used
- Heat gun
- Hammer
- Pliers
- Sander
- Wood Varnish
- Brush to apply varnish
- Stanley knife
Preparing Carpeted Stairs for Wallpapering
1.. The first thing I did was to remove the old carpet.
As these were the only stairs in the house and I live in a busy household with people constantly going up and down the stairs, I decided to remove the carpet one stair at a time.
I don't know if you have lifted the carpet off your stairs before, but what is underneath are lethal carpet grippers and nails.
Stepping on one of those grippers is going to hurt. Using a Stanley knife I cut the carpet off each stair one by one, removing the grippers and nails before moving on to the next step.
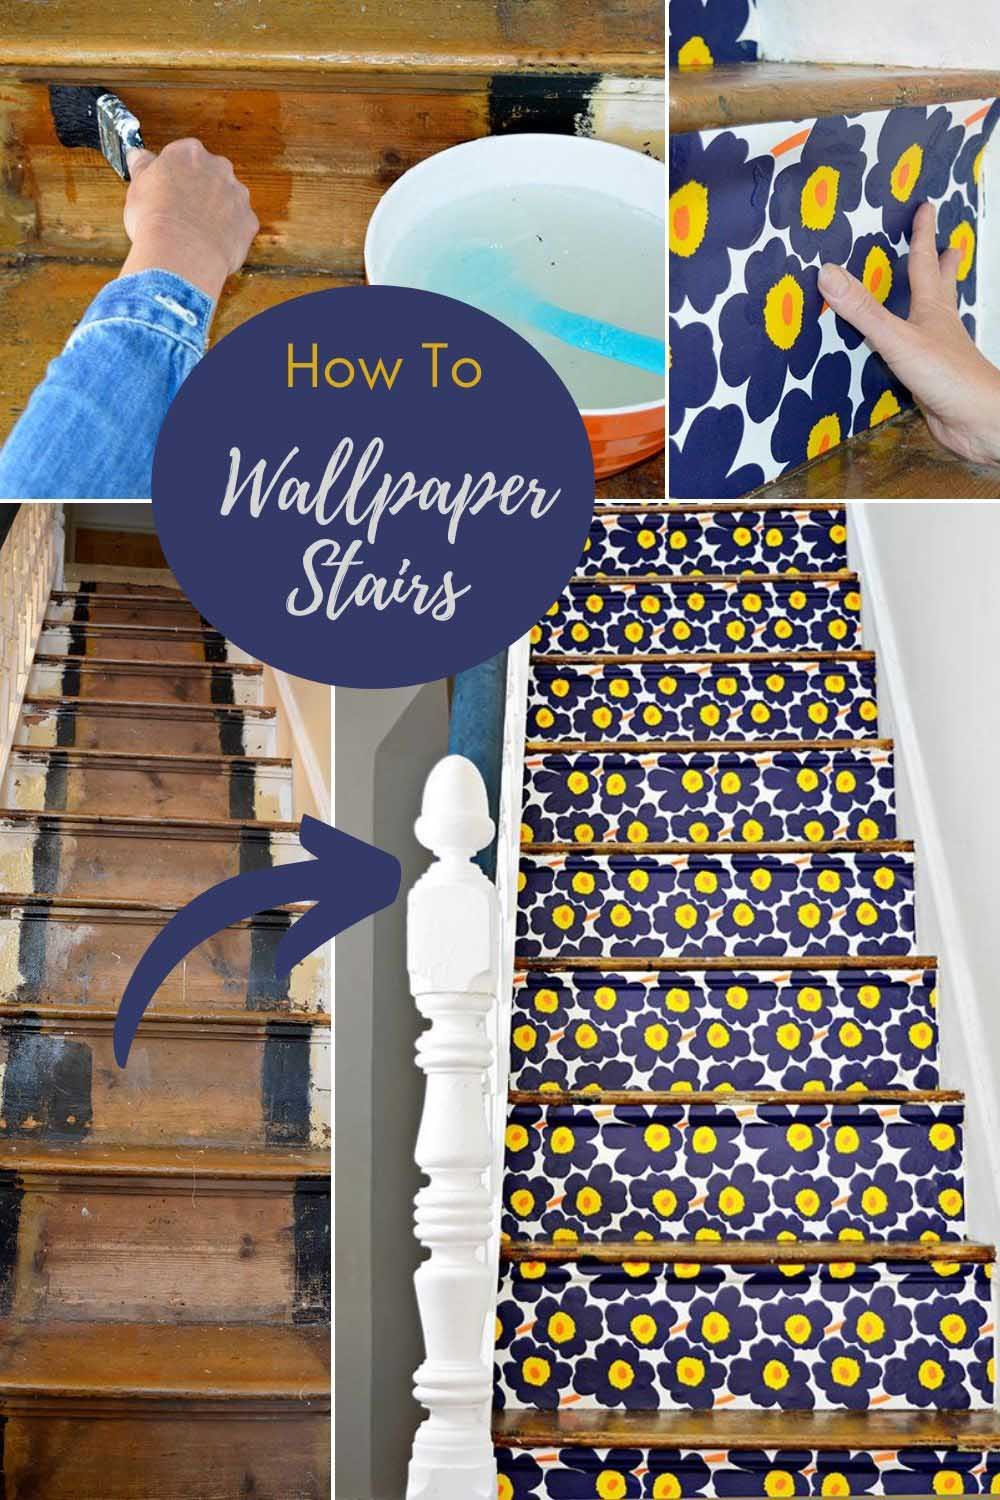
2. Once all the carpet was finally removed I then used the heat gun to strip any residual paint on the stairs.
The stairs in my house are over a hundred years old and had been obviously been painted before. As I was going to be wallpapering the risers, I only needed to remove the paint on the top of each step.
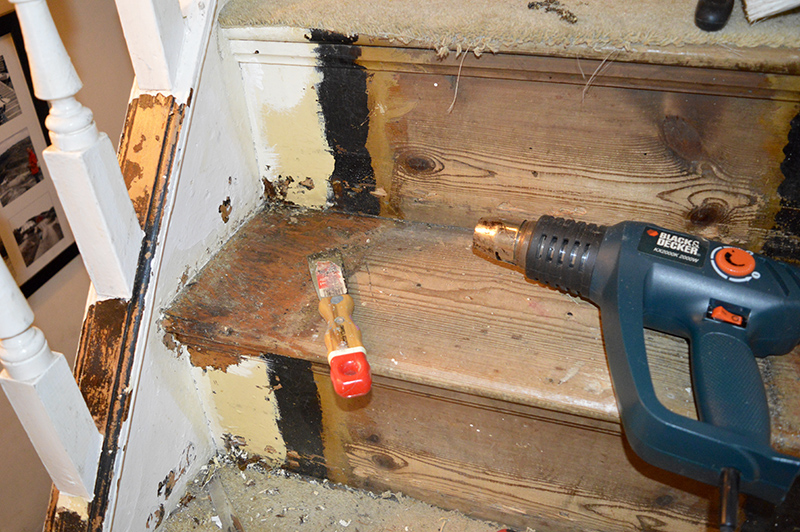
Varnishing the stairs..
3. I ended up varnishing the stairs in 2 halves, so everyone could walk down one side of the stairs while the varnish dried on the other side.
I applied 2 coats of varnish on the stairs one in the morning and another last thing at night, so this took a couple of days one for each side.
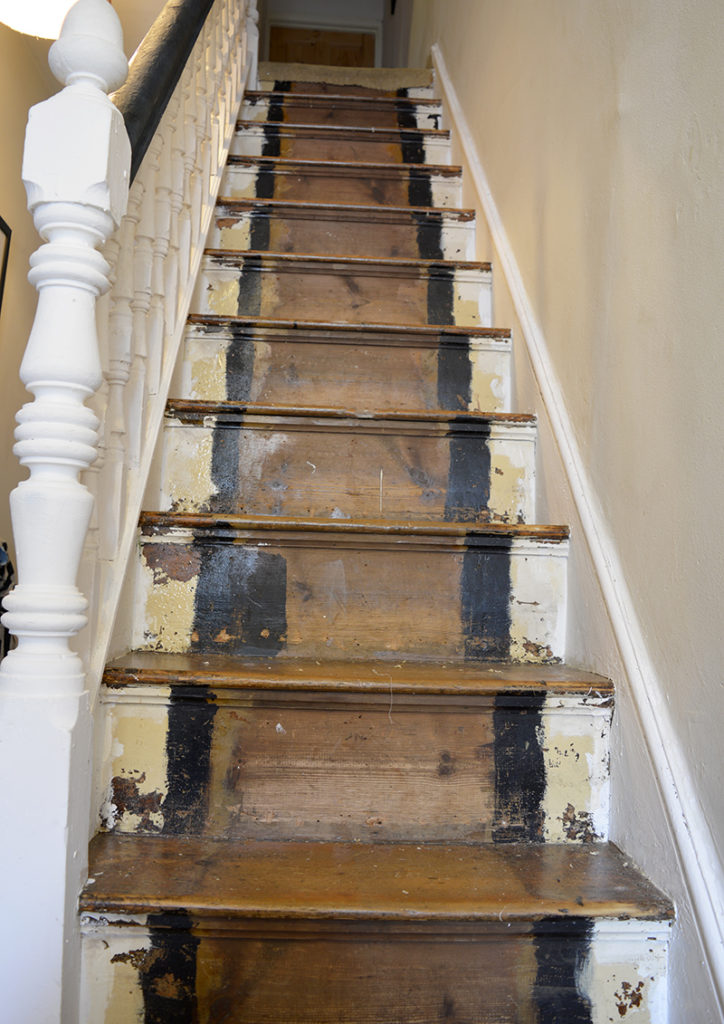
4. The banister and railings were also given a new coat of paint. The banister was painted a dark blue to match my chosen wallpaper. I had noticed that my white banister had got very grubby over the years and I was hoping that a blue banister would fair better.
What you need to wallpaper stairs.
- Half a roll of wallpaper- I chose Marimekko Pieni Unikko wallpaper in blue.
- Wallpaper paste
- Wallpaper Brush
- Wet Sponge
- Rotary cutter
- Cutting Mat
- Varnish
How to wallpaper stairs.
I could have wallpapered the stairs on my own but decided to rope in the help of my friend Wendy, who is an expert at upcycling with wallpaper. She had recently wallpapered her tabletop with a paper in a similar design.
1.. First, to make sure that the wallpaper will stick to your stairs well, key them first. I did this by applying a coat of wallpaper paste to each stair riser and letting it dry thoroughly.
2. Next, measure the width and length of each step riser. It may be awkward to get an accurate measurement, it's always better to measure too big, then too short as you can trim later.
3. Then, using a rotary cutter and a cutting mat cut your wallpaper for each step. You will have to think about how best your chosen wallpaper pattern will work.
I was lucky as the Marimekko pattern I chose worked either way up so I was able to cut my wallpaper to the length of my stairs and thus avoided any joins.
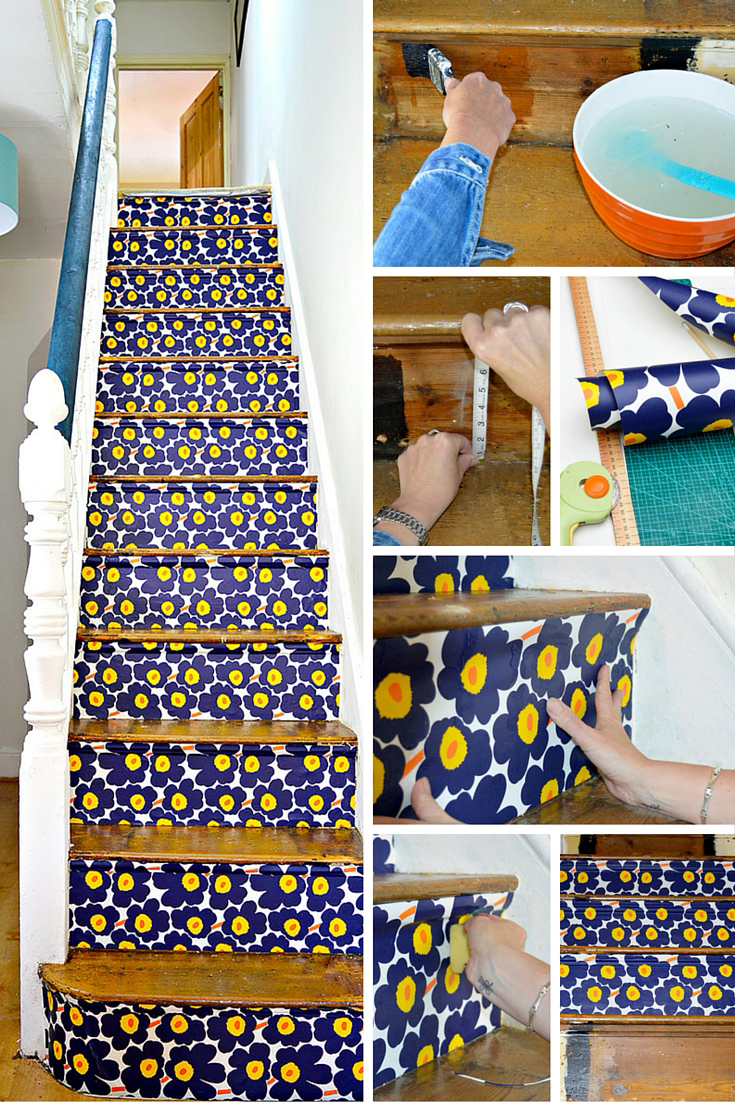
4. Next, paste-up your paper well with wallpaper paste and then place carefully on each step, positioning from the bottom up. When in place, go over the top with a damp sponge pushing the wallpaper into any grooves.
5. Continue until all the stairs are finished leave to dry thoroughly. Even though the wallpaper is washable to protect it further apply a coat of varnish to each step.
The finished stairs..
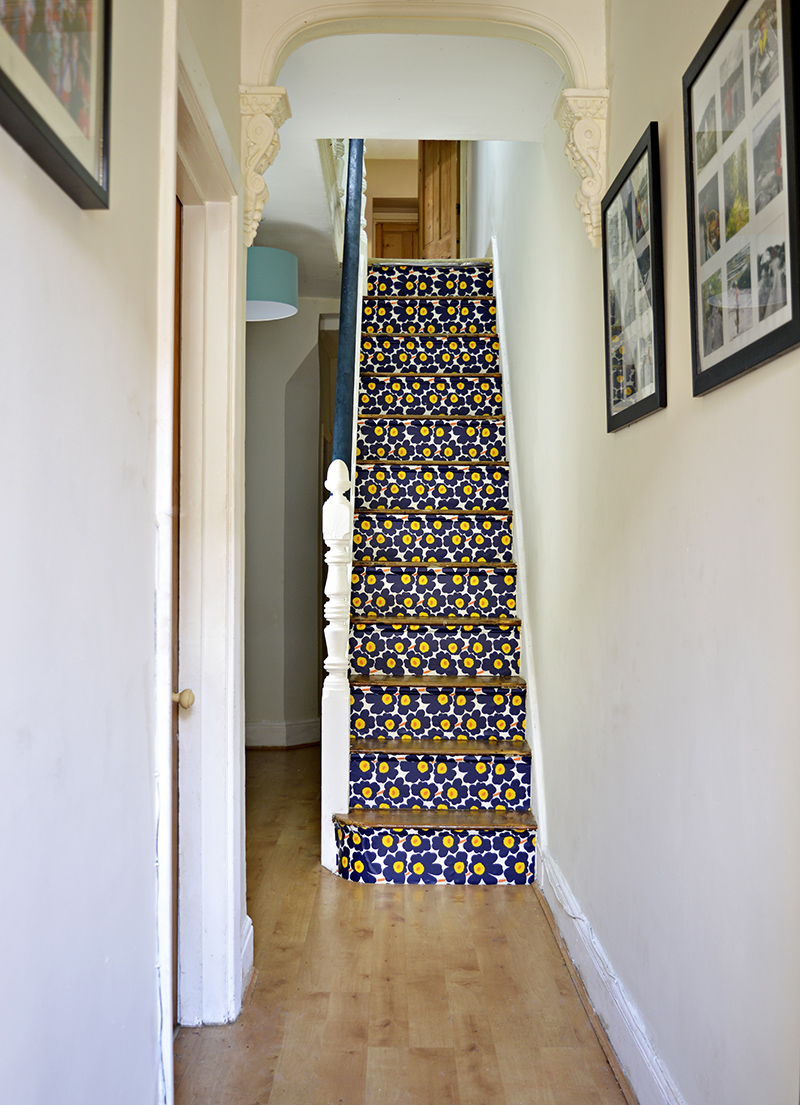
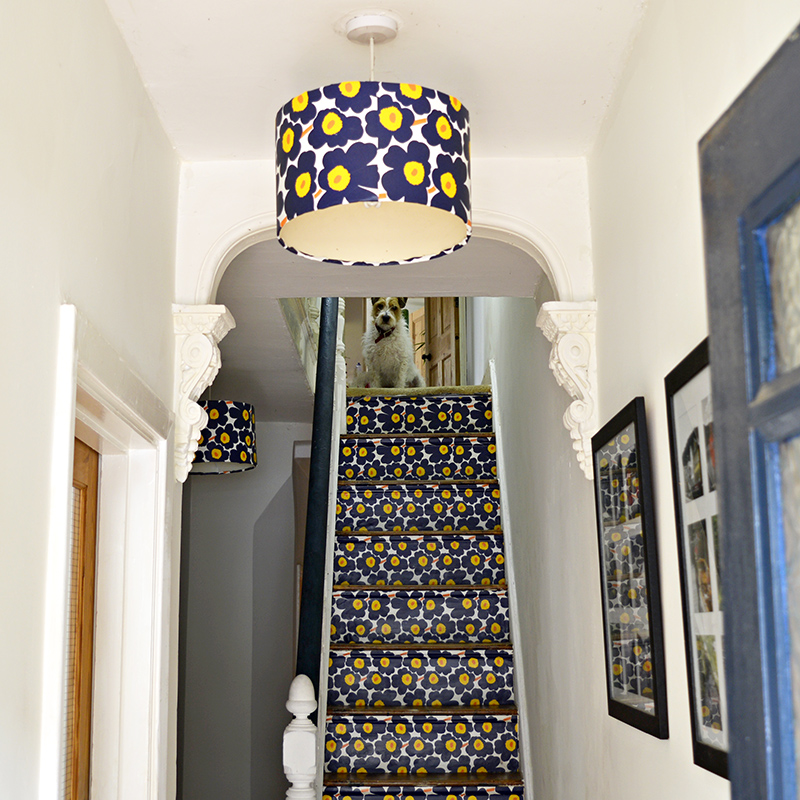
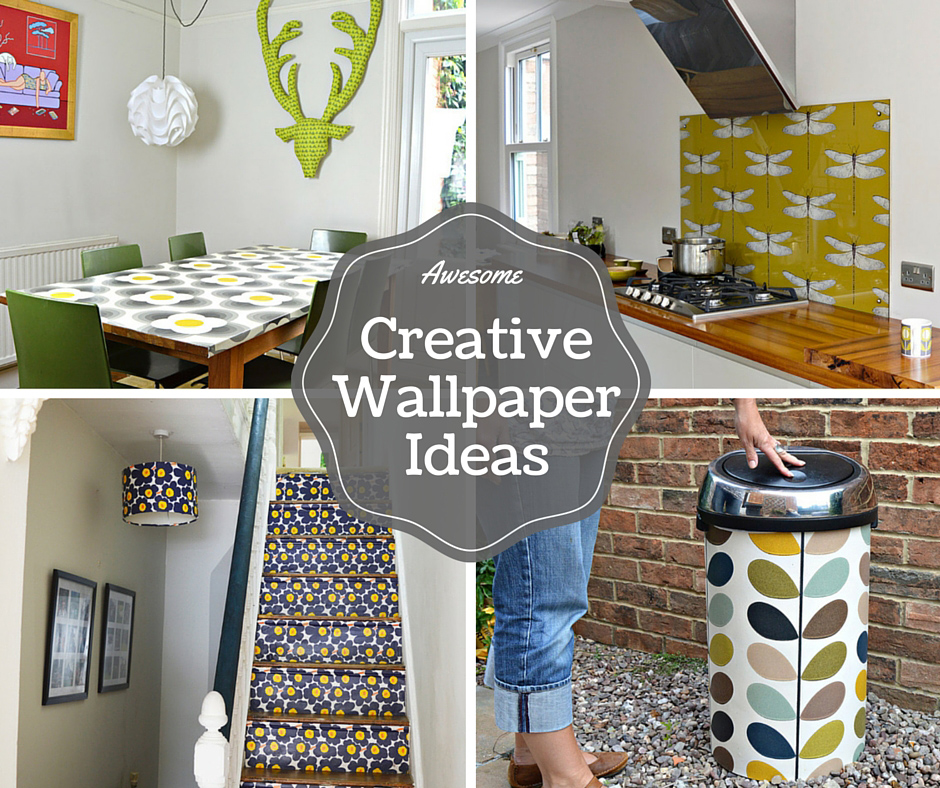
I love it now when I open my front door and see my lovely Marimekko wallpapered stairs. With some of the leftover wallpaper remnants, I also wallpaper the lampshades in the hall to match.
I've even wallpapered the IKEA mirror that hangs by the loft stairs in my home.
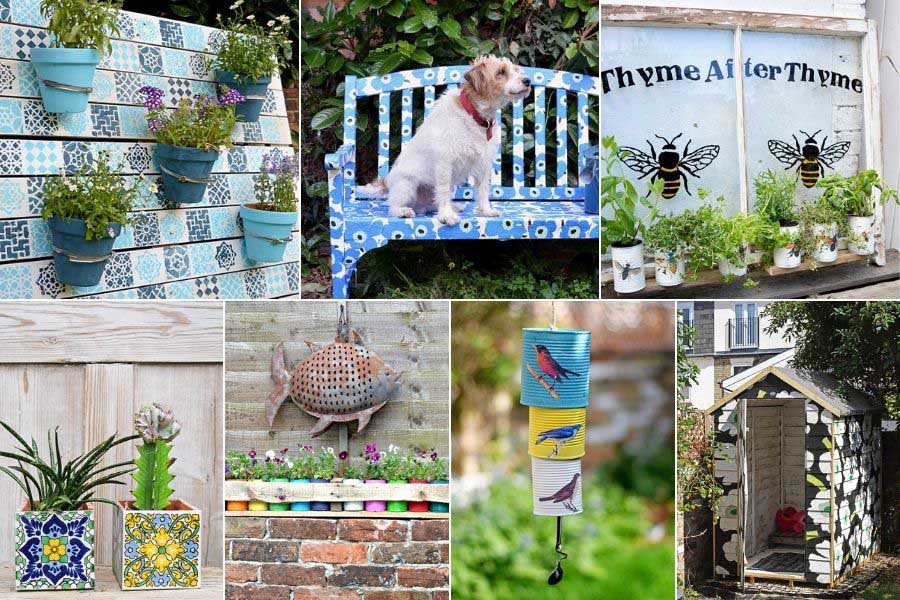
If the Marimekko stairs are a bit bold for you or if you love Marimekko, how about moving the Marimekko into the garden with these gorgeous upcycled Marimekko decorative tin can planters.
I have lots of Marimekko crafts and DIYs on Pillarboxblue. I painted the shed in my garden with the same Marimekko pattern as these wallpapered stairs.
For even more fantastic wallpaper ideas check out my awesome creative wallpaper ideas. I even have a great tutorial on how to make a kitchen wallpaper backsplash (splashback).
For more home, improvement ideas visit diyideacenter.com

Wow, this looks fantastic. You've done a great job. Don't know if I'm brave enough to do it on my stairs but I love the Marimekko pattern. Pinning for the future when I'm feeling a little braver 🙂
Thank you ! I was a bit apprehensive myself at first but glad I didn't play it safe in the end. I love the fact that it's bold.
Wow! That is such a gorgeous transformation! I love the bold color and pattern, and you blended the stain beautifully considering you had to do each side separately.
Thank you very much !
Wow!! What a transformation! I love the pop of color and pattern from the Merimekko paper! Thanks for sharing with Merry Monday last week 🙂
Thank you !
I followed a link from link up party and checked what other things you do and then I saw Marimekko print on these photos, print that I know quite well as I'm from the country of Marimekko's. I have seen it in many different colours and almost everywhere but seeing it in a blog that isn't Finnish was a surprise. 😀 Great job with the stairs!
Thank you ! I love Marimekko prints and have used them for other projects on my blog, like a bench and a giant paper mache cactus. My husbands family is from Norway so share a border with FInland. I have been to the Merimekko shop in Oslo (very small), but would like to visit the one in Helsinki one day.
So Gorgeous!! I love that you used wallpaper, and what beautiful wallpaper. I have never redone stairs, and that looks like some work doing the prep, but your finished project looks like it was worth every second. That would make me smile too seeing it everyday. Great work and great tutorial.
Thank you ! It was definately worth the work.
Claire this is brilliant. The pop of color that is right there as you walk into the house can brighten anyone's spirits. An ingenious use of wallpaper. You would not know it was the same house.
Thank you so much. It's great now to be greeted by something bright and cheery when I open the front door.
Your stairs turned out amazing Claire! Love how fun and funky they are. Thanks so much for sharing at Vintage Charm.
Thank you very much
.Thank you very much !
Thank you very much.
This looks like a completely different staircase! I love the way it turned out! It looks like a lot of work to me though. I'd find it a bit daunting to take this on. But, bravo to you!
Thank you it was well worth the work.
The transformation is fabulous! It looks like decorative tile. It looks like a lot of work, but you pulled it off. Thanks for sharing this delightful project at DI&DI.
Thank you very much !
What a fun makeover...well, the result is fun, it doesn't look like the process was fun at all! Your hard work was all worth it, though, as the outcome is fun and certainly an improvement over the carpet! What a bright and fun welcome you get when you open your front door now! Thanks so much for sharing over at the Celebrate Your Story! link party! Hopefully this will inspire some more folks to take on their staircases. I live in a one story now, so no more stairs for me!
Thank you very much. It's still making me smile everytime I open the front door.
That looks great!!!
Something very special!
Thank you very much.
What a great transformation!! I love how brightening the yellow is:)
I'd love it if you shared this at my weekly link party!
http://www.twentysomethinginthe2010s.com/peace-love-linkup-009/
Thank you and thanks for the invite.
Now THATS cute!
Thanks !
Wow, it looks amazing!!Great transformation. Thank you for sharing with us at #HomeMattersParty .We would love to have you again next week.
Thank you !