
Learn how to make tiered plant shelves with wood slices. This simple DIY project is perfect for plant lovers looking to add more indoor plant walls and maximize wall space.
Updated June 2024
Creating your DIY plant shelves using wood slices is a fantastic way to add a natural touch to your indoor plant collection. These versatile shelves are perfect spots for your plants and make great display options for trophies, ornaments, and more. The live edge of the bark pairs beautifully with the vibrant greenery of indoor plants, making these natural wood shelves a charming addition to any space.
Whether you’re a plant lover looking to maximize your wall space or need a handy storage solution for small spaces, these DIY plant shelves are the perfect addition. They are tall and skinny and fit perfectly into narrow wall spaces, transforming dead areas into beautiful features.
Inspired by a stash of large wood slices, this project is an easy way to create stylish plant stands that complement any decor. They particularly suit a Boho decor aesthetic of a lot of plants.
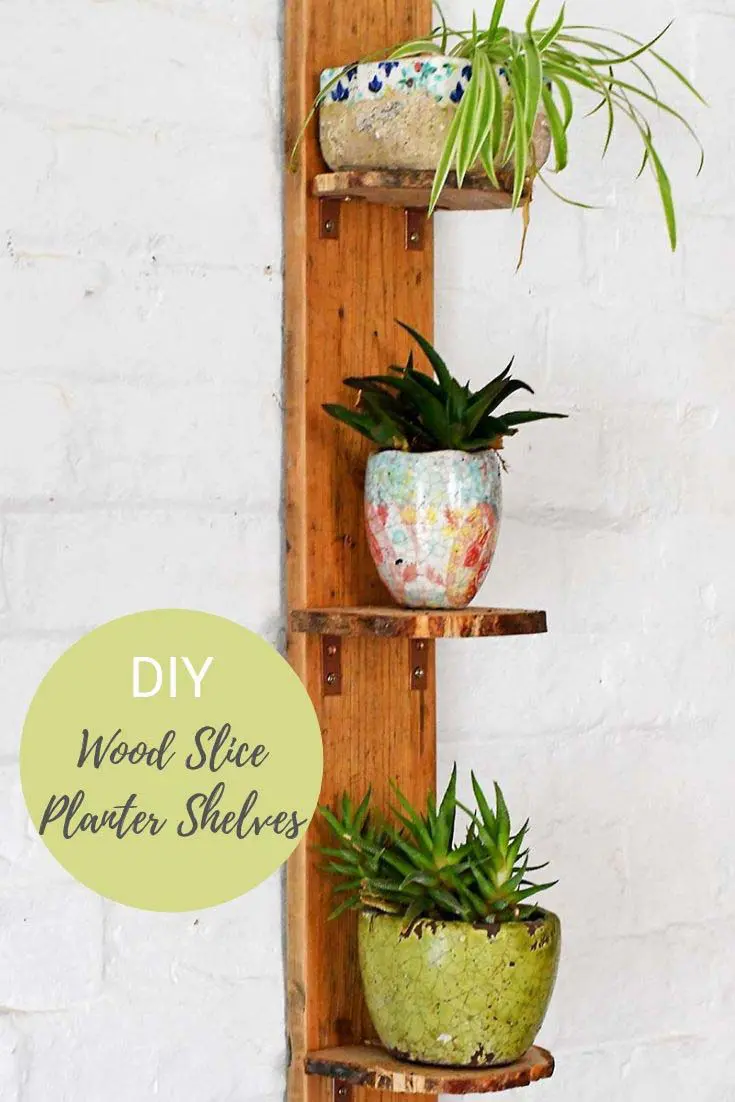
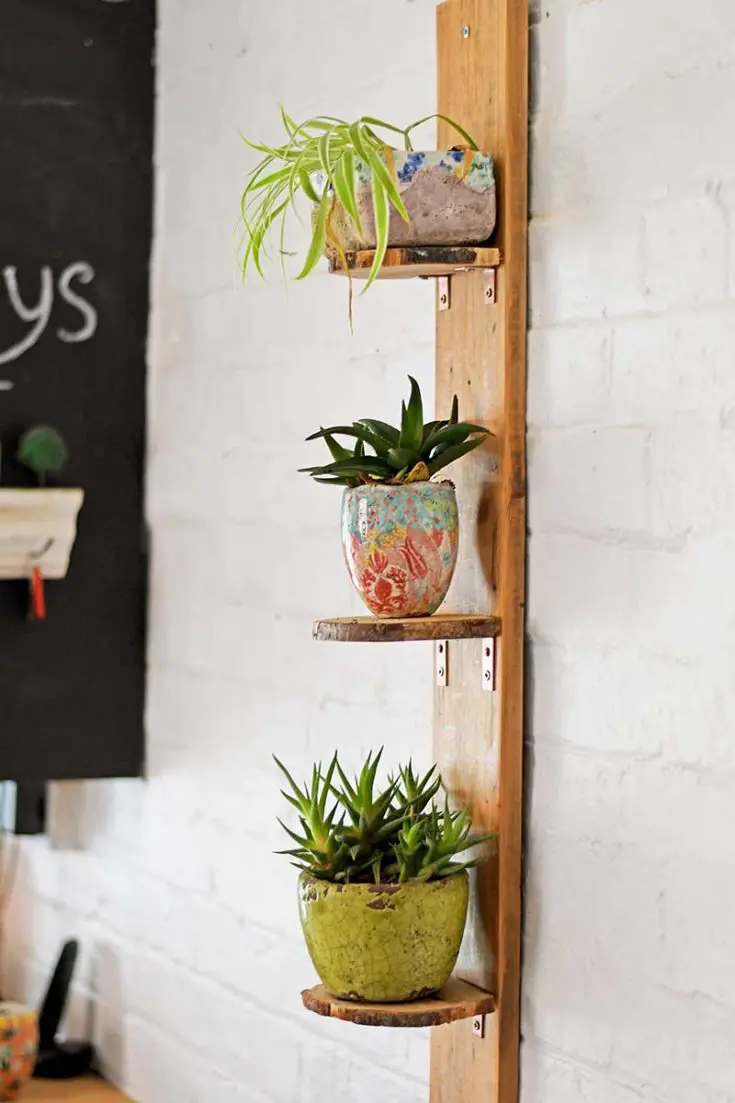
DIY Three-tier natural wood shelves
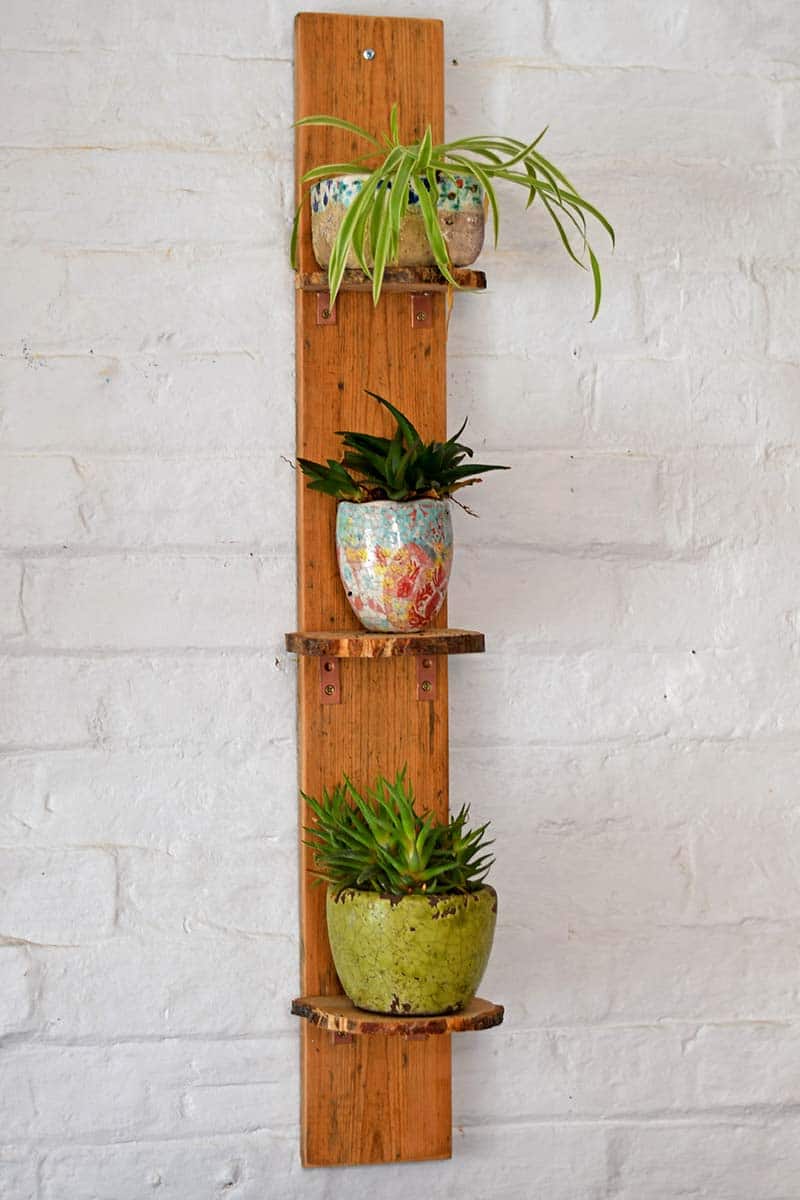
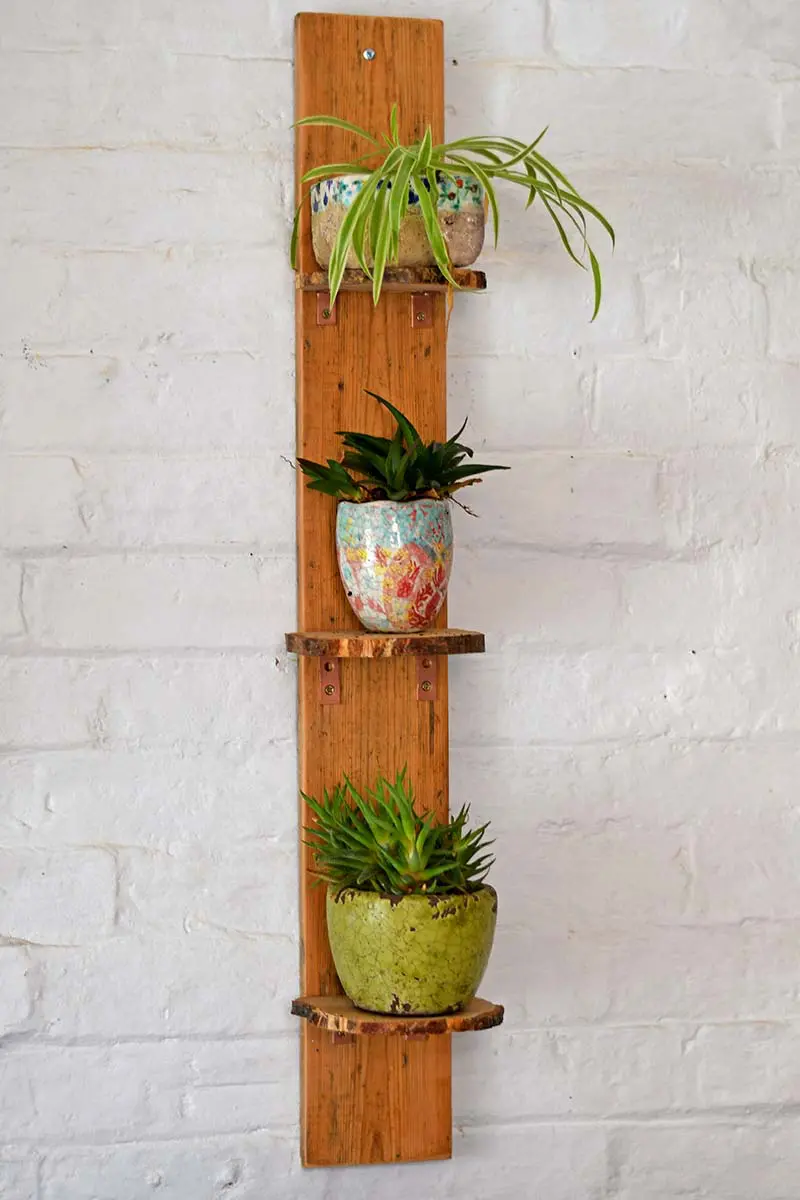
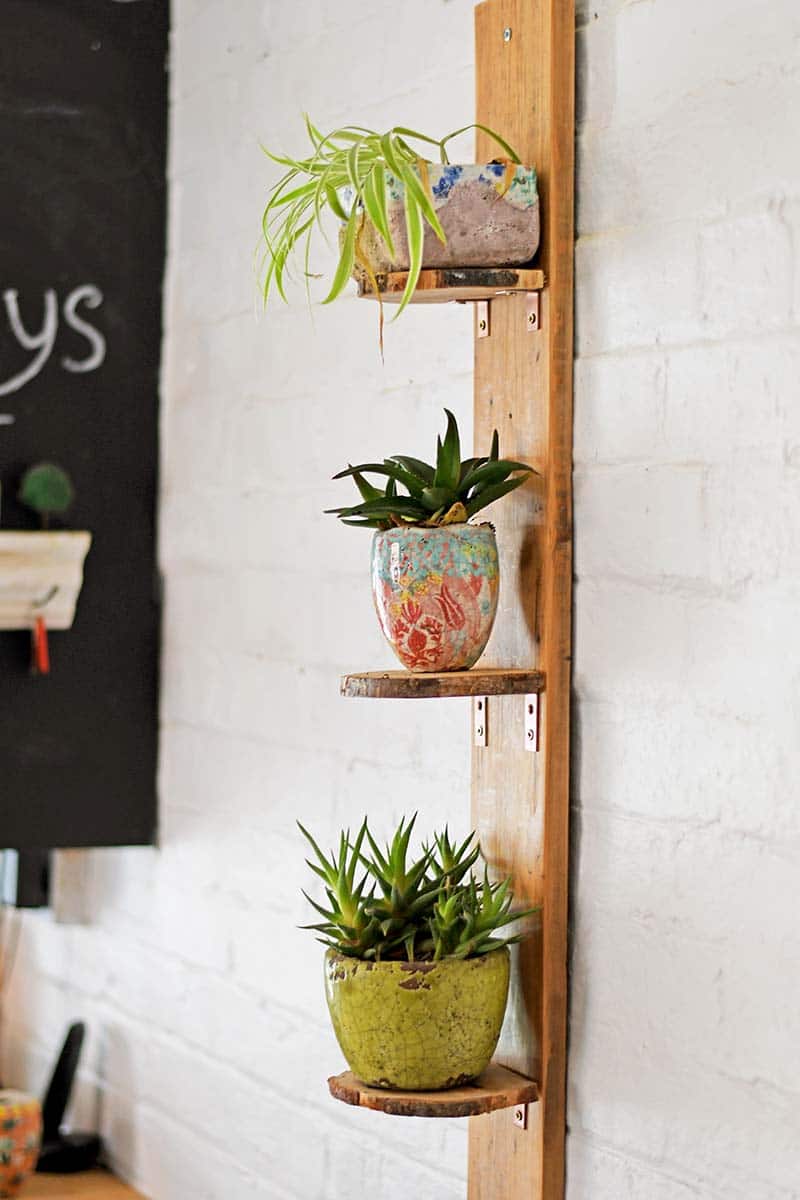
The DIY three-tier natural wood shelves are designed to fit into those awkward, narrow spaces that often go unused. Ideal for Victorian houses or any home with small strips of wall space, these vertical tiered shelves make excellent use of available room. Each tier shelf can hold various items, but they truly shine when used to display indoor plants, taking advantage of natural light to keep your plants thriving.
To make these shelves, you’ll need a few tools and materials, including wood slices, drywall anchors, and some sturdy brackets. The number of shelves can be adjusted based on your needs, and the weight of the plant should be considered to ensure stability. This straightforward DIY project requires only basic tools, making it accessible to anyone, even those new to DIY projects.
We’re a participant in the Amazon Services LLC Associates Program, an affiliate advertising program designed to provide a means for us to earn fees by linking to Amazon.com and affiliated sites. As an Amazon Associate, I earn from qualifying purchases.
What You Need To Make DIY Plant Shelves
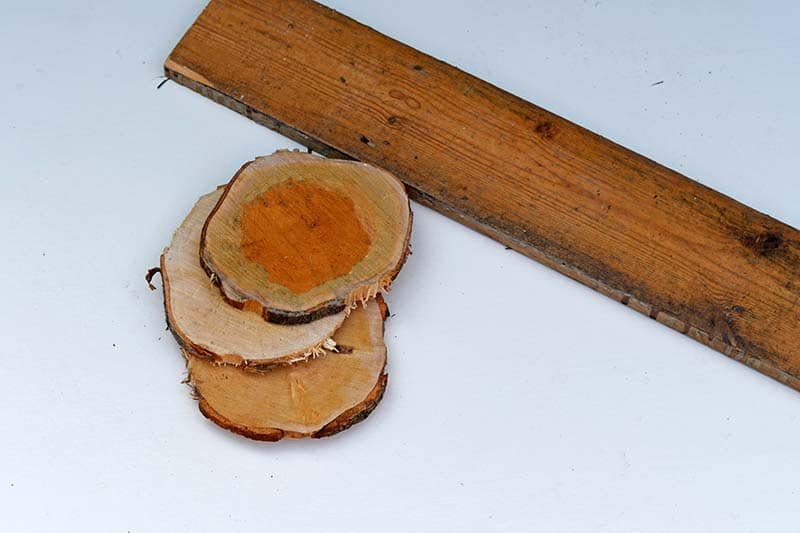
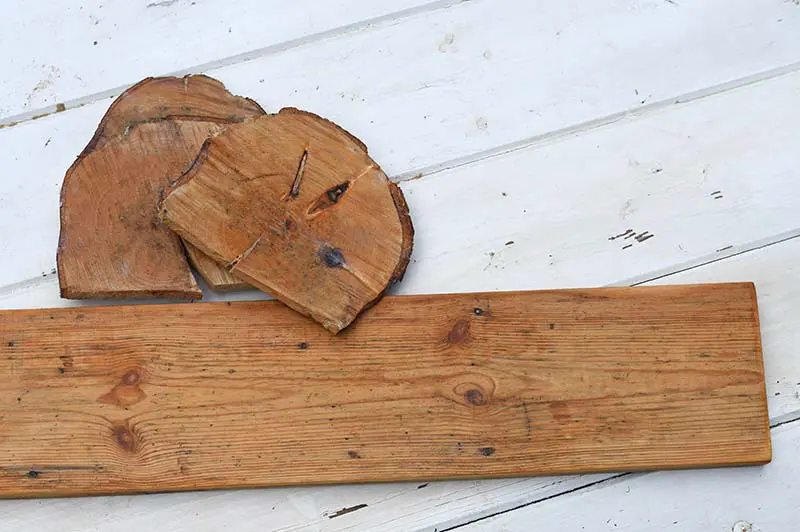
- An old strip of wood (approx 12 cm x 90 cm) – I used a piece of old pine floorboard. I piece of pallet wood would work just as well.
- Three large wood slices (approx 13 – 15 cm in diameter) – If you have a chainsaw you can cut your own, otherwise they tend to be available to buy online or in craft stores.
- Small-angle brackets (corner braces)
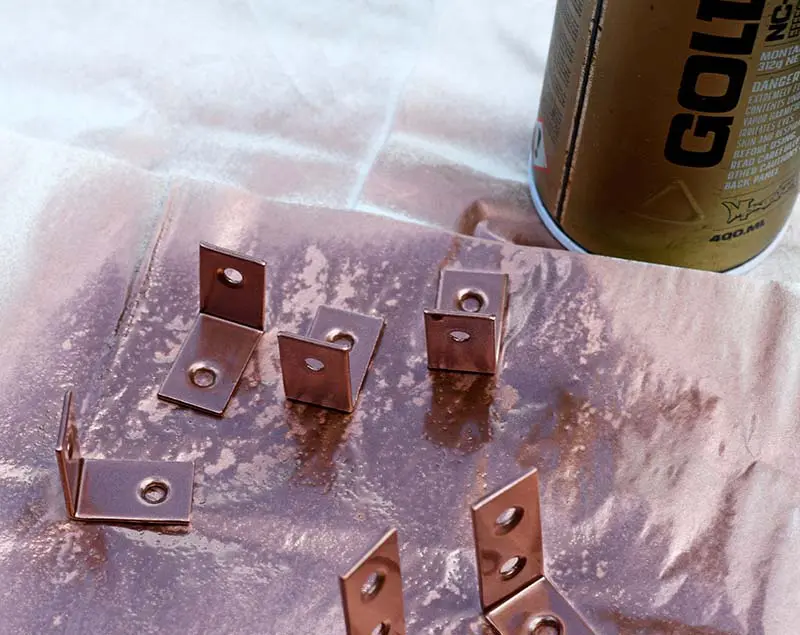
- Copper spray paint
- Saw and an electrical sander
- Clear wood wax.

How To Make DIY Plant Shelves
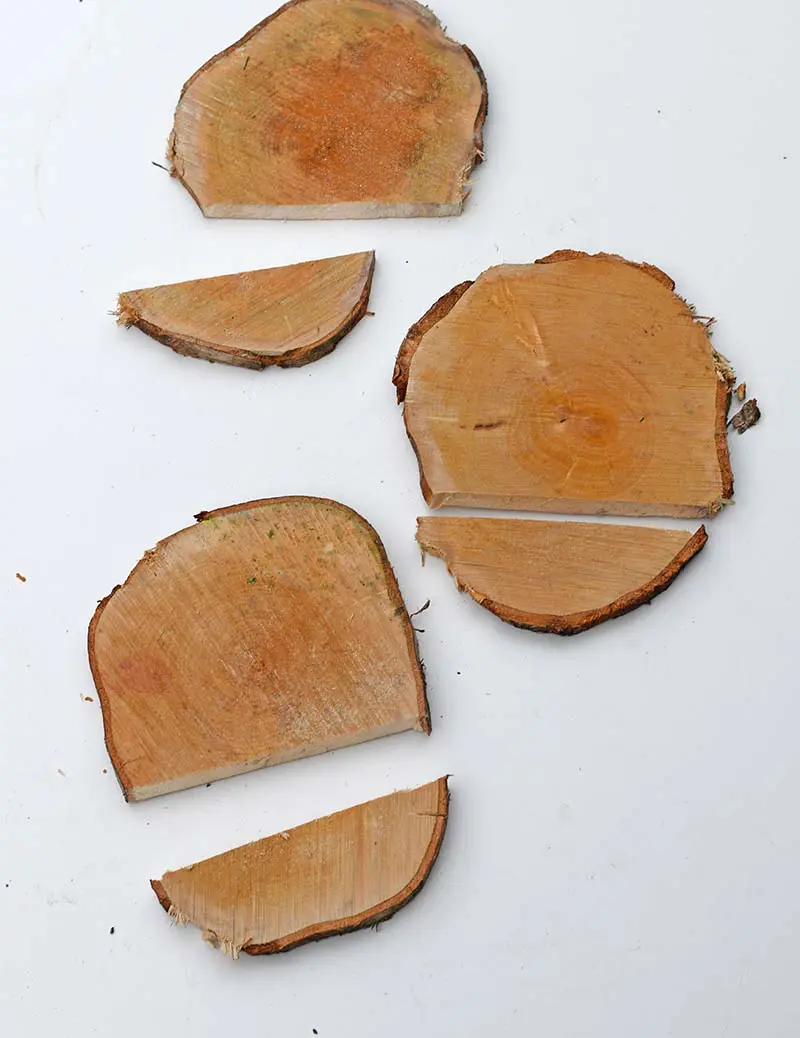
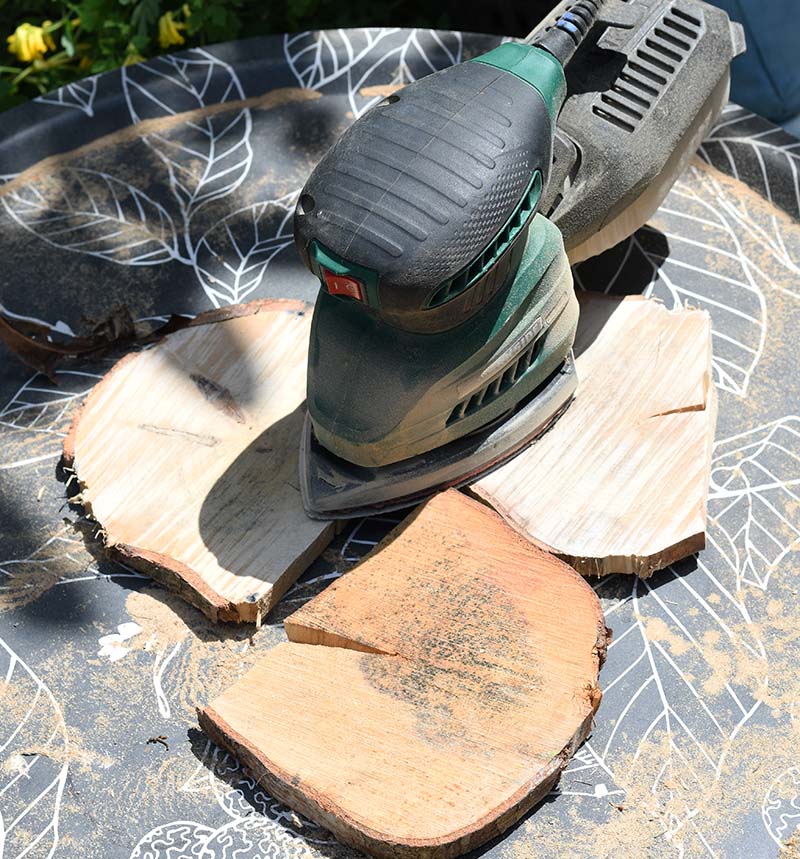
Step 1: The first thing I did was see about a third of each wood slice. For these natural wood shelves, I wanted a flat edge on one side and a round bark edge on the other.

Step 2: Next, sand the flat surfaces of the wood slices. Make sure to protect the bark. That will ensure that you’ll get a live wood edge shelf.
Also, sand the floorboard and smooth off the edges with an electrical sander.

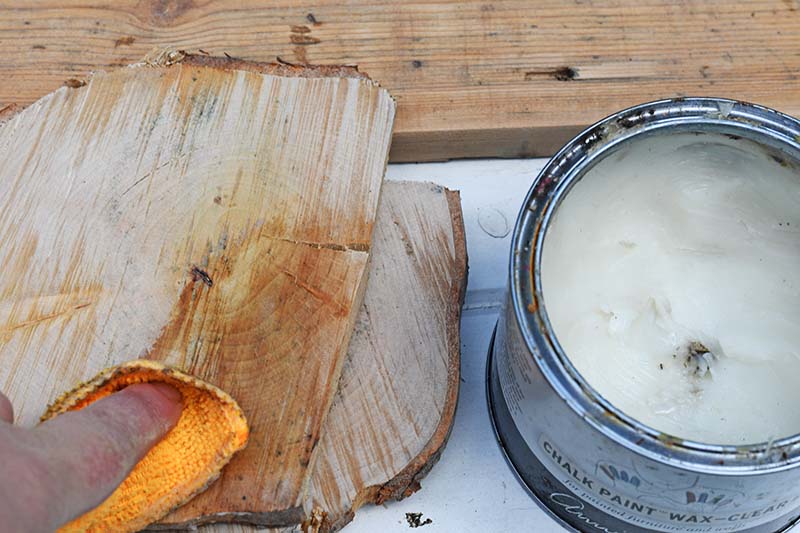
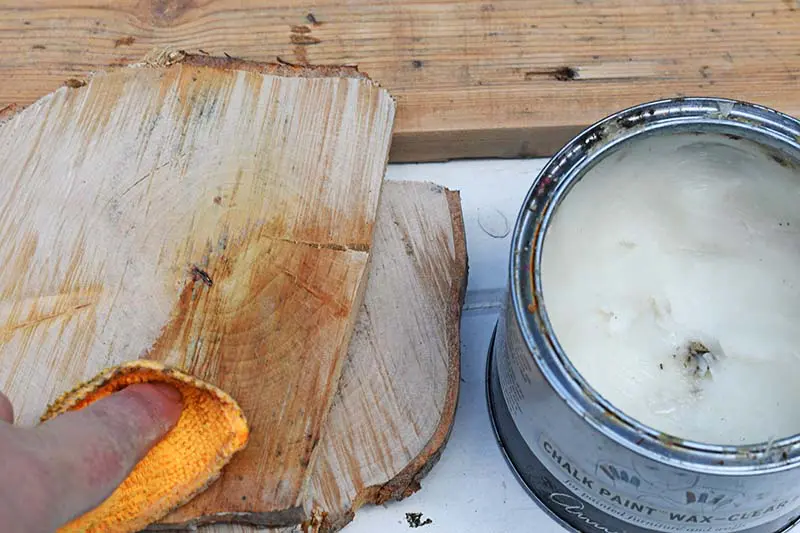
Step 3: To give the sanded wood a lovely finish, rub on some clear wood wax. This will also protect the wood from water spills on your DIY plant shelves.

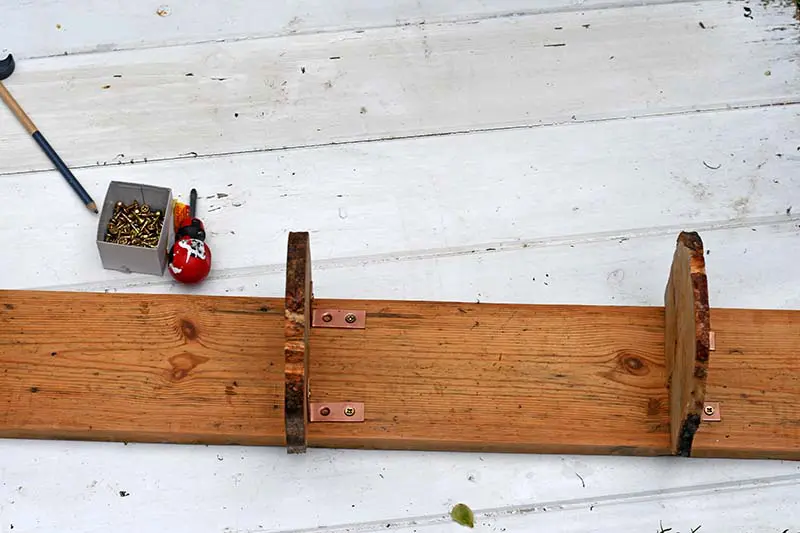
Step 4: This step is optional. I could only find silver angle brackets, so I spray-painted mine copper for a better look with the natural wood shelves.

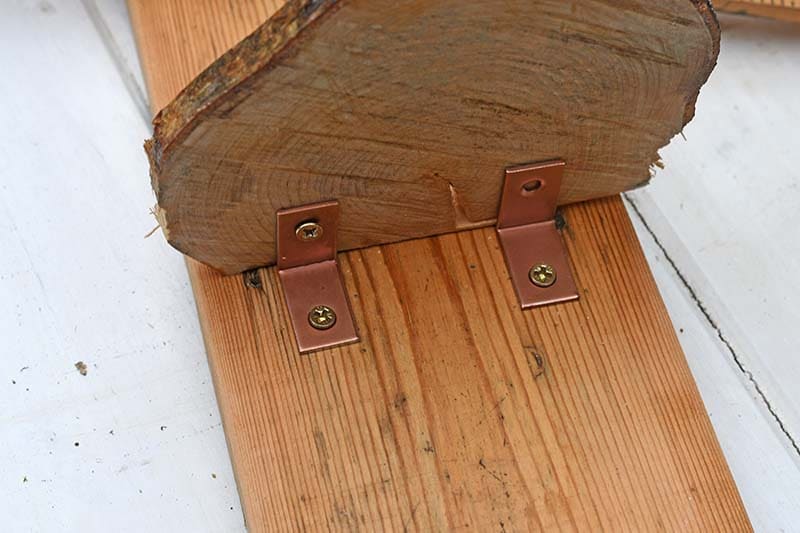
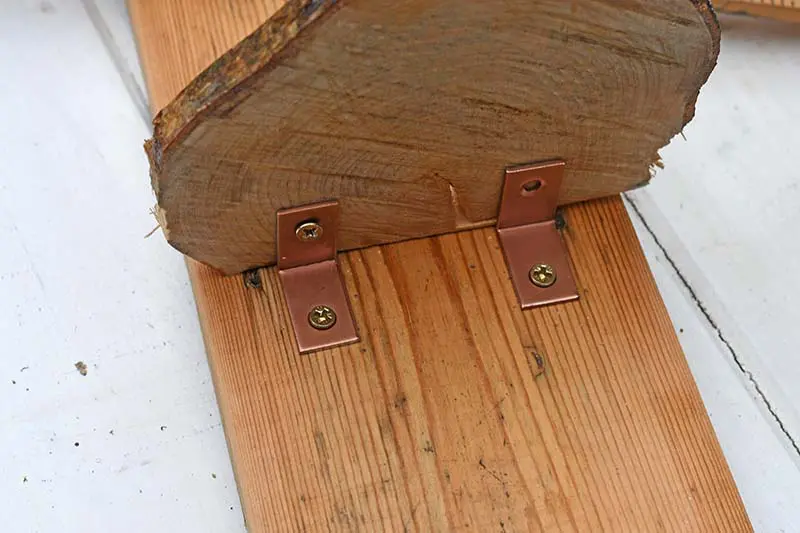
Step 5: Attach the shelves to the wooden floorboard using the painted brackets. Space them out evenly. Leave a bit of exposed wood at both the bottom shelf and the top shelf.


I used two angle brackets to hold up each wood slice shelf. As shown here with the middle shelf.
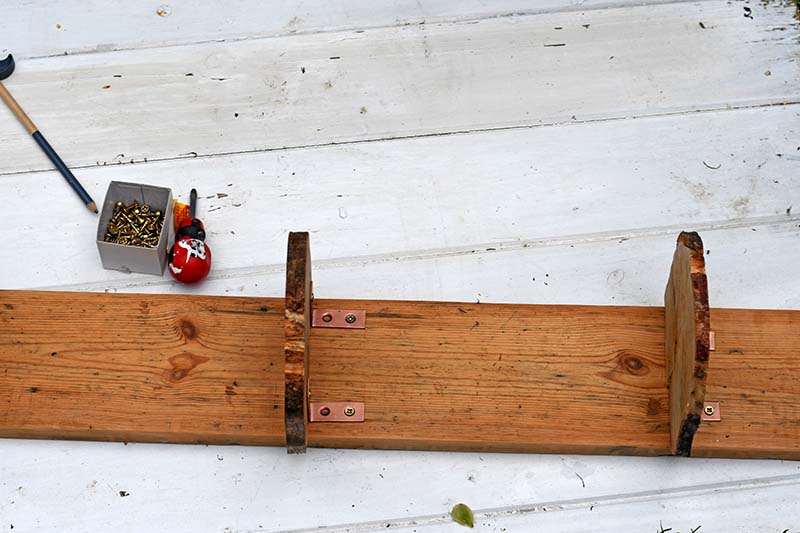
Step 6: Finally, all left to do is hang these DIY plant shelves and add plants. To hang the shelf unit, drill a hole at the top and bottom of the floorboard base. Then screw the board into the wall.


Conclusion & Related Posts
While these DIY plant shelves are designed with plant lovers in mind, they are versatile enough for any use. The natural wood edge complements the organic beauty of plants, but these shelves are equally effective as trophy stands or decorative displays in an office or den. Perfect for tall, thin spaces, these shelves turn narrow wall strips into a focal point of the room.


If you like hanging plants then check out these upcycled bed slats plant shelves and this embroidered hanging plant canvas.
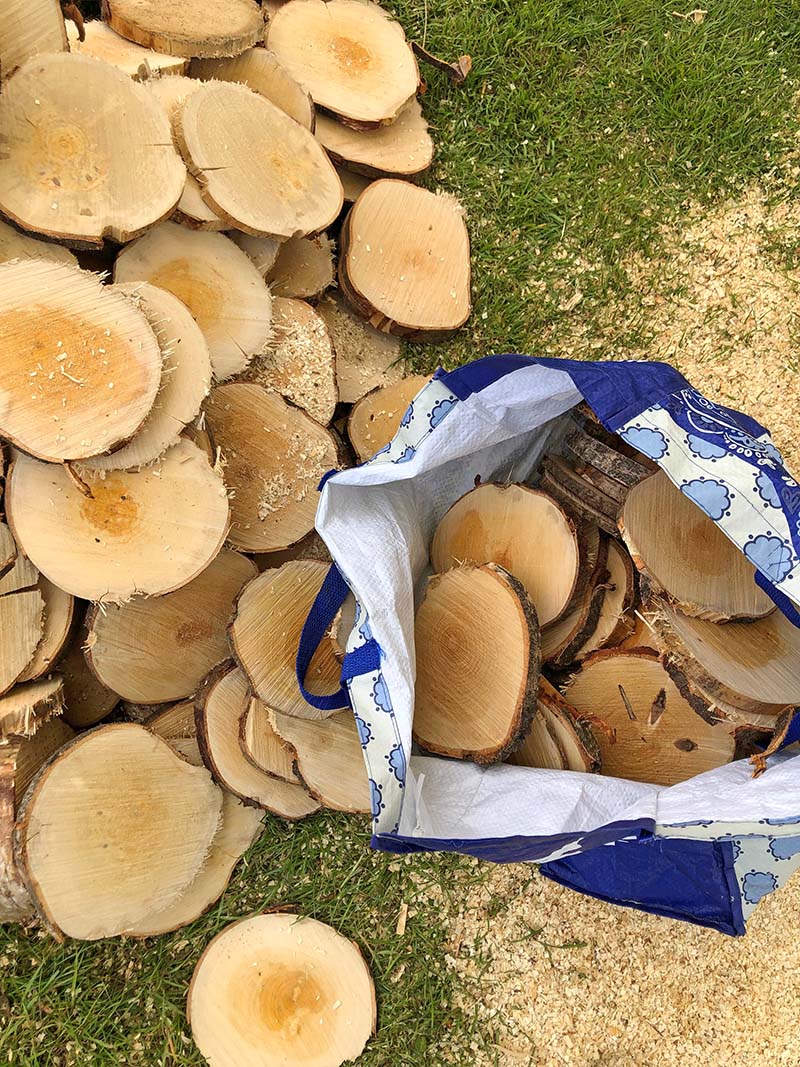
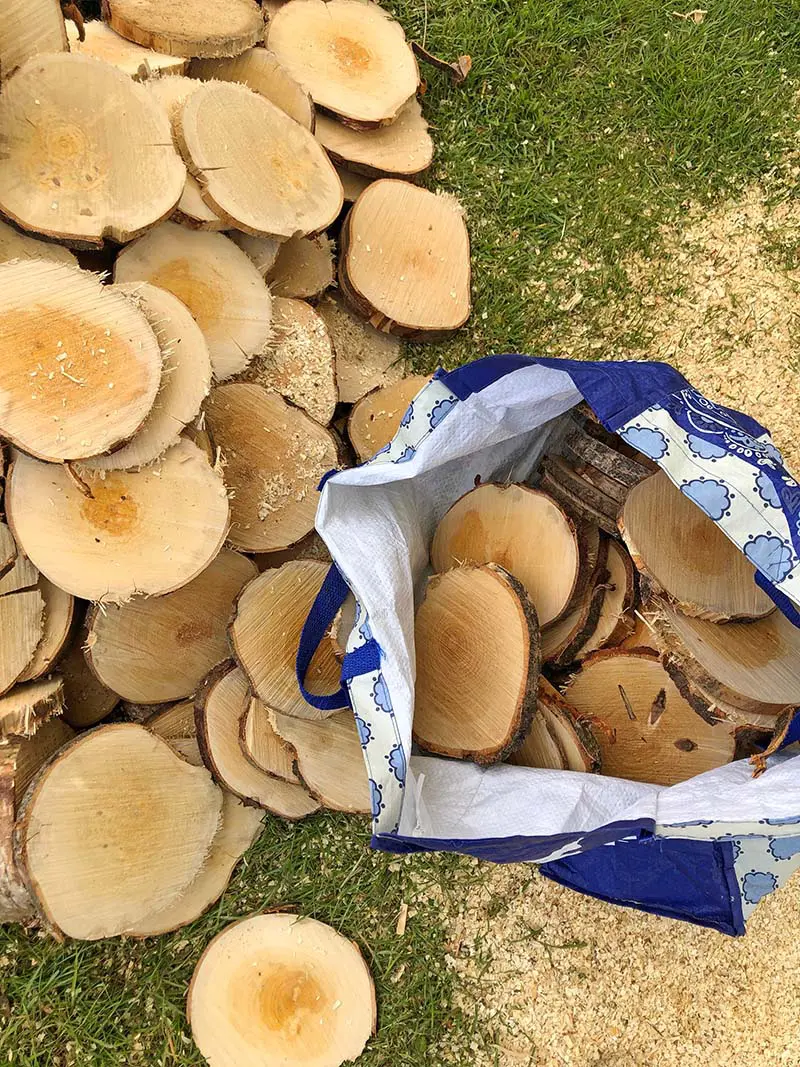
I still have a ton of wood slices left, so there will be some more wood slice upcycles in the future. I’m open to any suggestions. In the meantime, you might want to check out some of my other wood slice crafts.
These plant shelves are featured in the A to Z of clever upcycling ideas and resources.
- DIY Picture frame stand
- Marimekko Christmas Wall Art With Wood Slices
- Frida Kahlo Christmas Ornament
- Christmas Pudding Wood Slice Ornament
If you are looking for some fun and unique DIY planter ideas for your natural wood shelves, check out these posts.
- Velvet Upcycled Planters
- 10 Minute Moroccan Planters
- The Best Tin Can Planters Ideas
- Recycled Jean Planter
DIY Planter Shelves From Wood Slices

This is a handy shelf unit for tall narrow spaces. The natural wood edges of the shelves look cool with plants on them.
Materials
- Large wood slices
- Plank of wood such as a piece of old floorboard
- Angle brackets
- Screws
- Wood wax
Tools
- Electrical sander
- saw
- screw driver
Instructions
- Saw the wood slices about 1/3 across
- Sand and wax all the wood
- Use angle brackets to attach the wood slices to the plank
- Hang using screws, add plants
Linda
Friday 8th of May 2020
I really liked this for my house plants but I'm curious if you had a suggestion since I'm unable/not allowed to screw into the wall for drilling supports but I want a plant stand like this. TIA for sharing your thoughts.?
Claire Armstrong
Friday 8th of May 2020
Hi Linda, the only thing I can suggest is that you perhaps turn it into a free-standing plantstand by attaching it to a wooden base.
Jennifer
Friday 8th of May 2020
Why does your page keeps flipping to a blank page that has “googleleads.g.doubleclick”? It is terribly annoying, and I end up just leaving the project unread. I am planning on deleting this app, page and links because of this. Even while writing this comment, the page flipped 9X!
Claire Armstrong
Friday 8th of May 2020
I'm really sorry I don't know why it is doing that. Everything works well on my end. Perhaps deleting the app you are using and reinstalling it may fix the problem.
Dee | Grammy's Grid
Thursday 18th of July 2019
Thanks for linking up at the #WednesdayAIMLinkParty 41! Shared ♥
Claire Armstrong
Thursday 18th of July 2019
Thank you.
Kim @Serving Up Southern
Tuesday 16th of July 2019
Hi Claire! I'm dropping back by to let you know that you are one of this week's features at Homestyle Gathering. Thanks so very much for sharing at HG! I love seeing you at the party! >>> Kim
Claire Armstrong
Tuesday 16th of July 2019
Thank you, that's awesome I look forward to seeing it.
Erlene
Monday 15th of July 2019
Loving this idea! I always need ideas to use spare wood :-)
Claire Armstrong
Monday 15th of July 2019
Thank you, I have a big bag of wood slices to get through.