
Simple And Fun To Make DIY Light Box Sign
I'm quick and decisive when it comes to the bigger decisions in my life. But I can dither when it comes to the stuff that doesn't matter. With this DIY light box sign, I couldn't decide on just one sign.
I ended up making it so that the signs were interchangeable. So I could then have as many different signs as I wanted.
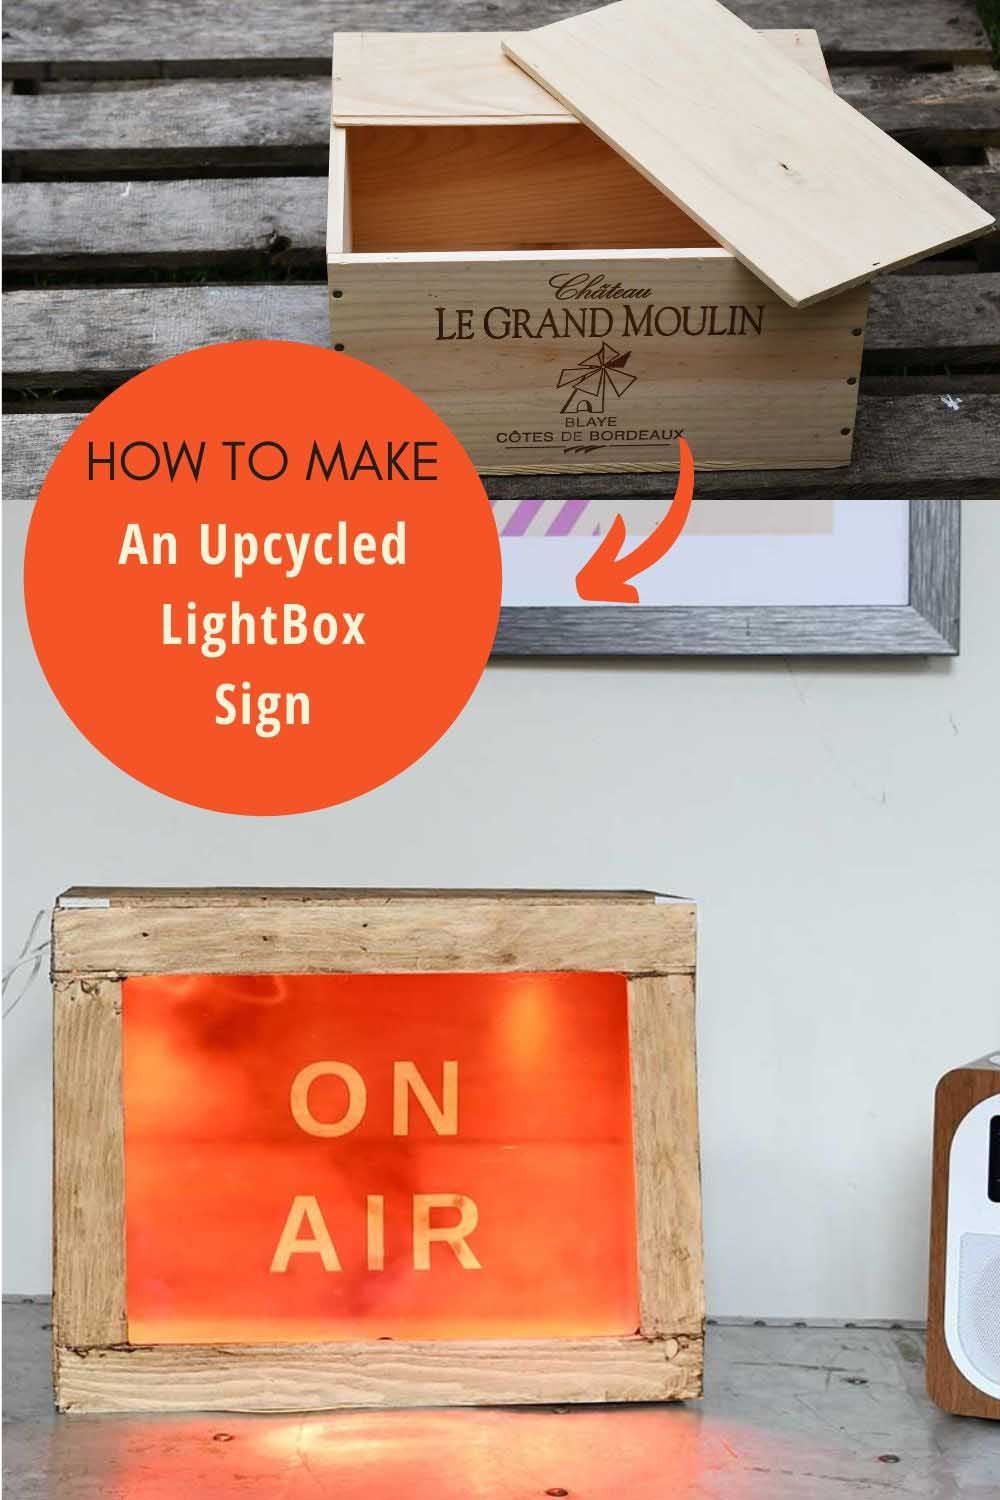
My Aunt turned up at Christmas with another one of her wine box gifts from France. I made my son a DIY nightstand with the box she gave me last year. With this year's wine box, I made a light box.
Use A Wine Box To Make A DIY Light Box Sign
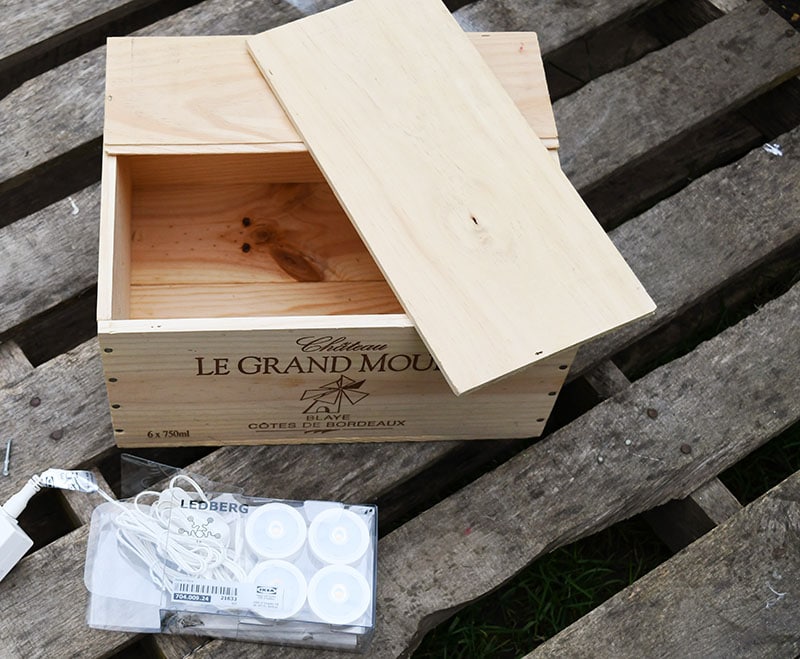
The individual signs were printed onto acetate and the lights used were LEDberg lights from IKEA.
The signs were interchangeable on the light box. I made four different signs to start with.
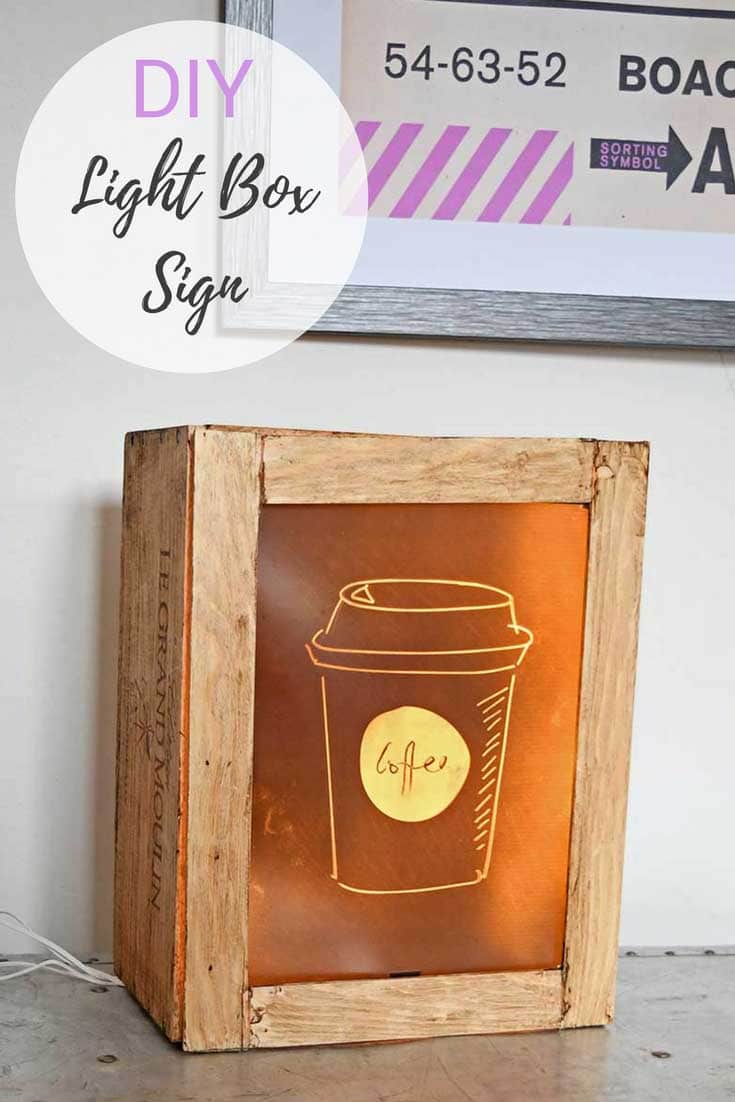
The first was a fun on-air sign like you'd have in a radio station. The second is a colourful bunting sign for celebrations. The third sign was my favourite word, and the fourth was a take-out coffee sign.
I think the COFFEE cup is my favourite sign, well, it is this week!
This light-up sign would make a fabulous handmade guy gift.
We're a participant in the Amazon Services LLC Associates Program, an affiliate advertising program designed to provide a means for us to earn fees by linking to Amazon.com and affiliated sites. As an Amazon Associate, I earn from qualifying purchases.
What You Need
- Wooden Wine box- I used a six-bottle wine box for a large rectangular sign. You could use a single-bottle wine box to make a smaller sign. These wine boxes are often available from your local wine merchants, sometimes for free. At worst, you'll have to buy some wine and drink it to get the free box.
- IKEA LEDberg Spotlights - other similar spotlights can be used; those with a sticky back for cupboards and closets are good too.
- Dark wood wax
- Inkjet Printable Acetate
- Velcro dots and/or double-sided sticky pads.
TOOLS.
- Drill
- Inject Printer
- Hacksaw
- Hot Glue Gun
How to Make A DIY light box Sign
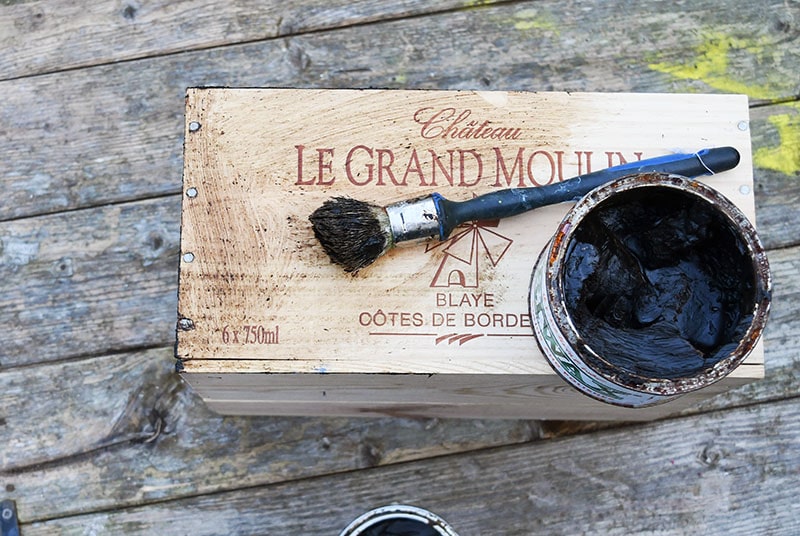
Step 1: First, the wine box I used for this sign was new. I brushed and buffed it with dark wax to age the box and give it a more retro look. After waxing, the lovely embossed writing on the box was still visible. I think this just added interest to the finished light box sign.
You could leave it as it is or paint it bright to fit with your decor. My son wants me to make him one of these signs for his room, and I'll paint that one.
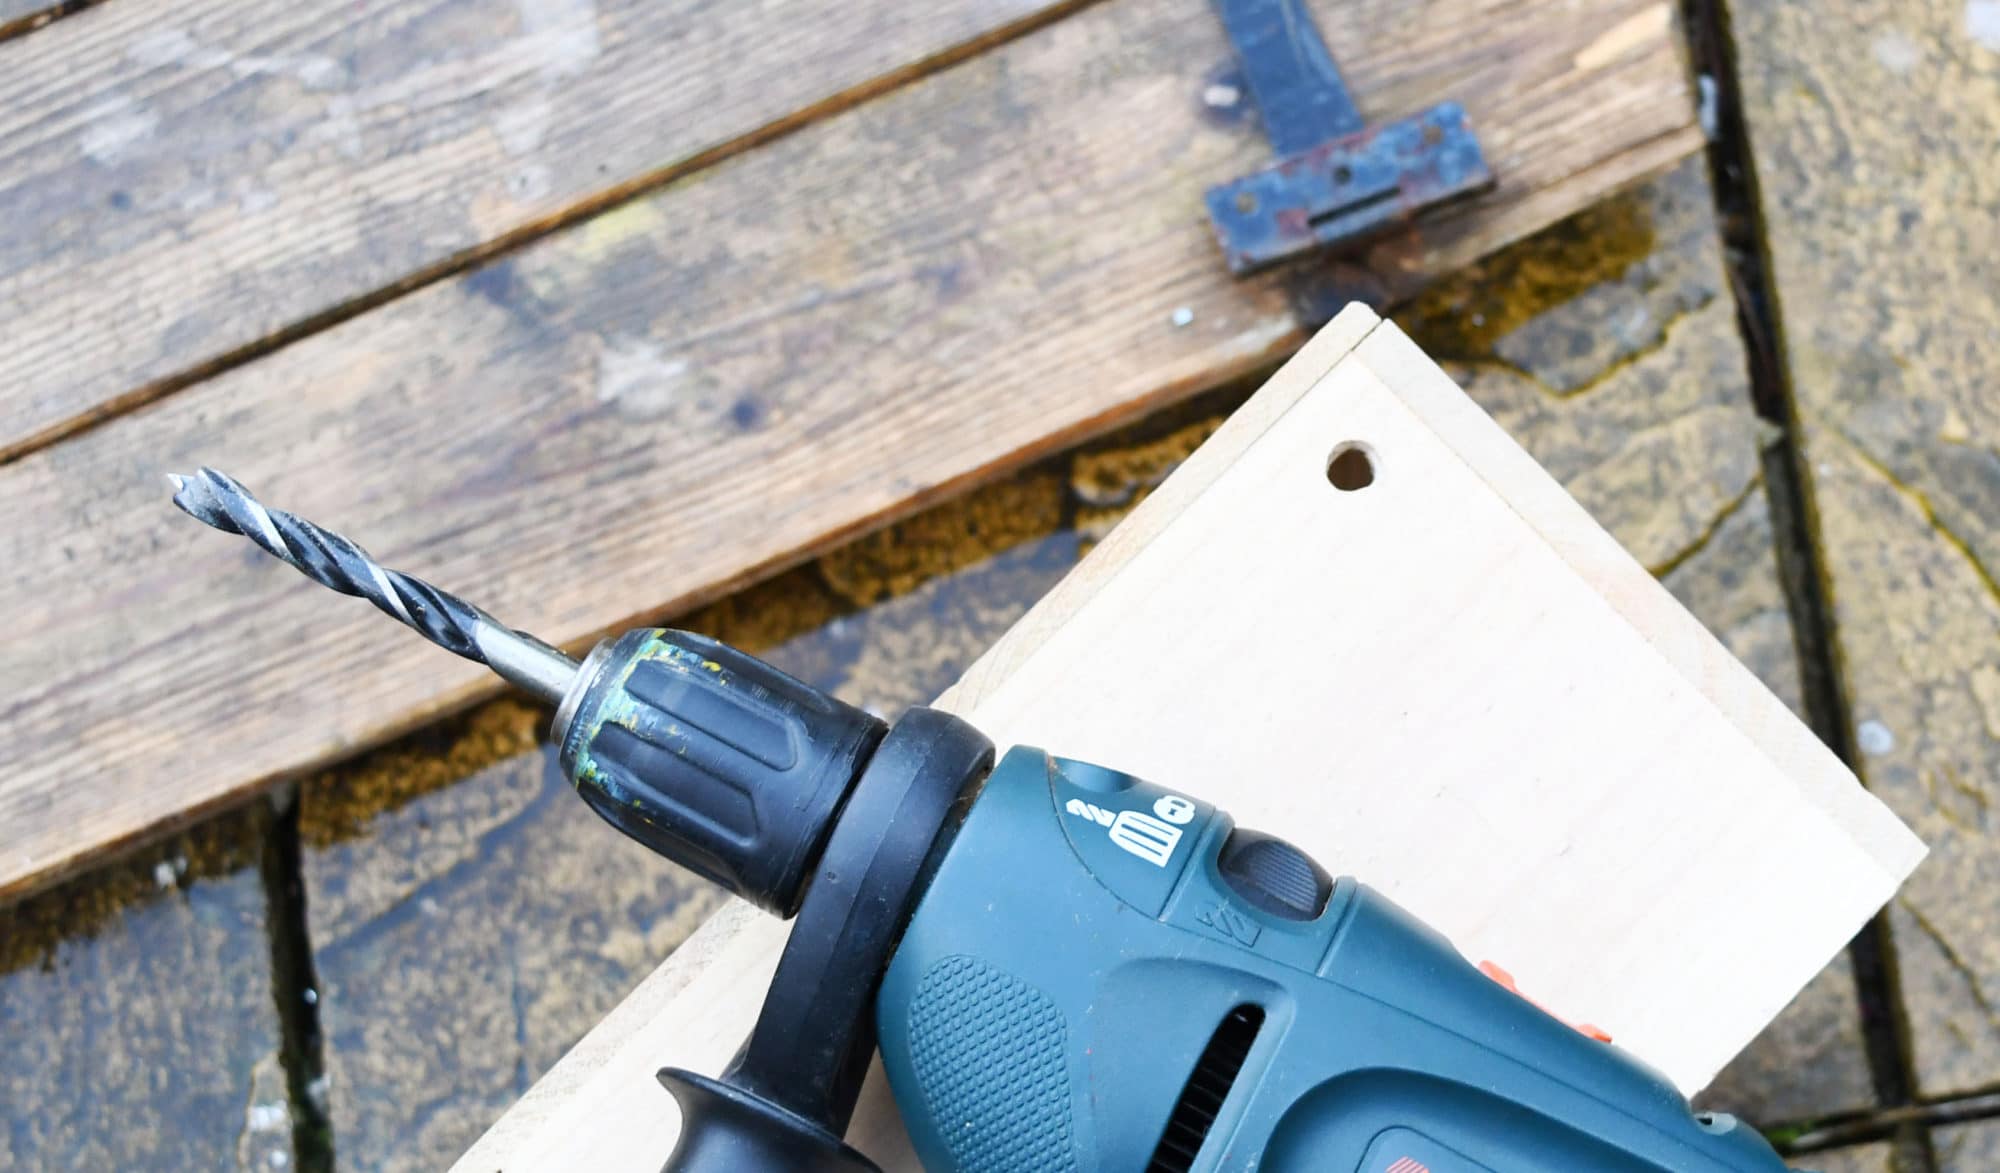
Step 2: Next, drill a hole in the top corner of the wine box (near the backplate). The hole should be large enough to feed through the wires of the IKEA Ledberg spotlights.
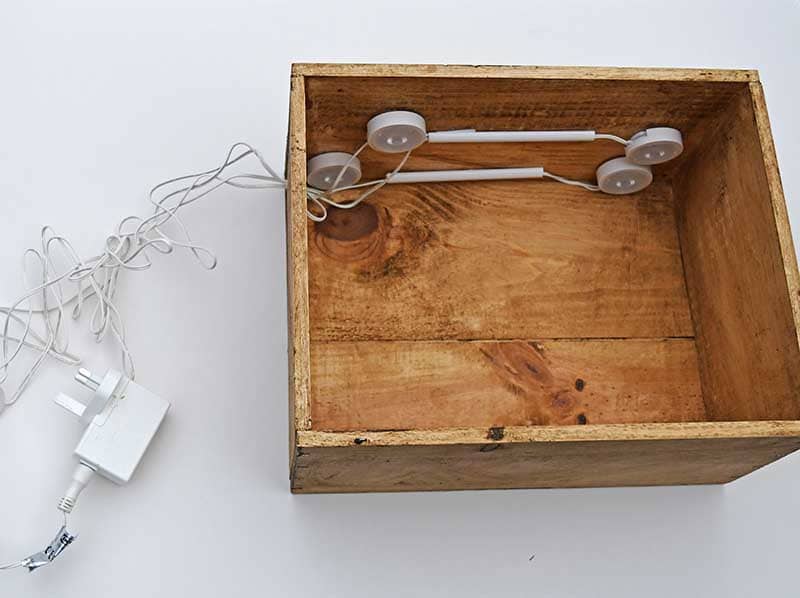
Step 3: Next, place the IKEA Ledberg spotlights inside the box. Fix them to the top of the box using the sticky pads provided. Feed the wires through the drilled hole.
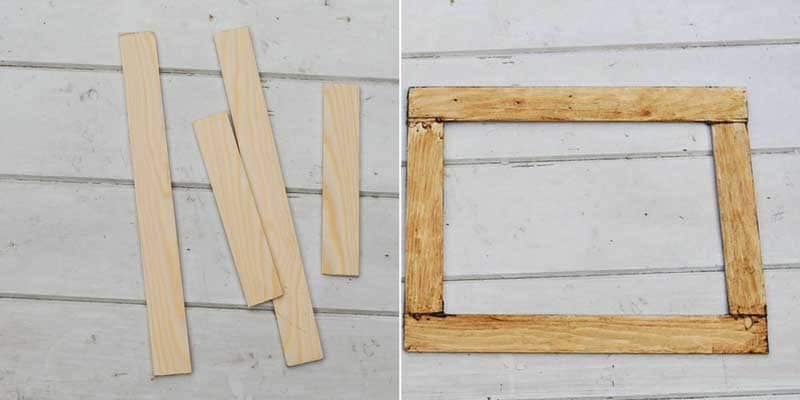
Step 4: Make a frame mount for the printed light box sign. You can cut one from the box lid or use scraps of craft wood to make a simple frame.
I made mine from wood scraps glued together with a hot glue gun and then waxed to match the wine box.
Printing the DIY lightbox signs.
Step 5: As I've already mentioned, I designed four signs for my light box. They were all standard computer A4 size. You are welcome to use my designs or make your own.
To use my designs, click on the title of the one you want. It will open as a new window in your browser.
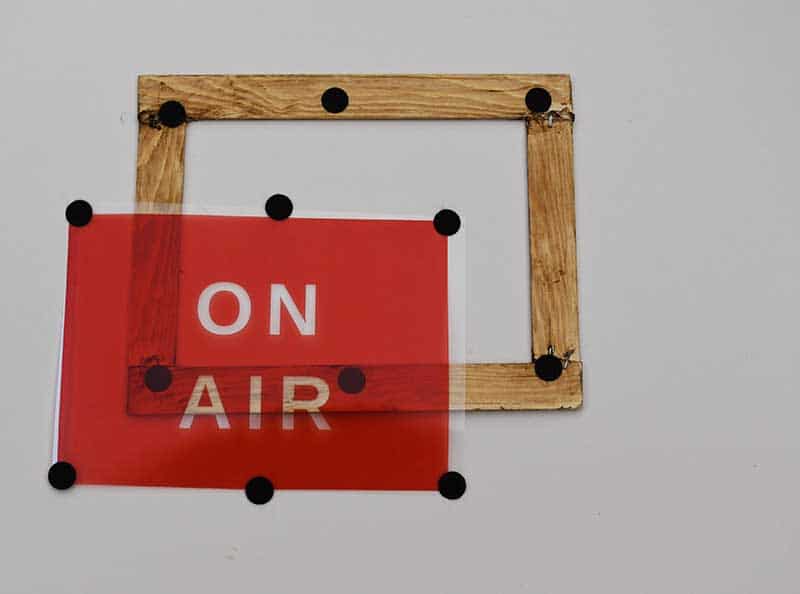
I used my inkjet printer to print the signs onto the acetate paper. However, when I first printed the signs, the colour was not as saturated as I wanted.
The colours were a bit light, so I printed two copies of the same sign to fix this problem. I then stuck them together. This increased the colour saturation.



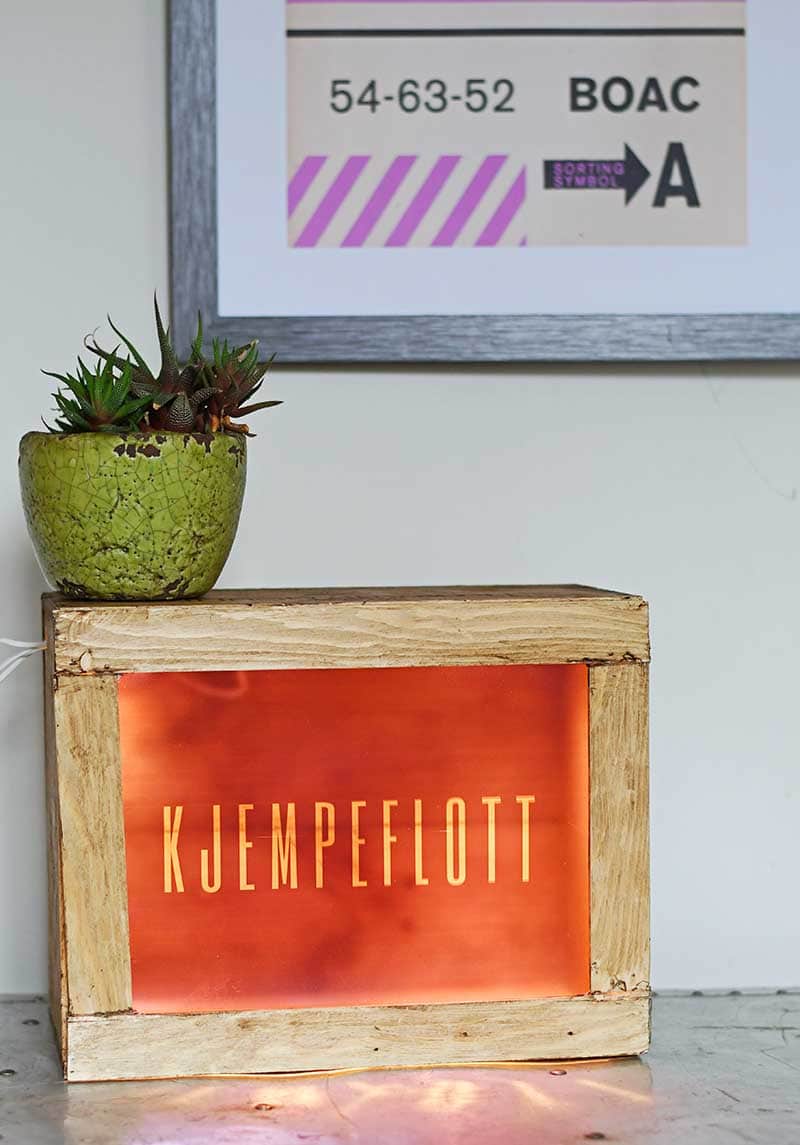
If you are wondering what the"KJEMPEFLOTT" sign is all about. "KJEMPEFLOTT" is my favourite word, which I use a lot. It is Norwegian and means awesome! You will have to visit Google translate for the pronunciation.

Step 6: Next, stick the acetate sign to the frame using Velcro dots or double-sided sticky pads. Using these methods to attach the acetate means that the signs are not permanently fixed.
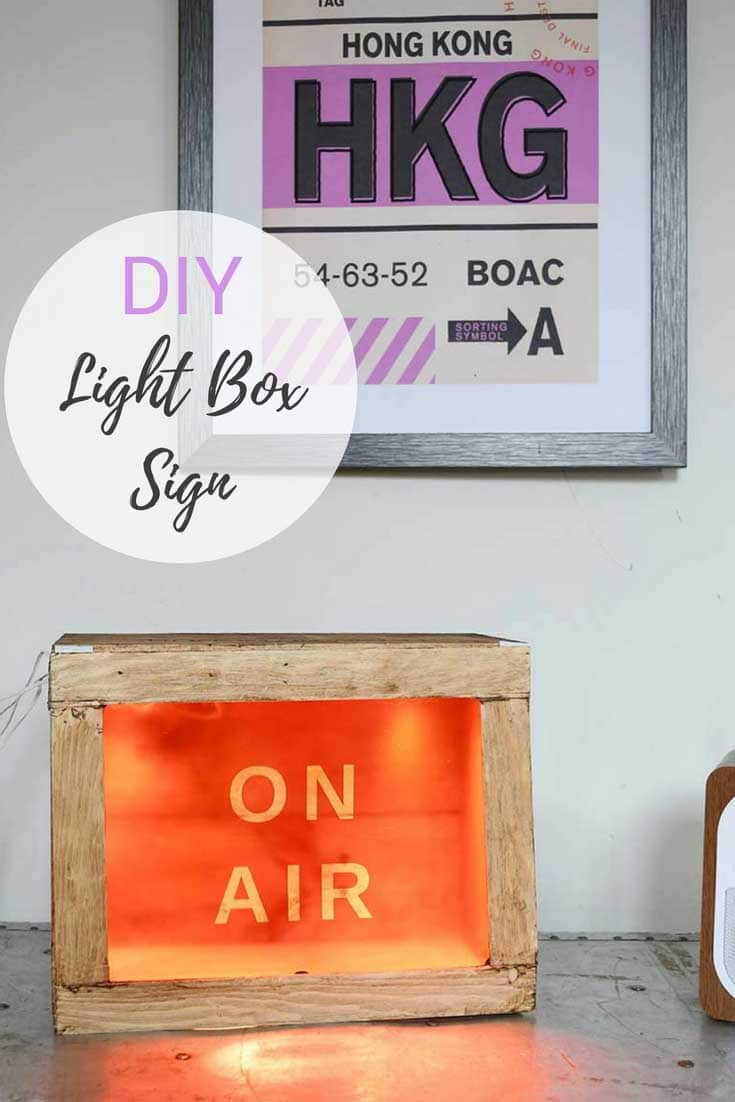
It's easy to change the signs when you fancy a change. Whilst working in my home office, I use the On Air sign. I switch the lightbox to the bunting sign when it's someone's birthday.
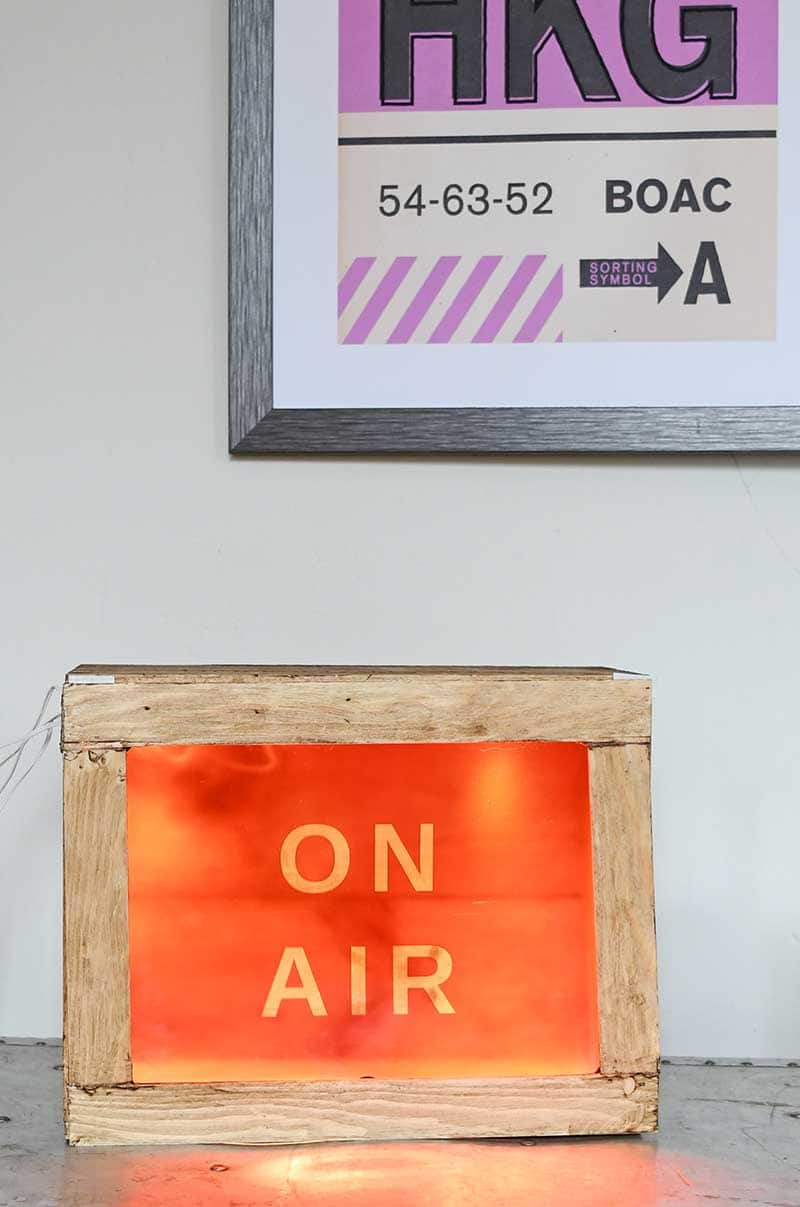
As you can see, I had fun designing the different quotes and pictures for the DIY lightbox sign. The Coffee sign is my favourite. I will use the bunting sign for birthdays and other celebrations.
I will design and print off different signs for holidays, such as a heart for Valentine's and a tree for Christmas.
Light box sign ideas
What words or phrases would you use for your lightbox?
As I mentioned, my son wants one for his room. He is big into travelling, and I have made many map themed decorations for his room, such as his map mason jar money banks and map themed pinboard. Keeping with this theme, I have designed a "gone wandering sign" for his lightbox.

There are many more ideas for repurposing and upcycling wooden crates and wine boxes here.
How To Make A Lightbox Sign
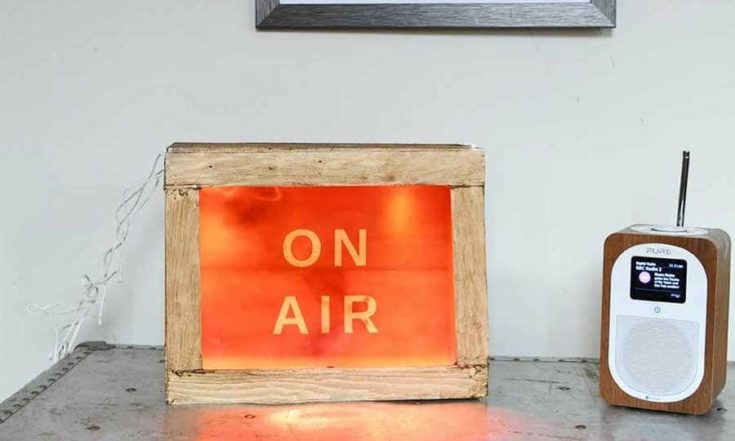
A very affordable way to make a homemade lightbox sign from an upcycled wine box. There are four different signs to choose from, including this On Air sign, a coffee sign, and a bunting sign for celebrations.
Materials
- Wine box or wooden box
- Led spotlights
- Printable acetate paper
- Velcro dots
- Wooden strips to make a frame
Tools
- Drill
- Ink jet printer
Instructions
- Paint or wax the wine box depending on your decor. Remove the lid if there is one.
- Drill a hole in the top corner of the box at the back. The hole has to be just big enough for the spotlight wires.
- Feed the wires through the hole and stick the LED spotlights to the inside top of the wine box.
- Make a simple frame for the front of the box using four pieces of wood and glue or small tacking nails.
- Choose from one of the four lightbox sign or design your own. Print the sign onto acetate paper twice.
- Stick the two pieces of acetate together, on top of each other (this is to increase the color saturation).
- Use the velcro dots to stick the acetate sign to the wooden frame. The velcro dots enables you to change the sign when you want something different.
- Fix the frame to the front of the winebox using the velcro dots.
- Plugin and turn on the LED spotlight
There are other ways to make illuminated signs for your home using el Wire. This wire comes in loads of beautiful colours and is very affordable. I have used it to make a custom neon sign for my son that spells out his name.
The wire is great fun to use for illuminated string art, like with this neon Valentine's heart or illuminated pumpkins for Halloween.
The light box turned out so nice. The original wine box was so pretty it was a good place to start! Thank you for sharing with us at Party in Your PJ'a!
Thank you so much. The wine boxes are fun to craft with.
Clever clever clever clever CLEVER! I want to make one!
I've featured you in this weekend's DIY Salvaged Junk Projects too! Thanks for linking up! 🙂
Thank you so much Donna. Have a great weekend.
WOW What a fabulous idea Claire! Love how you used an old wine box to make this! Brilliant!
Thank you, Sam. I have a steady supply of wine boxes, luckily.
Great post! Thanks for sharing at TFT!
Thank you, Amber.
You are literally like a crafting machine Claire!!!! You never stop!!! I think — if all the makes of yours that I've seen so far — this one is my favourite. I love the ON AIR one! I used to work on the radio and there was a real one of those on the wall. It would be great to recreate it at home. Shame I'll have to go and buy myself a box of wine before I can make a start though 😉 Thanks for linking up to #HomeEtc Caro xx
Thank you, Caro, sorry to make you go and buy wine! Unfortunately for me, it's probably too much crafting and not much else.
How awful, your readers are now forced to go to a wine merchants to buy a half decent bottle of wine in a box - what hardship you cause for us!!!
I love this idea, and may be forced to go and buy wine in a box myself. Purely for crafting purposes of course. Does the frame just prop against the box or is it fixed?
My mum always used to say her favourite word was the german for pencil sharpener - Bleistiftspitzer. I think mine would be Blatherskite, a word I came across a year or so ago which means a person who talks a load of nonsense.
Sorry, to force you to drink wine ?. I just used sticky pads to stick the frame to the front of the wine box so it was easy to change the signs. You could hinge it for a more permanent fixture. I like Blatherskite but I think you’ll need an extra large wine box for that one!
Fabulous tutorial! Thank you for sharing at Vintage Charm!
Thank you ?
I'd like to make one that says, "BED TIME" so when the light goes on the kids know to get ready for bed.
You CRACKED ME UP when you said, "At worst you’ll have to buy some wine and drink it to get the free box."
Thank you, Audra. It wouldn’t be too much of a hardship having to drink all that wine. ?
I think you've just given me the best idea for my niece's birthday present later this year. She's in her early teens and would love something like this! X #HomeEtc
Thank you, Lins. It is fun as it’s so easy to customise.
This is sooo fantastic! What a great idea!
Thank you!
I'm seriously impressed! It's such a simple and effective idea! My 15 yr old just peered over my shoulder and loved it! Thanks for the idea! #HOMEETC
Thank you, yes it is easy. I bet your 15year old can think of a good sign to make.