
How to Make Personalized Map Chairs
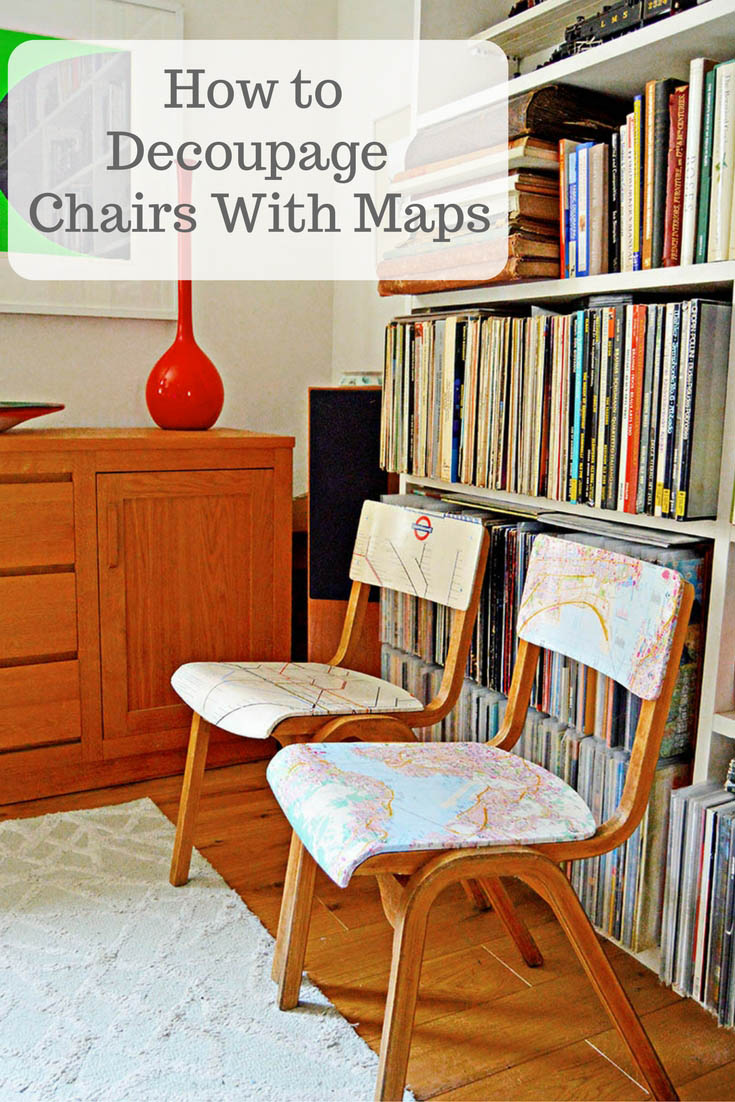
These gorgeous map chairs are really easy to make for very little cost. They are also extra special, as I made them with maps that have great sentimental meaning.
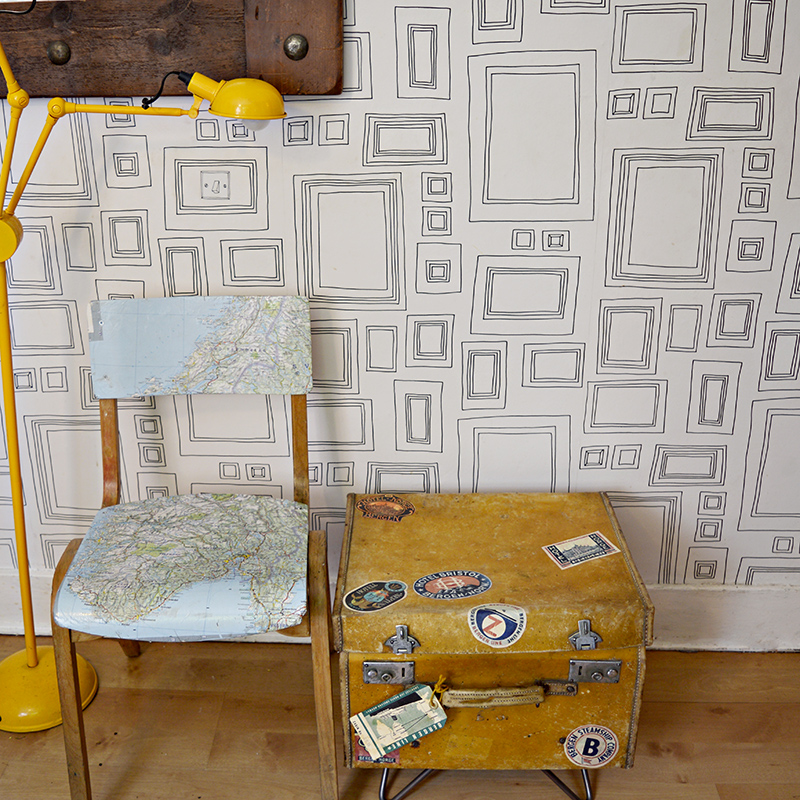
My husband's family is from Norway and my kids love the country so I made one map chair with a Norwegian roadmap.
Hong Kong is a special place full of magical memories for me, as I was born and brought up there. Therefore I used a Hong Kong street map for another chair.
Finally, for the third chair, I used a London tube map, as I love London having lived, studied and worked in the city.
We're a participant in the Amazon Services LLC Associates Program, an affiliate advertising program designed to provide a means for us to earn fees by linking to Amazon.com and affiliated sites. As an Amazon Associate, I earn from qualifying purchases.
How to Make Personalized Map chairs
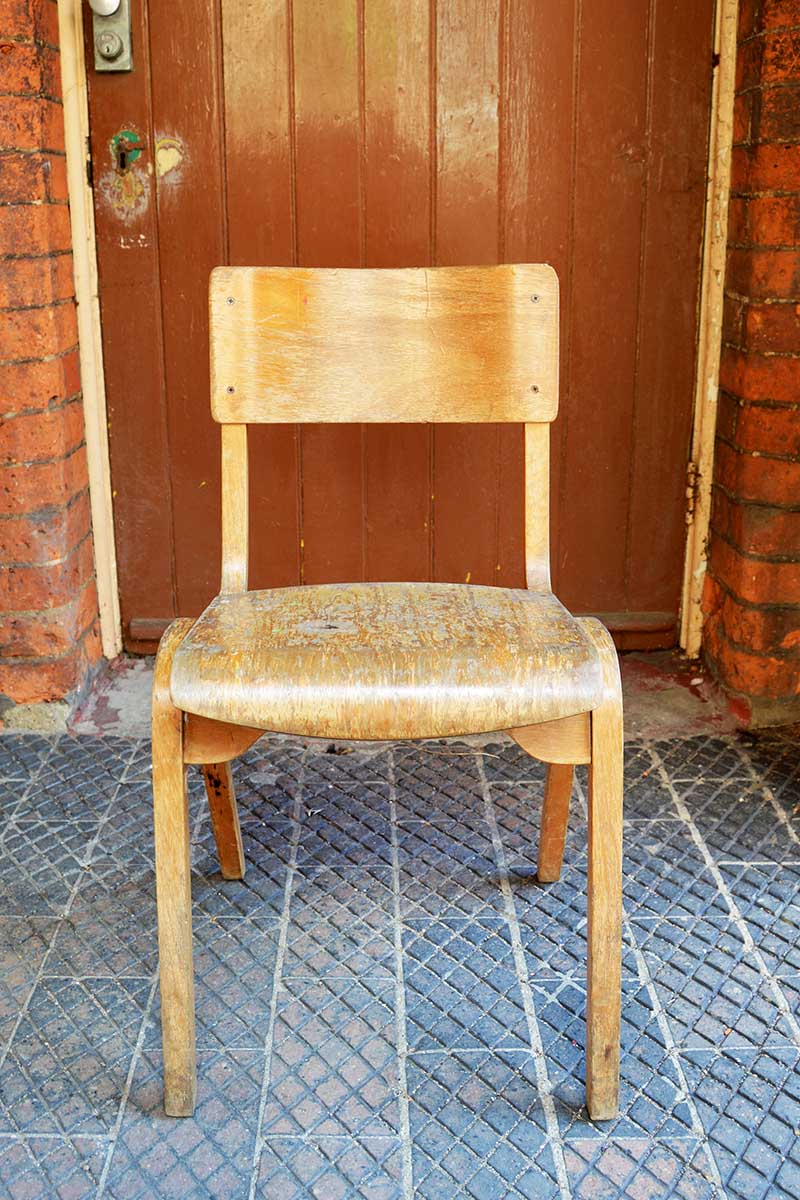
I'm fortunate in that I have a junk shop at the bottom of my road. Plus I live around the corner from an auction house. It's easy for me to find old chairs.
The chairs I used here actually came from my local scout hut, where I'm a Beaver leader.
As the chairs are going to be covered in maps, they don't need to be in the best of condition. That means hopefully you should be able to pick some up very cheaply from your local second-hand store.
Any map can be used to cover decoupage the chairs. However, you might want to personalize your chairs by using a map local to you, or a map of a favorite holiday destination.
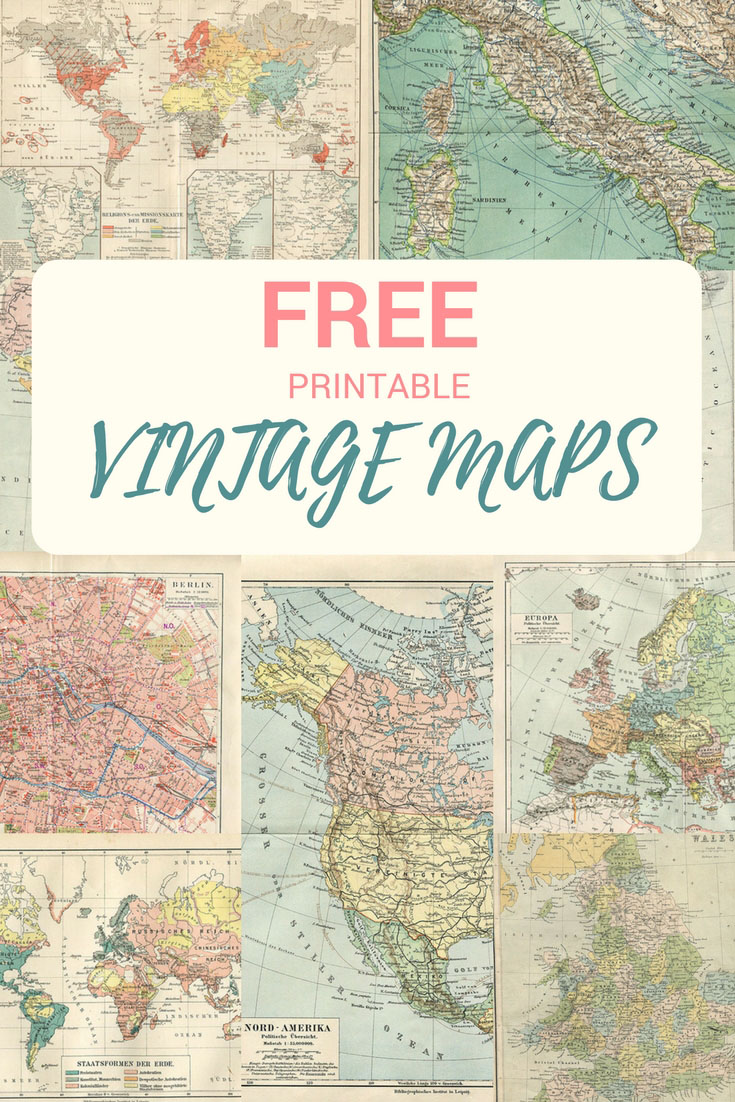
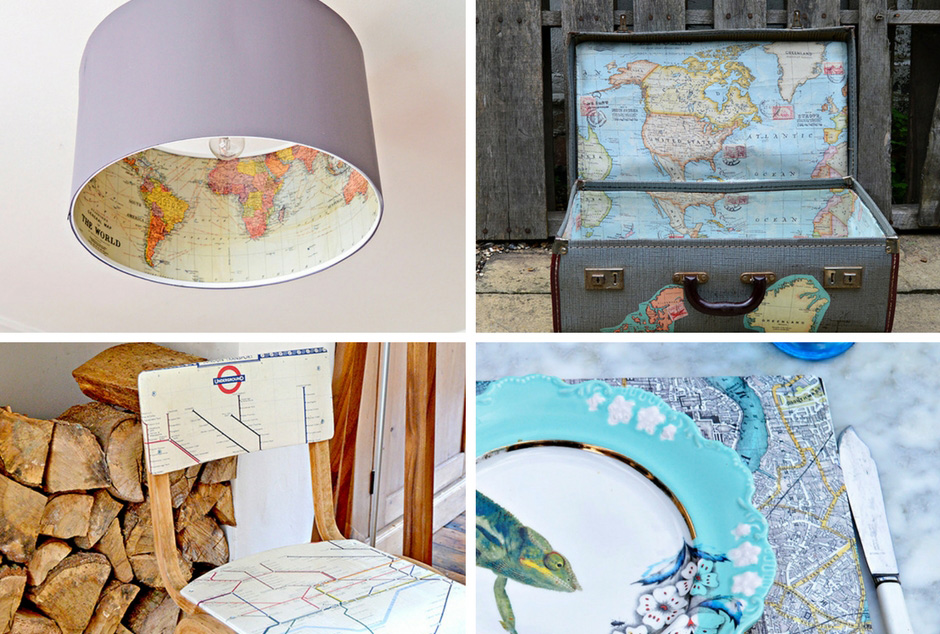
The London underground chair was made using 2 sheets of Cavallini tube map wrapping paper. There is a very vintage London tube map you can download for free here.
What you need to make the map chairs
- Old school chair, or any chair with wooden seat and back
- Maps - can be road maps, street maps or even wrapping paper with a map print
- PVA glue or Mod Podge
- Brush for glue
- Sandpaper
- Scissors, scalpel
- Waterproof varnish
- Screwdriver
How to make map chairs
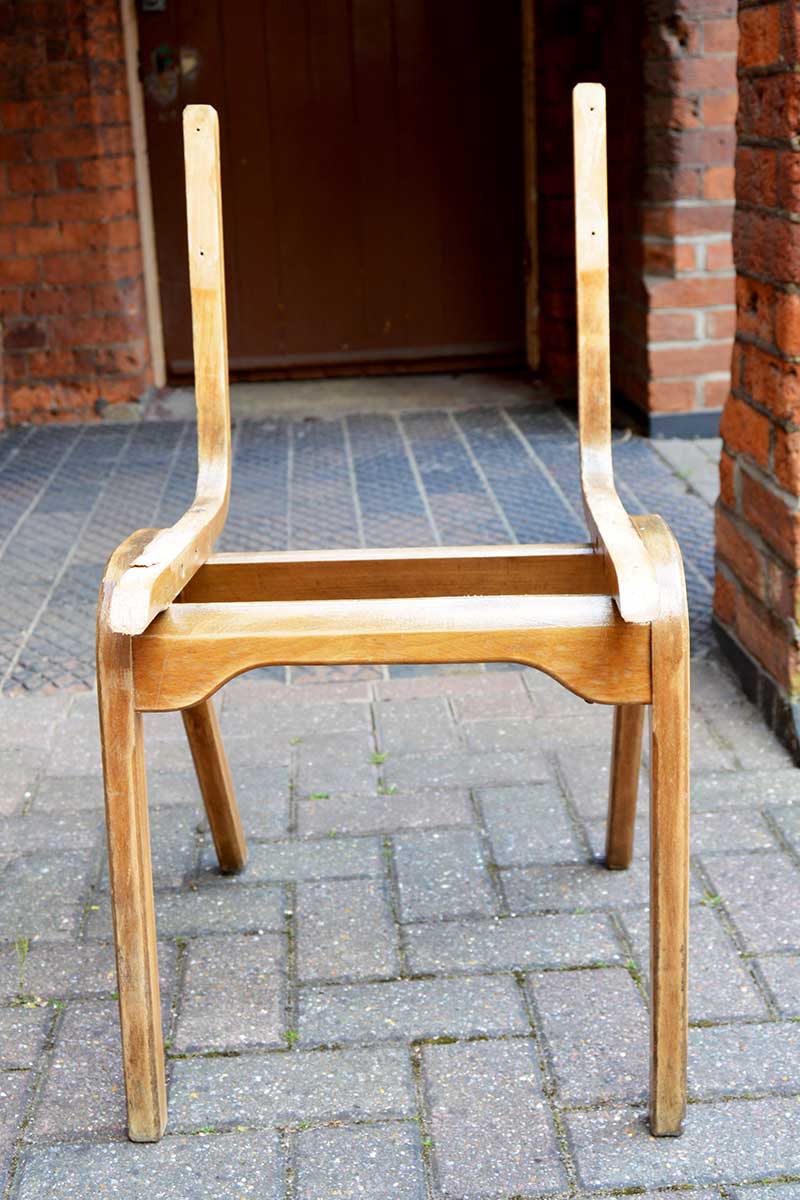
1.. Firstly, dismantle the wooden chairs, as much as you can. If possible remove the seat and back.
Don't worry if your chair won't dismantle. It will still be possible to decoupage it, but it may be a little more tricky.
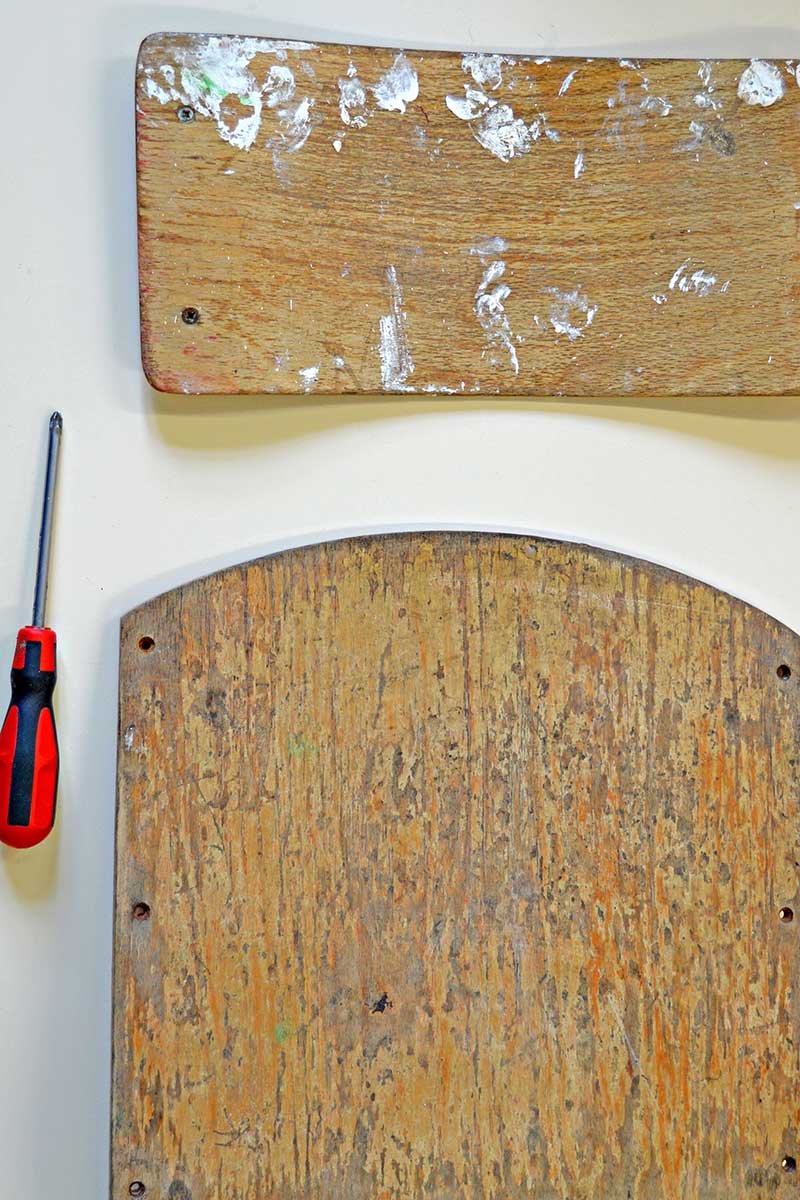
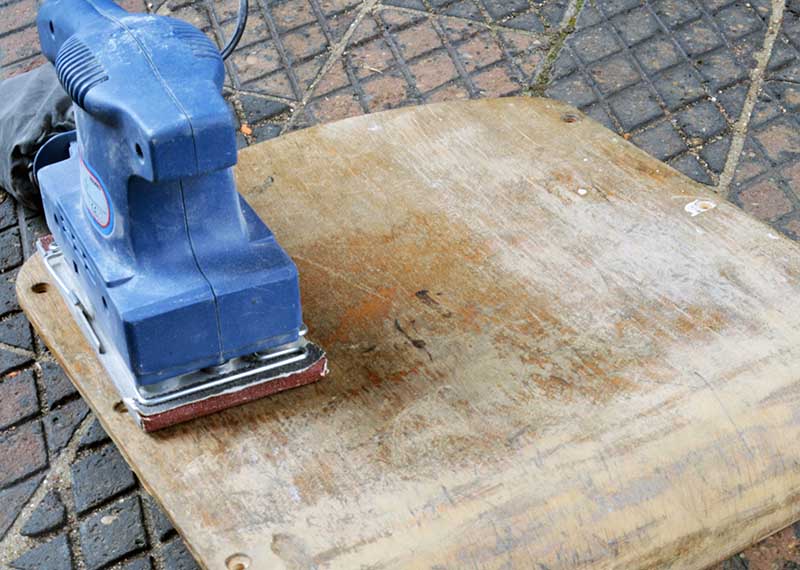
2. Next, sand the wood to be decoupaged, to provide a key and smooth it. An electric sander will speed up this process.
Once they have been sanded wipe down the chairs to clean and remove any dust or dirt.
Buff the other wooden parts of the chair with a 50/50 mixture of olive oil and vinegar. This will give them a good clean and shine.
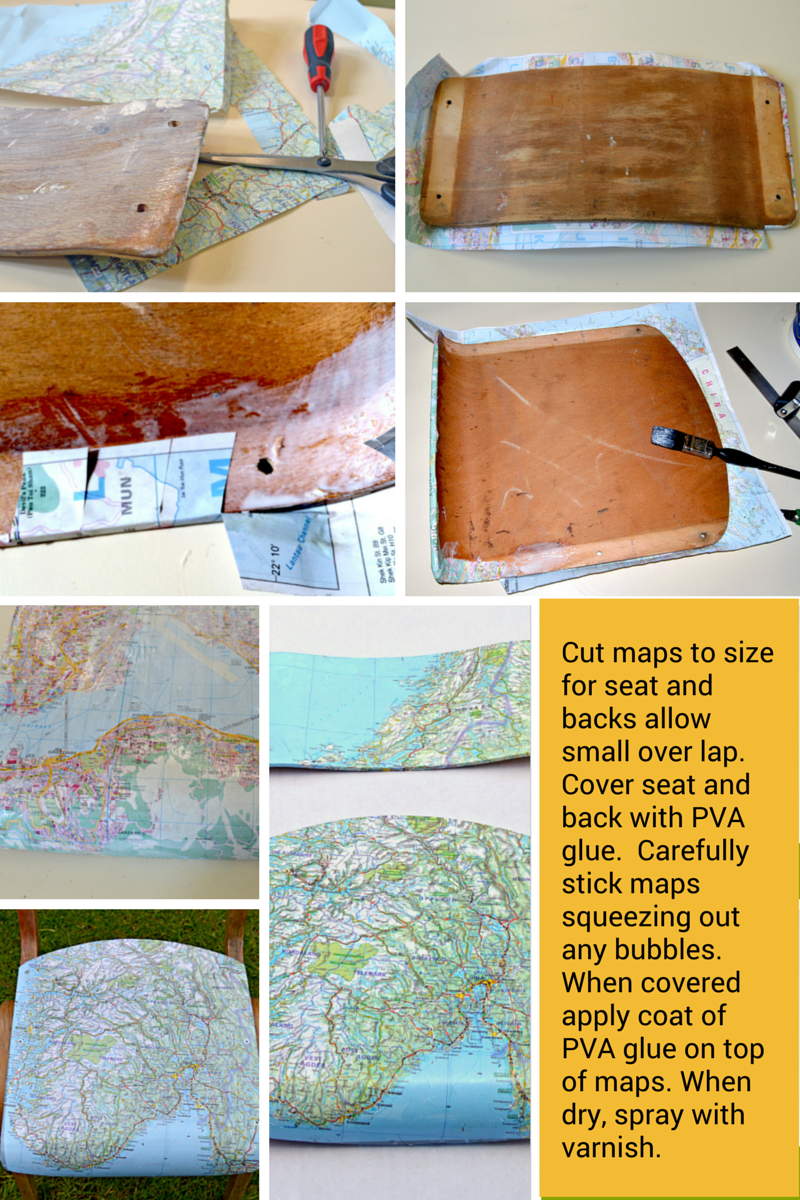
2. Cut the maps to size for both the chair back and seat. Allow for a small overlap.
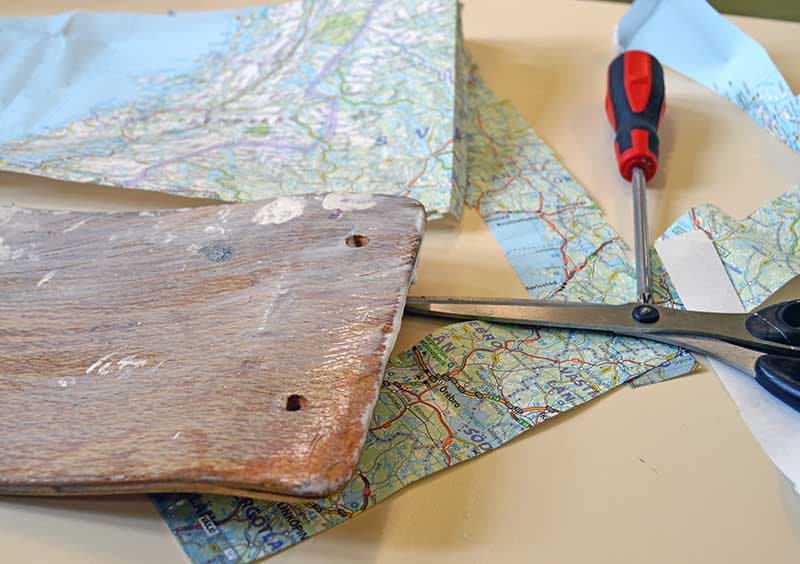
3. Next, cover the surfaces of the chair to be decoupaged evenly with decoupage glue. Use a wide brush for this.
Carefully place the map on top of the glue. Squeeze out bubbles with a small wallpaper roller or by gently running an edge of a credit card over the surface. I covered the screw holes with the map.
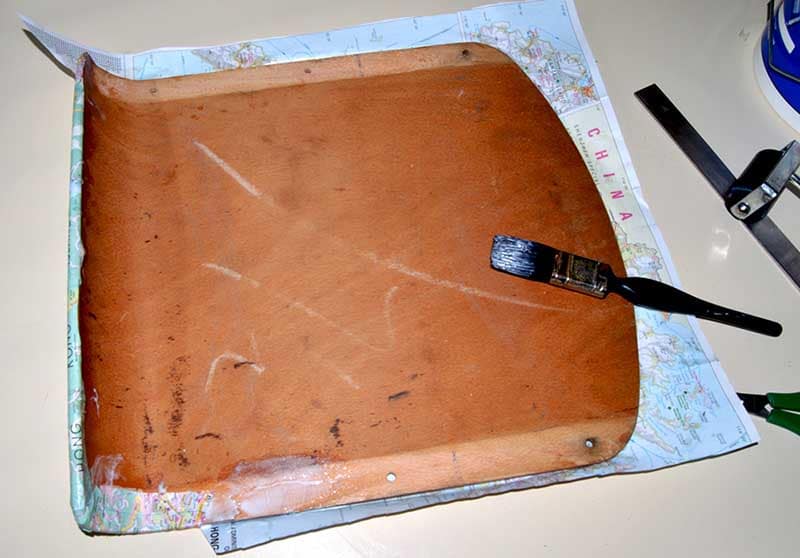
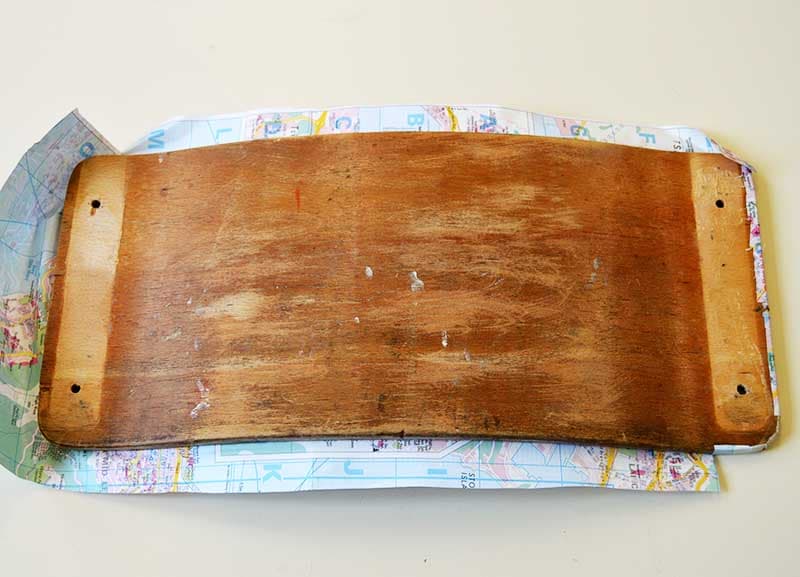
4. When wrapping the map around the edge of the chair you will find it easier if you cut small slits into the maps, especially around curved edges.
An excess map can be trimmed with wallpaper scissors as you go along. As the underside of the chair was not going to be visible, I did not have to be too neat with the map trimming.
However, it was different with the map on the seatback. I had to make sure it neatly fitted to the edges. I didn't want any of the map to be visible from the back.
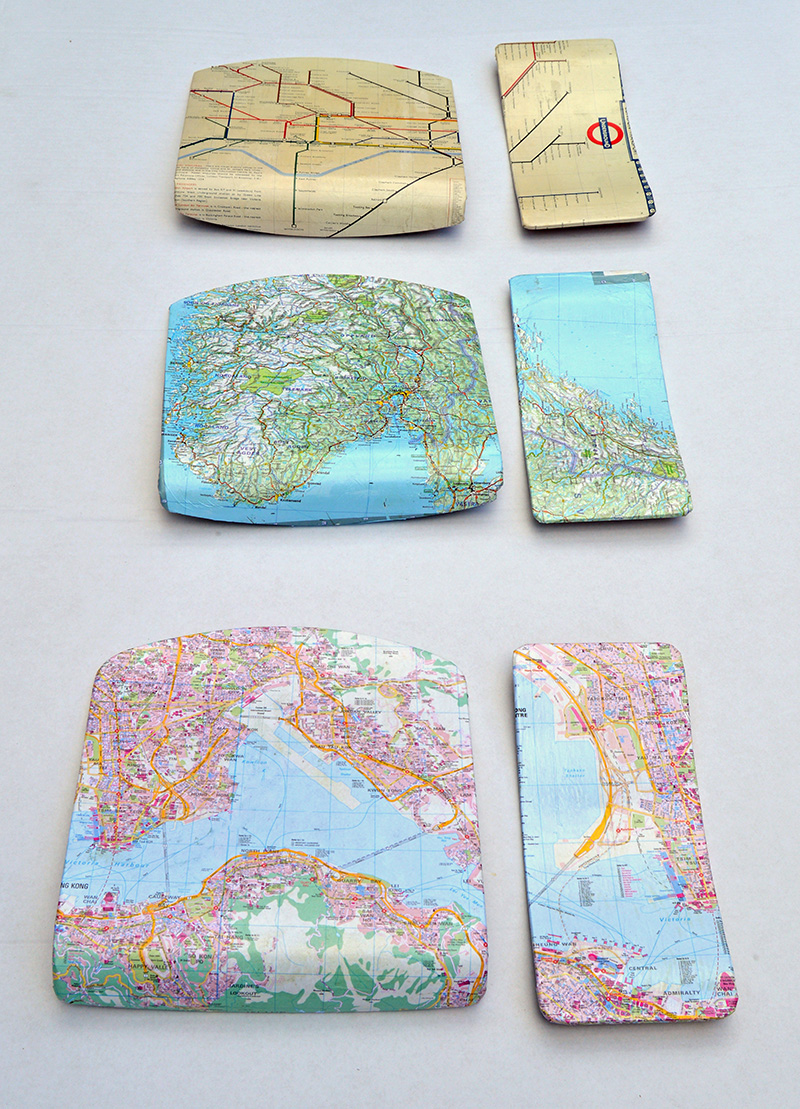
5. Next, when the decoupaged maps have dried, cover them with another layer of PVA glue. Don't be alarmed by the fact that this will make the maps look milky. When the glue dries it will be come clear.
This coat of glue is to act as a protective varnish on the chairs. I repeated this process to give my chairs two coats of PVA varnish.
The chairs have now been in my dining room for five years and are used every day. They still look really good. The PVA varnish coats have done their job of protecting them.
6. Finally, when all dry, locate original screw holes now covered with paper. Pierce through the maps and screw chairs back together.
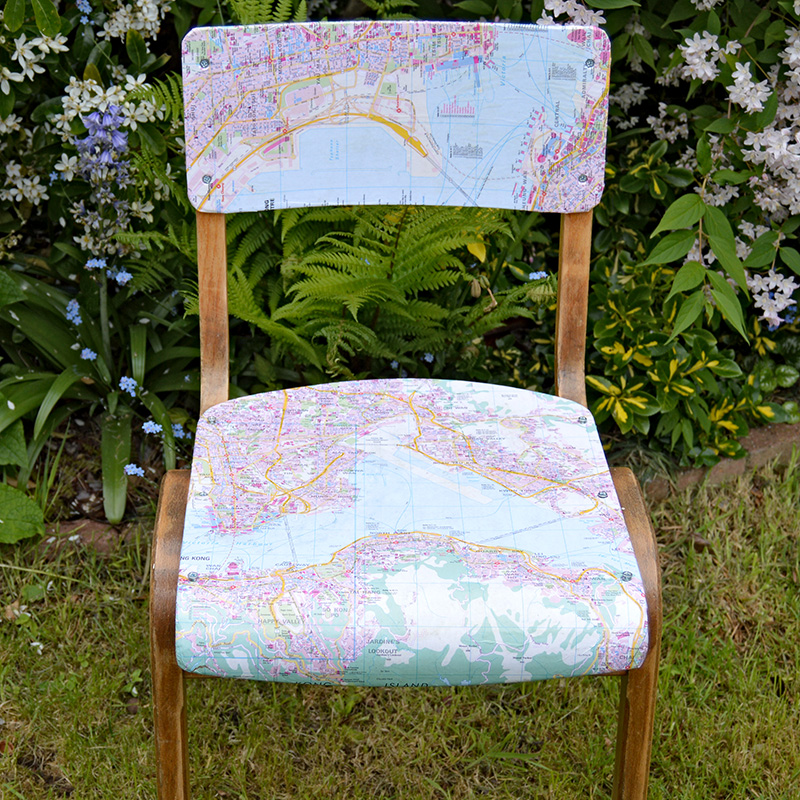
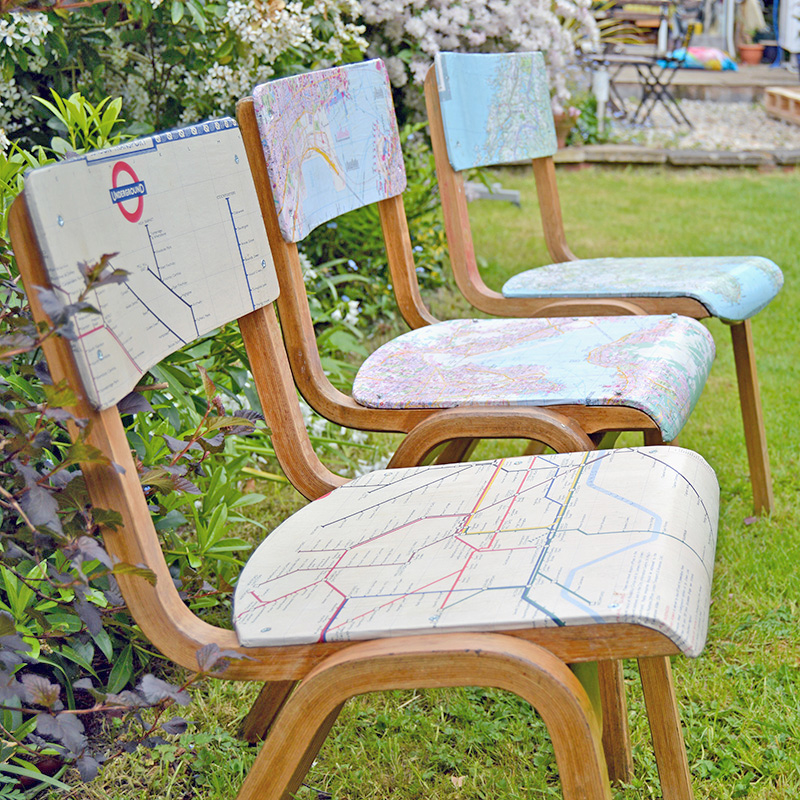
I love these chairs and may make some more for my dining room. The Hong Kong map chair has the most sentimental value for me. But aesthetically, I think the London Underground Map chair is my favourite.
If you have upholstered seat pads on your dining room chairs you can always upcycle them with a map tea towel.
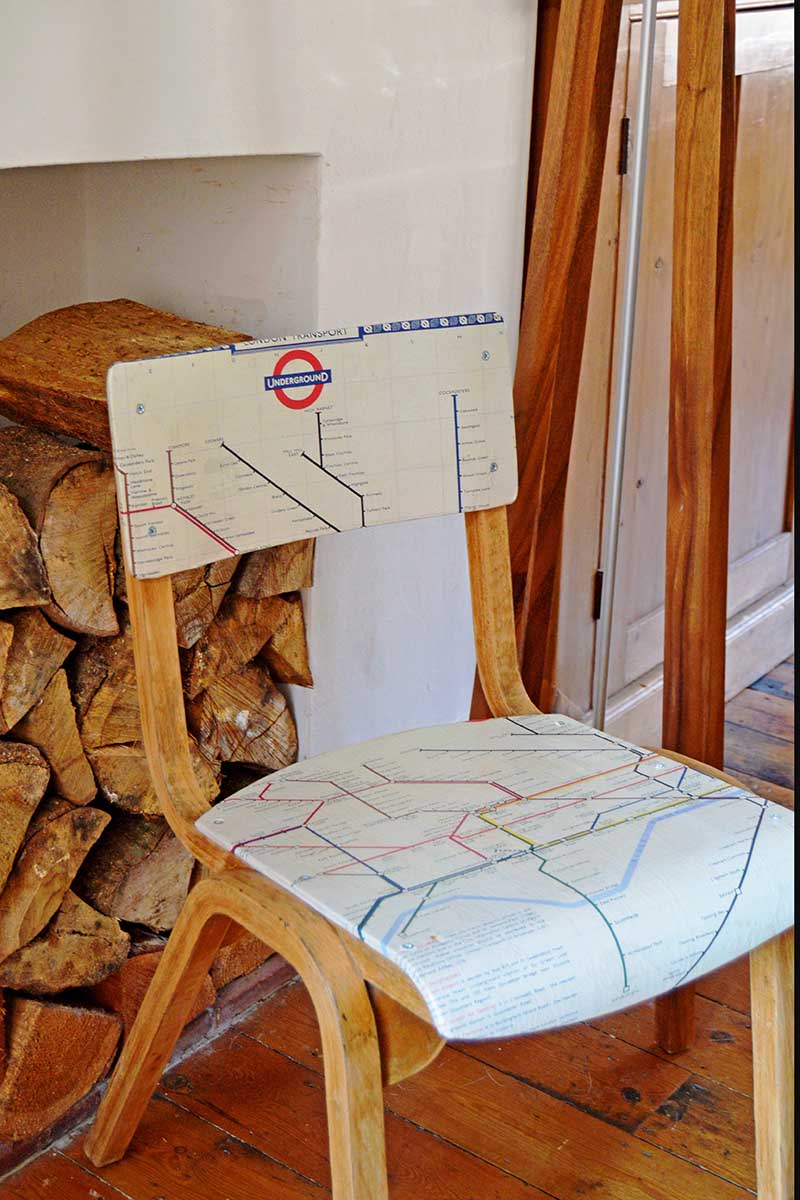
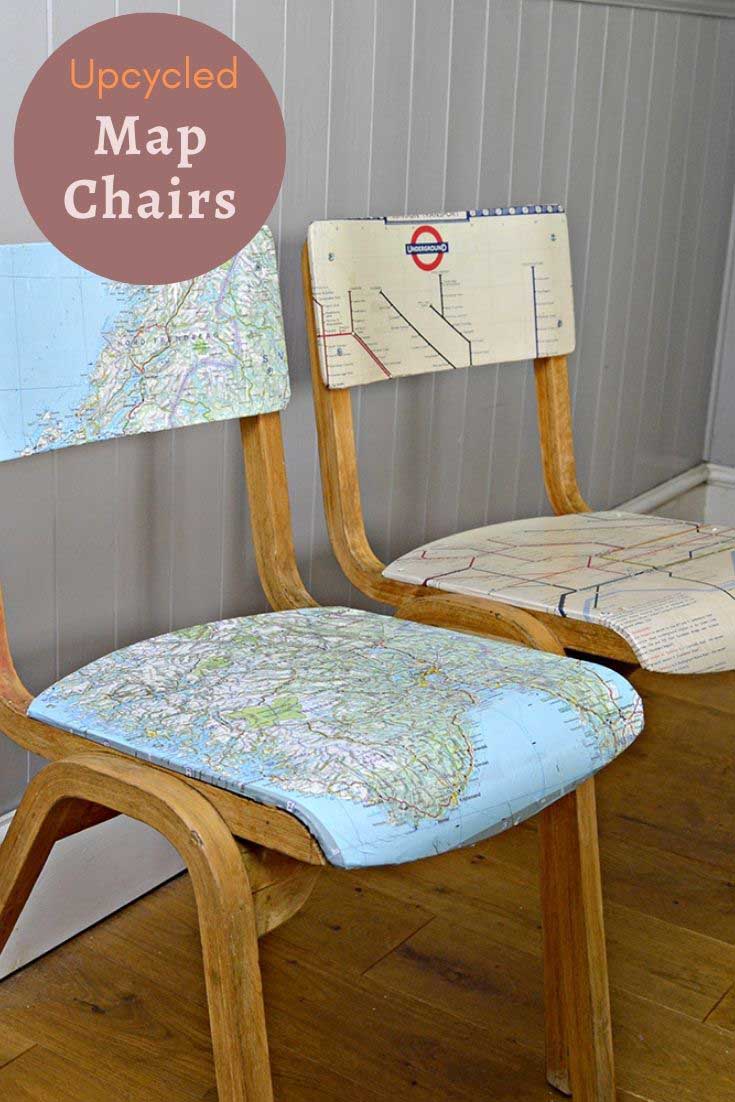
I have uploaded some free printable vintage maps that you can also download and use to upcycle your own chairs or any other map craft you may want to try. I also have a tutorial for some easy DIY map art that can be made with road maps, that would look great with these chairs.
You might want to check out some of my other Map upcycles:
Brilliant Vintage Map suitcase
Upcycled Map Magnetic Board
IKEA Hack - Map Table
Easy Map Table Mats
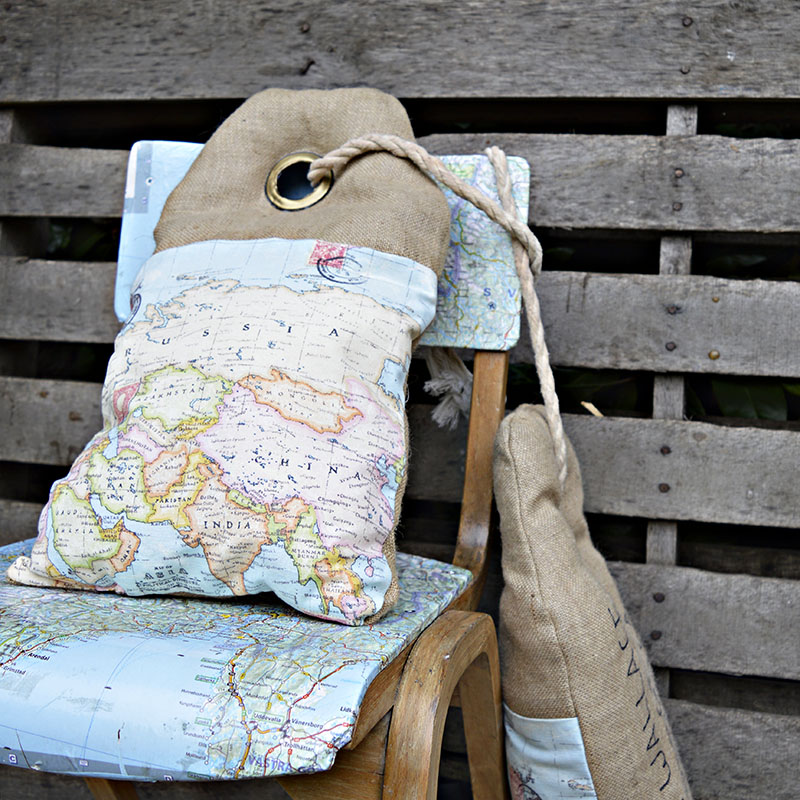
The chairs match the map luggage burlap pillows I have also made for my home.
They also match the old suitcase side table I made for my husband. Especially, the Norwegian map chair as it compliments the Norwegian travel stickers on the old suitcase.
How To Make A Map Chair
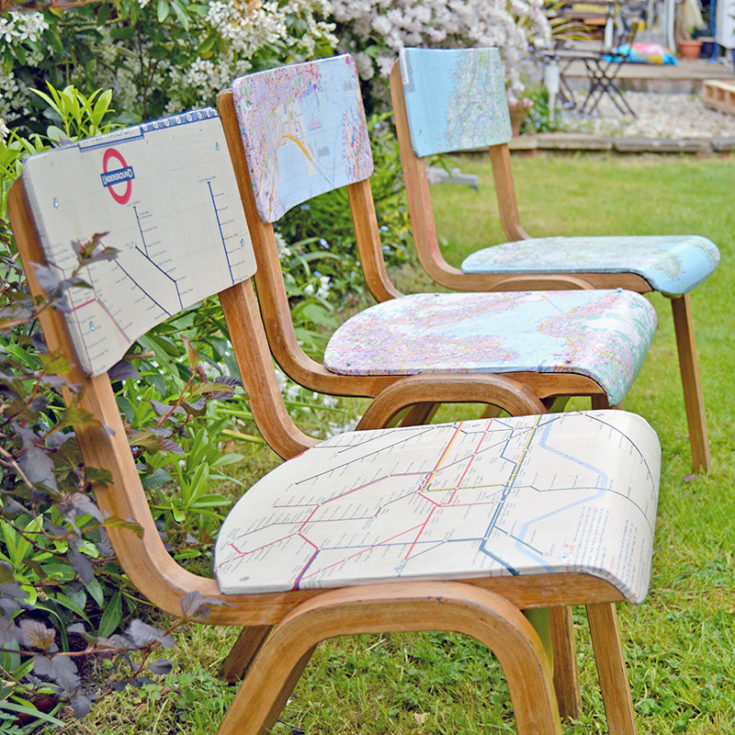
Old school wooden chairs can be turned into cool and unique furniture by decoupaging them with maps. Make the upcycled furniture all that more special by using maps of your favorite places.
Materials
- Old wooden chairs- these old school chairs are very common so you should be able to find one in your local junk shop or on eBay
- Old maps, use road maps, map gift wrap or even download them for free from the site.
- PVA glue or Mod Podge glue basically a good white glue suitable for decoupage
Tools
- Sander
- Screwdriver
- Brush
- Scissors
Instructions
- First, dismantle the wooden chair as much as you can this will make it easier to decoupage.
- Sand the bits of the chair that are to be decoupaged to smooth them and to provide a key for the glue.
- Clean the rest of the chair with a 50/50 mixture of olive oil and vinegar.
- Cut the maps to size, allow for a small overlap.
- Brush the seat and back with glue. Then place the maps onto the glue.
- Push the maps down and push any air bubbles to the edge. Use a roller or a credit card for this.
- Fold the map around the edges. Make small nips on the map as you fold. Cut any excess map away.
- Cover the decoupaged map with another layer of 2 layers of glue. Let the first layer dry before adding a second.
- Finally, screw the chair back together again.
This chair upcycle featured under C in the A to Z of clever upcycling ideas.
What a great inspiration for my computer room. I will definitely use an old nautical map of my hometown, Biscayne Bay, east coast of So. Florida to Key West.
Your chairs are a piece of art.
Thanks ! I bet the nautical maps will look fantastic.
Wow, I love the idea of using maps to cover chairs. I differently plan to give this a try. Thank you for sharing.
Thank you ! I love using maps in my craft and collect them from my travels.
Totally loving these chairs!!! They are so fun and fabulous. Thanks so much for sharing your awesomeness at Vintage Charm.
Thank you again and thanks for a great link up party.
Cograts, you're featured this week at the #ThisIsHowWeRoll Link Party on Organized 31.
These are SO cool! I love maps and I love to travel, so I'm already thinking of what I can use to do something similar here. Pinning!
Thanks ! Glad you liked them.
I am so in love with your map chairs, Claire. We're a military family and these would be a fun way to remember the many places that we've lived. I could also make ones for my kids from maps of each of the places they were born. Pinning now. Thanks for sharing at the #ThisIsHowWeRoll Link Party on Organized 31.
That sounds like a great idea to make something personal and memorable for your family !
I almost fell off my chair looking at these chairs, because not only do I <3 upcycling, but I live in Norway, and London is my favourite destination to travel, and I almost know the tube map by heart, so these two chairs are herby my all time favourites!!!!!!! Love the upcycling you do, I'm definately going to "steal" some of the ideas!!
Thank you ! It's really nice to hear when I have inspired someone. Lucky you living in Norway the most beautiful country I have ever visited.
Beautiful chairs, and the maps add so much character and interest. I've never heard of PVA glue. I will have to look more into that for crafting.
Thank you ! Modge podge would work as well, PVA glueis just white glue that dries clear. I find it's cheaper than Modge podge and I can buy it in big 5litre tubs from the DIY store.
These are so neat! So fun and what a great tutorial too! Thank you for sharing at my Making Broken Beautiful Party. Hope you join in again this week!
Smiles!
Terry
Thank you glad you like them.
Congrats! You are the Highest CLIMBer on "A Peek Into My Paradise" & you are being featured on my blog today: http://www.godsgrowinggarden.com/2015/09/checkout-september-highest-climbers.html
Also, please link up your newest posts - you might be featured again next month!
Have a wonderful day!
Angie
Thank you and really great to hear that others were interested in my post.