
How To Make Upcycled Drawers into a Handy Wall Unit
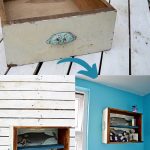
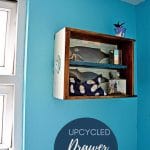
I love it when I have one of my little EUREKA moments. I had one the other day with these upcycled drawers.
I'd been looking for extra storage in my bathroom and hadn't liked anything I'd seen in the shops. Also, I didn't want to spend much money. There are things I'd rather spend my money on, and bathroom storage isn't on the list!
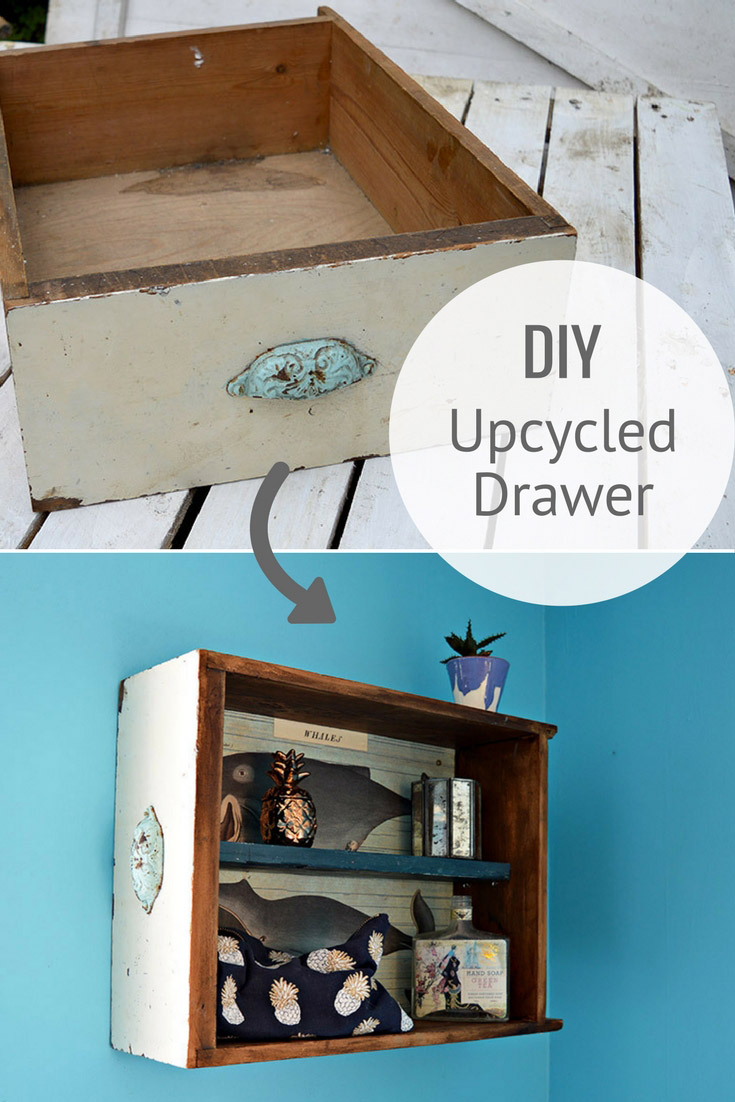
The EUREKA moment came when I realized I could make my shelving unit by upcycling an old drawer. And I had just the drawer for the job. I'd rescued it from a skip (dumpster) because I loved its pretty blue drawer pull.
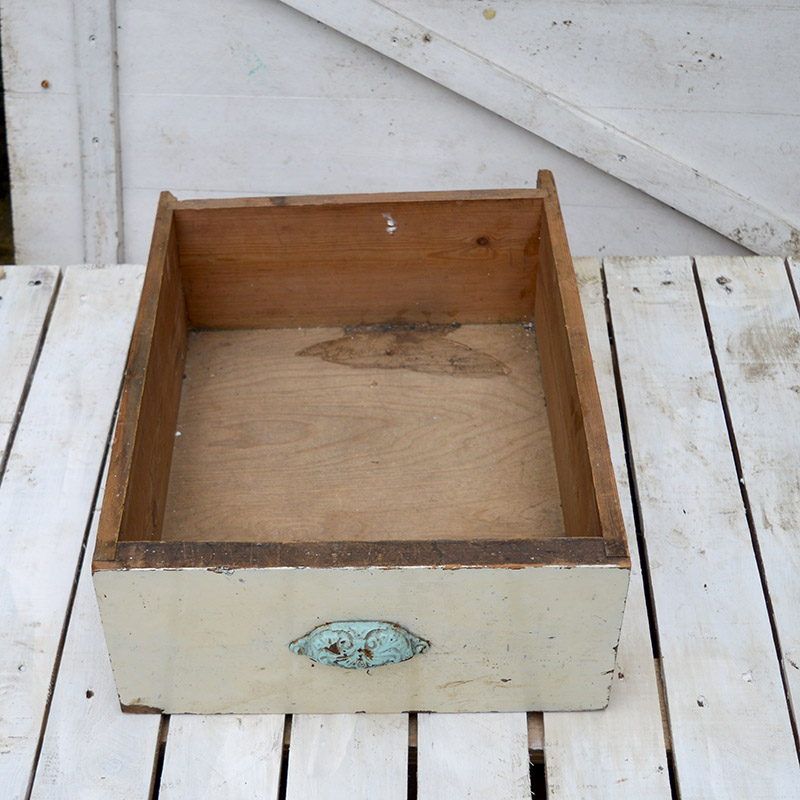
Using Upcycled Drawers to Make Sweet Bathroom Storage
The drawer had been sitting in the bike shed for six months, getting in my husband's way. Therefore, he was a happy bunny when I finally got around to recycling the old drawer.
I'm super chuffed with how my upcycled drawer storage turned out. I think it looks lovely in the upstairs bathroom. I also got to keep that sweet blue drawer pull that made me rescue it from the skip (dumpster) in the first place.
We're a participant in the Amazon Services LLC Associates Program, an affiliate advertising program designed to provide a means for us to earn fees by linking to Amazon.com and affiliated sites. As an Amazon Associate, I earn from qualifying purchases.
What you need to make an upcycled drawers wall unit
- An old drawer - I think this project would work just as well with an old crate.
- A scrap piece of wood for a shelf.
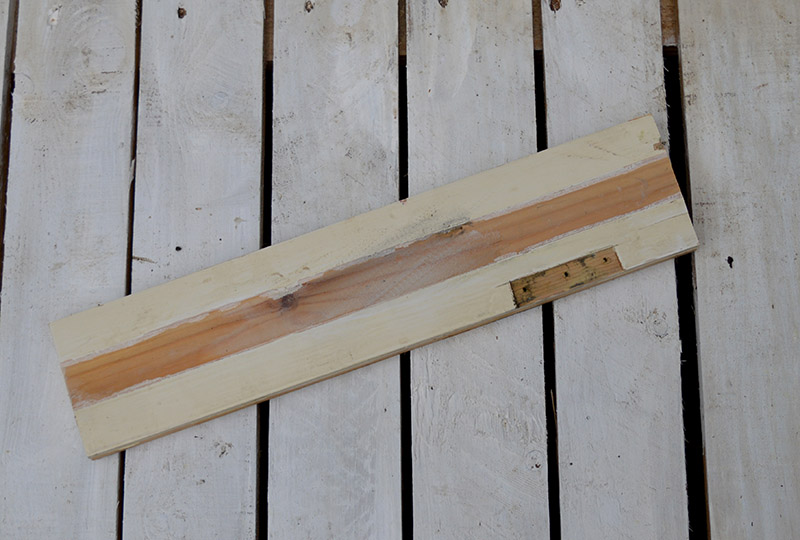
- Cavallini Whale Gift Wrap - You can download and print your nautical-themed images to decoupage with these free fantastical Louis Renard fish paintings.
- Mod podge or other decoupage glue
- Dark and clear furniture wax
- Blue chalk paint
- Picture frame eyelets
Tools used
- Electrical sander - You can sand by hand if you have patience.
- Hand saw
- Screwdriver
- Paint and glue brushes
- Drill for mounting it to the wall.
How to turn a drawer into a wall shelf
Preparing the wood
Step 1. I loved the look of the drawer and wanted to keep the chippy-painted front and the lovely blue handle as it was. I gave the drawer a good clean inside and out with hot soapy water.
Step 2: When the drawer is dry, sand the unpainted wood sides inside and out. There is no need to sand the drawer's base, as this will be decoupaged.
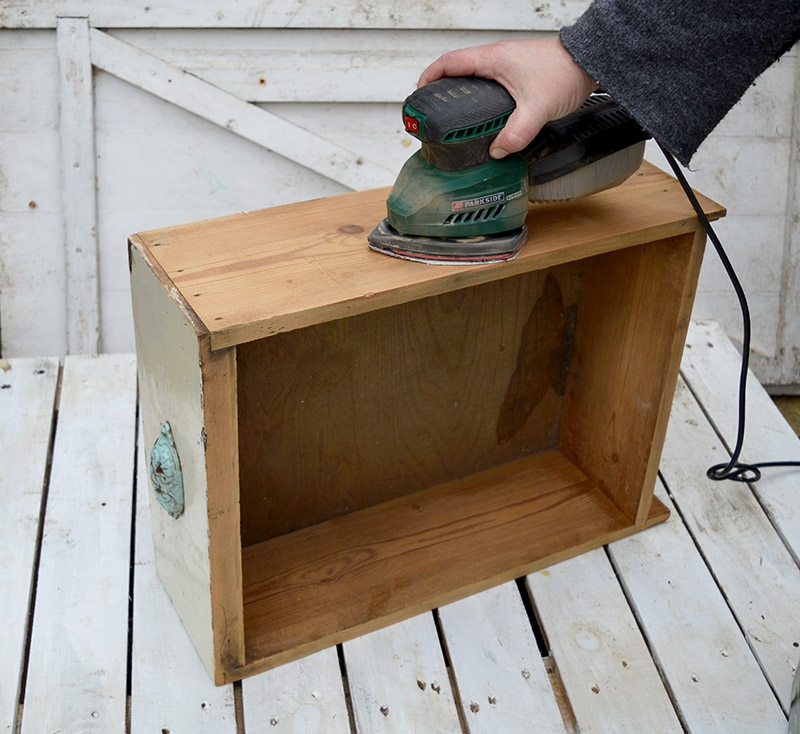
Step 3: To give the newly sanded wood of the draw a more antique look, use dark wood wax. Cover the wood with the wax using a lint-free cloth or wax brush. Then wipe off any excess wax and buff the wood with a cloth.
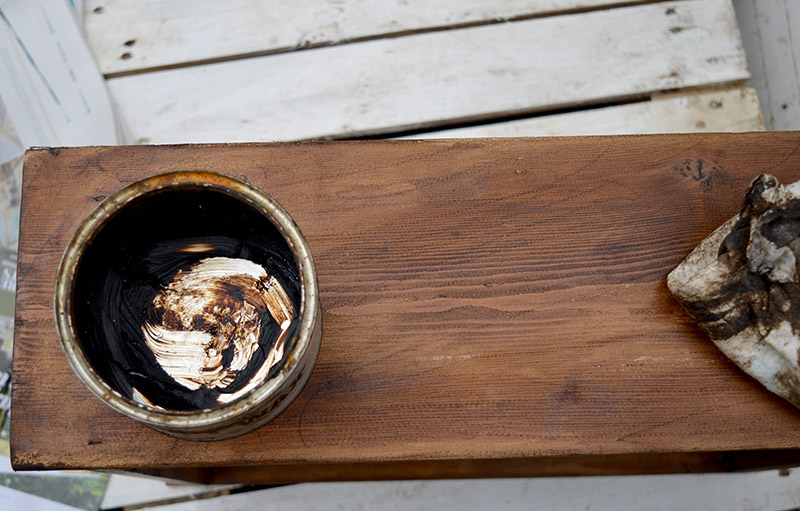
Step 4: Next, use a clear furniture wax this time. Polish and buff the painted front of the drawer and handle.
Decoupaging the Drawer Back
Step 5: The cupboard was specifically for my bathroom; I wanted to give it a nautical/water feel. That is why I decided to decoupage the back of the drawer with some gorgeous vintage Whale gift wrap.
Also, the blue of the whale paper went well with the blue drawer pull.
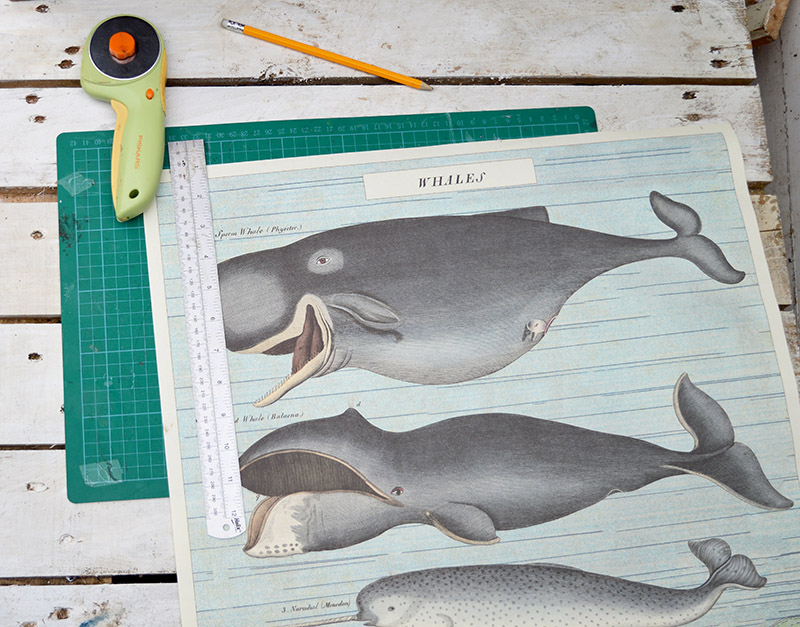
Step 6: The chances the gift wrap sheet will fit the drawer back exactly are remote. Look at the pattern on your paper and decide how you will cut it to fit the back.
Ensure that the piece you end up with has the exact dimensions as the drawer base.
Step 7: Cover the drawer base and the back of your paper in a thin layer of Mod Podge. I use a big brush for this. Leave the glue for a minute to dry slightly but ensure it's still tacky. Then stick the paper to the base.
Use a cloth, wallpaper roller or credit card to squeeze out any air bubbles gently. Gently coax the air bubbles out to the edges so they can escape.
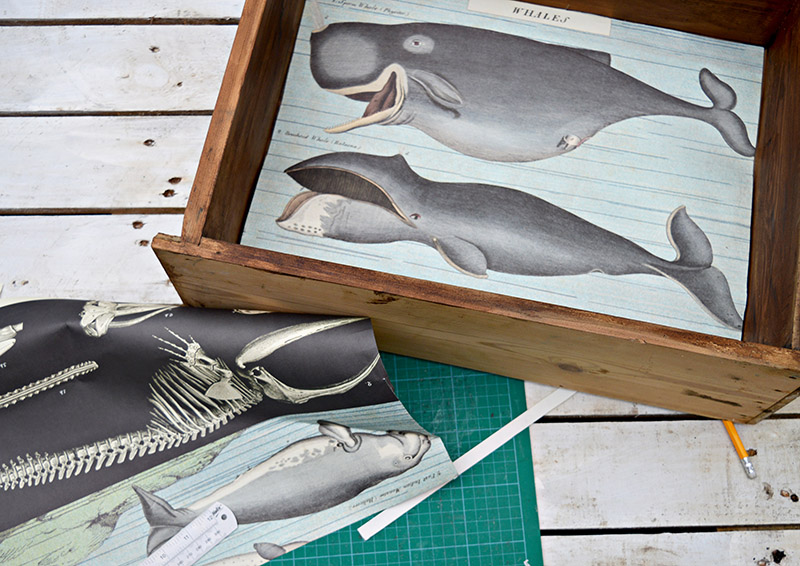
Step 8: Once the mod podge is dry, use a big brush to cover the front of your paper with a layer of mod podge. This will appear white, but don't worry; it will dry clear.
The layer of mod podge acts like a varnish and will protect the decoupage.
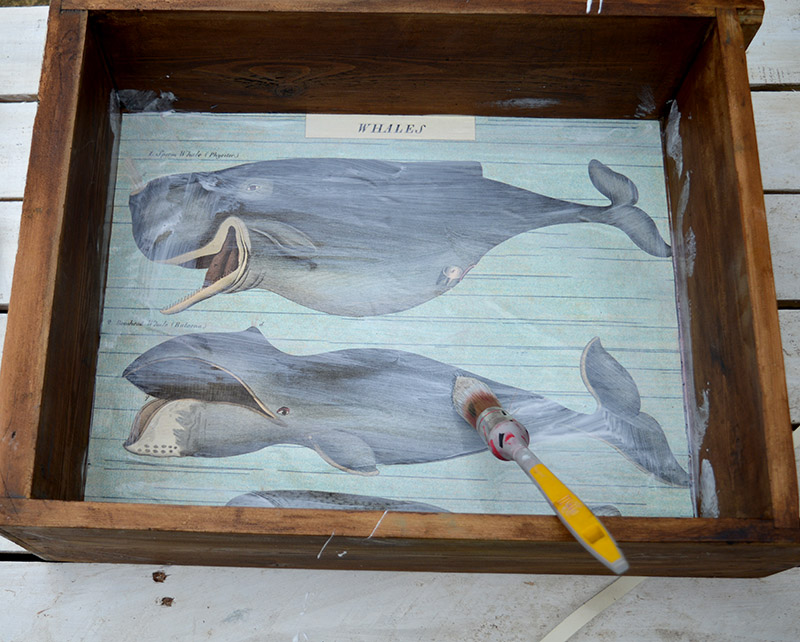
Making A Shelf For The Upcycled Drawers
Step 9: I made a little shelf to finish the upcycled drawers. Cut a piece of scrap wood to fit snuggly inside the drawer.
Step 10: Sand and paint the wooden shelf with chalk paint. Don't forget to seal the paint with clear furniture wax once it has dried.
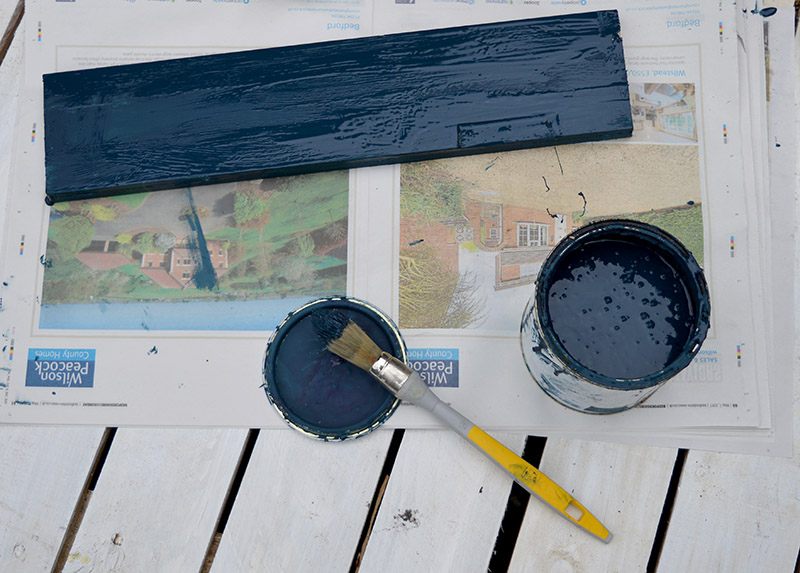
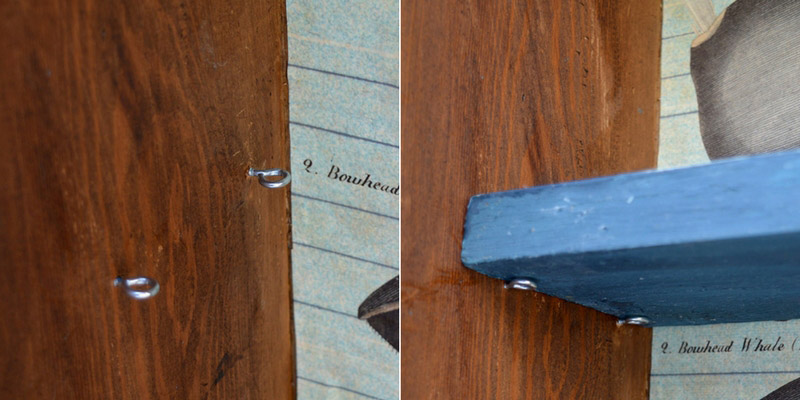
Step 11: To fit the shelf, use the little picture eyelets to hold it. The eyelets will screw very easily into the wood sides. You will need two on each side of the shelf to hold it up.
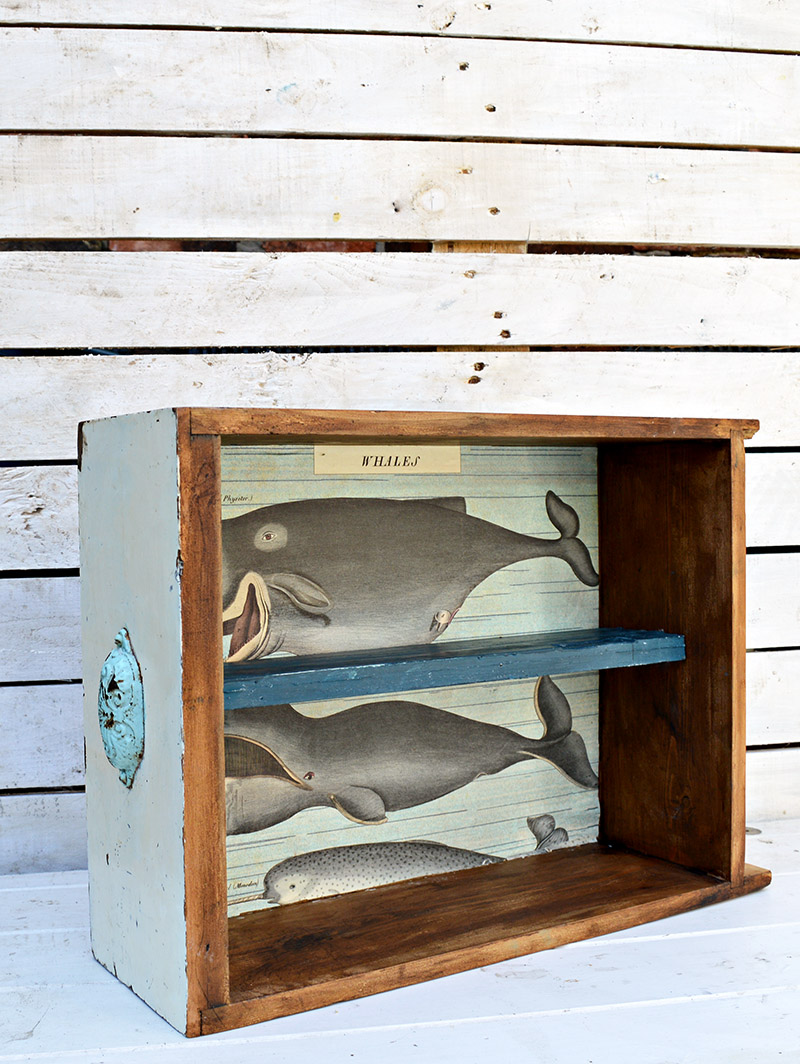
All that's left is to hang the bathroom upcycled shelf unit on the wall. I used metal brackets screwed into the back of the upcycled drawers and then screwed into the walls.
Or you could drill two large screws straight into the wall through the back of the drawer shelf unit.
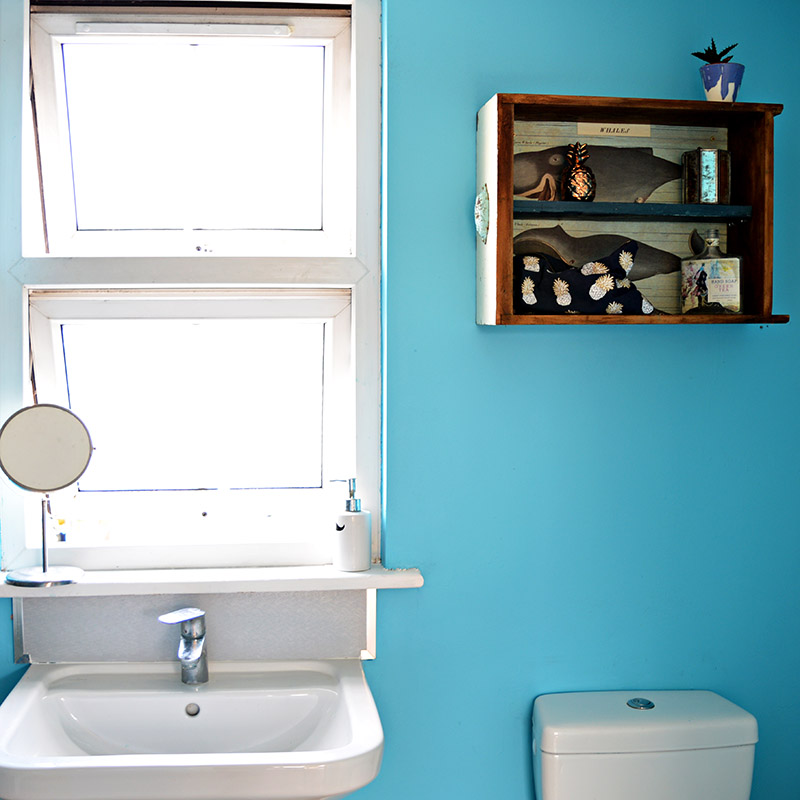
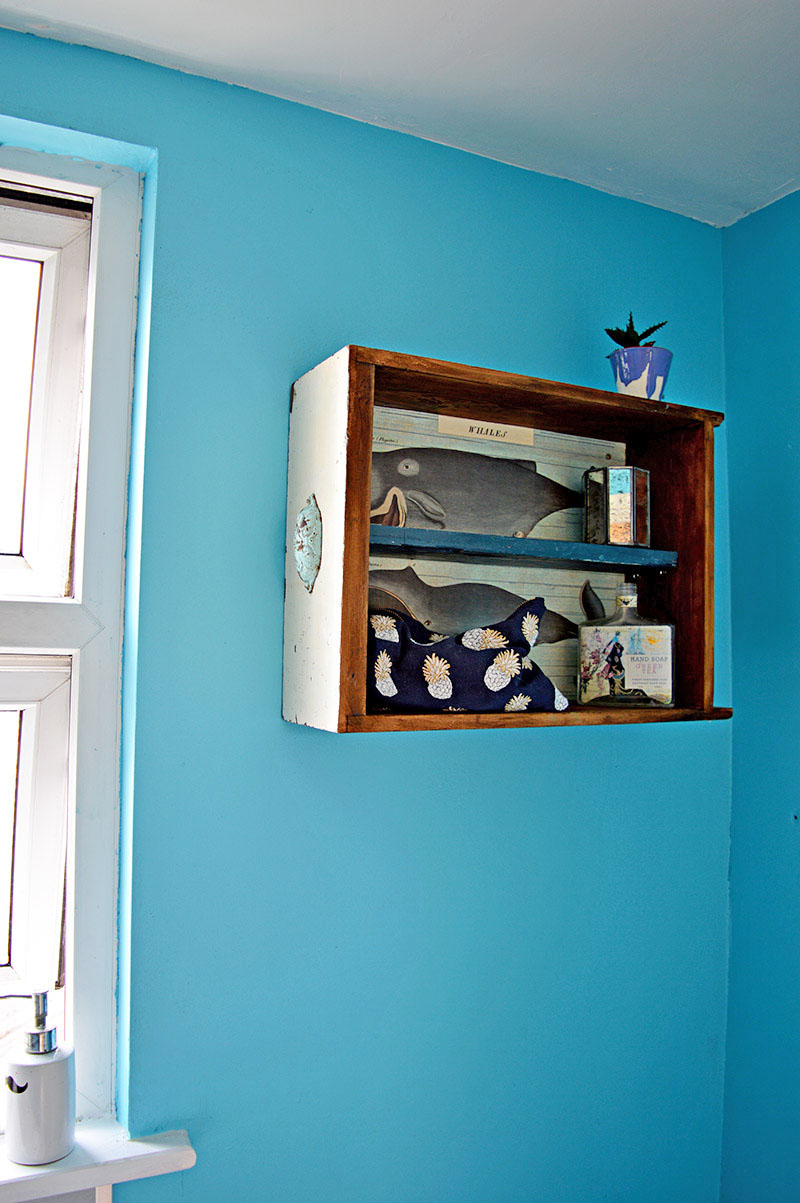
I am so pleased with how this upcycled drawer has turned out. It looks fabulous in our upstairs bathroom and gives a rather dull bathroom a bit of character.
I will look for more drawers in skips (dumpsters) to make more of these handy little shelf units for other places in my home. Cavallini makes so many gorgeous decorative papers. I used some of their insect paper with my chalk paint unique cupboard upcycle.
Since making this upcycled drawer shelf unit for my loft bathroom, I've also made a DIY medicine cabinet for the family bathroom. I upcycled an old wine box for this bathroom storage and decoupaged a vintage anatomical poster inside.
Decoupage is a great way to make a piece of furniture upcycle unique. As well as using vintage images for decoupage, I also love to use vintage maps for crafts.
I have transformed IKEA tables with decoupaged maps and made an excellent world map desk for my office.
Old drawers aren't the only things you can upcycle to make unique extra storage for your home. I have used wine crates to make a handy nightstand and DIY ottoman storage. You can even upcycle bed slats into wall shelves.
I've even made a handy wooden key holder from a scrap skirting board (baseboard).
I've even made extra kitchen storage from a repurposed chair back and a vintage suitcase side table.
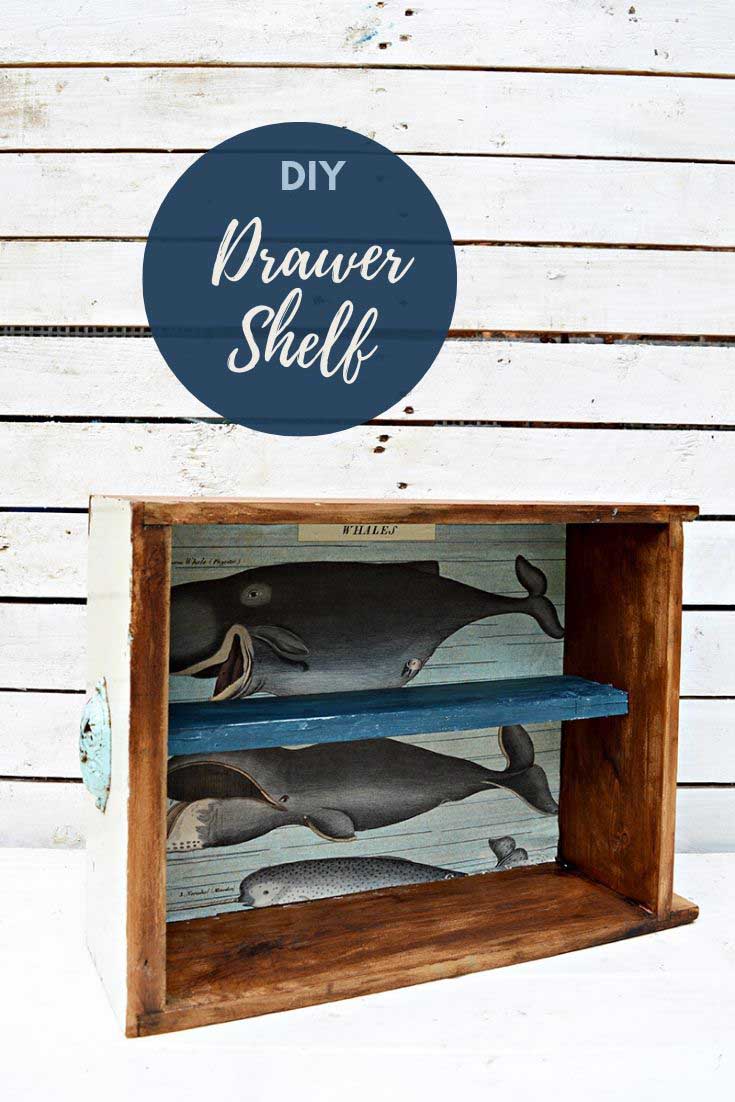
These repurposed drawers featured under D in the alphabet of upcycles.
What a great beachy vibe on this shelf. It turned out beautiful. Maria
Thank you, Maria it is very handy.
I am from THE #UPCYCLESHARIN50K group, I love all the crafty diy projects your all do very talented. Thank you for sharing.
Thank you so much for popping over to the blog.
This is so beautiful! Makes a perfect shelf.
Thank you, it does look good in my bathroom and is really handy.
You did a wonderful job on this wall unit. I love taking old furniture and redoing to make it your own style. Upcycling is always a great way to save money too. Congratulations on being featured on #GoingGreenLinky. Shared on twitter & pinned. Have a healthy, happy & blessed day!
Thank you so much for featuring me. I love upcycling.
This is awesome and I 100% love it ? . I recently ended up with 2 drawers from a wardrobe we had to replace and I turned them into large seed trays.
Thank you so much for joining in with #GoingGreen and I hope you will be there again when the next one opens on July 3rd
Thank you, I like the idea of using old drawers as seed trays.
This is brilliant! What a great way to reuse an old draw. I particularly love the whales. #GoingGreenLinky
Thank you so much, I agree the whales are adorable.
Love this idea! A gal after my own heart❤️
Thank you so much!
What a great way to use this old drawer, a fabulous bit of skip raiding! That wrapping paper is a great find, I'll have to check out the other designs they have.
Thanks, Julie. Cavallini has loads of fantastic wrapping papers, I can't resist them I've just ordered a whole load more off eBay.
A fabulous project
Thank you!
I have a bathroom in desperate need of something like this, thank you for the inspiration. So happy that you joined us again this week at Celebrate Your Story.
Thank you so much.
Claire that would look perfect in my space since I'm going through my blue phase. Oh and I also have a fisherman at home so he would appreciate the fish backdrop! I love the deep blue color of the shelf.
Thank you, it would look good with your blue chairs and table but I'm afraid you're not having it.
Clever idea for additional storage! It looks great!Thanks for sharing at Snickerdoodle. Pinning.
Thank you, the extra title bit of storage is handy
Thank you, the extra title bit of storage is handy.
Ooh Claire I love a good drawer upcycle project, and I adore how your turned out! The vintage decoupage images are just super, I could totally see this piece in my house. Great job and thanks for sharing your project at #FridaysFurnitureFix!
Thank you, I love to decoupage vintage graphics onto my pieces.