
Inside: A no-sew tutorial to make handy DIY denim fabric storage boxes.
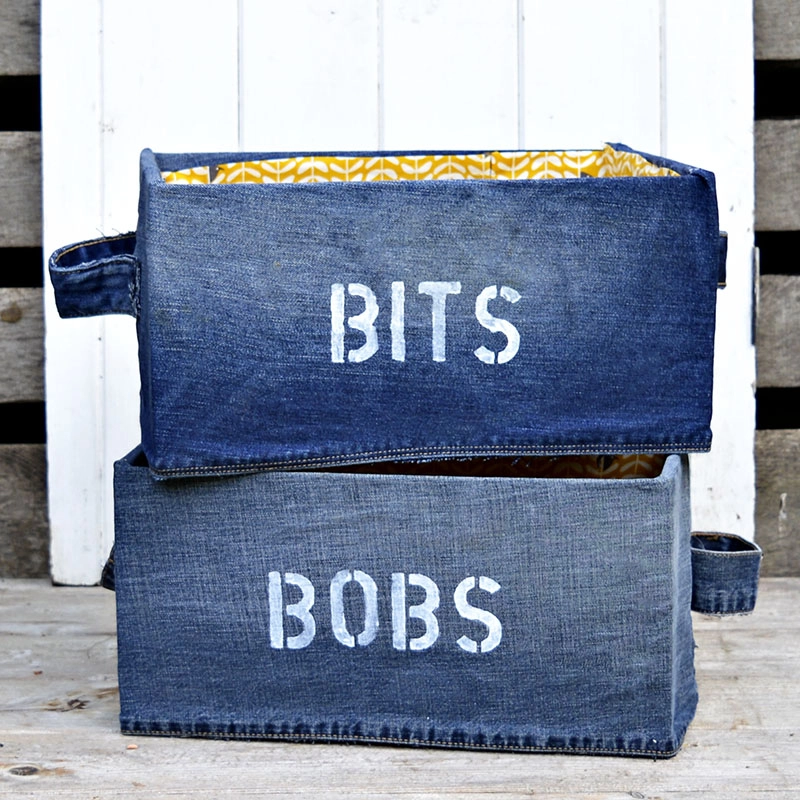
Every day I pick up “bits and bobs” around the house, and I am never sure where to put them. Therefore I decided to make a fun DIY storage box for this random stuff with no home, using old jeans and a cardboard box.
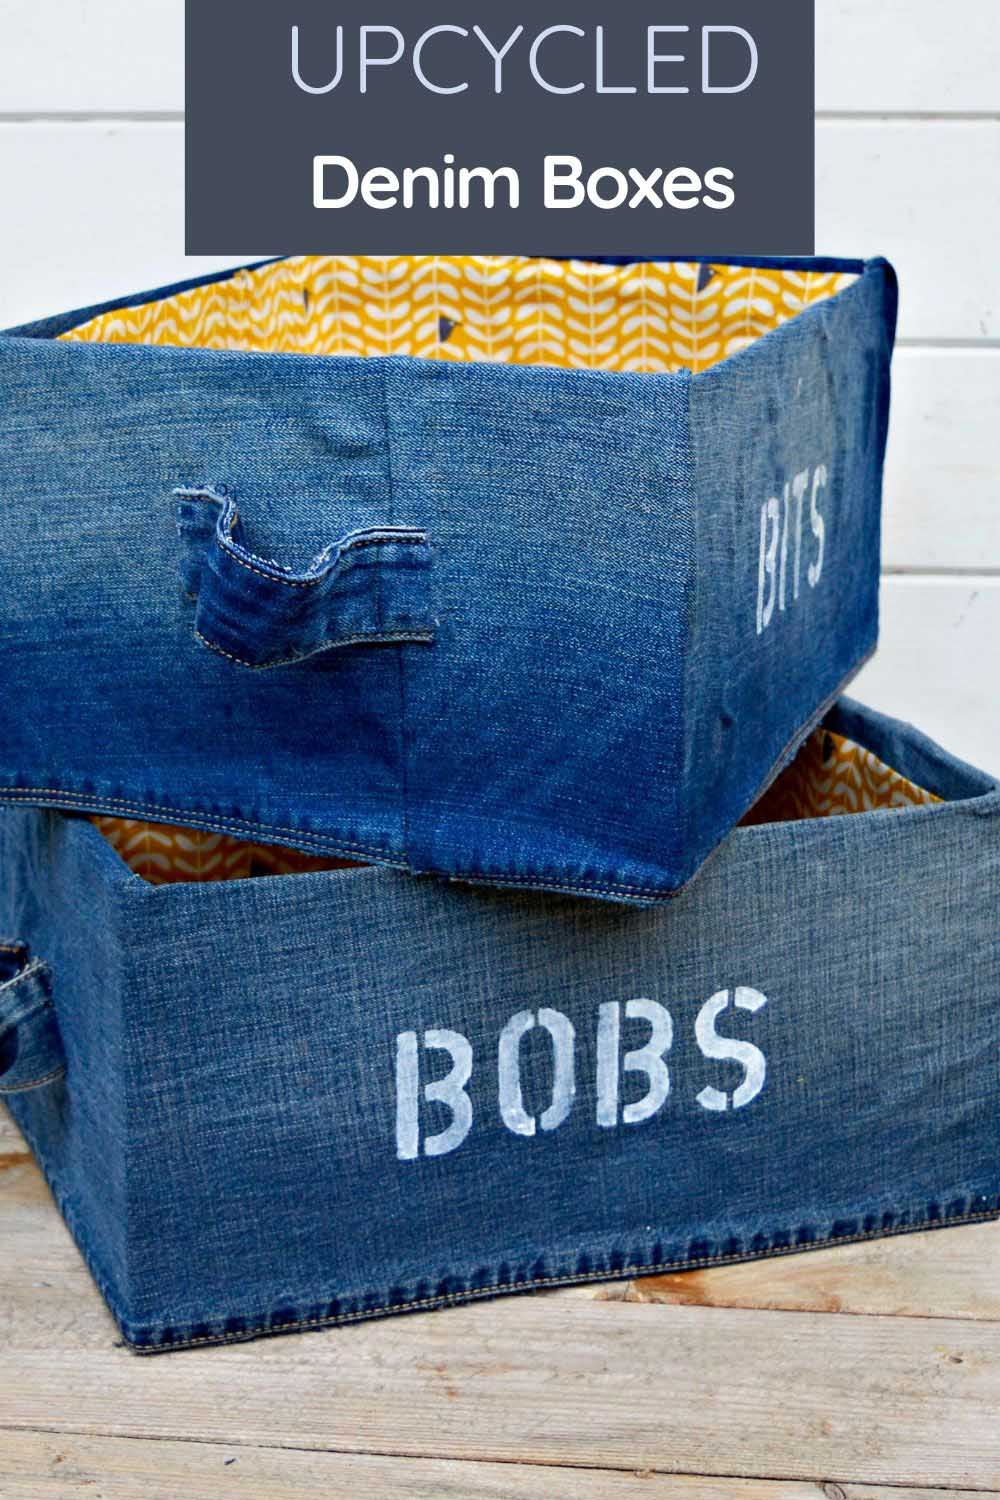
I covered two boxes in denim and made them more fun by stencilling some words onto them, just like I did with my denim draught excluders.
I stencilled one DIY storage box with the word “BITS” and the other “BOBS”. “Bits and bobs” is a popular term for random stuff in the UK.
This was an Ikea hack, as I used two Ikea Pingla boxes for this project.
How to Make A Denim Storage Box an Ikea Pingla Hack
I could’ve used any old cardboard box, but the Ikea ones were the size I wanted (not too deep). They come in a pack of two. This was perfect as it ensured I had two matching storage boxes.
I got the idea from some fabric-wrapped storage boxes I’d seen on Pinterest. However, I wanted to add more to my DIY storage box by lining it (like my vintage map suitcase) and adding a fun stencil.
This is a cheap and easy way to get some fun, handy, stylish storage for your “Bits and Bobs”. All you need is one pair of old jeans for this denim upcycle.
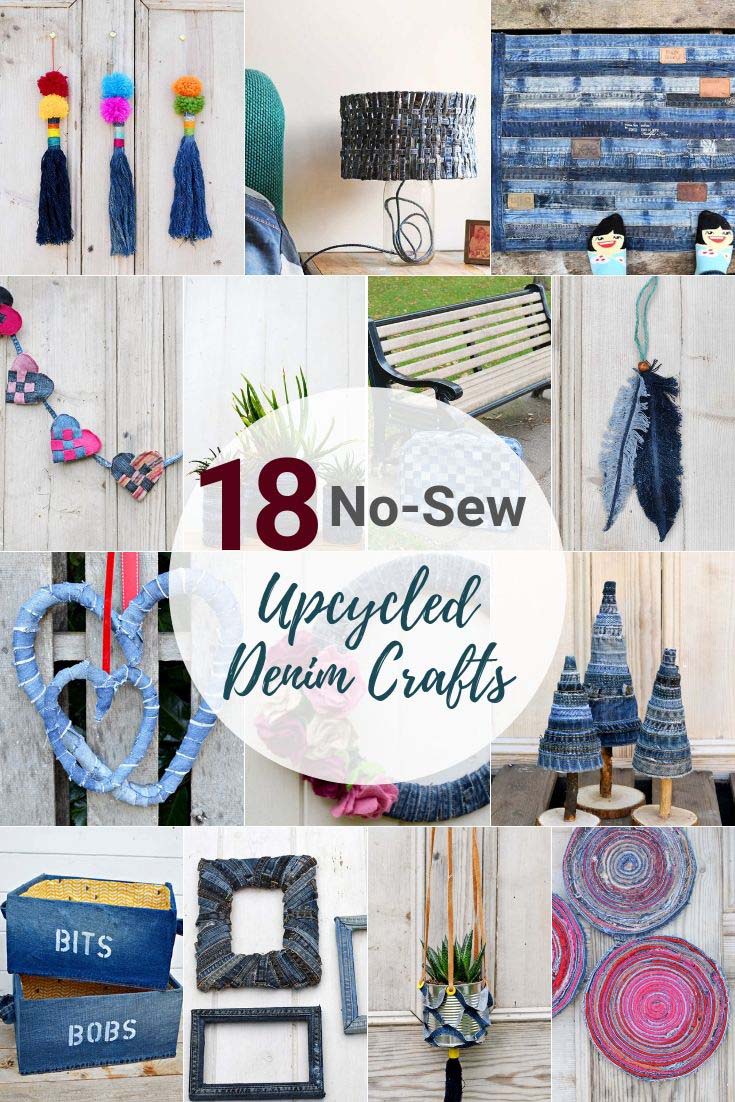
This denim craft is also featured under the letter B in the list of A to Z of denim crafts.
We’re a participant in the Amazon Services LLC Associates Program, an affiliate advertising program designed to provide a means for us to earn fees by linking to Amazon.com and affiliated sites. As an Amazon Associate, I earn from qualifying purchases.
What you need to make a Denim DIY storage box
- Ikea Pingla Storage Box – You can use other cardboard boxes of a similar size.
- Pair of adult jeans
- Repositionable Spray Mount Adhesive
- Fabric for the lining – You can use a lovely craft fabric, an old shirt, or burlap. I used a yellow patterned craft fabric.
- Bulldog clips or clothes pegs.
- Needle and thread.
- Letter Stencils
- White Acrylic Paint
- Small paintbrush
How to Make A Denim DIY Storage Box
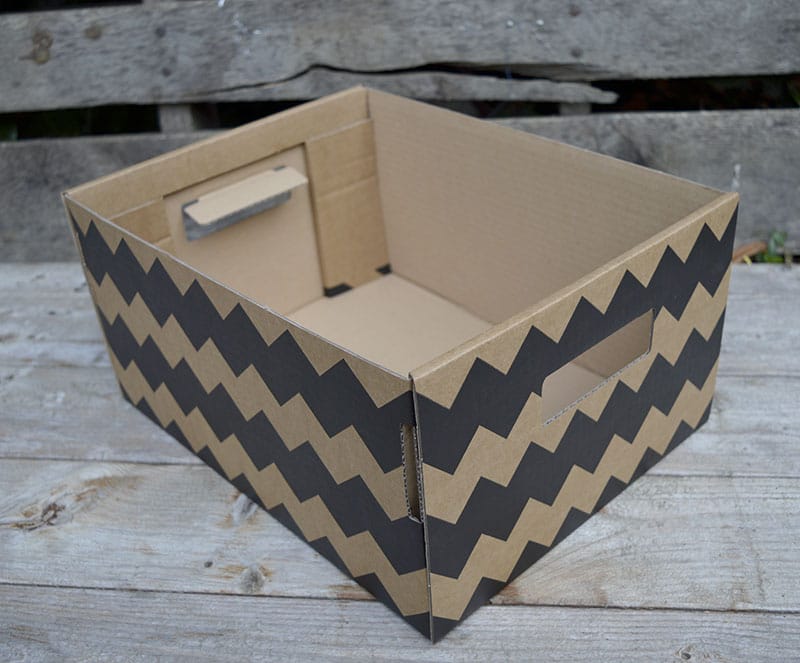
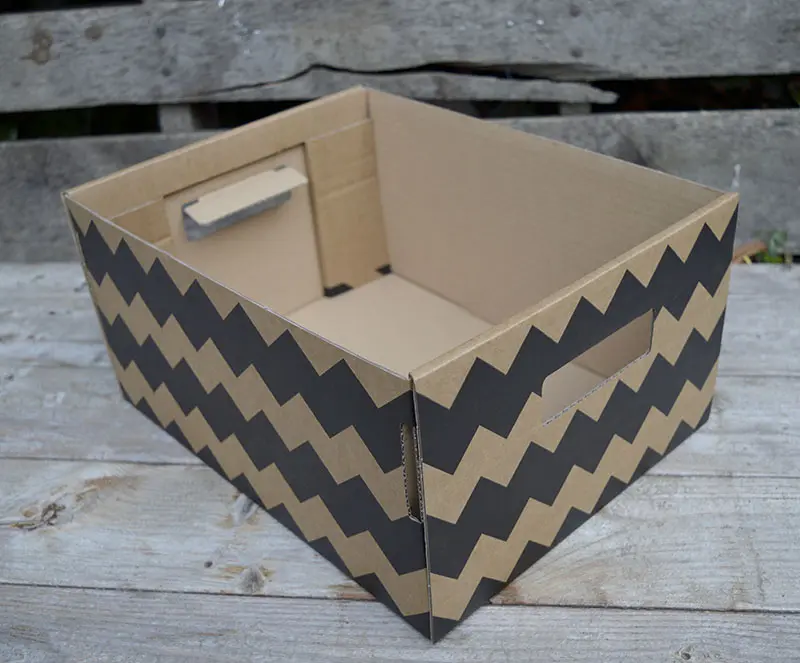
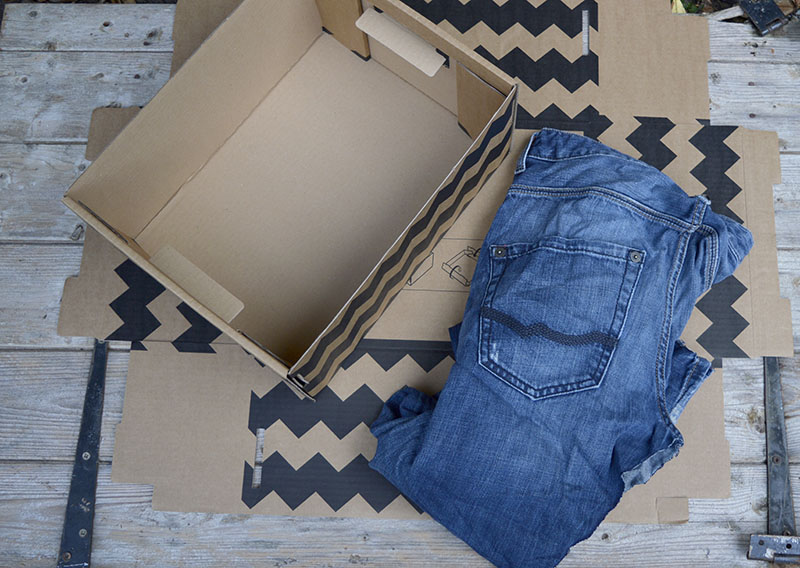
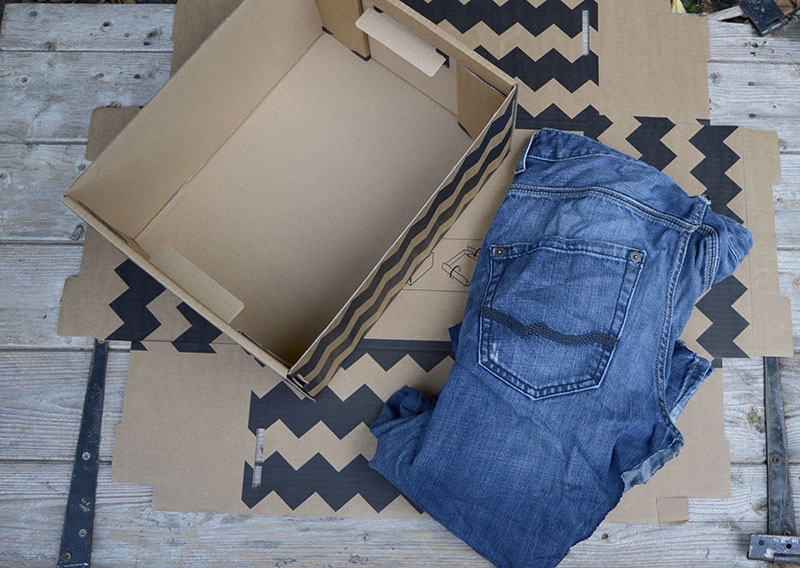
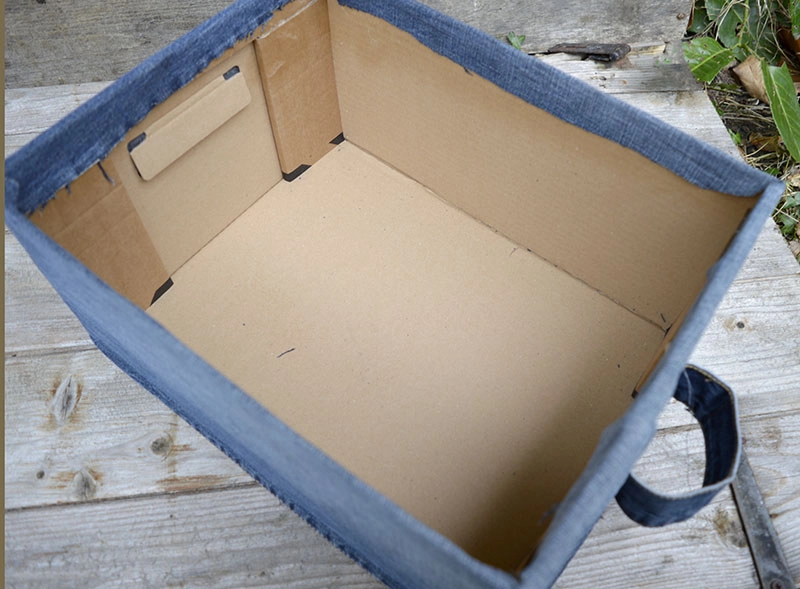
Step 1: Firstly, if using an Ikea Pingla box, make it according to the instructions on the base. (Don’t bother making the lid. You will need this later)
Step 2: Next, measure the circumference of the box and the height. Then cut the legs of your jeans to fit.
I cut along the seam line of the jeans; it will give you a nice edge on the base of the DIY storage box. You want the width of your jeans to be at least an inch more than the height of the box.
One jean leg will not be long enough to wrap around the box, so you must sew two together.
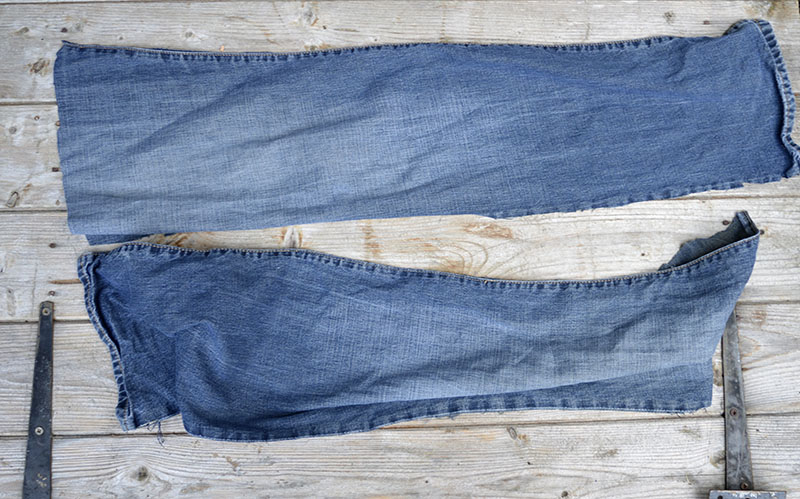
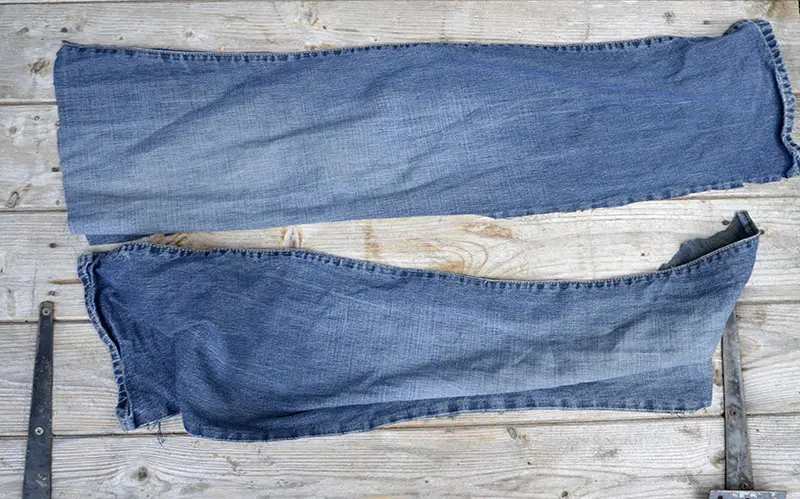
Step 3: To make two denim handles for your DIY storage box, cut the waistband off the jeans and cut two pieces about 15cm (6 inches) in length.
Wrap the jeans leg around the box (don’t glue at this stage but use clips to hold it in place) and mark where the handles will go. Fix the waistband handles to the leg using a grommet tool like a Crop-A-Dile, or stitch them on.
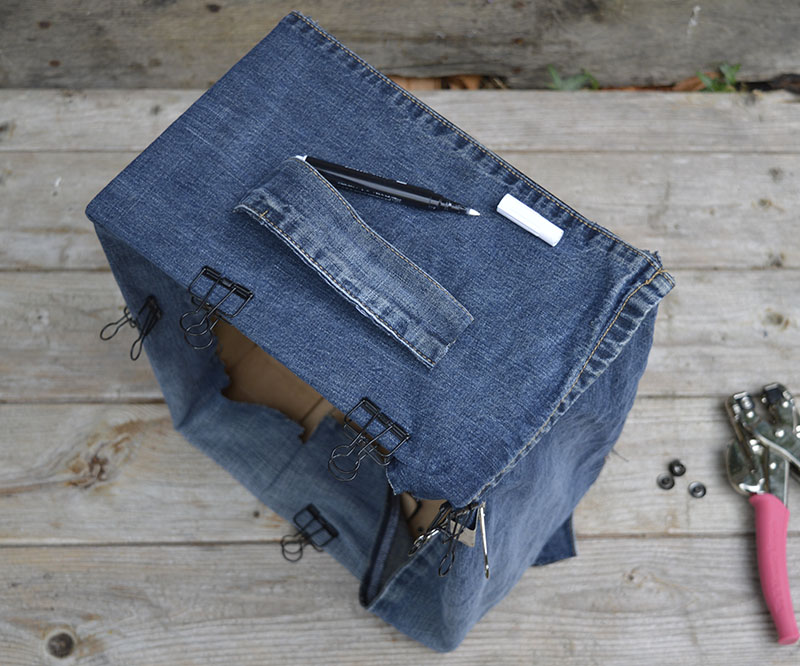
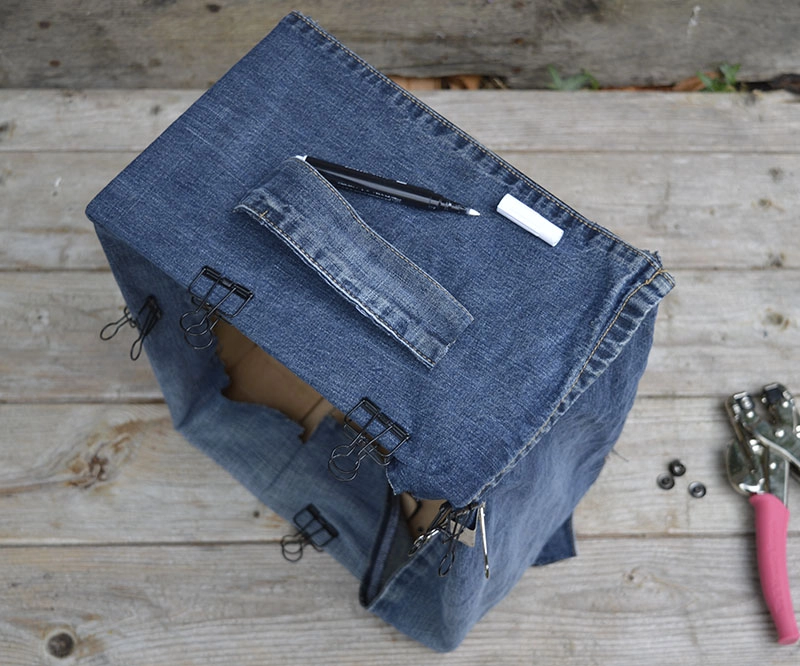
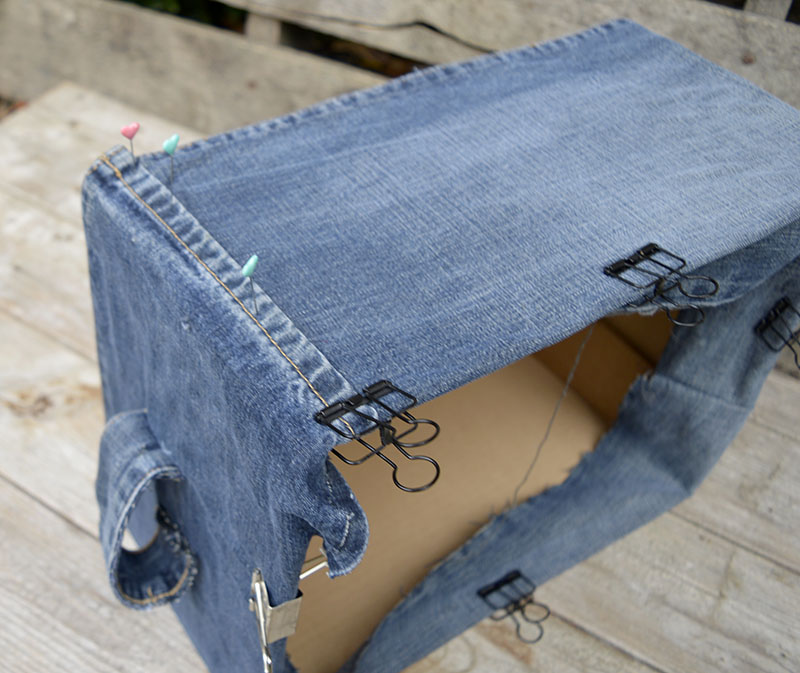
Step 4: You can fix the denim to the cardboard box next. Spray the cardboard box with the adhesive, and wrap the jeans around the box as you go.
We are ensuring that the leg’s seam is flush with the bottom. Use bulldog clips or clothes pegs to hold it as the glue dries. Trim the overlap inside.


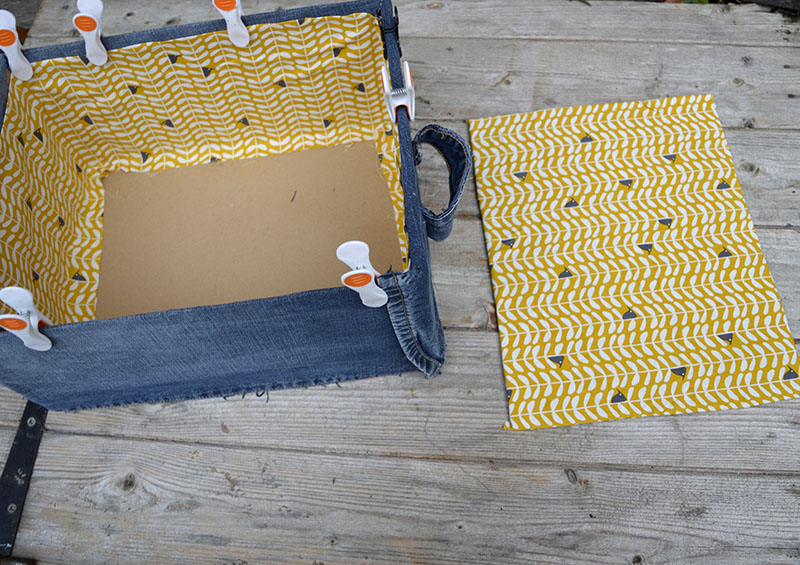
How to line your DIY storage box
If you want a more rustic look, you could use burlap (hessian) to line your box. I have also similarly lined a festive wicker hamper.
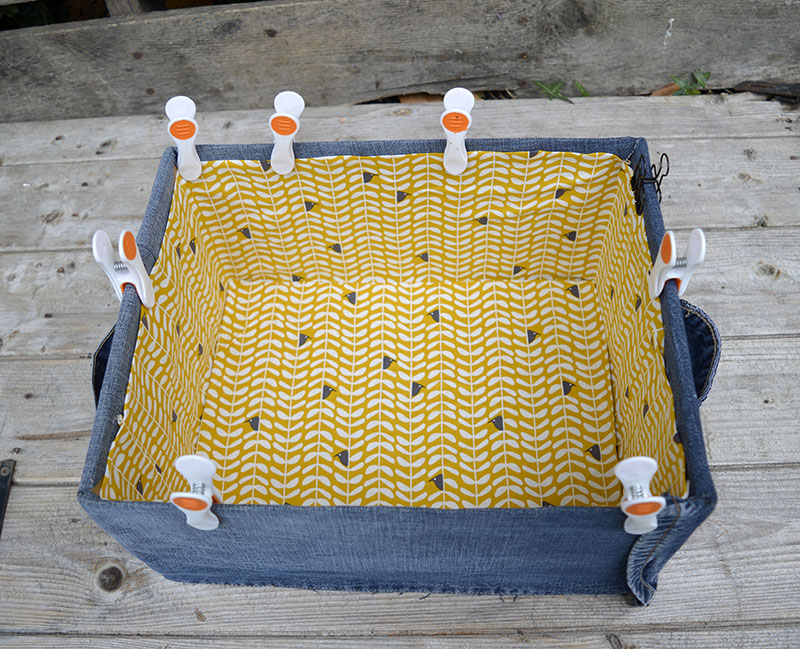
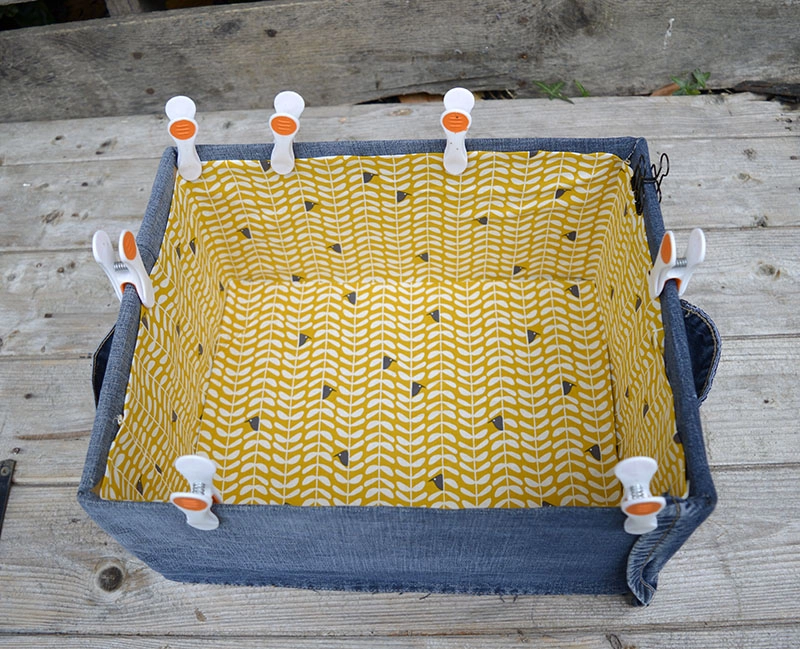
Step 1: First, I cut my lining fabric to the circumference and height of my box. I was allowing for a seam allowance and some overlap. You may need to sew two pieces of fabric together to get one long enough.
Step 2: Then, fold over the top edge of the fabric to make a small hem, and iron it flat. Attach the material to the inside of the box using the spray adhesive.
3. Next, cut the cardboard meant for the lid so that it fits just inside the base of the box. Again use the spray adhesive to cover one side of the cardboard with your lining fabric and place it inside the box.

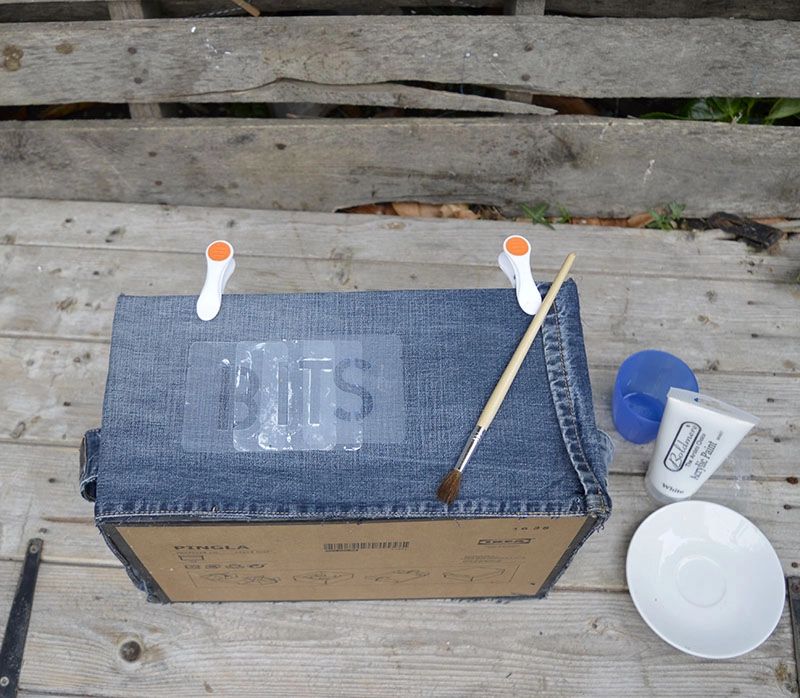
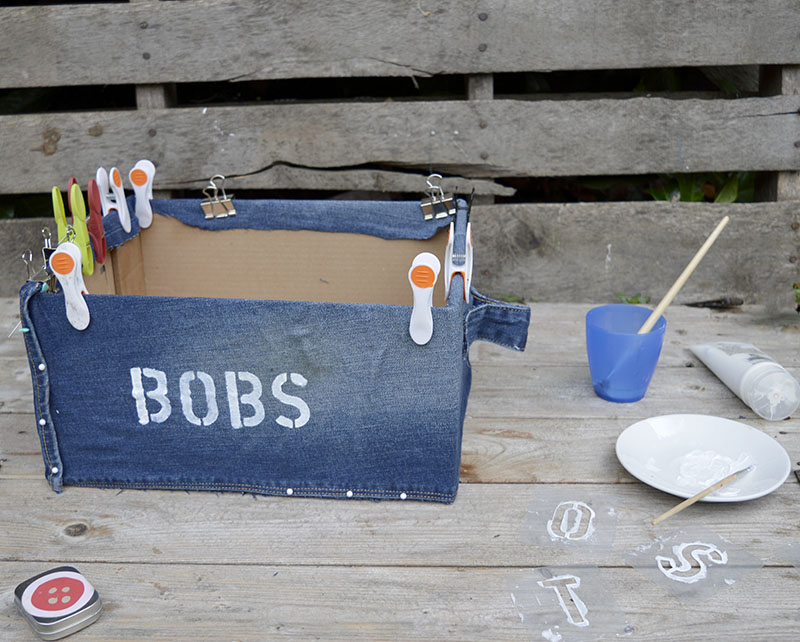
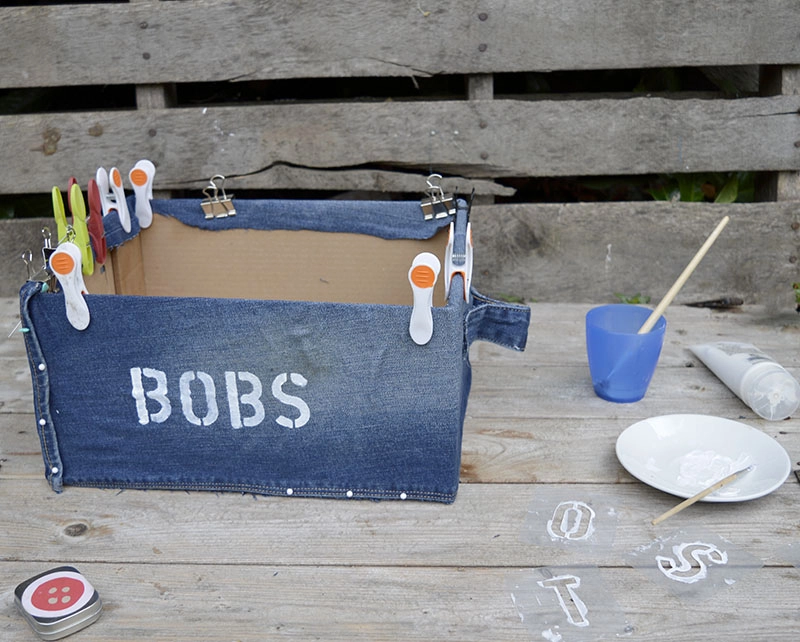
Stencilling the denim DIY storage boxes
I love to add personality to my crafts and upcycles, and one of the ways I do this is by stencilling words onto them.
As these boxes were for my “Bits and Bobs”, I stencilled BITS on one side and BOBs on the other. You can, of course, stencil what you like. You may want to put “STUFF” or “THINGS” on the side of the box.
I used individual letter stencils and white acrylic paint to stencil my words onto the box. I used a small brush with a dabbing motion.


Denim Storage Boxes


Fun upcycled denim storage boxes with stenciling
Materials
- Old Pair of Jeans
- Cardboard box (such as IKEA Pingla)
- Letter Stencil
- White Paint
- Fabric for inside
- Spray adhesive
- Cardboard for the base of box
Tools
- Scissors
- Ruler
- Clothes pegs or bulldog clips
Instructions
- Measure the sides of the boxes and cut the legs of a pair of jeans to fit with a seam allowance
- Make 2 handles out of a denim waistband and attach to the cut denim with a grommet tool.
- Using spray adhesive fix the cut jeans leg to the out side of the box.
- Measure the inside and cut lining fabric.
- Use spray adhesive to stick lining fabric. Hold in place with clips while the glue dries.
- Cover a cardboard base with lining fabric and place in the bottom of the box.
- Stencil the words "Bits & Bobs" to the outside of the boxes.

If you are wondering what to do with the leftover pockets of jeans, you could save them and make my top-rated Denim Pocket Organizer or my iPhone Denim Pocket Pillow. There are also many more denim storage ideas here.
Find more denim painting tips here.
Check out these upcycled old wooden crates and DIY magazine holders for more storage ideas. You can also use denim scraps to make some denim DIY pen pots.

Pam
Tuesday 14th of September 2021
Thank you for the great tutorial. I made 2 boxes (shoe box size) for my sons to store their video game controllers and chargers. Turned out lovely
Claire Armstrong
Wednesday 15th of September 2021
Thank you, glad you managed to make some. The denim storage boxes are handy for so many things.
Ranka Čordaš
Friday 28th of August 2020
VERY USEFUL AND EASY AND A FEW POCKET OUTSIDE WILL BE ALSO GOOD
Claire Armstrong
Friday 28th of August 2020
That is a good idea thank you.
Ikea Small Storage Hacks to Keep It All Together for You
Wednesday 8th of January 2020
[…] You can find the tutorial for making these denim storage boxes at Pillar Box Blue. […]
An easy and cute shoe box craft for the home - Pillar Box Blue
Wednesday 28th of February 2018
[…] If you are looking for more craft storage ideas you might want to check out these DIY storage boxes with denim and stylish copper and denim craft caddy. . Or even my popular vintage map suitcase. […]
20 Clever Ikea Storage Hacks- A Cultivated Nest
Tuesday 12th of December 2017
[…] DIY Storage Box Using Denim from Pillar Box Blue […]