
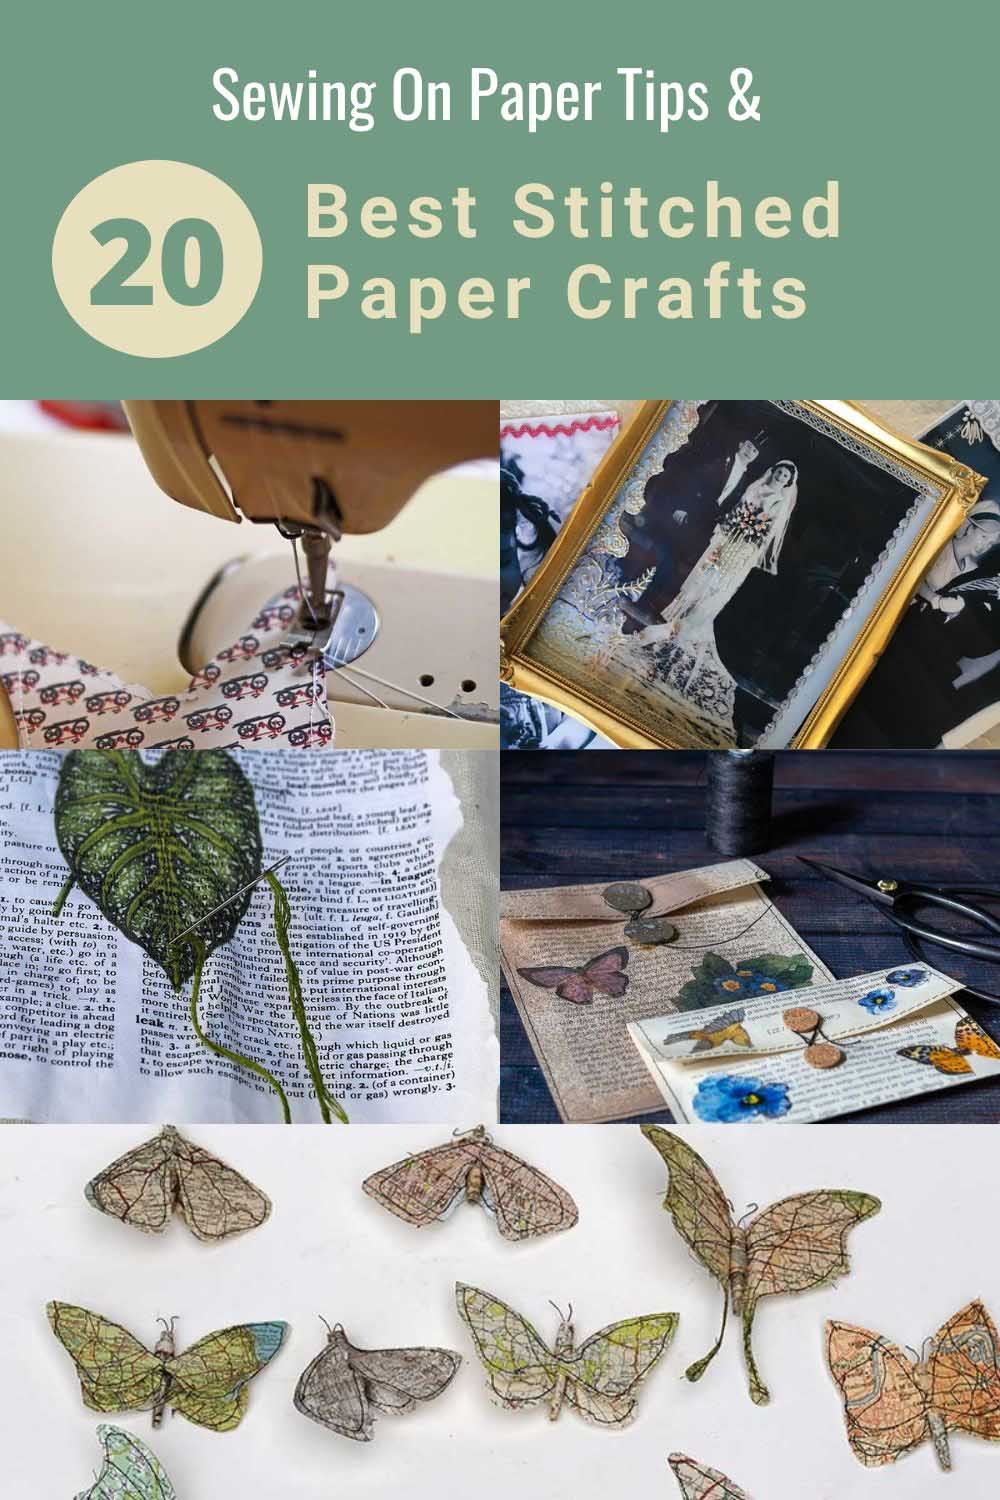
There are two main ways of sewing on paper, either by hand or on a sewing machine. I love to do both and will discuss the best tips for sewing on paper, which I have discovered over years of practice.
There are many reasons for sewing on paper. It is popular with cardmakers and junk journalers for adding decorative embellishments to their crafts.
It is a fun way to hold two pieces of paper together, for example, when making treat bags. Stitching paper can be a fun alternative to using glue.
Stitching on paper by hand can be purely decorative, especially when hand sewing. A bit of embroidery can add texture, colour, and interest to book pages or even old photographs.
We’re a participant in the Amazon Services LLC Associates Program, an affiliate advertising program designed to provide a means for us to earn fees by linking to Amazon.com and affiliated sites. As an Amazon Associate, I earn from qualifying purchases.
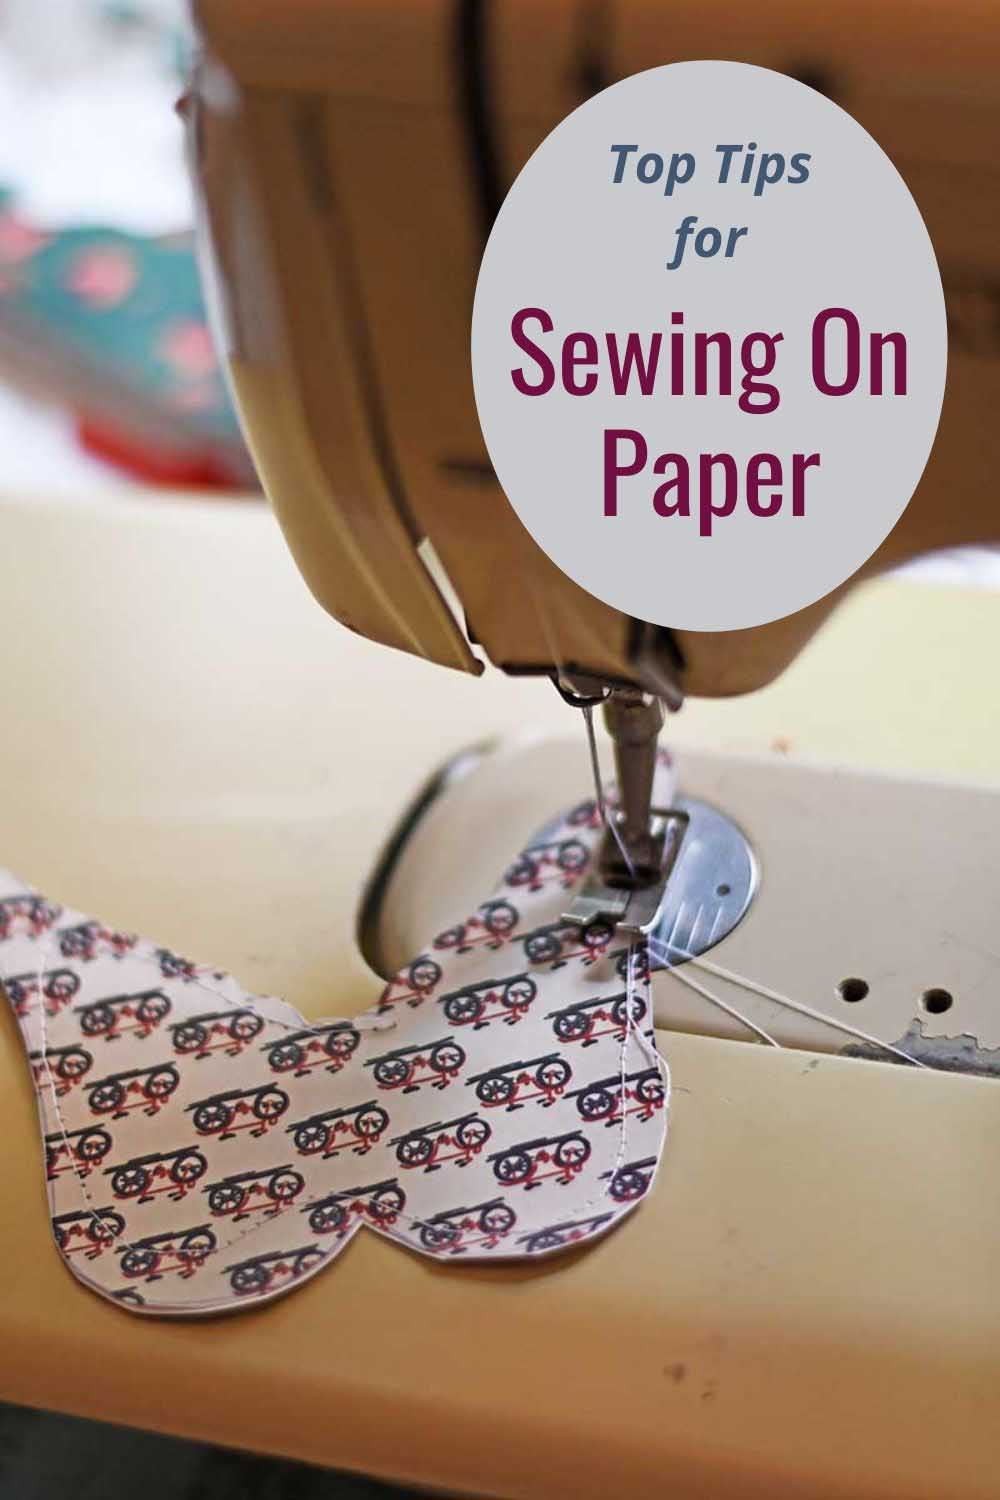
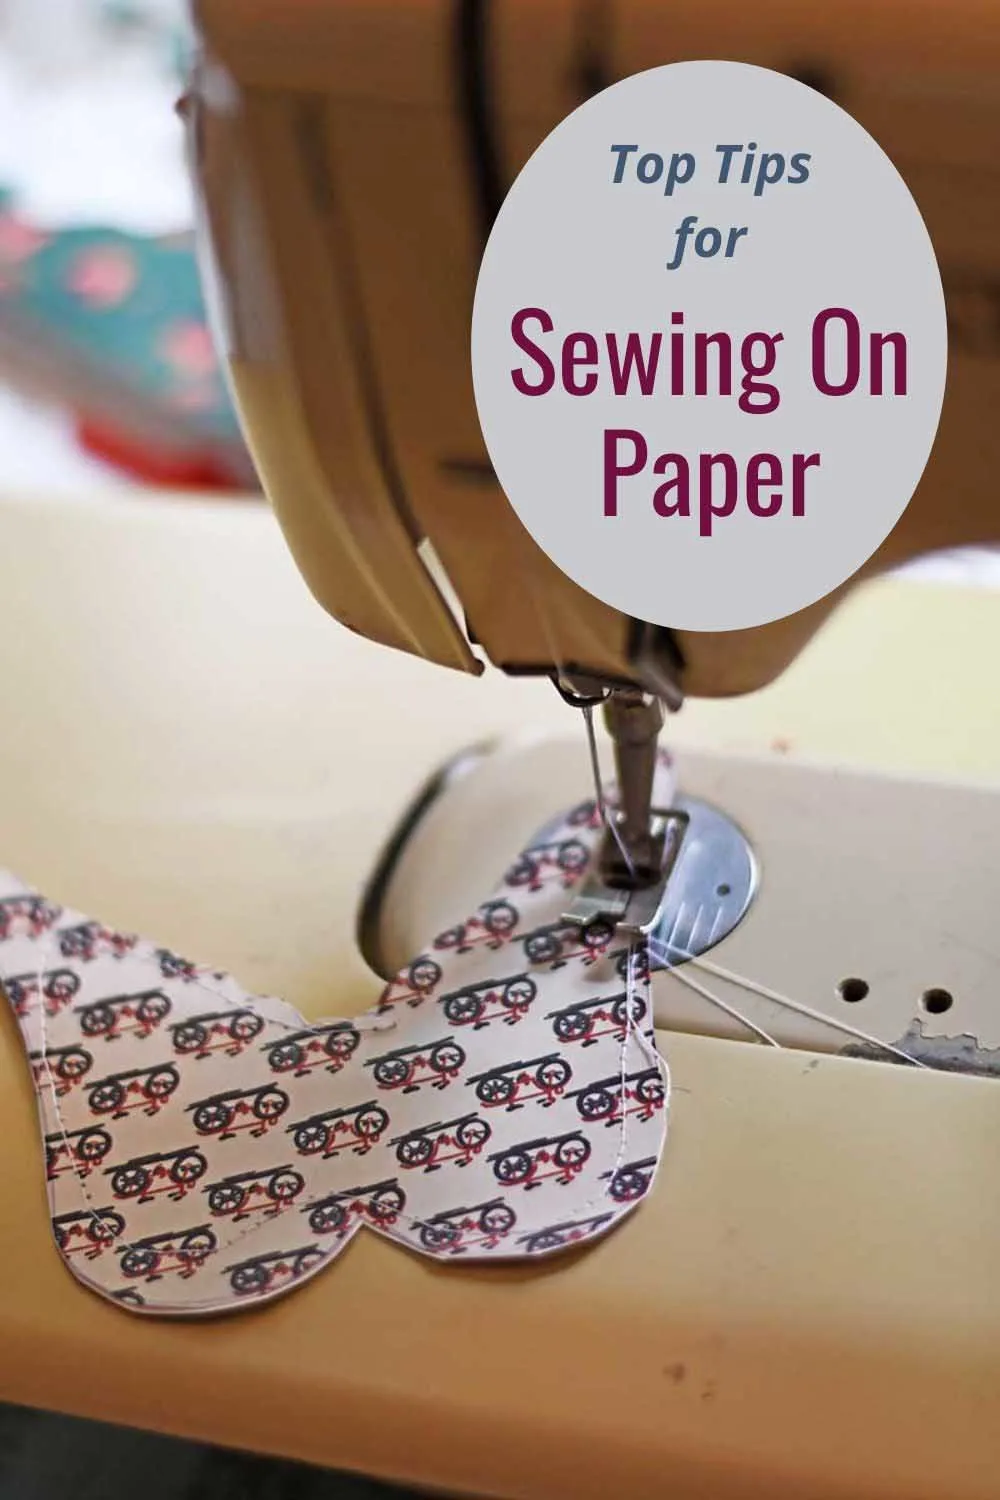
Top Tips For Sewing On Paper With A Sewing Machine
You do not need a particular sewing machine to stitch on paper; all sewing machines will work with paper. Follow the tips below, and you will soon love sewing on paper.
Stitching on paper with a machine is easy; I recommend it as a good way for children to practice using a sewing machine.
Another fun thing is to sew on your paper with your machine but with no thread. You can create some lovely dotted patterns in the paper this way.
1 Practice and Plan Your Project First
Sewing on paper with a sewing machine is different from sewing on fabric. The holes made on paper with a sewing machine are permanent, whereas the holes are more forgiving and less visible with material.
Therefore, before you stitch on the paper, you must first plan. You can’t unpick stitched paper and start again like you can with fabric.
I recommend practising with a scrap piece of paper first, trying out different stitches, and getting a feel for your paper.
2. Use The Right Needle
Choose a good sharp, heavy-duty needle. I use denim-grade needles for my paper stitching. Paper will dull your needle very quickly, so I recommend using different needles for paper and fabric sewing projects.
3. Choose Your Paper
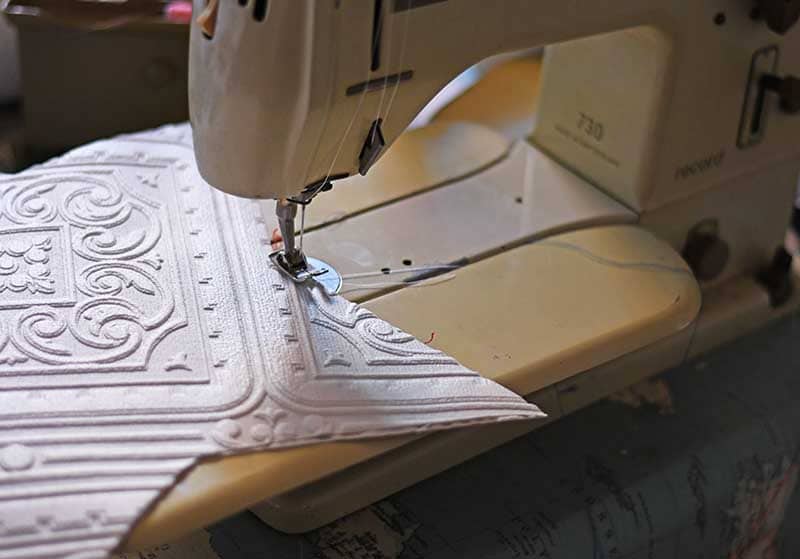
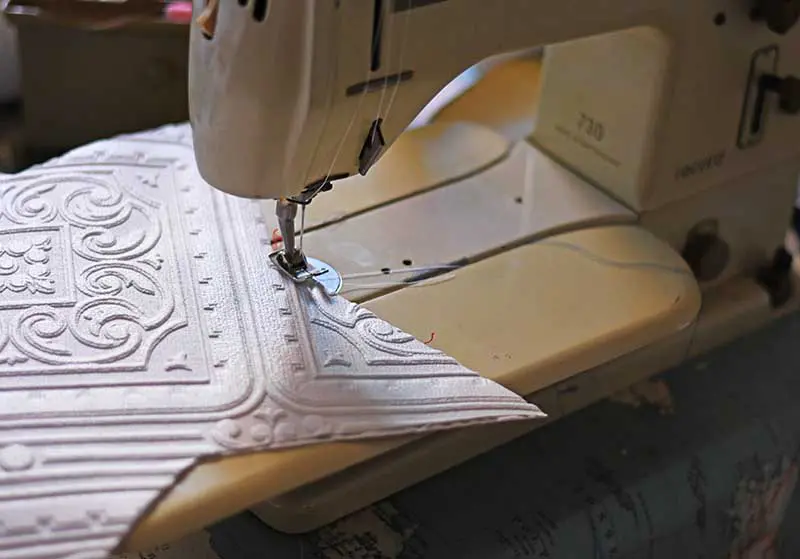
Thicker paper or cardstock works well when sewing on a machine. I have repeatedly stitched printer paper, wallpaper, and old maps on my sewing machine.
Thin, flimsy paper such as book pages can tear easily. If you still want to use this paper, consider using fusible stiffening paper. If you can, try out a sample of your paper first to see if it is suitable.
4 Use the Right Stitch Length
A long stitch length of 3-4mm works best. If the stitches are too close together, the paper will tear easily.
5 Go Slow
Take your time; no need to rush. Remember, you can’t unpick those stitches; the holes are permanent. Don’t try and force the paper through; the machine will do most of the work for you. All you will need to do is guide it with the lightest of touches, and the slower you go, the easier this is.
6. Sew On The Right Side
Unlike fabric, you will not be able to turn the paper’s right sides out afterwards. So always sew on the right side so that the wrong side of the stitches are under your paper. If needed, you can always hide the underside stitches by glueing on the backing.
7. Don’t Use Pins
When sewing two pieces of paper together, use paper clips, sewing clips, or a small dab of glue to keep them in place. Don’t pin your paper pieces together, as this will leave unsightly holes.
If using glue, use it sparingly, as it can clog up your needle.
8. Curves and Corners
When changing direction by sewing around curves and corners, stop, lift the presser foot and turn the paper before replacing the presser foot.
9. Watch The Paper
Don’t get fixated on watching the needle; concentrate on the paper you are stitching. If embroidering a design, it can help to lightly draw that out in pencil first and then follow those lines.
10. Finishing Off
To finish off, cut the thread at the back. This can be secured with either a knot or a tiny dab of glue.
Top Tips For Hand Sewing Paper
Two main ways to hand sew paper are pre-punch the holes and embroidery or cross-stitching the paper. The other is to add strength and flexibility to the paper so it behaves more like fabric. It can then can easily be embroidered without tearing.
Many of the tips for machine embroidery also apply to hand embroidery.

1 Choose Your Needle
Use a needle with the smallest eye possible. Remember, the needle’s size will determine the hole’s size.
This can be difficult when using embroidery cotton as the eye has to be large enough to thread. You can reduce the needle’s eye size by using one with a more elongated eye than a round one. Using a needle threader will help you pass the cotton through smaller eyes.
If you are not using the pre-punched hole method, make sure you use a sharp needle, as it will need to pierce the paper.
2 Large Stitches
Again as with sewing paper on a machine, a larger stitch length works best. The paper will easily tear if the gap between your stitch holes is too small.
3 Choosing Your Paper
All kinds of paper can be hand-stitched, but if it is too flimsy, it must be reinforced (see below). Hand-stitched paper is handled much more than machined stitched paper and will need to be stronger and stiffer as it creases more. Cardstock and heavy paper are best for cross-stitched embroidery.
4 Pre-Punching Your Holes
Draw out your embroidery/ cross stitch design onto the paper or cardstock. Then using an awl or a brad setter piercing tool and rubber mat (a mouse mat will do), under the paper, pre-punch your sewing holes.
Or, if you have a sewing machine, you can pre-punch the holes by following the pattern with the needle but with no thread.
5. Or Strengthen Your Paper
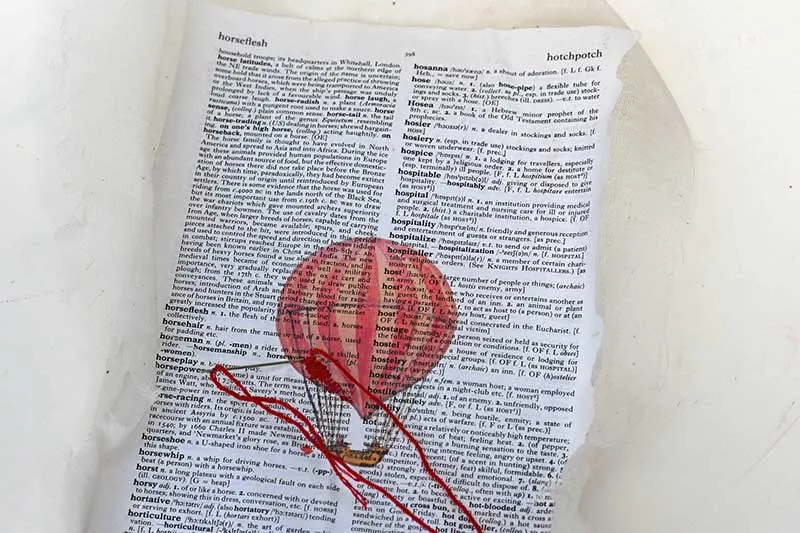
To hand embroider thin paper-like book pages, you can stick it muslin cloth the make it like linen paper. This can then be easily embroidered by hand without the paper tearing. I used this method to make some fun dictionary art.
6. Simple Stitches
Basic embroidery stitches such as running stitches, backstitches, satin, and blanket stitches work best on paper. Cross-stitch patterns are also great to use on pre-punched holes.
7. Don’t Pull Your Thread Too Hard
If you pull your thread too hard, the paper will tear. Remember, it is not as flexible as fabric.
8. Finishing Off
Finish off by cutting the thread at the back and then tie a knot or use a dab of glue to secure the loose thread.
The Best Paper Sewing Craft Ideas
Now you know how to sew on paper, here is a round-up of some of the best paper sewing crafts and DIYs. I’m sure you will find something here you’ll want to try.

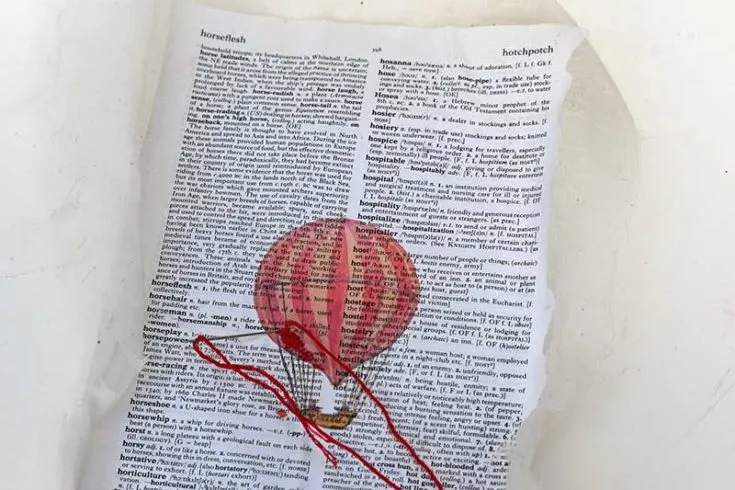
Paper Embroidery and How To Make Dictionary Art
A step-by-step tutorial that shows you how to reinforce thin book pages such as those from an old dictionary, so that you can embroider on the paper by hand and create some dictionary art.

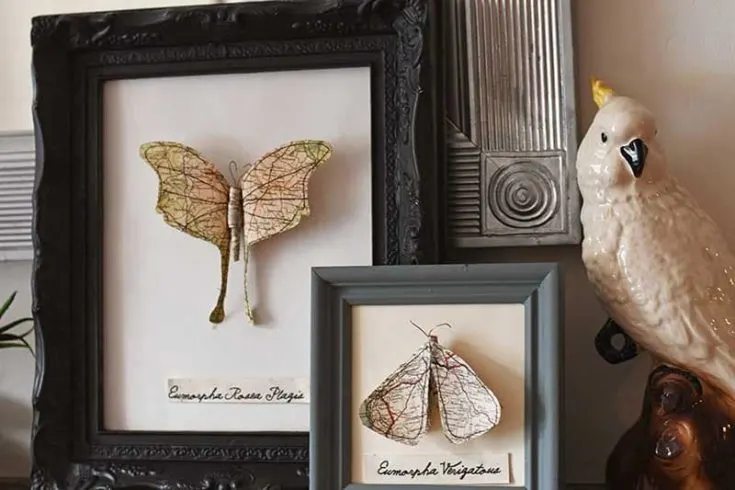
How To Make Map Paper Moths Art
Sewing machine stitches are used to decorate these upcycled map moths. They look great as a faux taxidermy wall decoration. You could make butterflies on colourful scrapbook paper.

DIY Beautiful Book Page Bags Craft
Book page gift bags for letters or small gifts using a variety of materials you probably already have at hand. They're so pretty, they're like a gift in themselves.

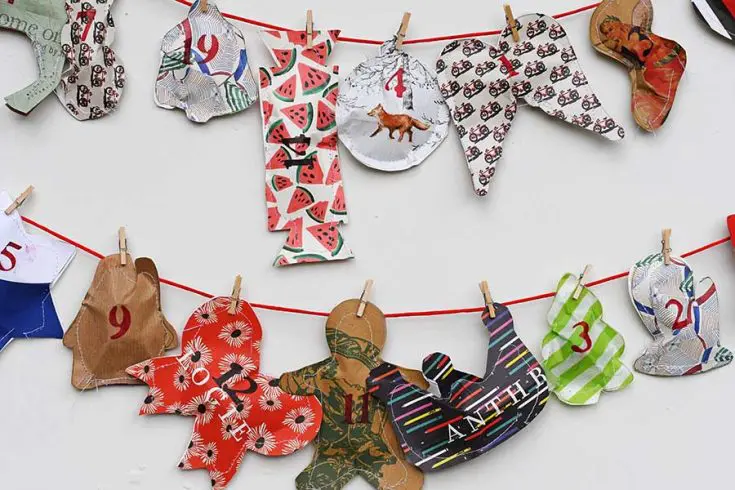
How To Make A Repurposed Paper Bag Advent Calendar
Colourful paper shopping bags are stitched into festive shapes to make a fun advent calendar.
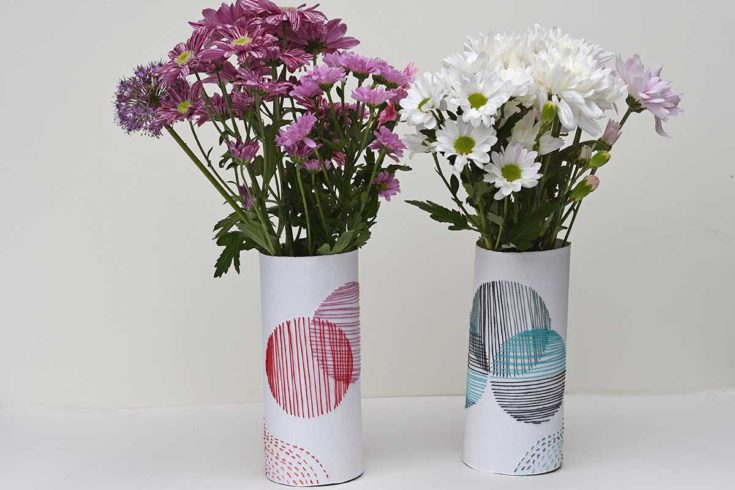

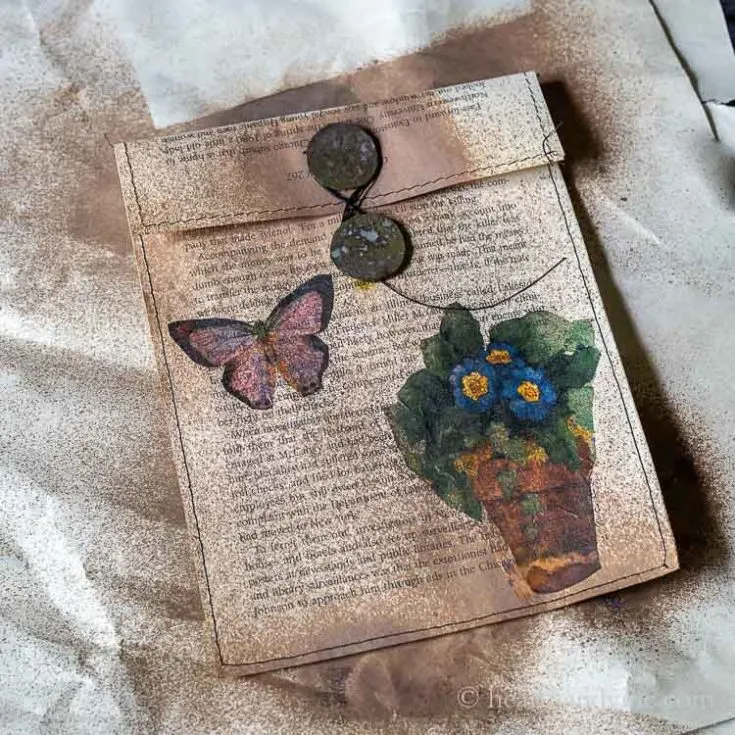
Paper Embroidery and Embroidered Paper Vase Tutorial
This post is a fun tutorial for making boho paper embroidered vases and a comprehensive guide to paper embroidery.
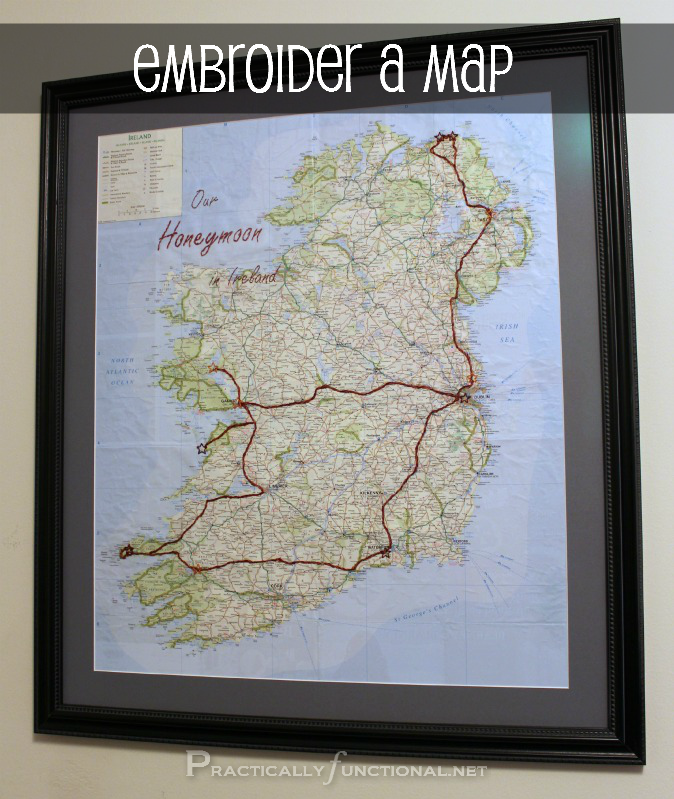
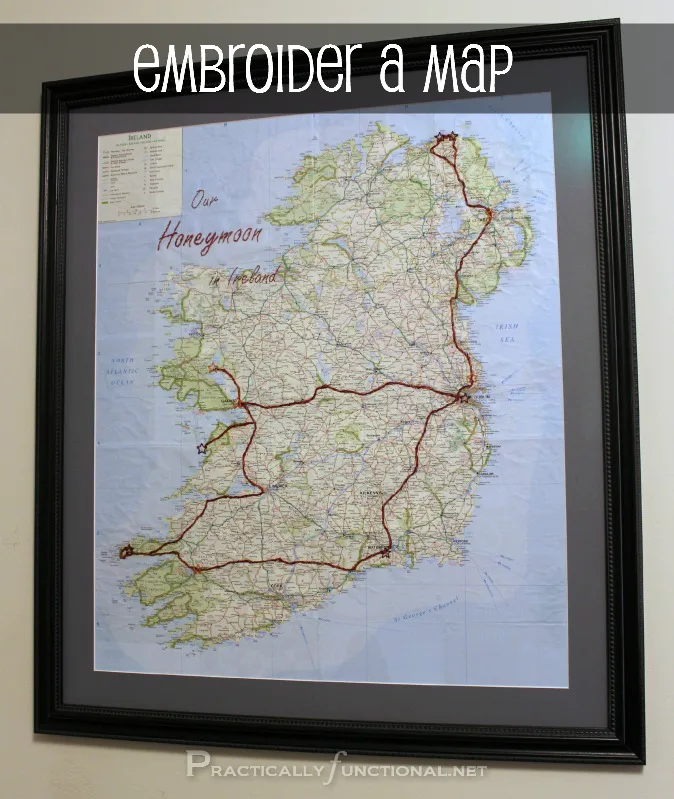
Embroider A Map To Commemorate A Trip
This would make a lovely memento of a memorable trip. A tutorial on how to hand sew a route on a map.
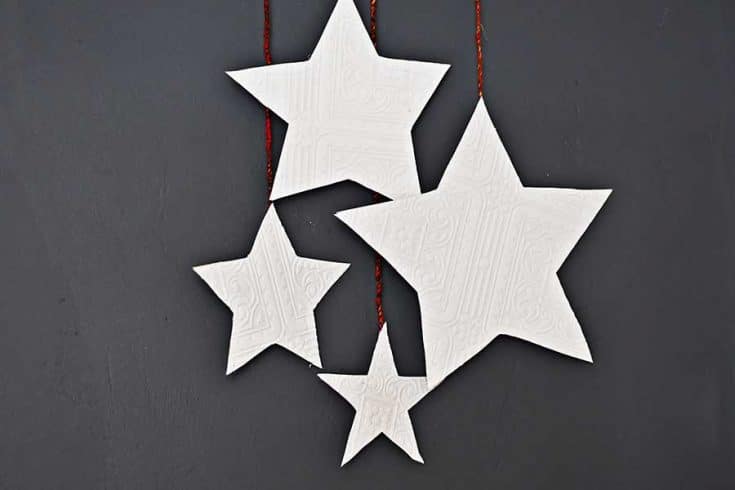
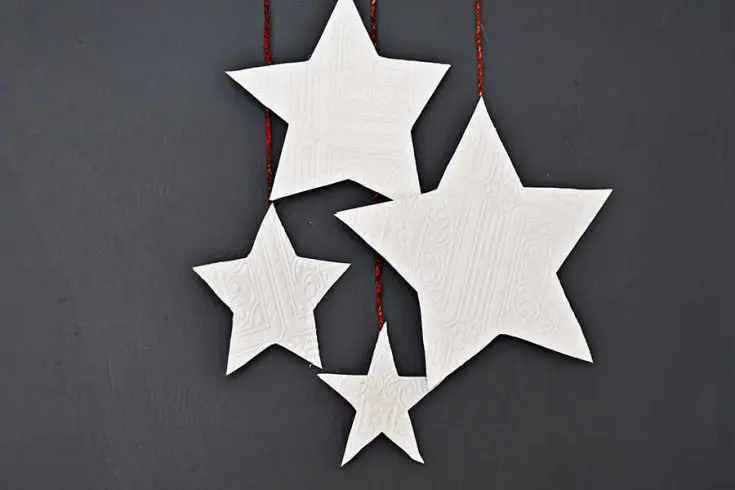
How To Make Paper Stars Hanging Decoration From Wallpaper
Stitch leftover textured wallpaper to make some large hanging star decorations.
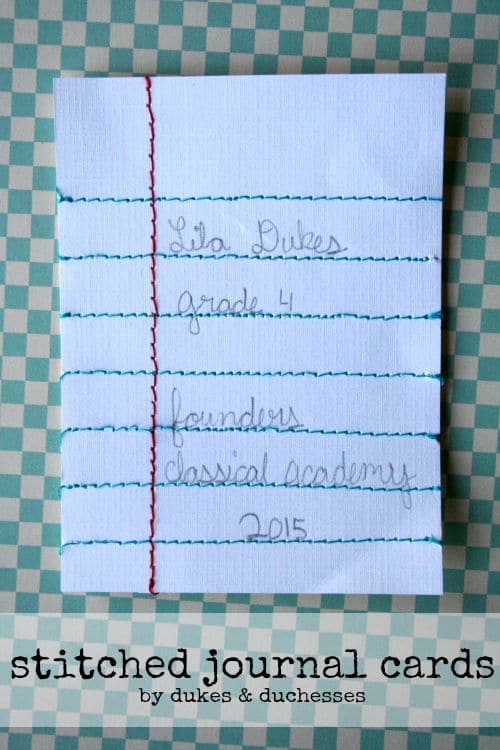
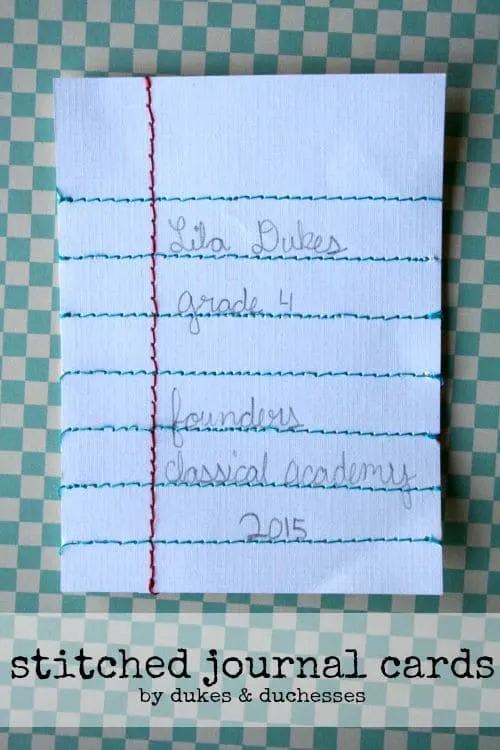
Stitched Journal Cards
These stitched journal cards for scrapbooks are a great way to memorialize the first day of school and get the kids writing at the same time!


Easy Book Page Leaf Embroidery, A Unique Fun Fall Paper Craft
Use book pages to make a fun fall decor of stitched paper oak leaves.
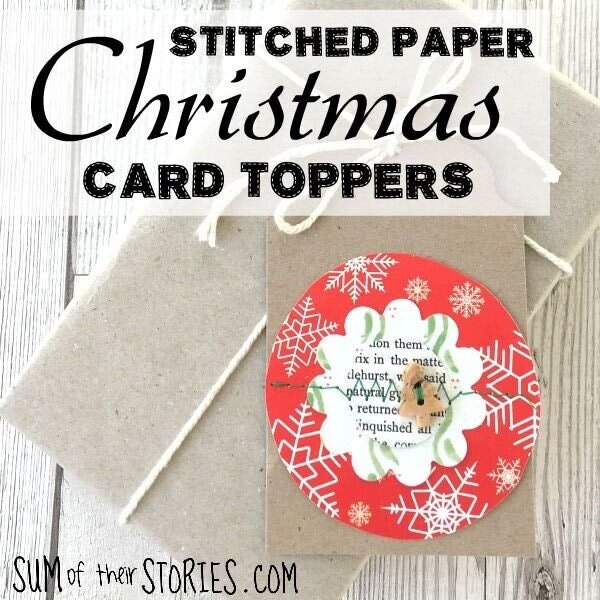

How to make Stitched Paper Christmas Cards
These cards are a fabulous way to use up even really quite small scraps of patterned paper. You can also use embellishments saved from old Christmas cards that you have received in previous years, bits of packaging, wrapping paper, pages of old books or magazines, etc. By stitching these scraps of paper on your sewing machine you can really add an extra dimension.
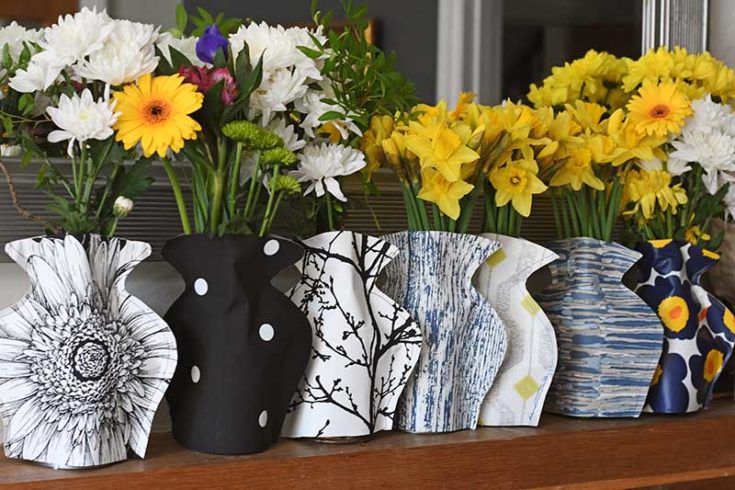

How To Make a Cute Paper Vase Mason Jar Sleeve
Wallpaper samples are stitched into a vase shape to make some fun paper vases.


Embroidered Photo Mother's Day Card
This is a fabulous idea to make that extra special personalized mothers day card.
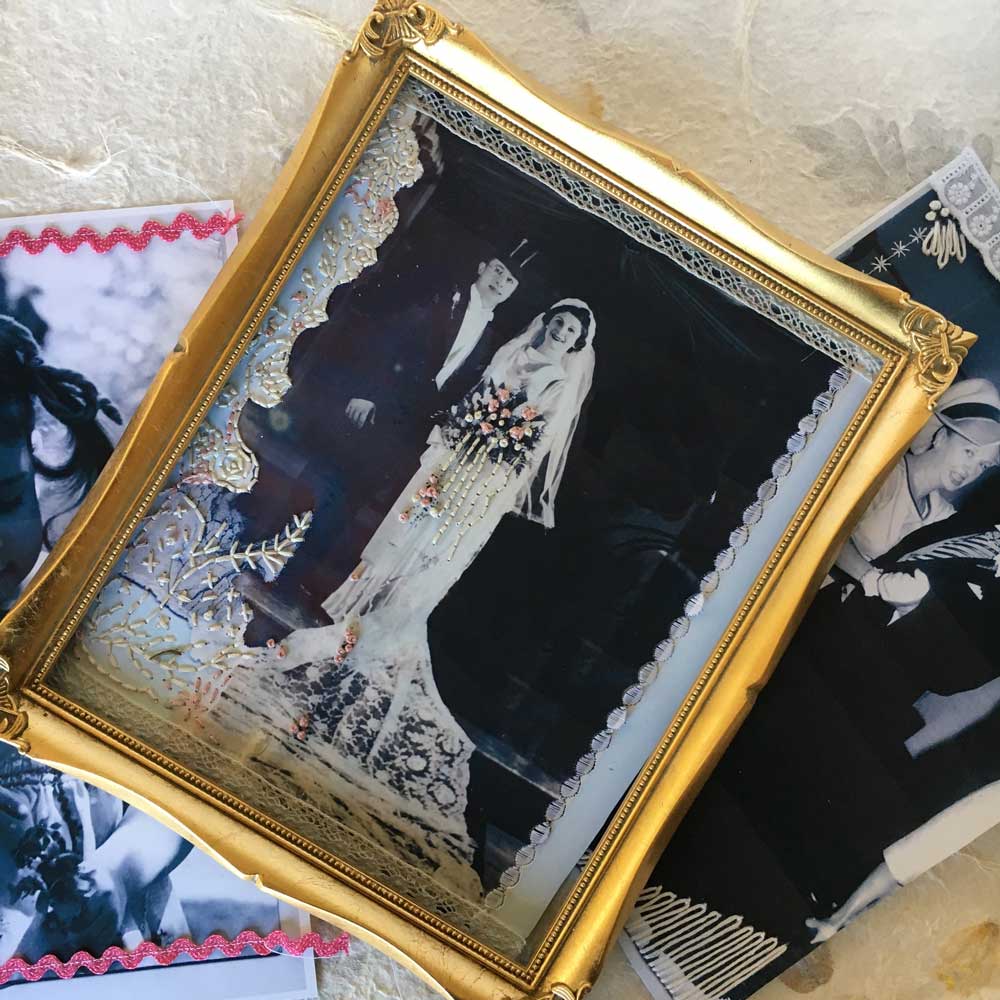
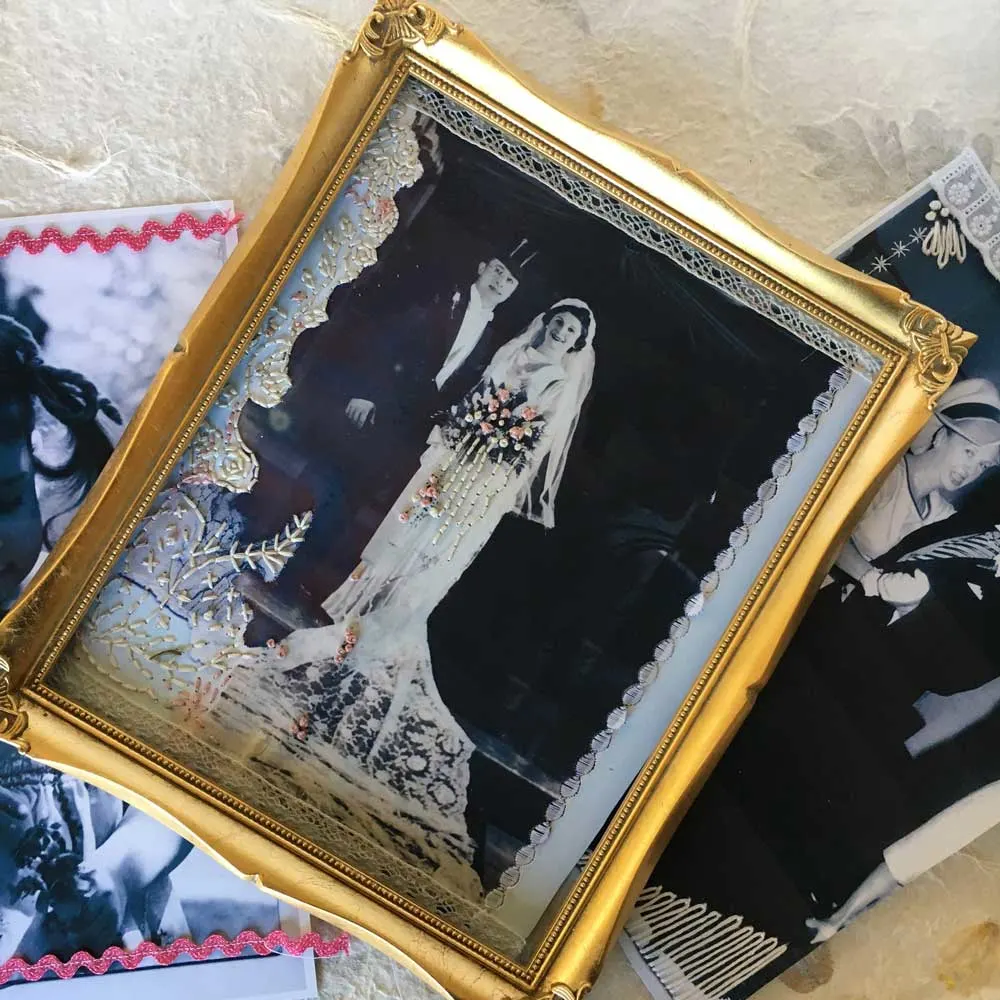
EMBROIDERY ON PHOTOS: TURN YOUR OLD PHOTOS INTO WORKS OF ART!
This sewing-on photograph tutorial involves both machine and hand embroidery.
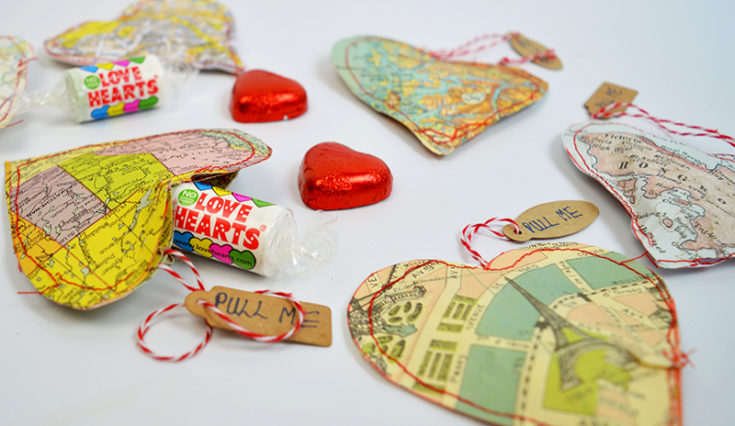

DIY Personalized Treat Map Hearts - Valentines Craft
A Valentine's craft, making personalized heart treat pockets out of old maps. Check out these other paper heart crafts, some of which also include stitching paper.
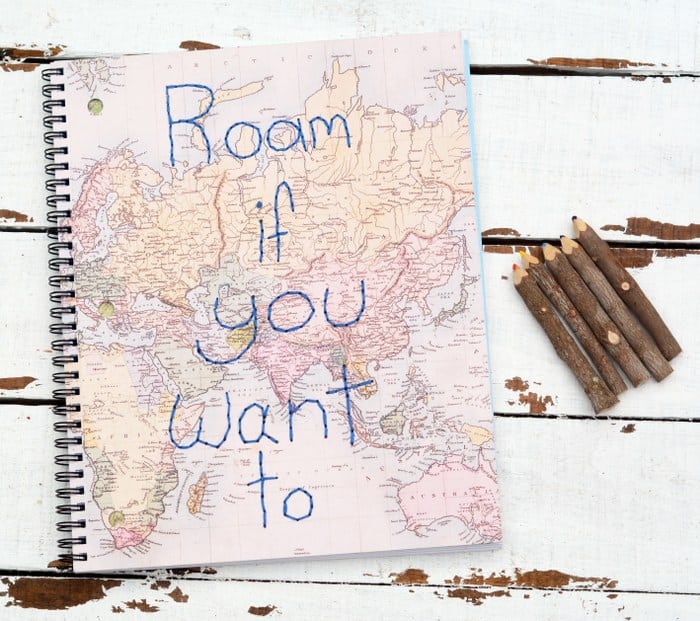
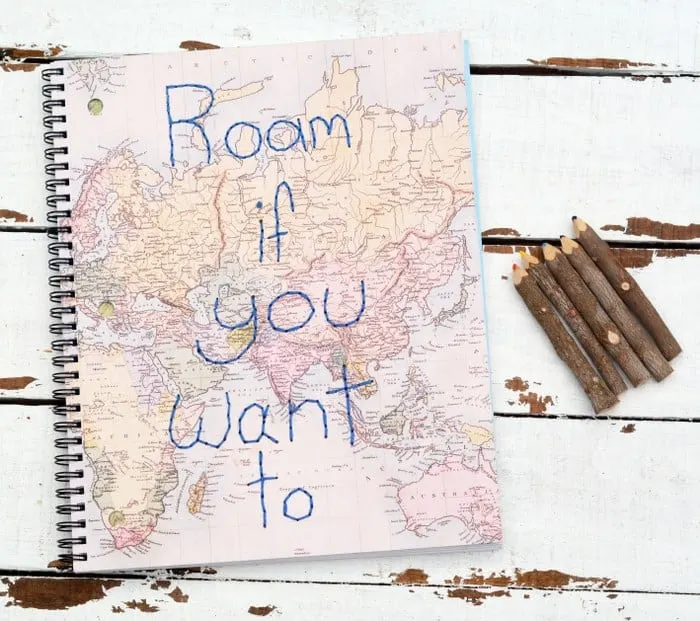
Embroidered Notebook for the Adventurer Inside
This would make a lovely handmade gift. Hand embroider a personal message on the front of a notebook.

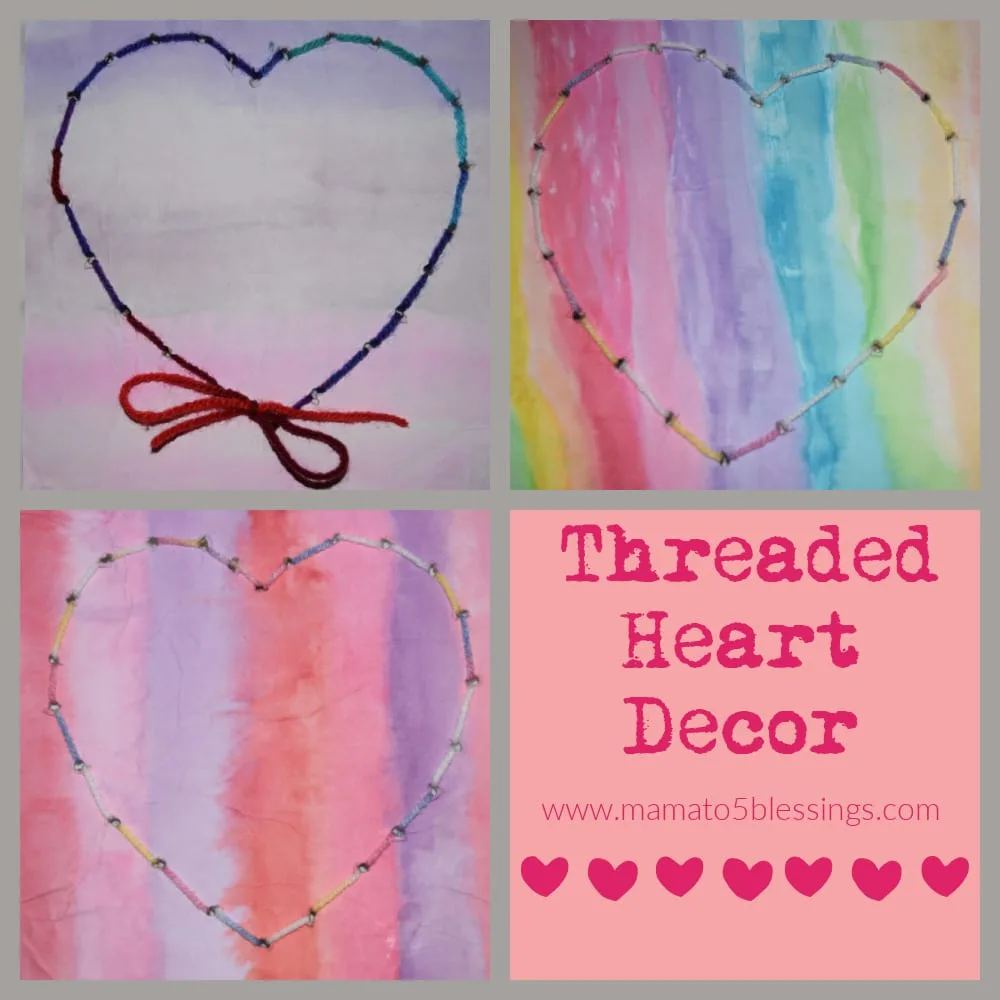
Threaded Heart Decor
A great introduction to stitching for kids with these hand-stitched paper hearts.
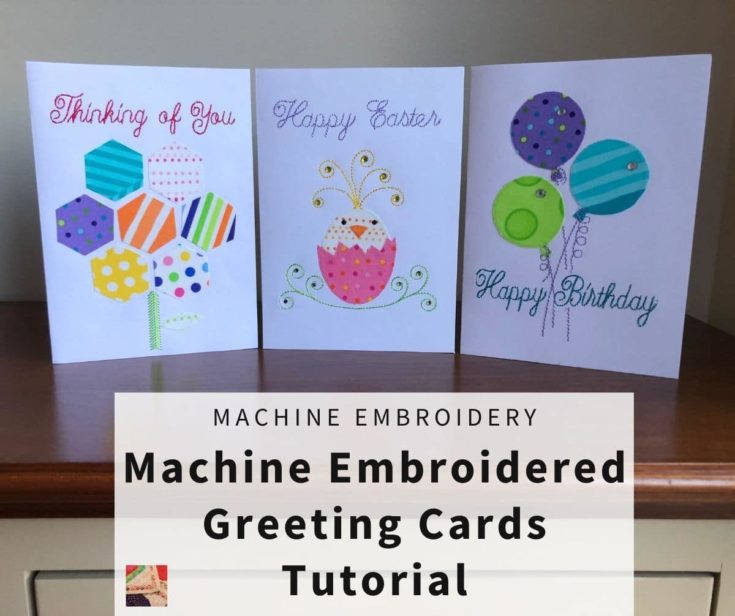
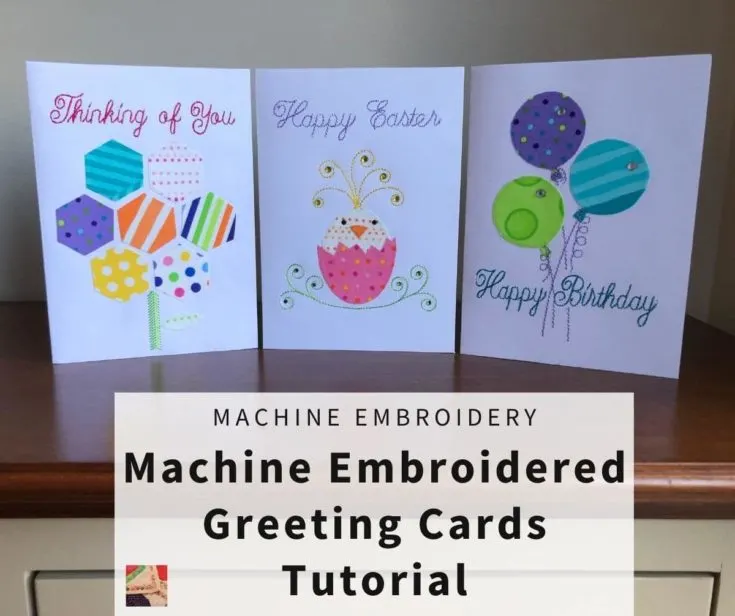
Make Greeting Cards with your Embroidery Machine
The cards in this project have a combination of applique fabrics and machine embroidery. We take you step-by-step through completing this project including tips and tricks for embroidering on cardstock or paper.
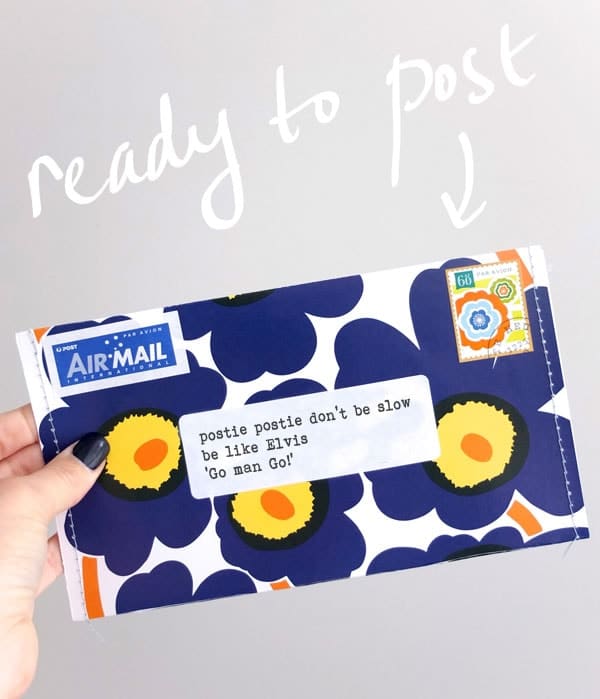

Upcycle Style: Make an Envelope from a Magazine Cover
An old catalogue is stitched on the sewing machine to create some fun evelopes.


Decorative Machine Stitching on a Paper Plate
Add decorative machine stitching on a paper plate for a sweet and completely unique table setting! And the best part? It’s super easy!
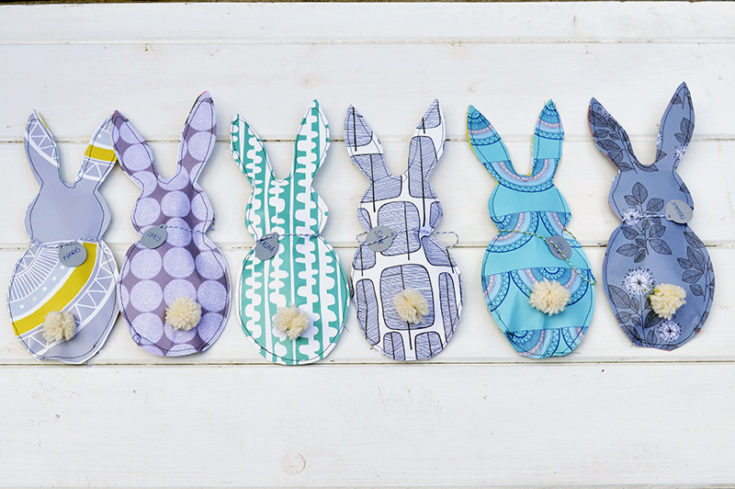
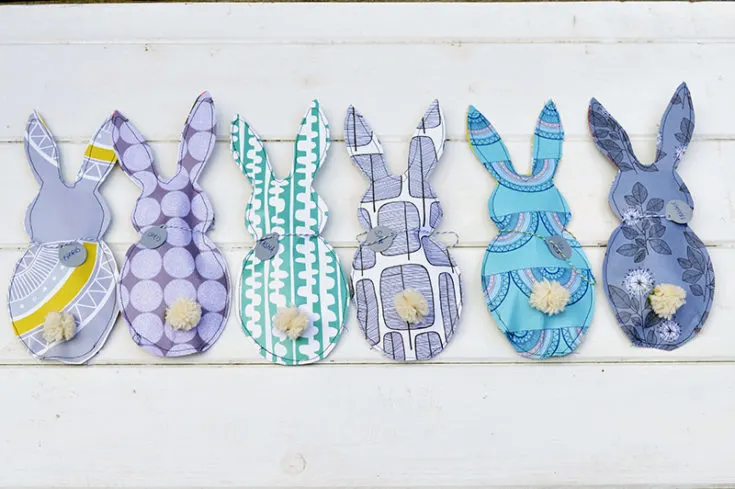
How To Make Cute Paper Bunny Treat Bags
A sewing machine is used to stitch these Scandinavian-styled bunnies, which double up as both a decoration and treat pocket.
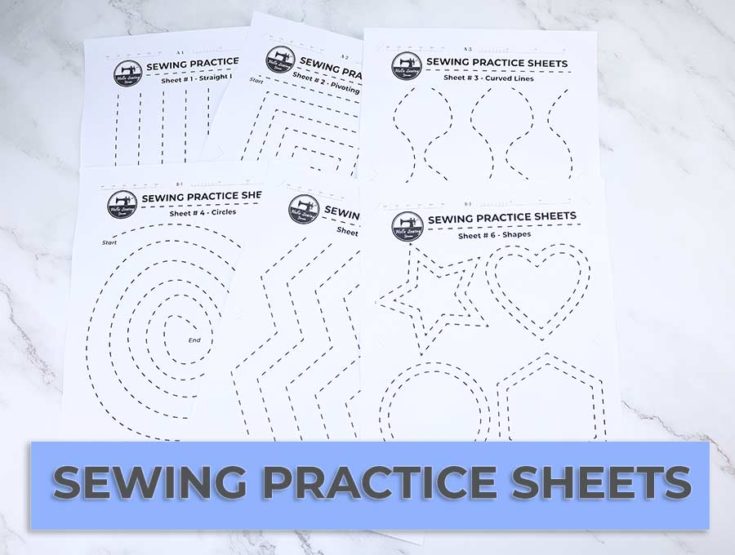
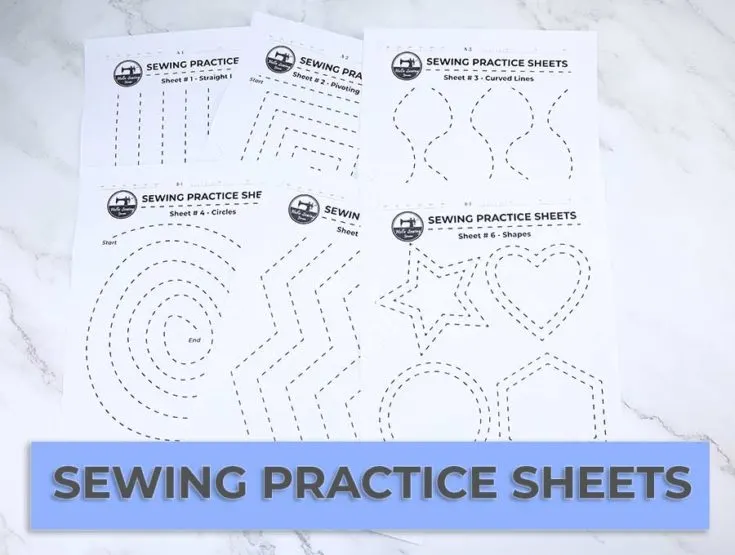
Printable Sewing Practice Sheets to Perfect Your Stitches
You can learn how to sew on a sewing machine, using these free printable paper sewing practice sheets. They are great for kids and adults who would like to learn to sew.
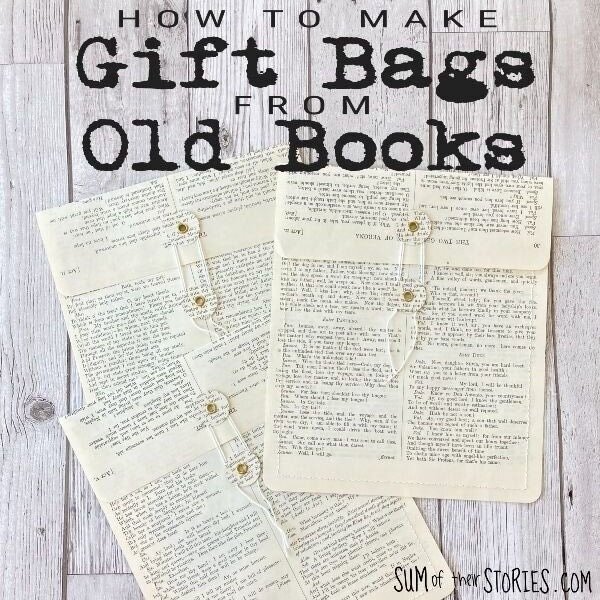

How to make gift bags from old books
Another fun way to upcycle old book pages with sewing.

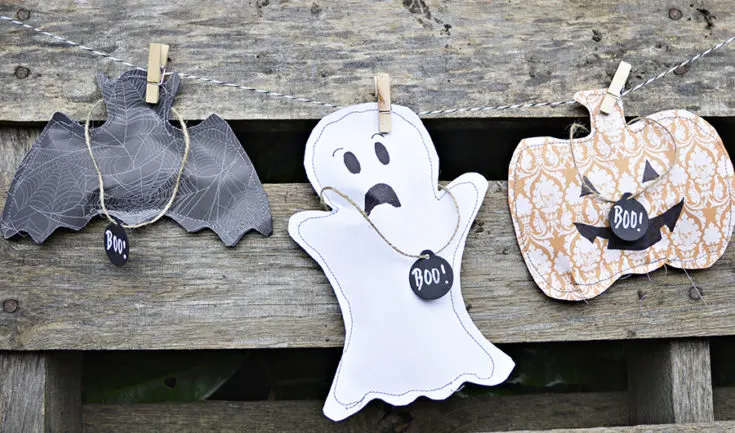
DIY Super Cute Halloween Treat Bags 3 ways
Another fun set of treat bags. These ones are for Halloween, there are three fun designs to choose from.

I like mixed-media embroidery, where I combine watercolour paints and hand stitches on fabric. I think I will try this but use watercolour-painted paper and machine embroidery.
If you enjoyed these tips on sewing on paper, you might want to check out some of my other craft technique posts, such as paper napkin decoupage, upcycling with wallpaper, paper mache crafts, and all you need to know about upcycling.
If you like to upcycle and craft regularly, you might want to check that you have these upcycling and craft essentials.
Donna @ Modern on Monticello
Tuesday 22nd of June 2021
Thanks for sharing all of the great details on tips on how to do this. I don't use a sewing machine so glad you shared the hand sewing tips as well. #HomeMattersParty
Claire Armstrong
Wednesday 23rd of June 2021
Thank you, sewing on paper is fun either by hand or machine.
Ann
Sunday 20th of June 2021
Great tips! Thank you for sharing at Party In Your PJ's.
Claire Armstrong
Sunday 20th of June 2021
Thank you, I hope you found them useful. Sewing on paper is a un craft.
Cecilia
Saturday 19th of June 2021
Thanks for sharing your great tips at Vintage Charm, Claire!
Claire Armstrong
Sunday 20th of June 2021
Thank you so much, Cecillia.
Renee Open
Wednesday 16th of June 2021
WOW! Your tutorial and hints are an amazing work in an of itself, but the art and beauty you have created by sewing on paper! Amazing!! Bravo!
Coming to you from your Whims Wednesday link party
Claire Armstrong
Wednesday 16th of June 2021
Thank you so much, sewing on paper is a particular favourite of mine.