
Unique DIY Wooden Christmas Tree With Knobs On
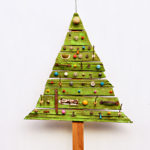
Ready to craft something truly unique this holiday season? This DIY tutorial will show you how to build a wooden Christmas tree using scrap wood, architectural mouldings, old knobs and hooks. Perfect for smaller homes or quirky décor lovers, this tree is low-footprint but high on character.
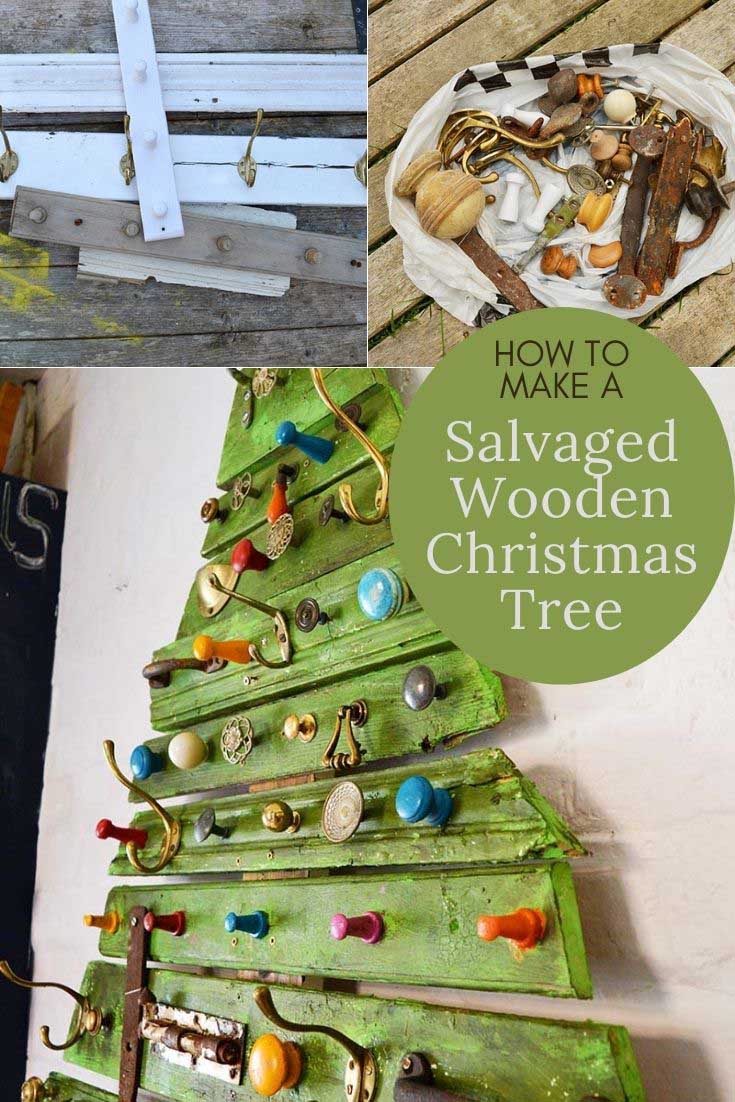
I can't walk past a skip (dumpster) without having a good look in. I especially love odd bits of wood with exciting mouldings, hooks, and knobs. Over the last year, I gathered quite a collection of Architectural salvage. I needed to do something with it, and that's when I got the idea for a DIY wooden Christmas tree.
I love a flat Christmas tree; last year, I made a stylish branch DIY Christmas tree. This looked great in my front room and didn't take up half as much space as a real Christmas tree. I've even painted a large flat Christmas tree on my wall.
I love a real Christmas tree, but we don't have room for one. Flat Christmas trees don't take up as much space.
DIY Wooden Christmas Tree Made From Architectural Salvage
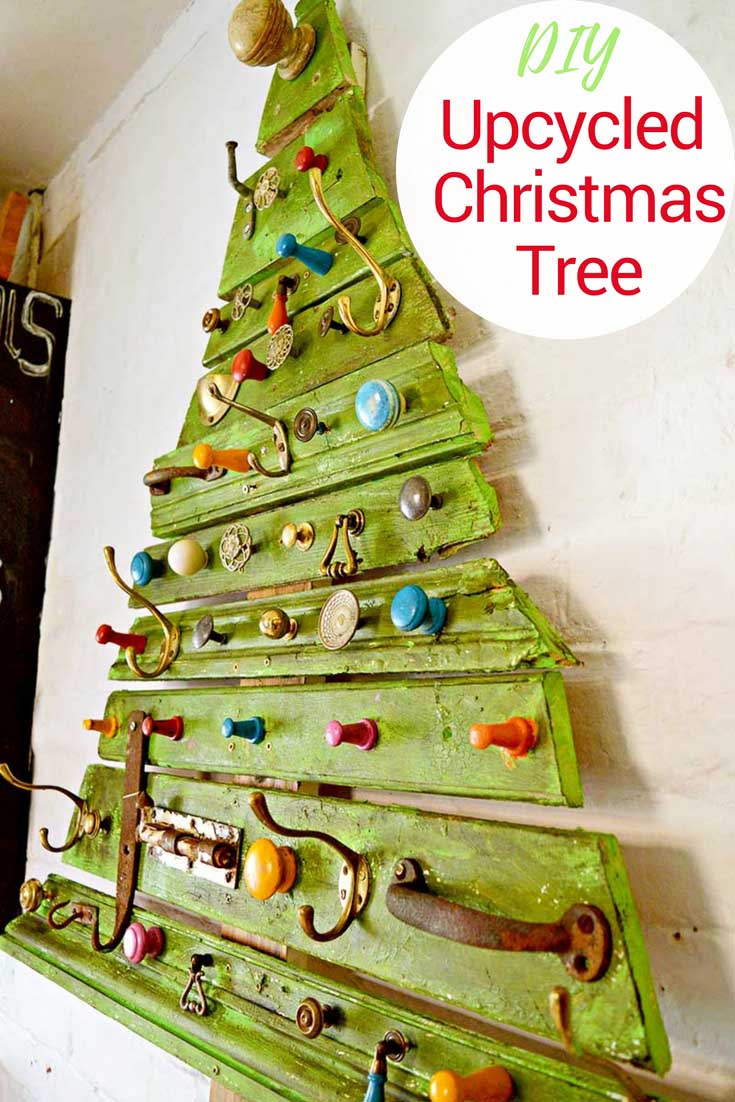
I still have my branch Christmas tree, but I thought it would be fun to have another flat alternative Christmas tree in the dining room. This DIY wooden Christmas tree is very different, with knobs and hooks, and made from architectural salvage.
I think the knobs look like Christmas ornaments, especially the coloured ones. The tree can be hung on the wall, or you can make a stand for it to be free-standing.
We're a participant in the Amazon Services LLC Associates Program, an affiliate advertising program designed to provide a means for us to earn fees by linking to Amazon.com and affiliated sites. As an Amazon Associate, I earn from qualifying purchases.
What you need to make a DIY wooden Christmas tree
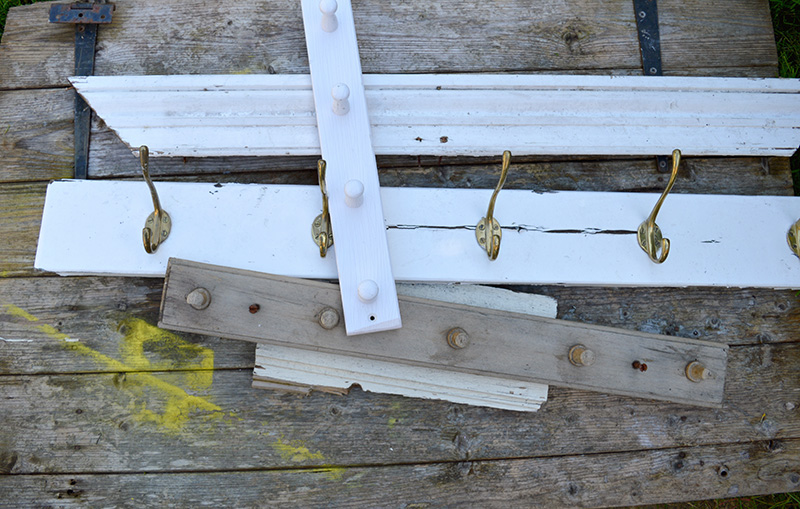
- Scraps of wood - I used bits of skirting board and architrave because of their attractive mouldings. I also used some old wooden coat racks and pallet wood scraps. Use whatever you can find. The longest branch was approximately 3ft.
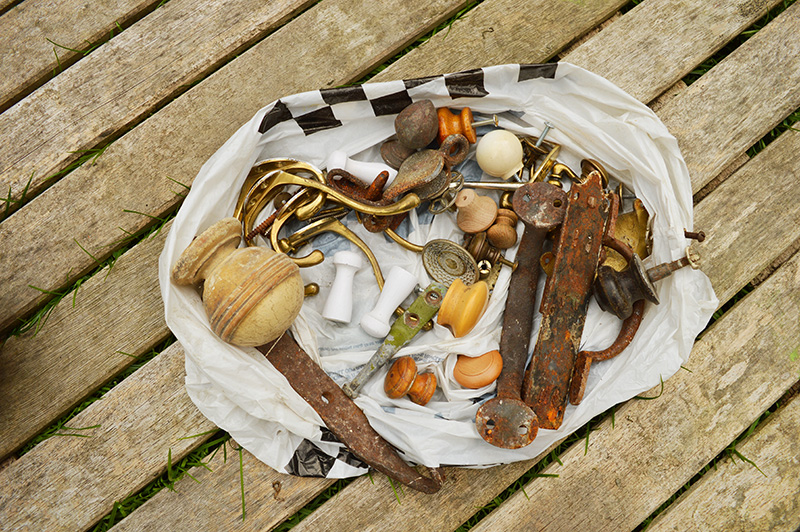
- A collection of old knobs, hooks and general ironmongery
- A piece of wood for the tree trunk approx 4"(10cm) by 4ft(120cm)
- Annie Sloan Antibes Green Chalk Paint
- Spray paint in various colours - or any leftover paint in various colours
- Annie Sloan Dark Furniture Wax
- Crackle Medium
- Reciprocating Saw (or handsaw)
- Drill
- Woodscrews
- Screwdrivers
- Copper string lights
How to make a DIY wooden Christmas tree
Step 1: Gather all your wood scraps and lay them out on the ground to determine how the Christmas tree will look. Put the smaller pieces of wood at the top.
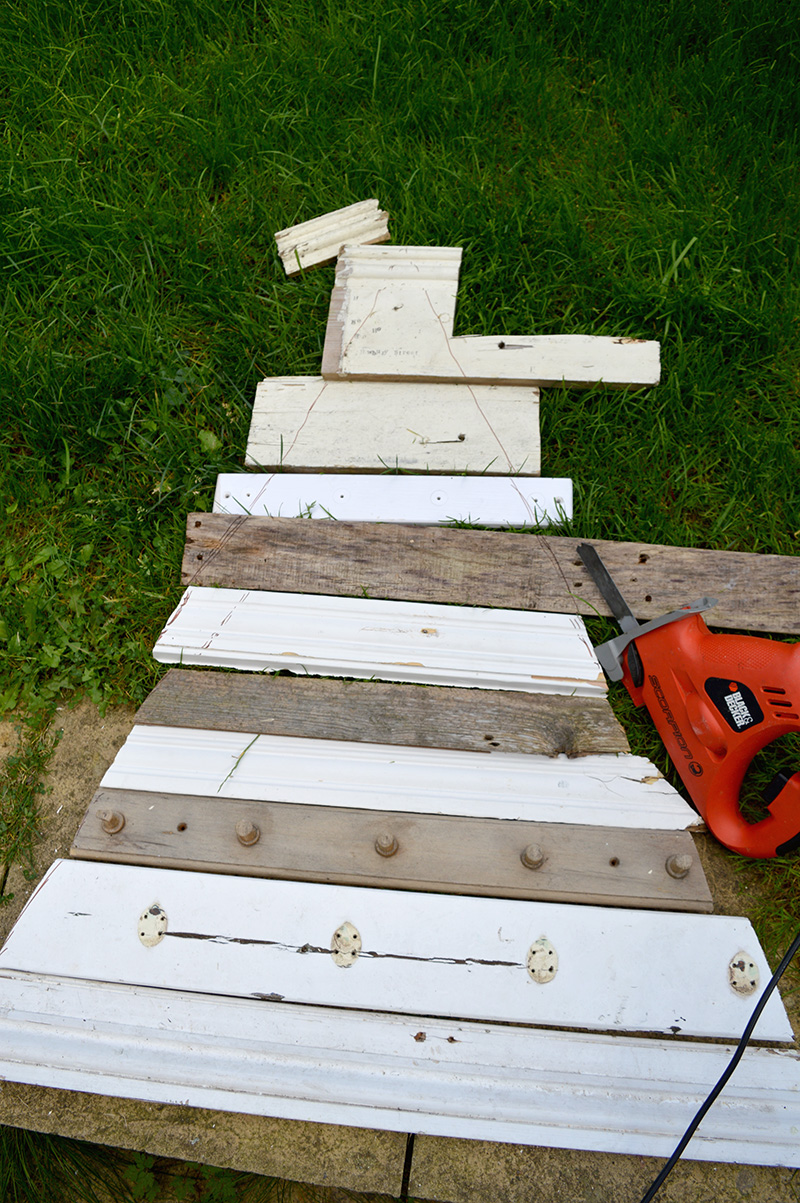
Step 2: To get a typical Christmas tree shape with a Sharpie, mark where you want to see your wood planks. Make sure that the ends of the tree shape slope. Use a reciprocating saw if you have one; saw along the Sharpie lines.
Don't worry if you don't have an electric saw; you can always do this bit by hand, but it will just take a little longer.
Step 3: Before screwing your Christmas tree together, paint the wood. However, before painting, you can brush Crackle Medium onto the wood to give it a more rustic finish.
For the paint, I used Annie Sloan Chalk Paint in Antibes Green. I finished it with a coating of Annie Sloan dark wax to add to the aged wood effect. Stain the wooden trunk dark brown using dark wax.
Step 4: Then prepare the knobs and hooks for the tree. First, scrape away any rust from the metal.
I just used the spray paints I had in my craft cupboard to paint the wooden knobs, but you can use any leftover paint you have.

Step 5: Next, the placement of the knobs and hooks on my DIY wooden Christmas tree may look random, but they weren't quite.
Lay the painted wood branches down on the ground. Then, place the knobs and hooks where you think they look best. Taking one branch at a time, screw the knobs and hooks into place.
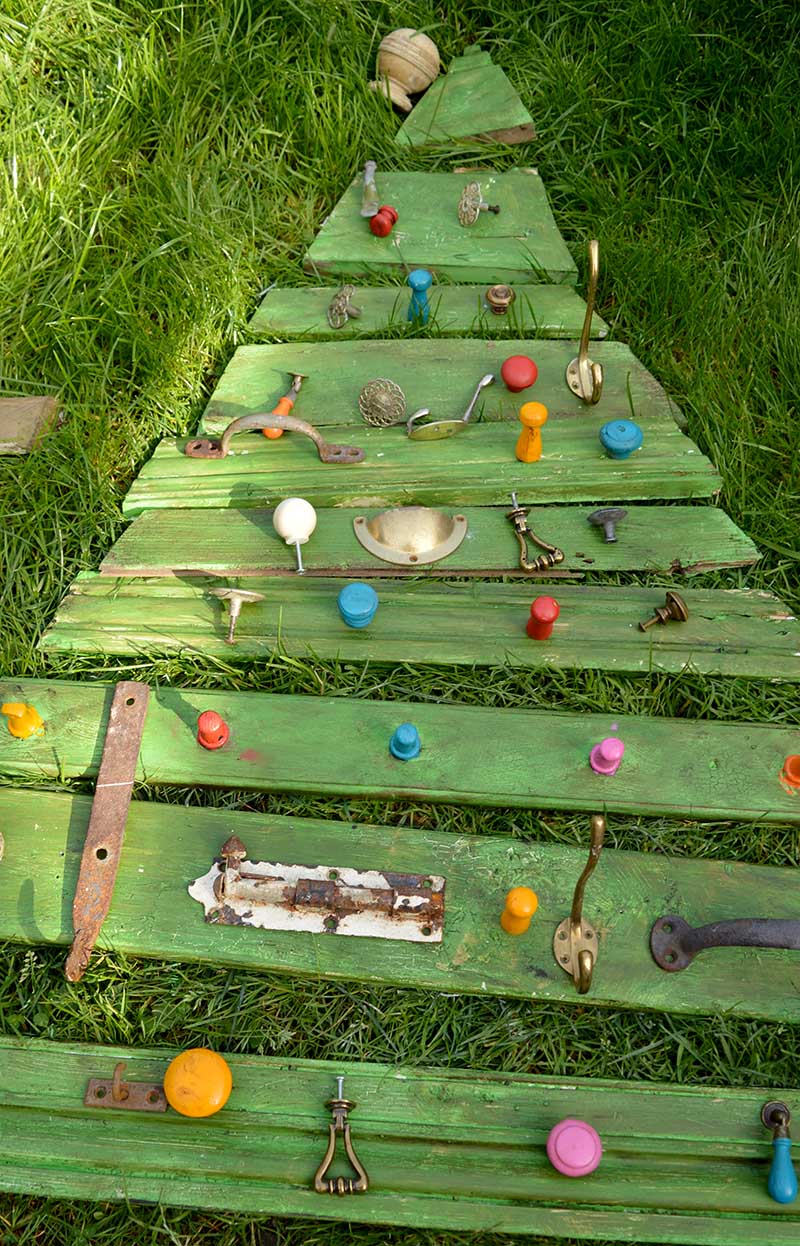
Step 6: Finally, lay the trunk flat on the ground and, starting with the top, screw each branch of the Christmas tree to the trunk. I used two screws per branch.
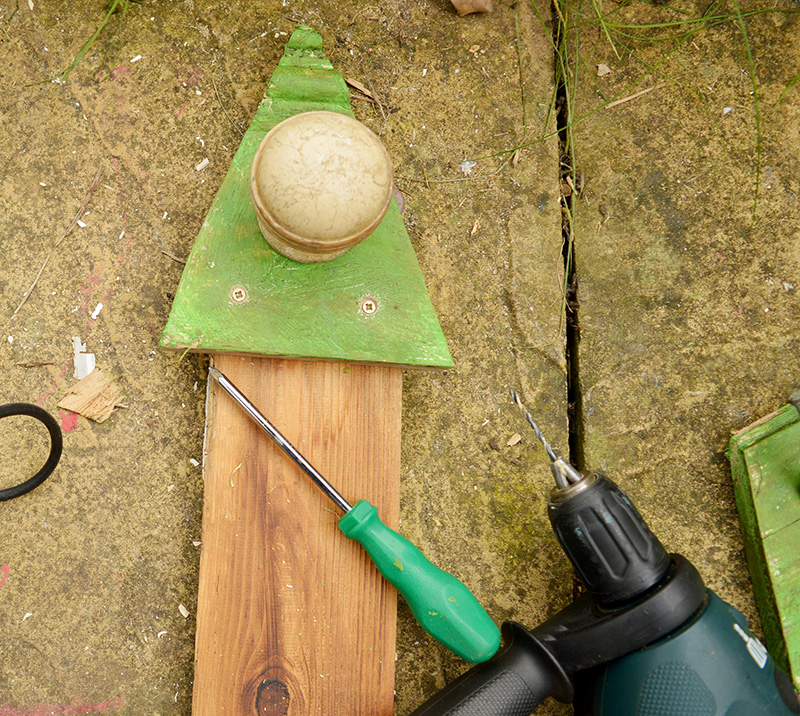
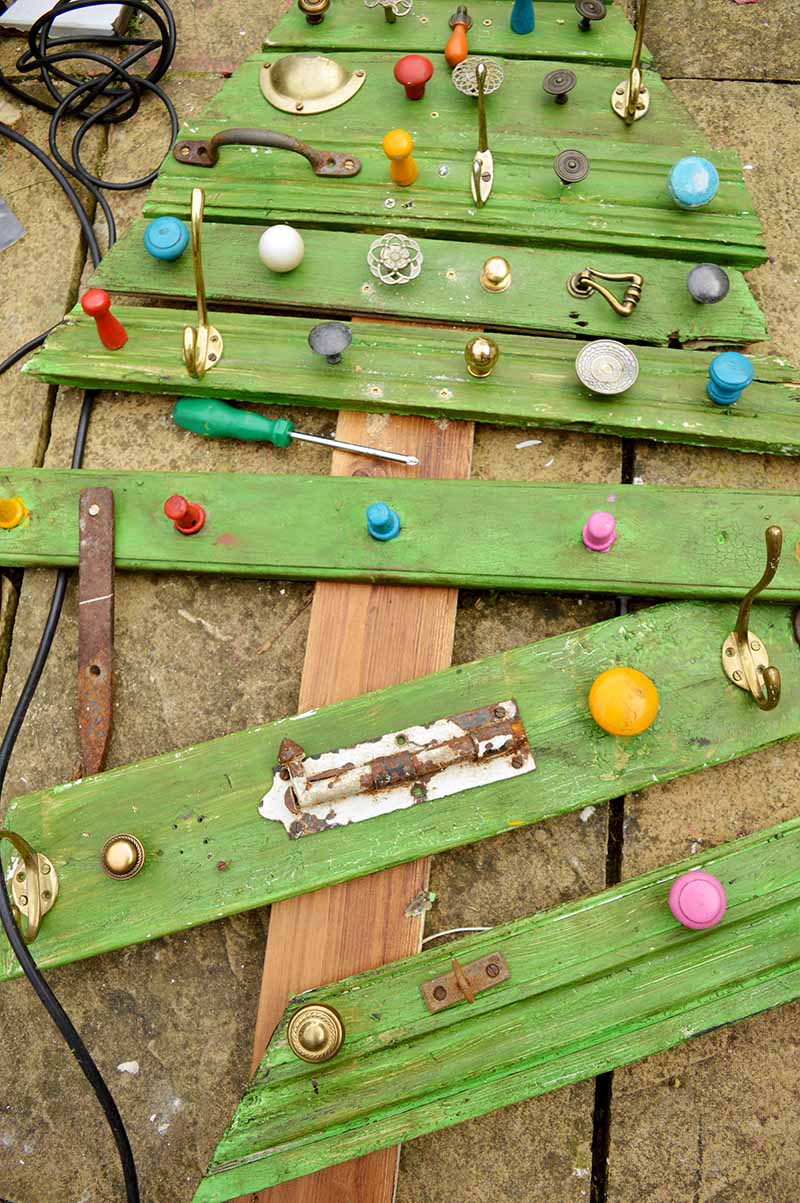
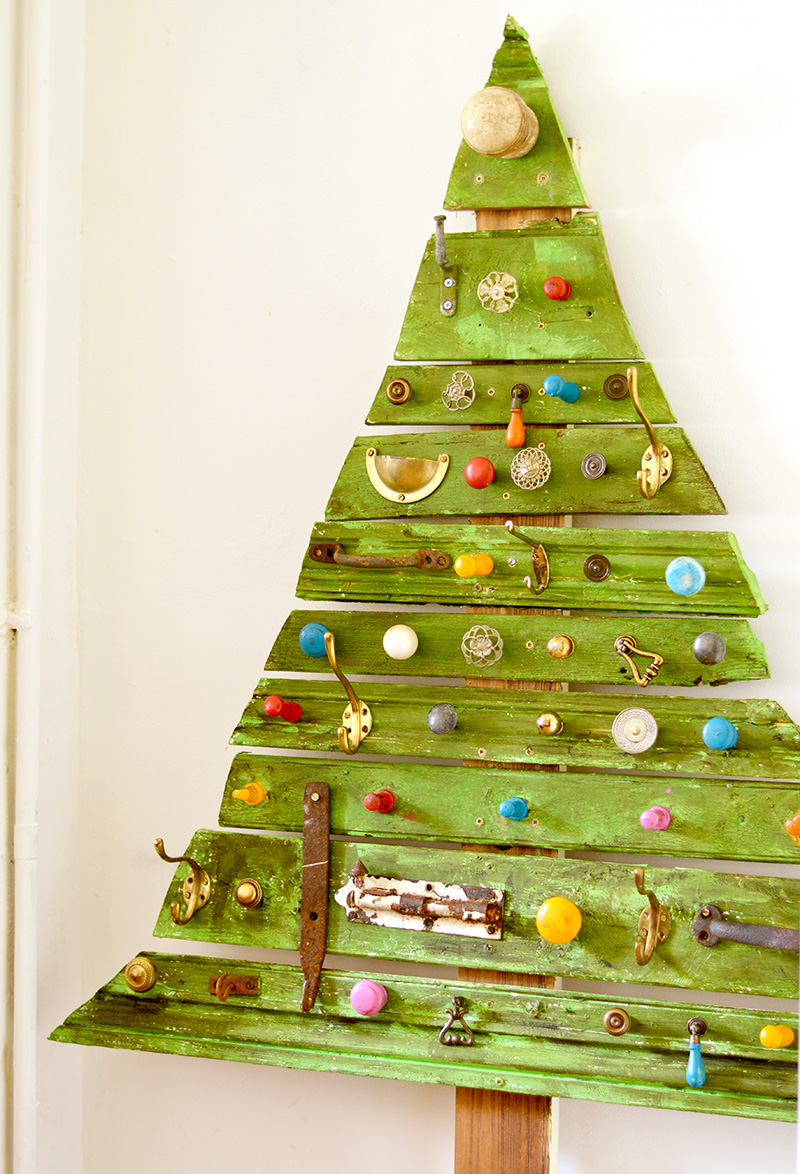
The DIY wooden Christmas tree hangs on the wall in my kitchen. I just used hooks on the wall to hang it from. The way the tree is designed, it can simply lean against the wall if you want. Just make sure you lean it somewhere it won't be accidentally knocked over.
Another way to secure the Christmas tree is to make a stand for it.
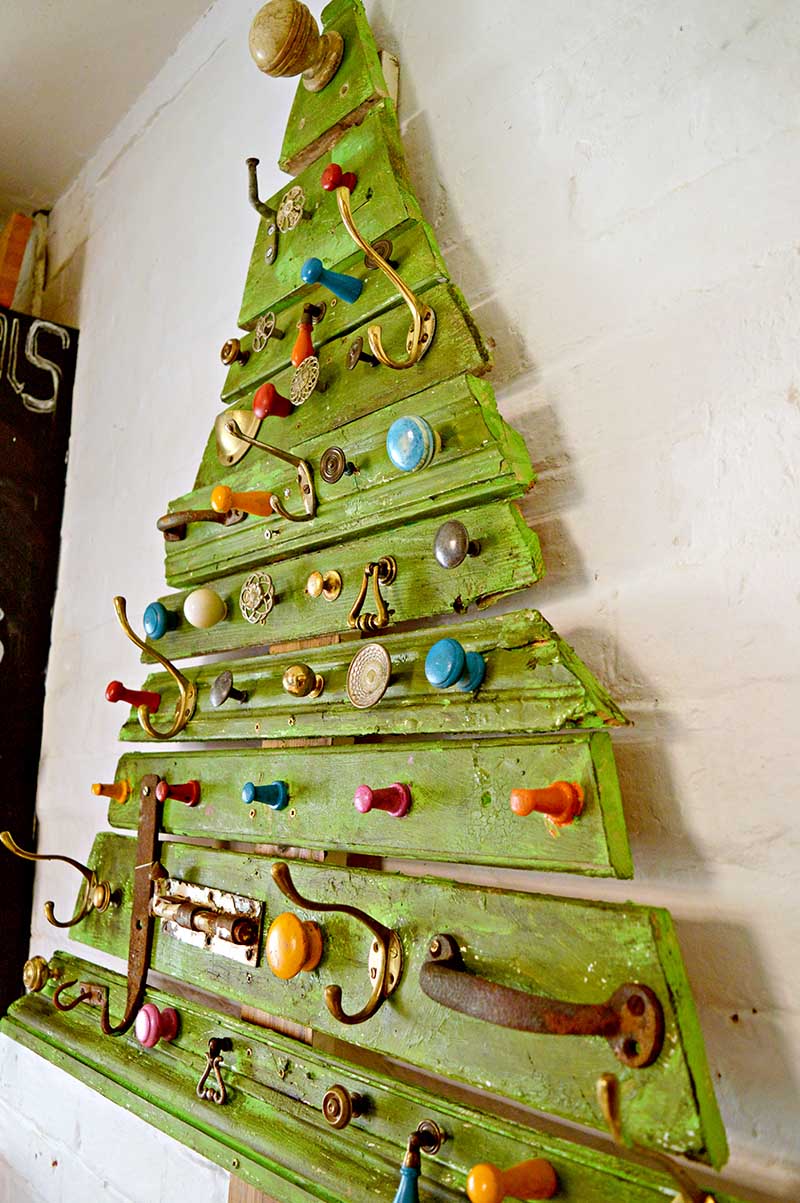
The original plan was to hang decorations from all the knobs and hooks of my flat DIY wood Christmas tree. However, the knobs and hooks are like Christmas ornaments, so I think I might leave the tree and hang my decorations elsewhere.
Mind you, as the tree lives in the kitchen during the festive season, the knobs have been handy for hanging tea towels and oven mitts.
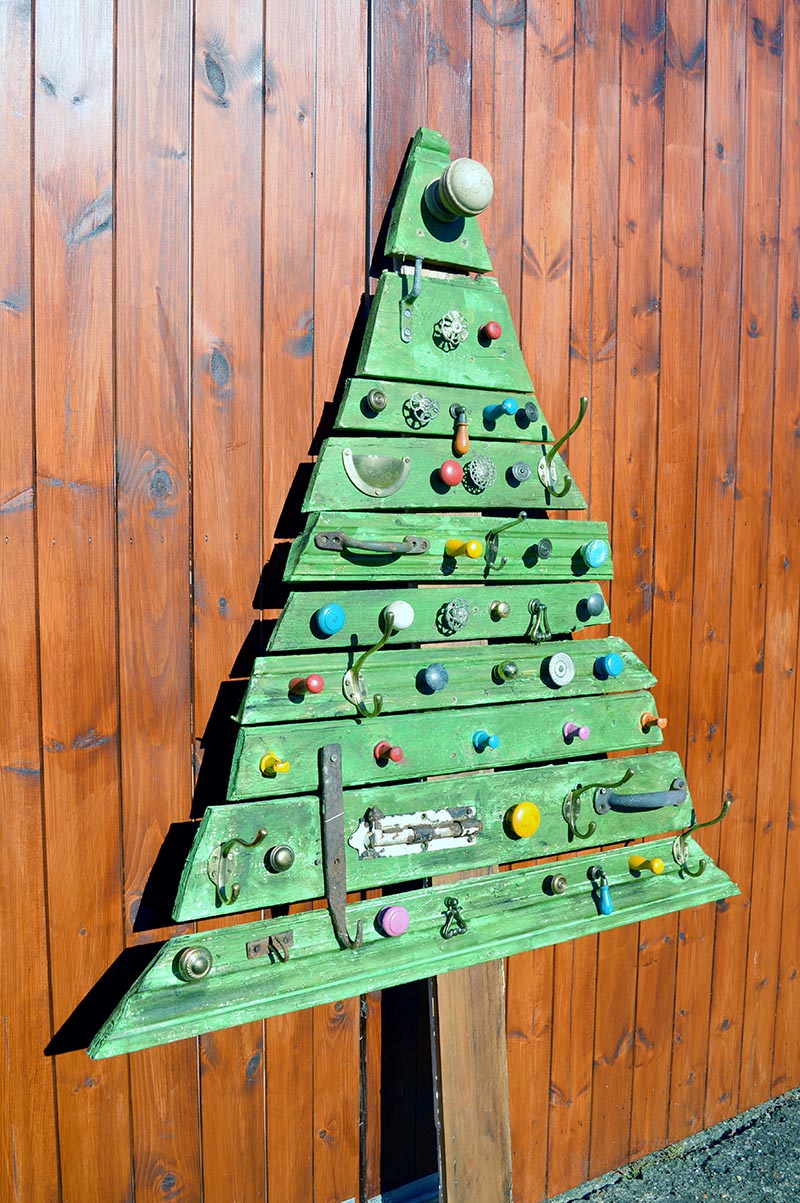
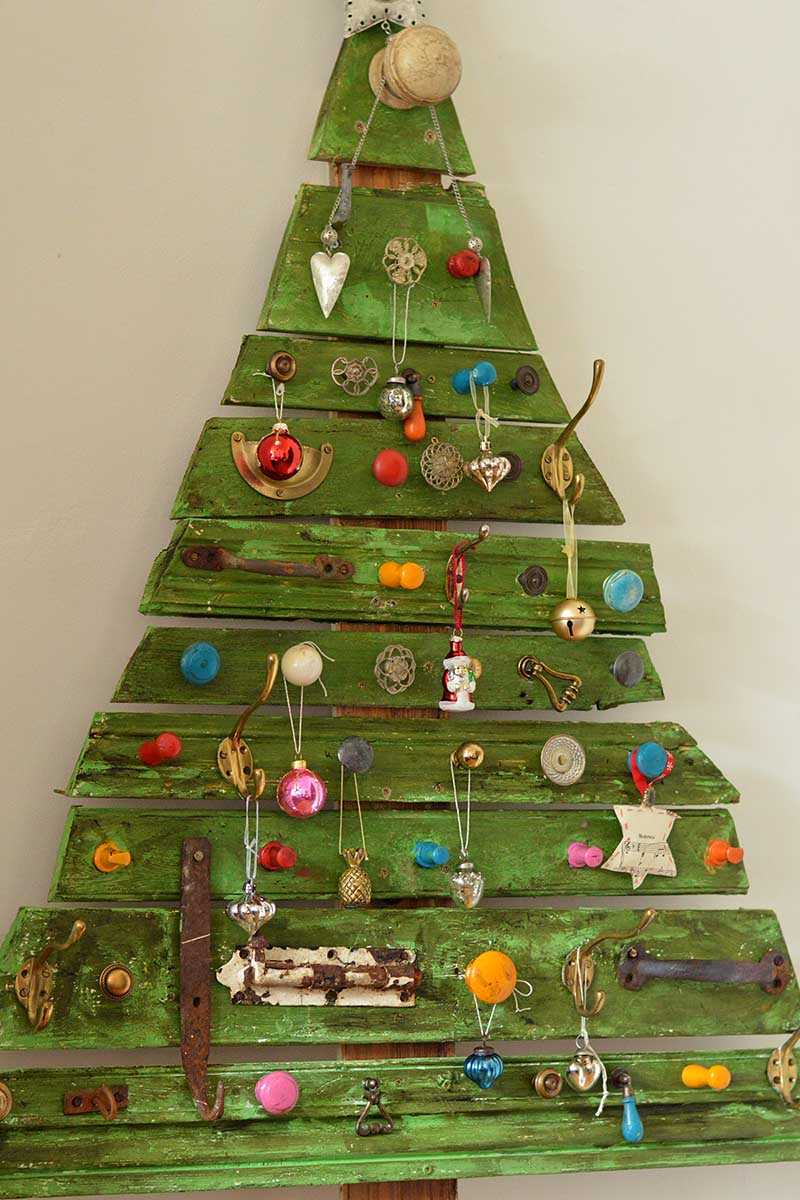
I love my flat Christmas trees, as you can hang them or lean them against the wall, taking up very little space. You might want to check out the stylish branch Christmas tree I made last year.
Or, if you like simple Christmas trees that are great for showing off ornaments, check out these other DIY trees.
DIY Lampshade Rustic Christmas Tree
Stylish Scandinavian Christmas Tree
Check out these cone Christmas trees made from cardboard and denim for small tabletop Christmas trees.
I've also used scrap skirting boards, like the one I used for this tree, to make some cute wooden key holders that would make fabulous Christmas gifts.
For more Boho Christmas decorations, check out these DIY wooden ornaments made from curtain finials and rings.
How many Christmas trees do you have in your home?




Adorable! I am featuring your Christmas Tree today on Snickerdoodle. Pinned.
Thank you so much I look forward to seeing it.
So creative and very unique. I love it. Thanks for linking up to More the Merrier Monday. Can’t wait to see what you’ll be linking up next week.
DIY Home Sweet Home
http://www.diyhsh.com
ThNk you so much!
I couldn't remember if I commented on this before - but oh well if I have this post deserved two comments! Great way to use knobs Claire .. loving this! And like you said - a total space saver!
Thanks, Medina. I would have loved some of the knobs from your project. I'm going to start collecting more of them for other projects.
Congratulations! Your post is featured on Whisk It Wednesday this week. Thank you so much for sharing with us and sure hope you come see us again! ~ Carrie
Thank you so much and I look forward to seeing the feature.
The knobs on this tree are so gorgeous I love all their clunky vintage goodness. Your blog posts are always so unique and one of a kind.
Thank you Leanna, that's very kind of you to say so.
I LOVE THIS!
Would love to have you share at my weekly party: http://www.jodiefitz.com/2017/11/07/reader-tip-tuesday-weeks-craft-recipe-party-11/
Hope to see you there. xo
Thank you!
Oh my goodness I absolutely love it, just my style! Very creative! Stopping by from Tip Me Tuesday.
Thank you so much!
That's brilliant, what a lovely tree. We just have the one in our house, and it has every decoration we've ever had on it!
I love the idea of these flat trees though, I'm sure we have a space for one somewhere.
Thanks, Julie, flat trees are great. You still get to hang all your favourite decorations.
I absolutely adore this and it is definitely a favourite but I will be so accused of favouritism lol SO just now Claire I love it and will share it everywhere
Ahh thank you Amber. It is my favourite Christmas tree I've ever made so far too!