
How to Make Gold Crushed Can DIY Planters

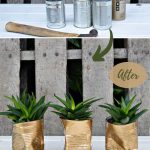
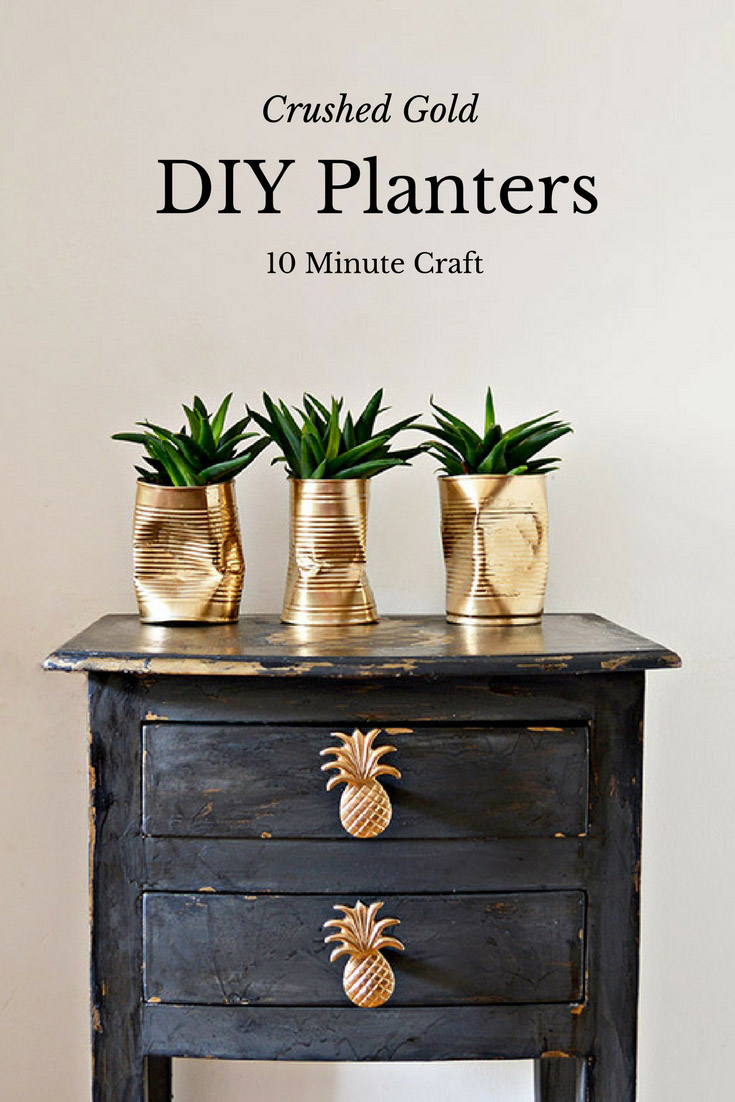
I got the idea for these crushed can DIY planters after trawling the shops looking for planters to match my fun pineapple stenciled table upcycle.
(That's a bit of an exaggeration, I looked in 2 shops!). Could I find any in my price range that I actually liked? NO! Therefore, the only way to go was to make my own DIY planters.
I don't know why I didn't think of this in the first place, as it only took me 10 minutes. And the bonus, they cost me almost nothing as I had all the stuff already.
I love my shabby glam table and wanted to accessorize it with a cute succulent in a shabby glam planter. These days no home seems to be complete without some succulents on display. Well in blog land anyway!
I have both real succulents hanging planters on my wall and a repurposed felt succulent garden on my shelves. Yet I still wanted more, but ones that would go with a pineapple theme.
By the way, I'm not sure shabby glam is a thing or something I made up. It's, however, I knick name I've given to the upcycled chippy crafts that I try to add glam to by spraying them with chrome gold paint.
These DIY planters are shabby in that the tin cans are crushed and the glam bit is the chrome gold spray paint. This is such a ridiculously easy, quick and cheap craft.
Easy 10 Minute Craft: Crushed Tin Can DIY Planters
This post contains Amazon affiliate links for your convenience. Click here to see my disclosure policy.
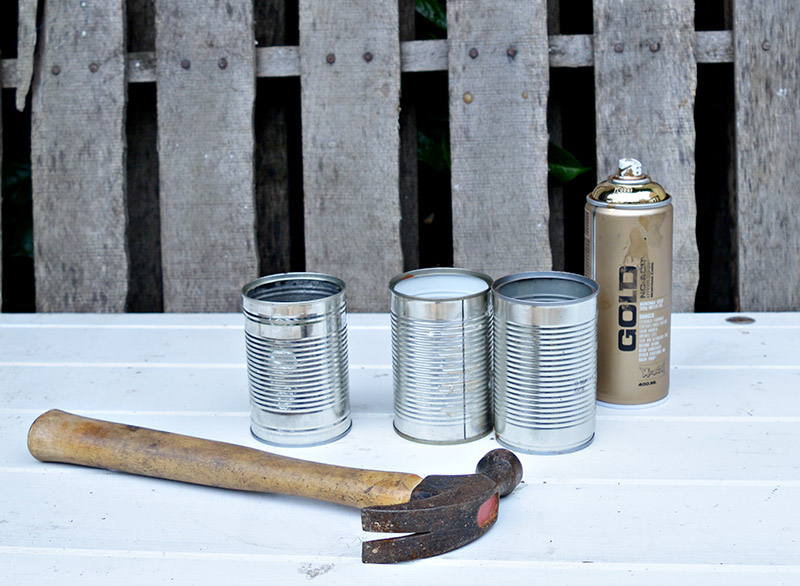
What you need to make crushed gold DIY planters
- Tin cans
- Hammer
- Chrome gold spray paint - I had some leftover from my pineapple stenciled table upcycle.
How To Make Crushed DIY Planters
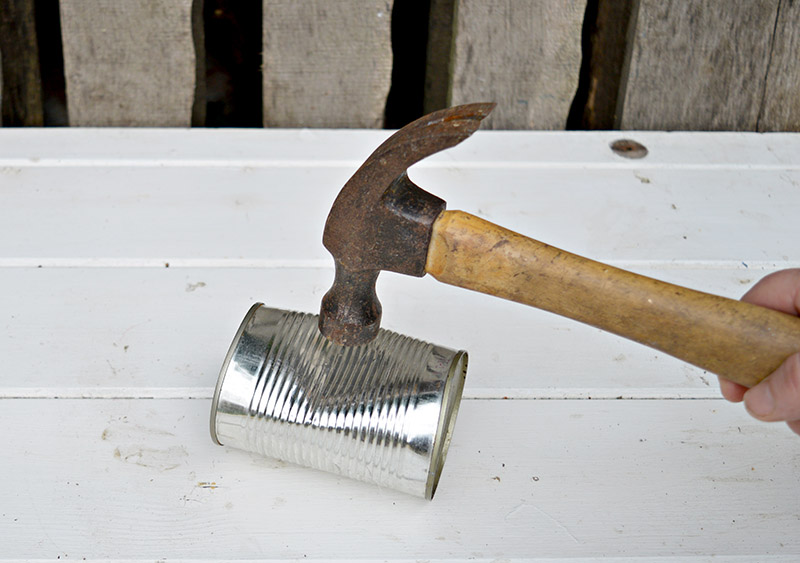
1. To achieve a sort of crumpled bag look with your tin cans you will need a hammer. I bashed the tin cans in the middle to crush them. Rotating them as I bashed away.
Top Tip: This was fun but don't get too carried away taking your frustrations out on a tin can, you want them to be useable and not a crumpled mess.
2. Once you are happy with the way your tin cans look, simply spray them with the gold paint.
If you are looking for a particular kind of gold look then you might want to check out this review of gold paints.
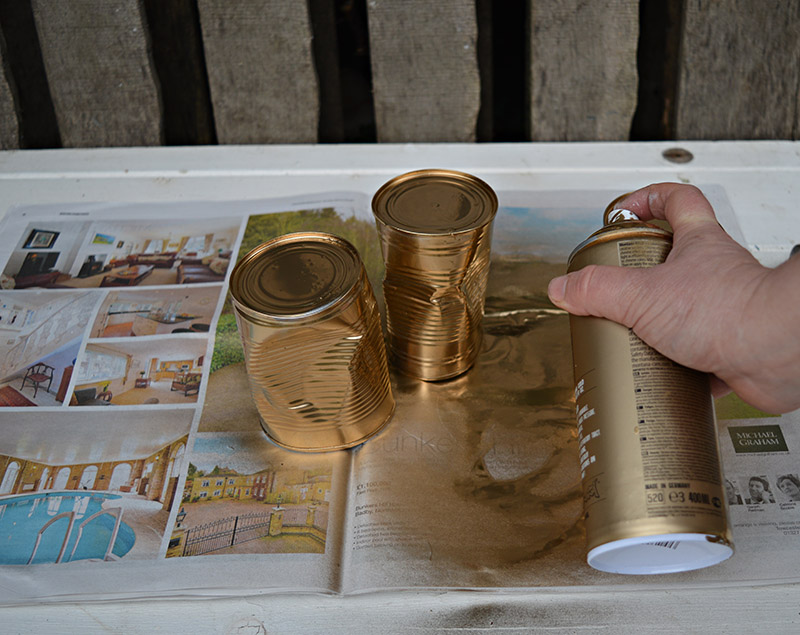
3. If you want to protect the gold paint from chipping on the crushed planters then once the paint has dried, spray them again with an acrylic varnish.
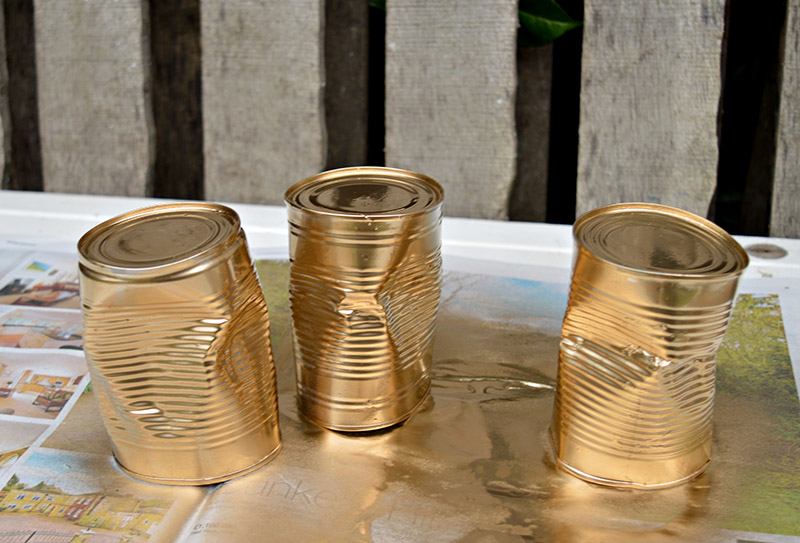
4. Once both the paint and the varnish has dried the DIY planters are ready for your succulents.
To help with drainage like with my colorful tin can planters, I put a layer of gravel in the cans before adding compost and plants.
Also, if you pick the right kind of succulent the planters will actually look like mini succulents. I don't know what the succulent plant was called that I used for these tin cans but the leaves looked like those on the top of pineapples.
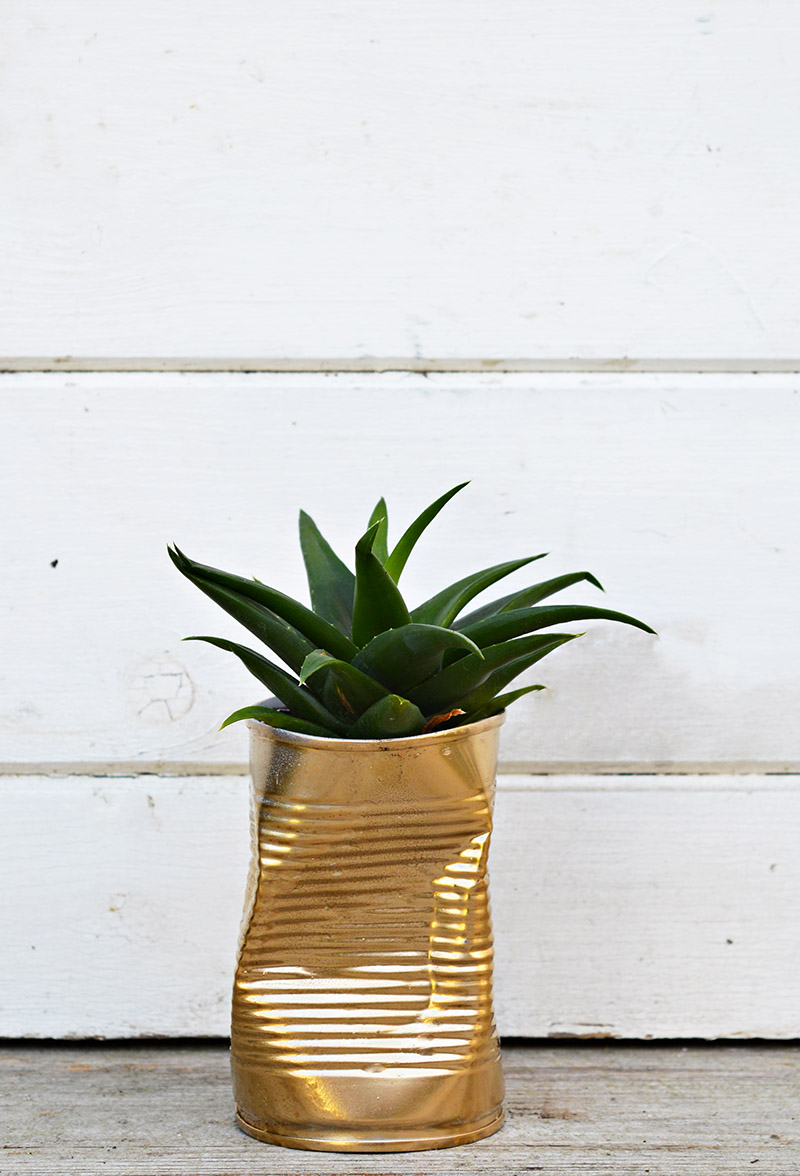
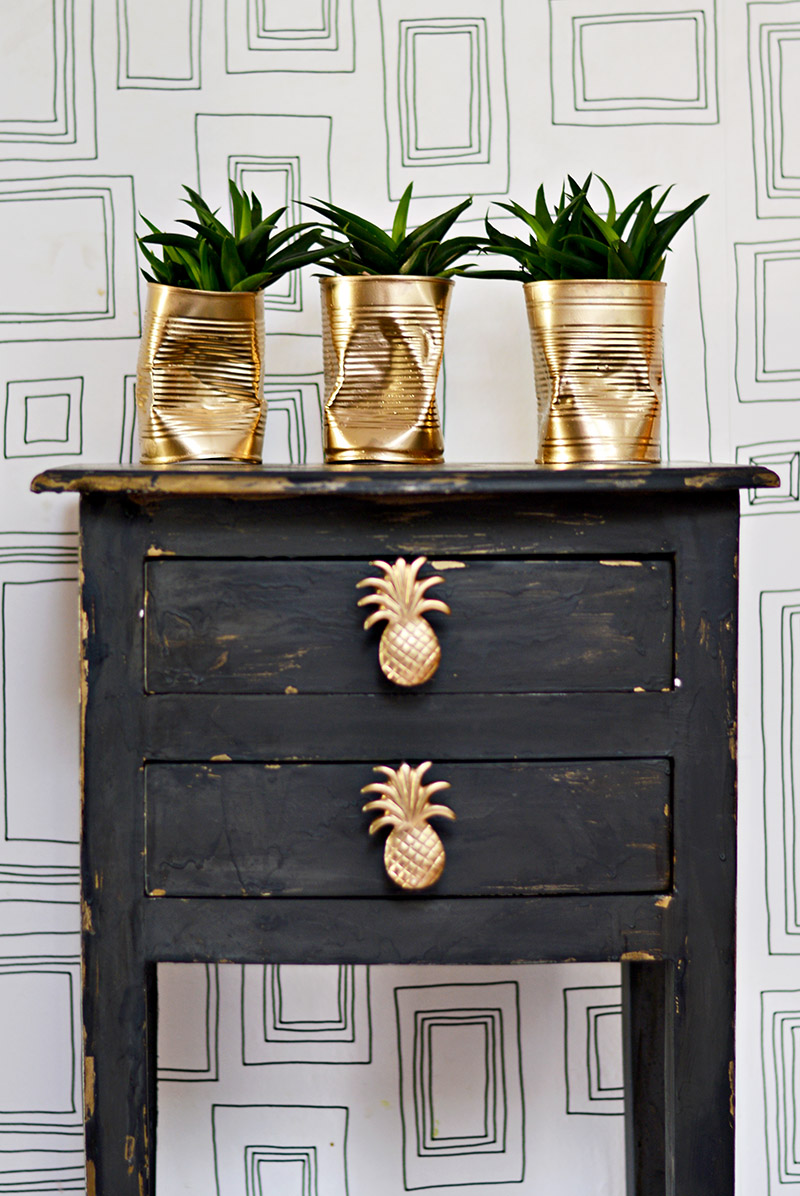
I love my shabby glam DIY planters. Especially with the combination of the gold and the spiky succulents as they kind of look like pineapples.
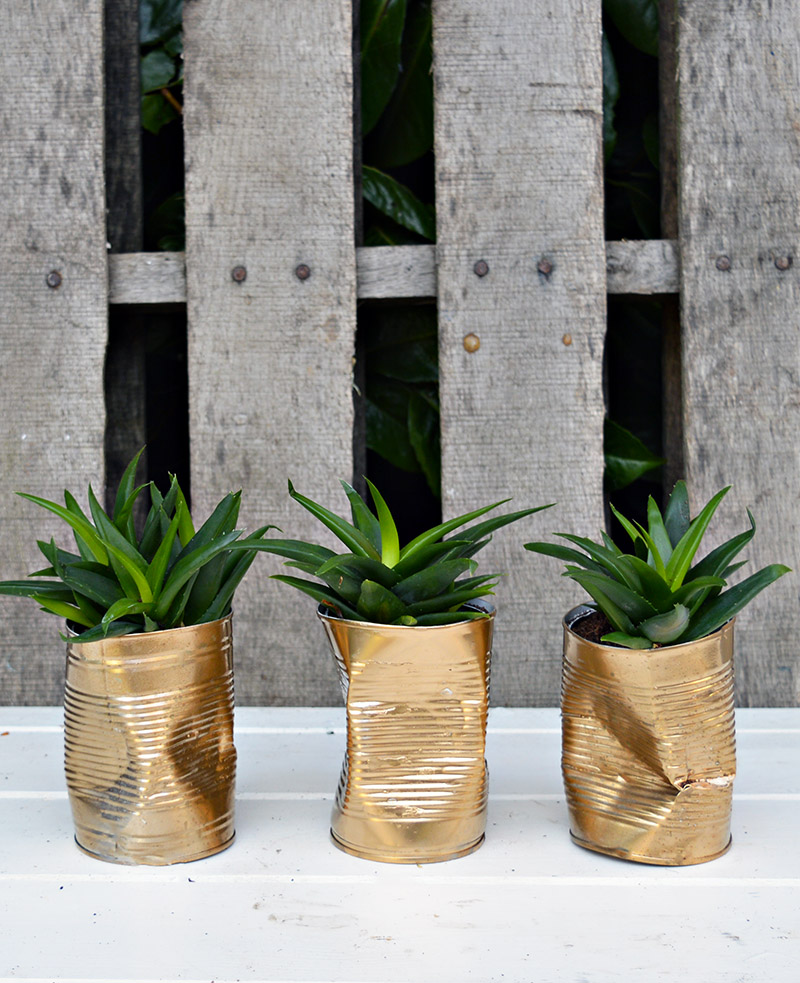
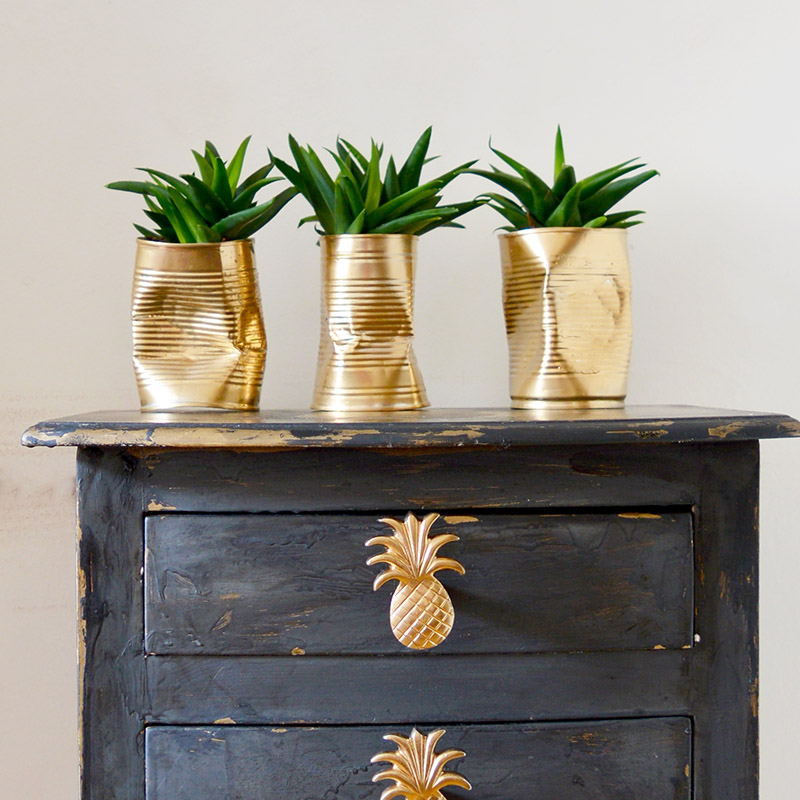
The crushed tin can pineapple planters look fabulous on my pineapple stenciled table.
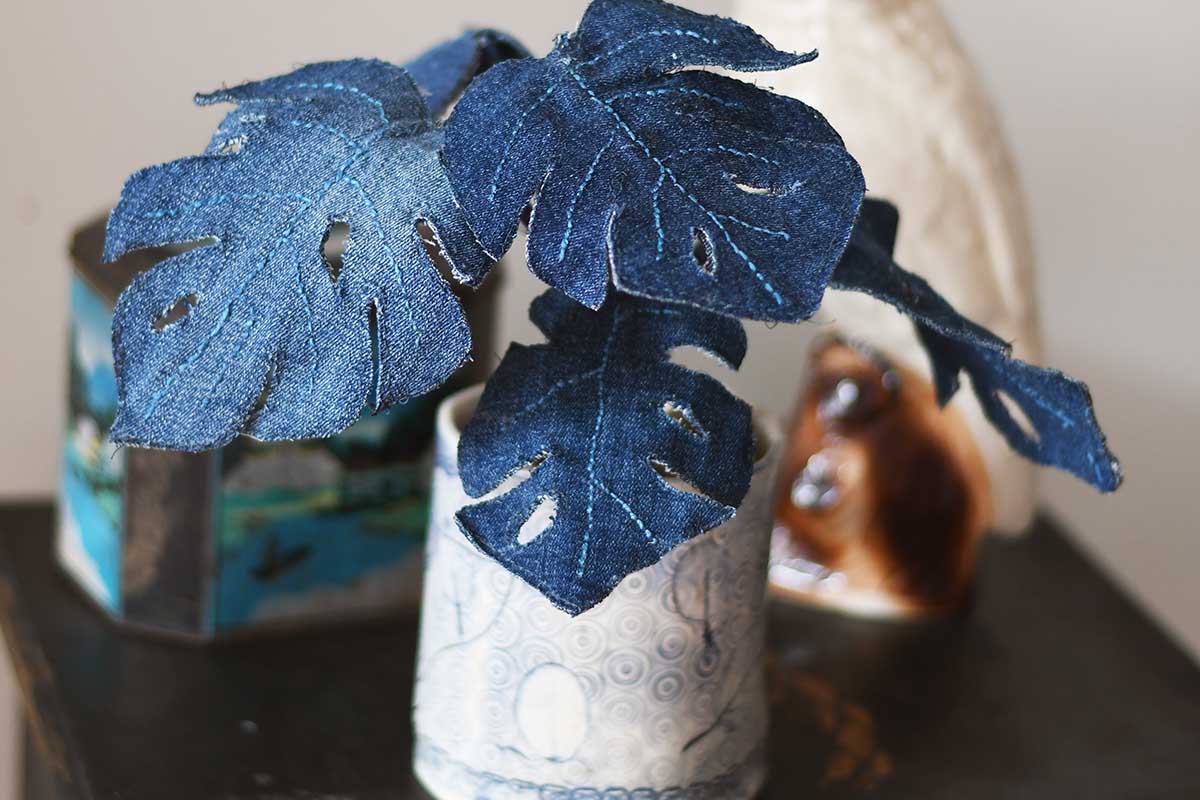
If you don't have green fingers then think about making some DIY tropical leaf plants for the planters instead.
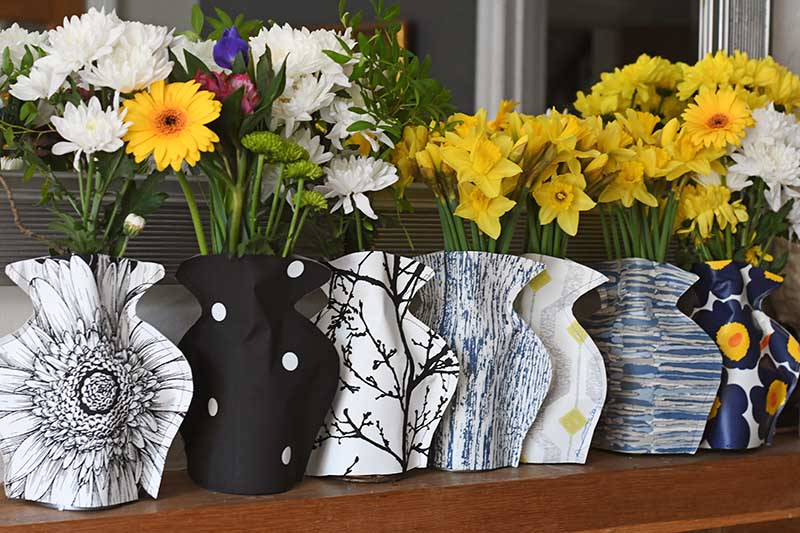
Tin cans are a great resource for upcycling into fun planters. I collect them and make new planters every year. In my garden, I have a colorful collection of Marimekko decorative tin can planters and I have even repurposed some to look like Oriental vases.
I have another set of crushed soda can planters designed to display my house number.
In my home, I have both rustic recycled jean planters and upcycled trendy velvet planters both made out of tin cans.
If you liked this you may want to check out my upcycled window herb planter.
Here from Nifty Thrifty Things and now following 🙂 I love this idea they are SO cool!!
Thank you so much and thanks for the follow.
These are perfect on top of your table and they do resemble pineapples. Instead of having a cookie the next time I'm frustrated I'll give some tin cans a whack or two! Thank you for sharing with us this week at Celebrate Your Story, have a great weekend.
Thanks, I like the idea of reaching for the hammer rather than chocolate in times of stress.
These are brilliant, and for next to nothing too - bonus!
I love your definition of trawling the shops - hyperbole is the best thing ever!
Thank you Julie. I love a free craft.
I never would have thought to crush the can. Love the gold! Thanks for sharing with us at Merry Monday. We love your creativity.
Thank you so much!
Claire these are so quirky fun! And you're right they look perfect on top of your pineapple table. Who doesn't love easy peasy?
Thank you Mary!
Wow, Claire, these look SOO good! And it's so easy! Love it. I featured your post on the Friday Favorites linky party, come have a look: https://be-alice.blogspot.com/2017/03/friday-favorites-week-364.html
I'm looking forward to your next projects!
*Maisy
Thank you, thanks for the feature that's awesome!
Another fantastic project Claire, and love that table too, wow! thanks for sharing on craft schooling sunday!
Thank you, Sara!
This is so smart, cute, an inexpensive! I love how it looks like a crumpled bag. Great idea! I will have to do this and share you post. Thanks for the great idea!
Thank you! The crumpled bag look was what I was going for.
I love your wallpaper btw! Shabby glam? Why not, Shabby Chic sort of the same idea. Truthfully the smashed part is not something I could live with, but I love the idea of it for someone else and what a great conversation piece, right? They look lovely on your table.
Thank you Debbie. I kind of think of Shabby chic as more French white chippy furniture but both kind of very similar. But the end of the day it doesn't really matter what you call it. I actually have some drinking glasses which are molded into that crumpled bag look which gave me the idea.
Those are so trendy and modern looking! Very creative of you! Thanks for sharing @ #HomeMattersParty
Jeannee
Thank you Jeanne, and thanks for hosting.