

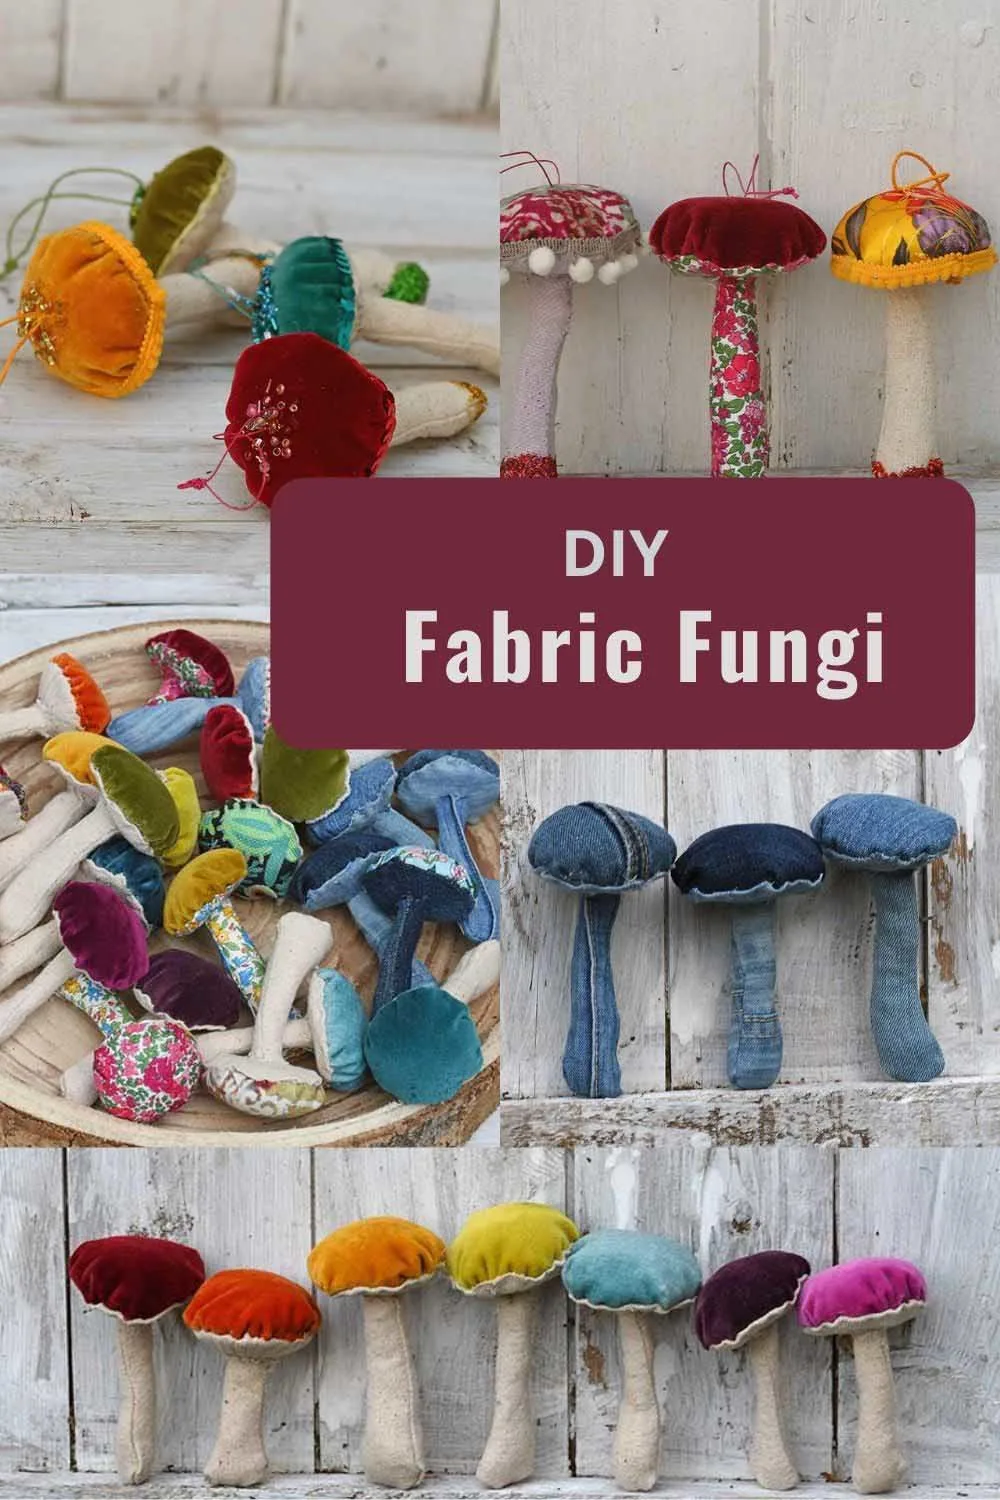
Looking for a charming and creative way to use fabric scraps? This DIY tutorial shows you how to make adorable fabric mushrooms from vintage-style prints, scrap velvet, linen, and stuffing. You’ll learn how to cut, sew, turn, stuff, and embellish each mushroom, with ideas for hanging, displaying, and turning them into garlands or seasonal décor.
Making DIY fabric mushrooms is fun and addictive. I know I say that about all my crafts! But with these fabric mushrooms, I couldn’t stop making them.
I finally had to stop at 25! When I only meant to make 2 or 3.
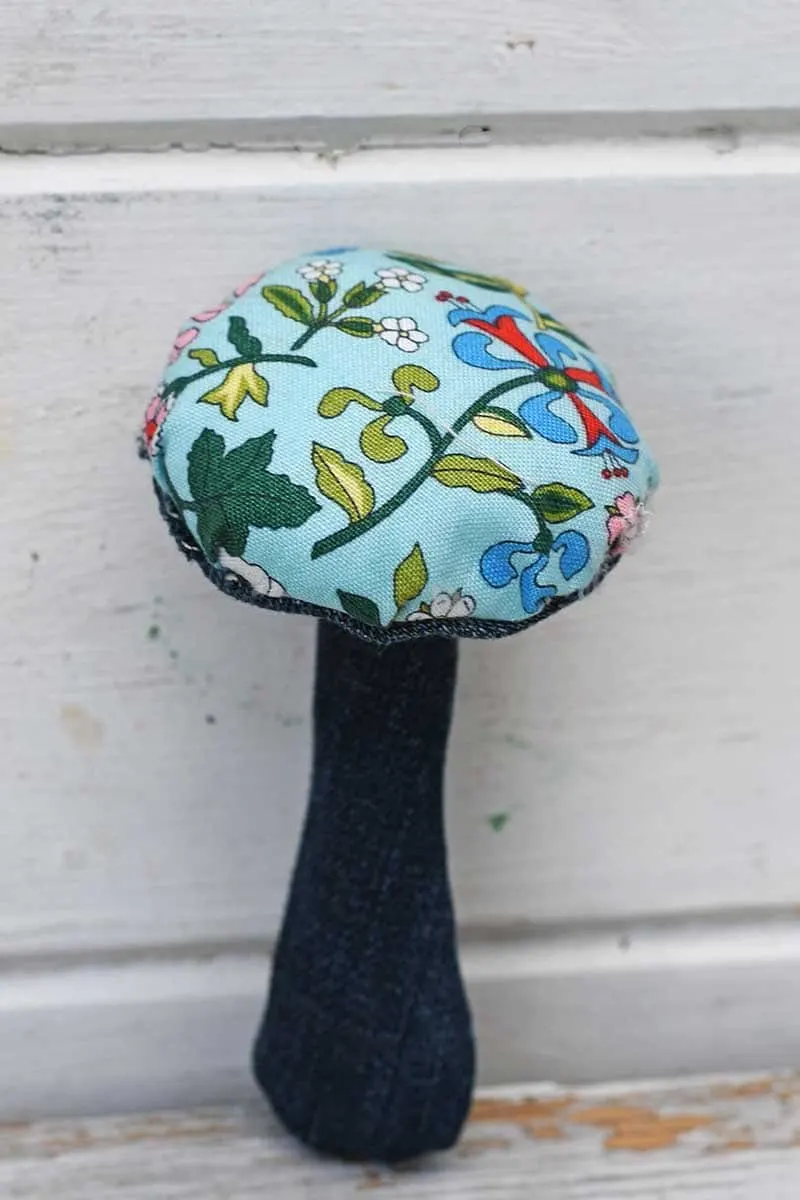
Initially, I made them with just some sofa/couch fabric swatches, but soon I was hunting out other fabric scraps. Naturally, I made some out of upcycled denim, my favourite fabric to craft with. I also used some patterned cotton scraps I had on hand.
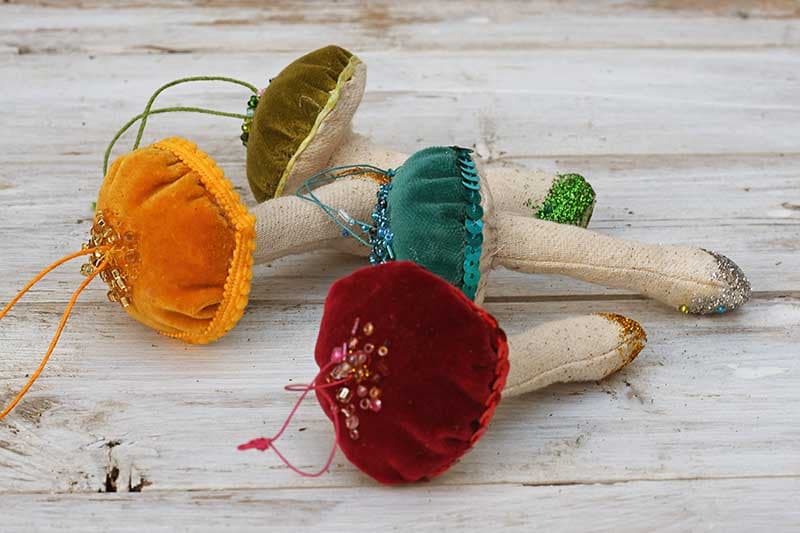
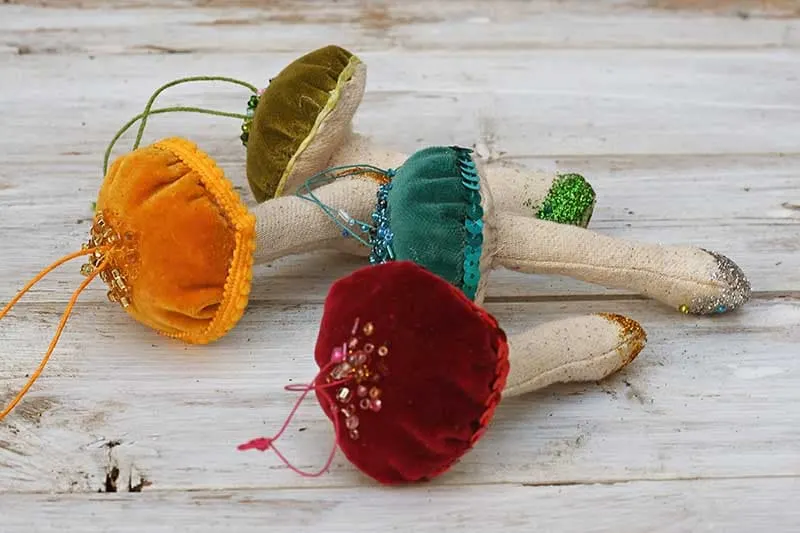
Then, when I finally managed to stop making fabric mushrooms/fungi, I decorated them. I raided my craft stash for ribbons and trimmings, seed beads and glitter to jazz up the mushrooms.
What to do with the fabric mushrooms?
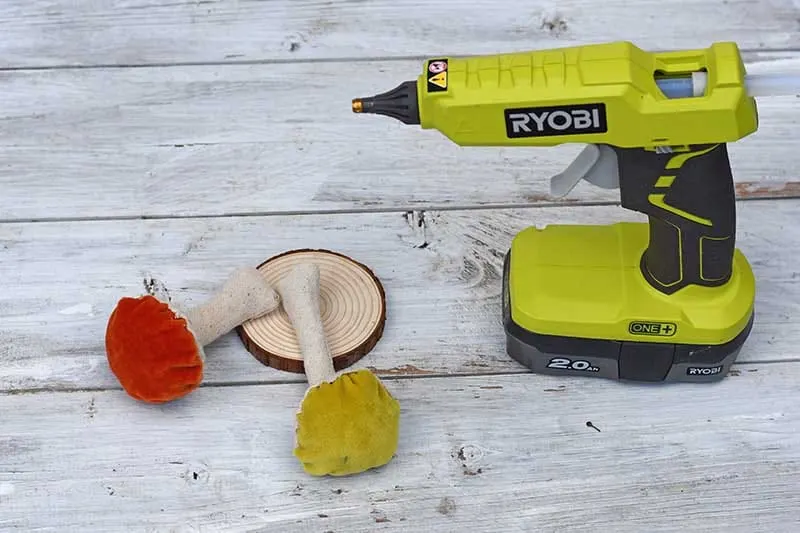
- Glue a couple of them onto a wood slice to make a cute ornament for the mantle.
- Add twine to the top and decorate them to make a lovely Christmas ornament.
- Use them as a fun present topper.
- Like me, you can make a fabulous seasonal garland if you have lots of them.
I made these mushrooms by hand sewing them, but they can also be made with a hot glue gun. It takes about 20 minutes to complete each fabric mushroom.
We’re a participant in the Amazon Services LLC Associates Program, an affiliate advertising program designed to provide a means for us to earn fees by linking to Amazon.com and affiliated sites. As an Amazon Associate, I earn from qualifying purchases.
(There is a printable how-to card for this craft at the end of the post.)
What You Need For DIY Fabric Mushrooms
Getting a new sofa/couch inspired me to make these mushrooms. Whilst trying to decide on the fabric for my sofa, I picked up a few swatches. I wanted a velvet sofa, so had collected a lot of coloured velvet squares.
Coincidently my sister-in-law had also been looking for a new sofa. She also passed me on her extra fabric swatches, challenging me to find something to make with them. I rose to that challenge and came up with these DIY fabric mushrooms.
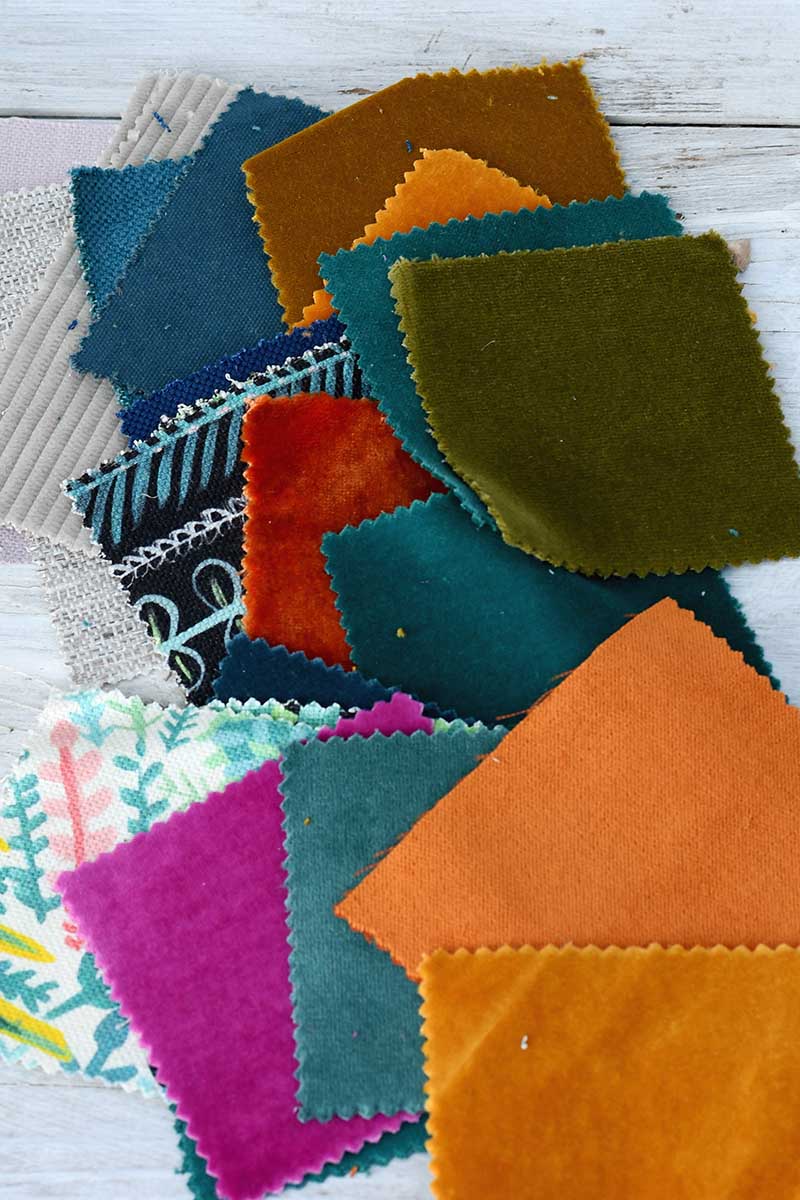

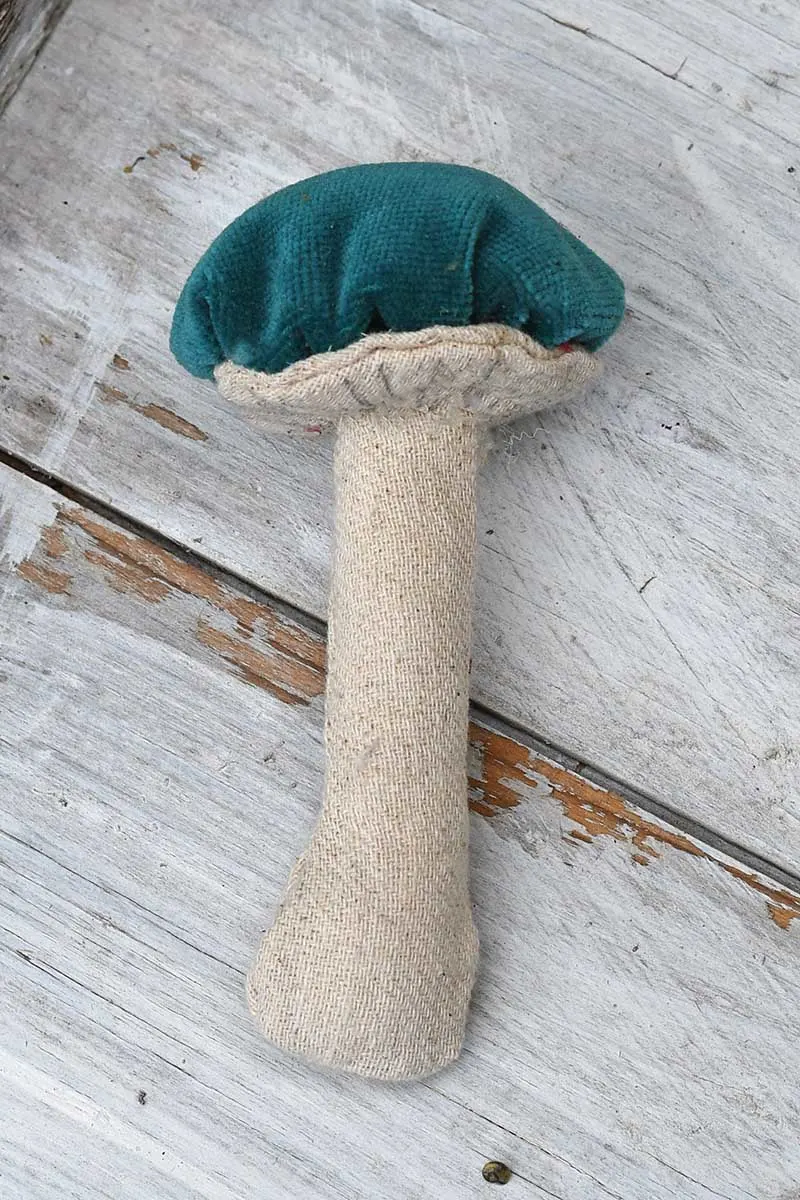
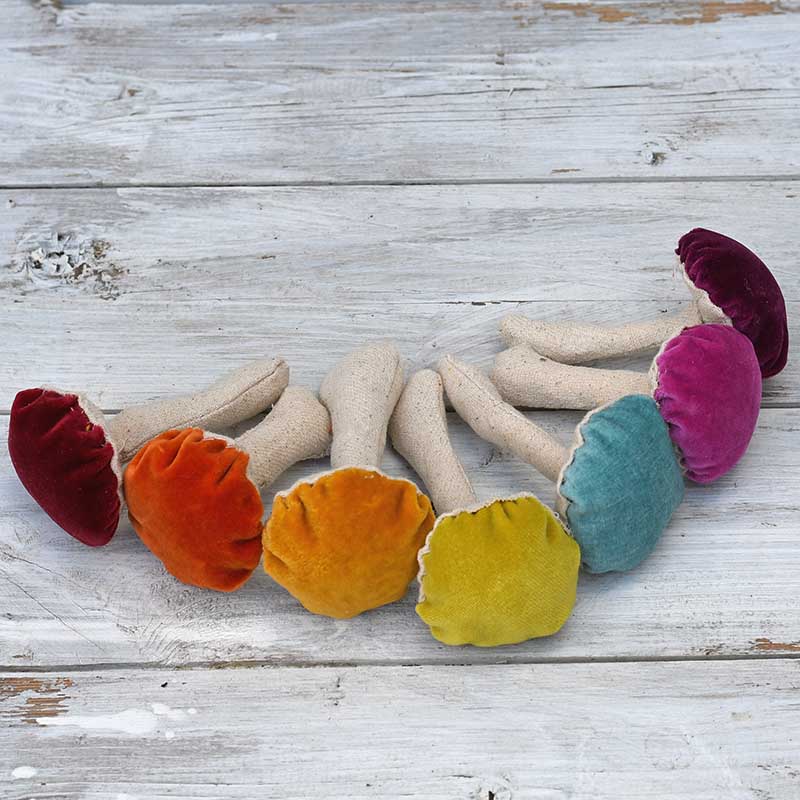
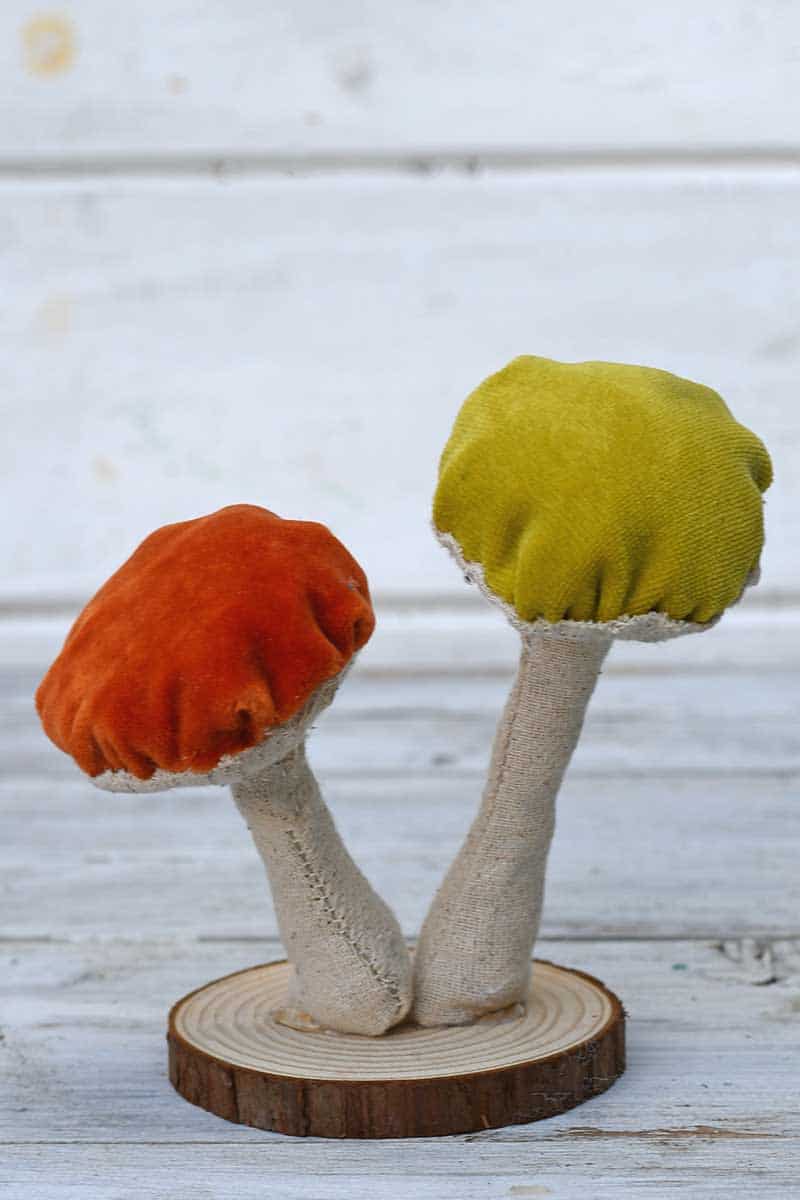
I used the velvet swatches for the tops of the mushrooms and then an old linen tea towel for the underside and stalk.
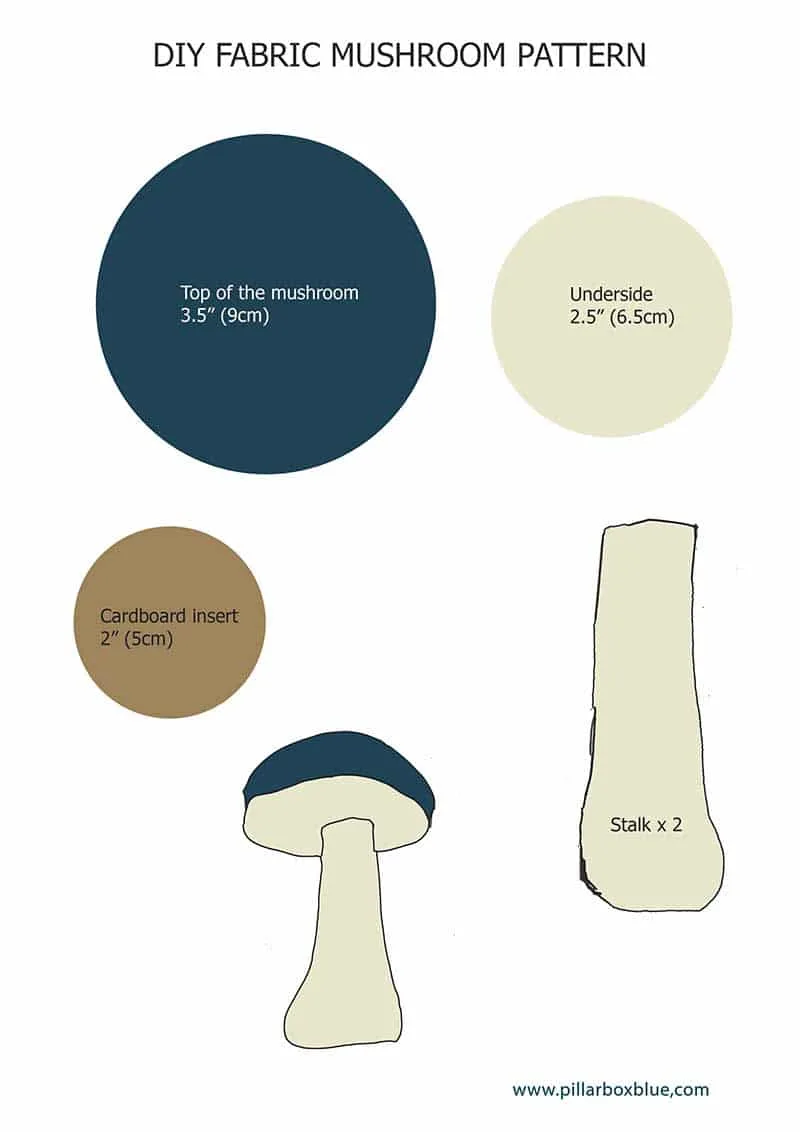
- Fabric scraps for the top of the mushroom – large enough to make a 3.5″ (9cm) circle. Sofa swatches are a perfect size, but you can use any fabric, such as old denim.
- Linen lighter fabric for the underside and stalk.
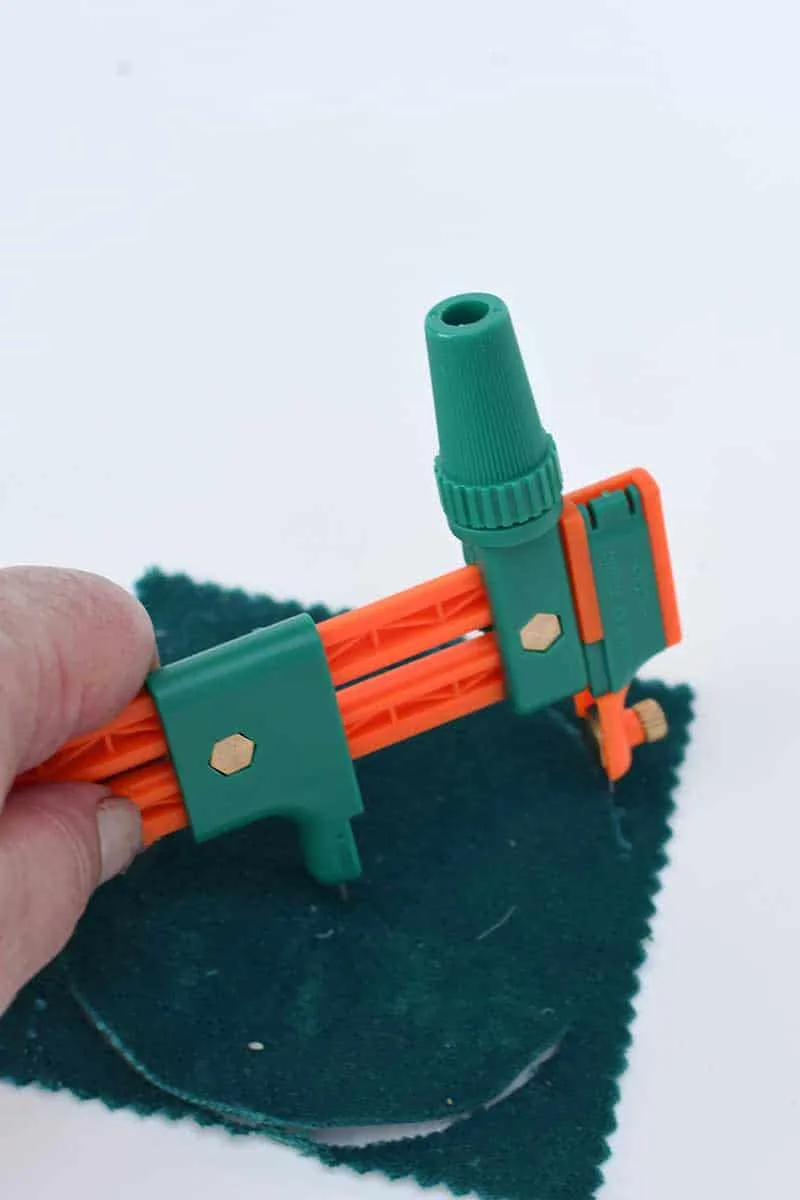
- Fabric circle cutter – you can use a compass cutter or a Fiskers circle cutter. Failing that, scissors will do.
- Scrap cardboard – about the thickness of a cereal box.
- Fiberfill – I use old pillows for this.
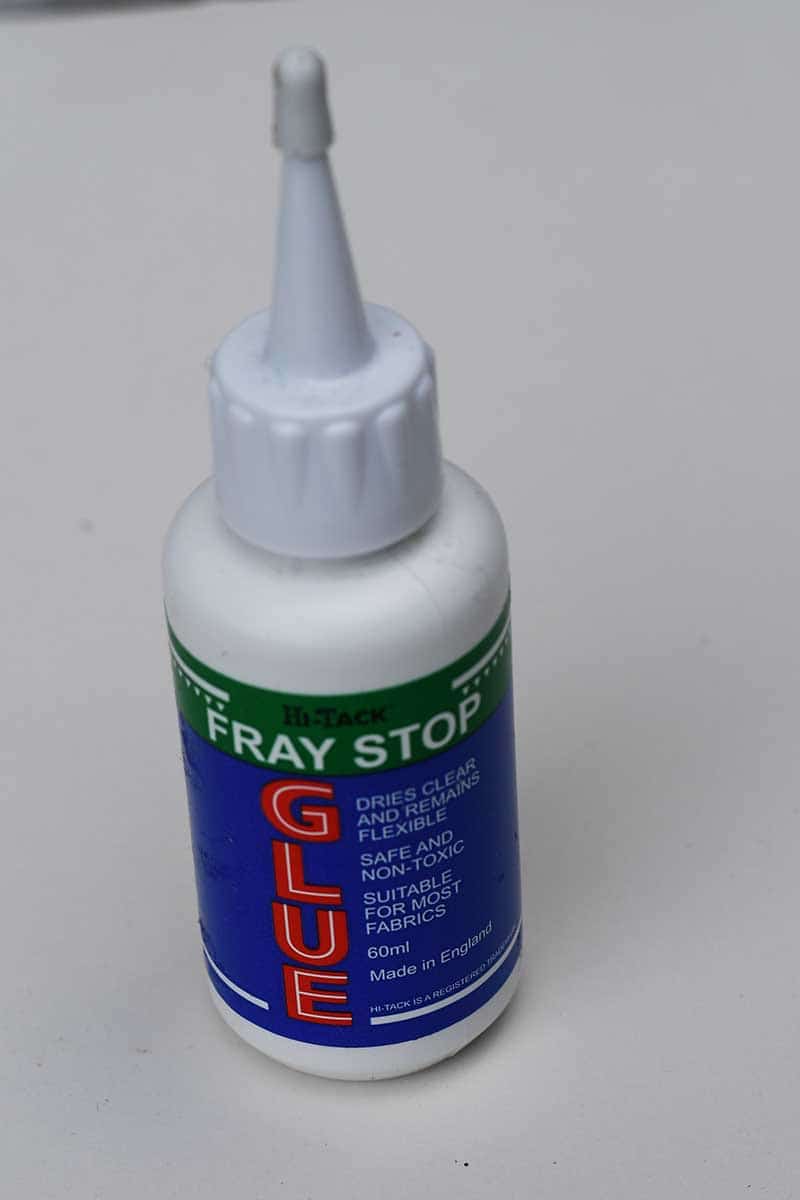
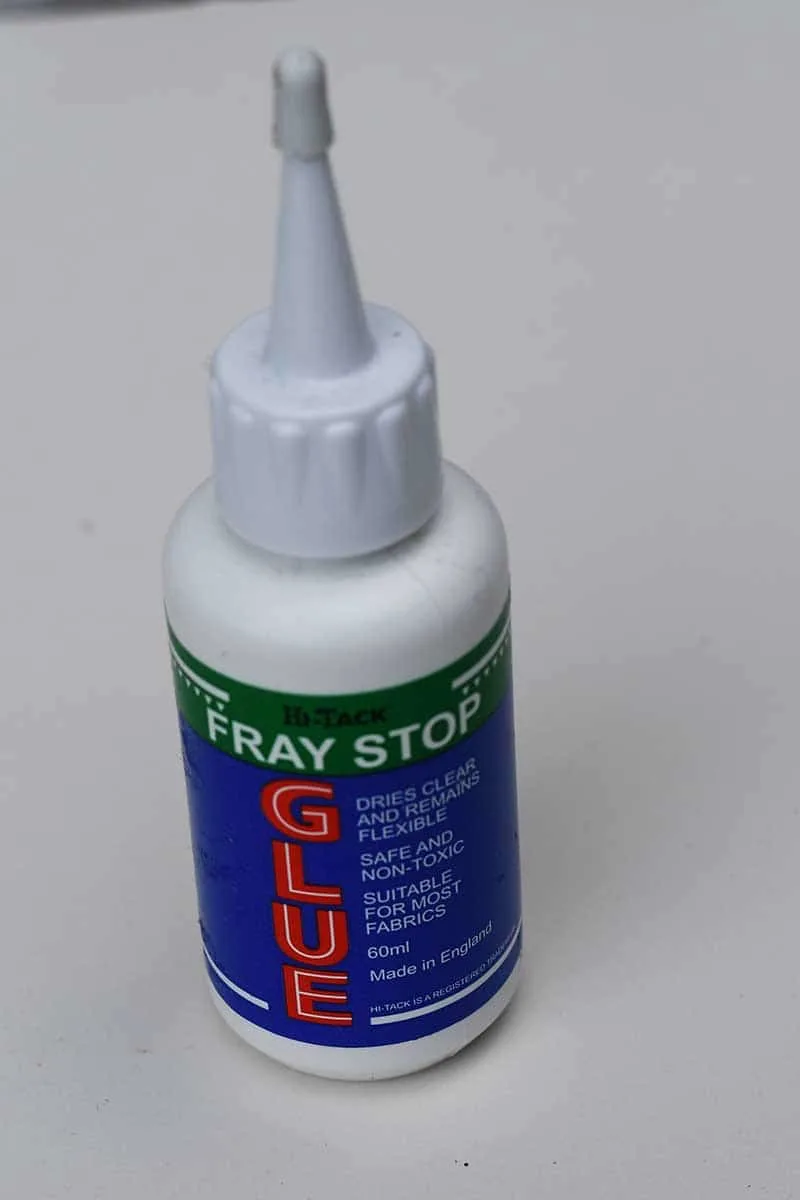
- Fray stop glue
- Grey pen
- Needle and thread
- Tweezers and chopsticks or similar-sized tools. (Needed to turn the fabric right side out).
- Free DIY fabric mushroom sewing pattern (download here)

How To Make The Fabric Fungi
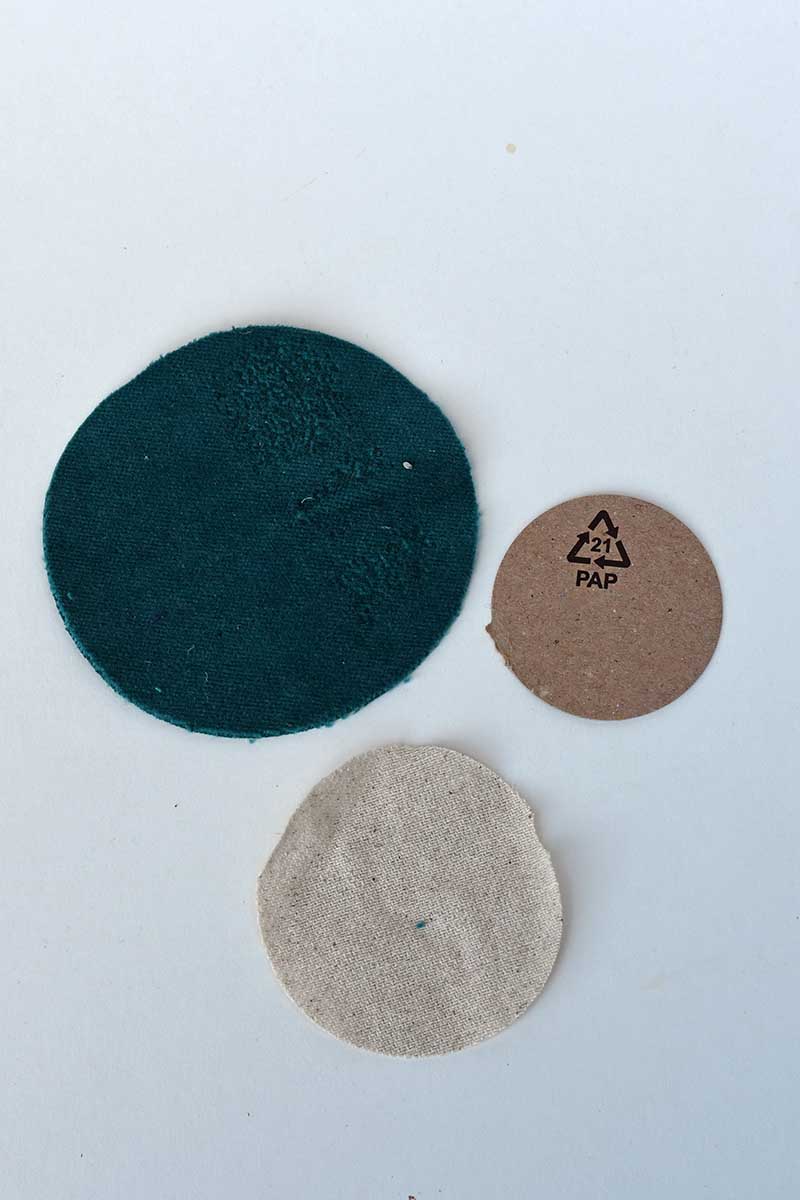
Step 1: Cut the fabric swatch for the top of the mushroom into a 3.5″ (9cm) circle. I find this easy with a compass cutter or a fabric circle cutter, especially if you make more than one mushroom.

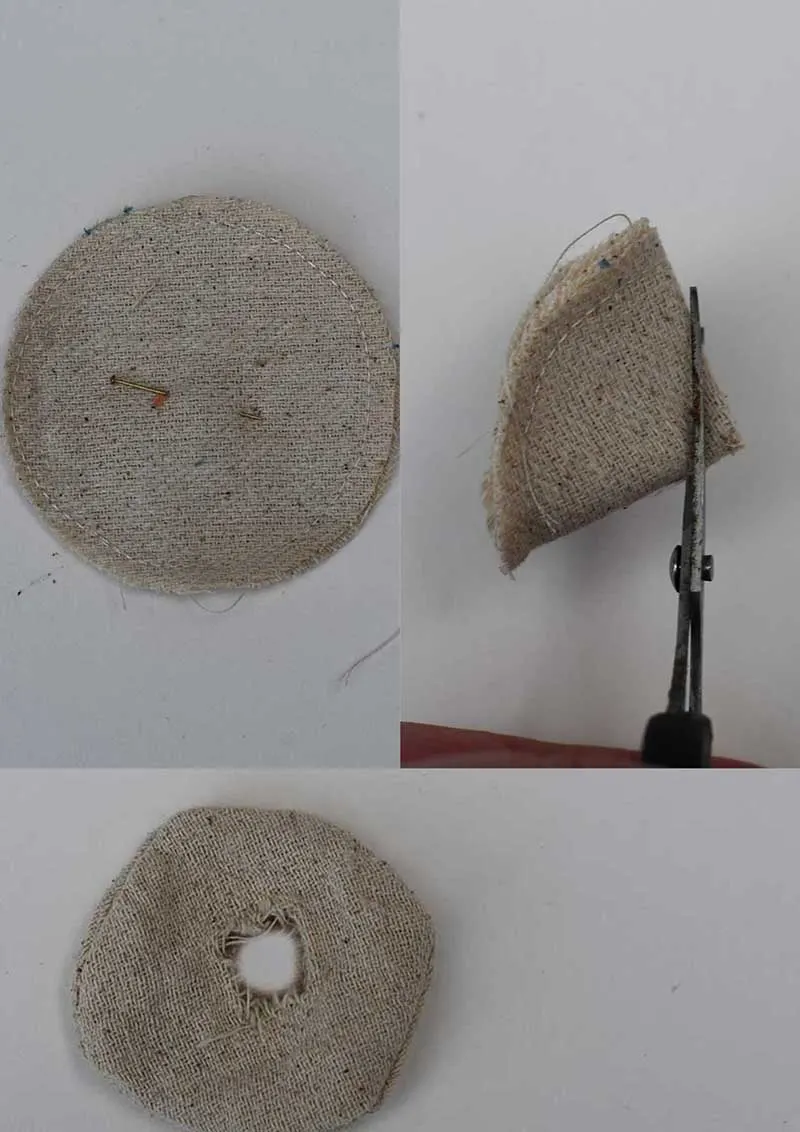
Step 2: Next, cut out two 2.5″ (6.5m) circles of the linen fabric and a then 2″ (5cm) cardboard circle. If your fabric frays easily, dab the edges of the material with fray-stop glue.

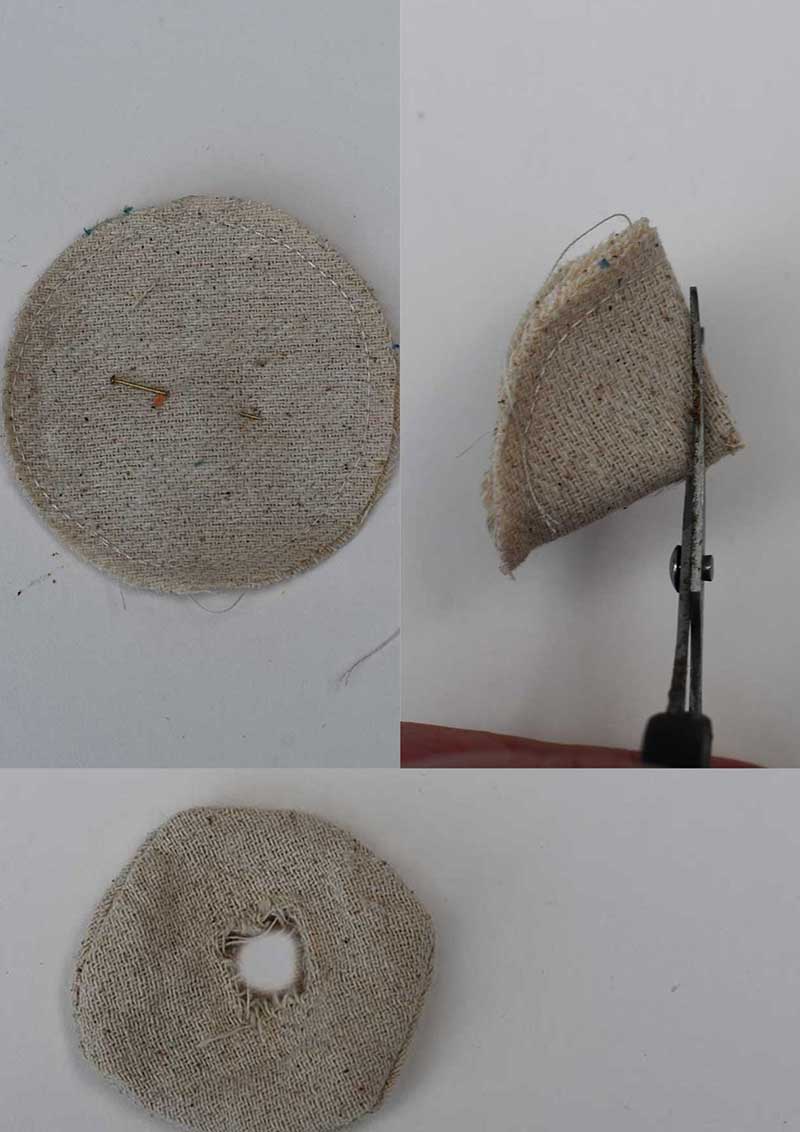
Step 3: Sew the smaller linen circles together. Then snip a hole into the centre and turn them right-sides out.
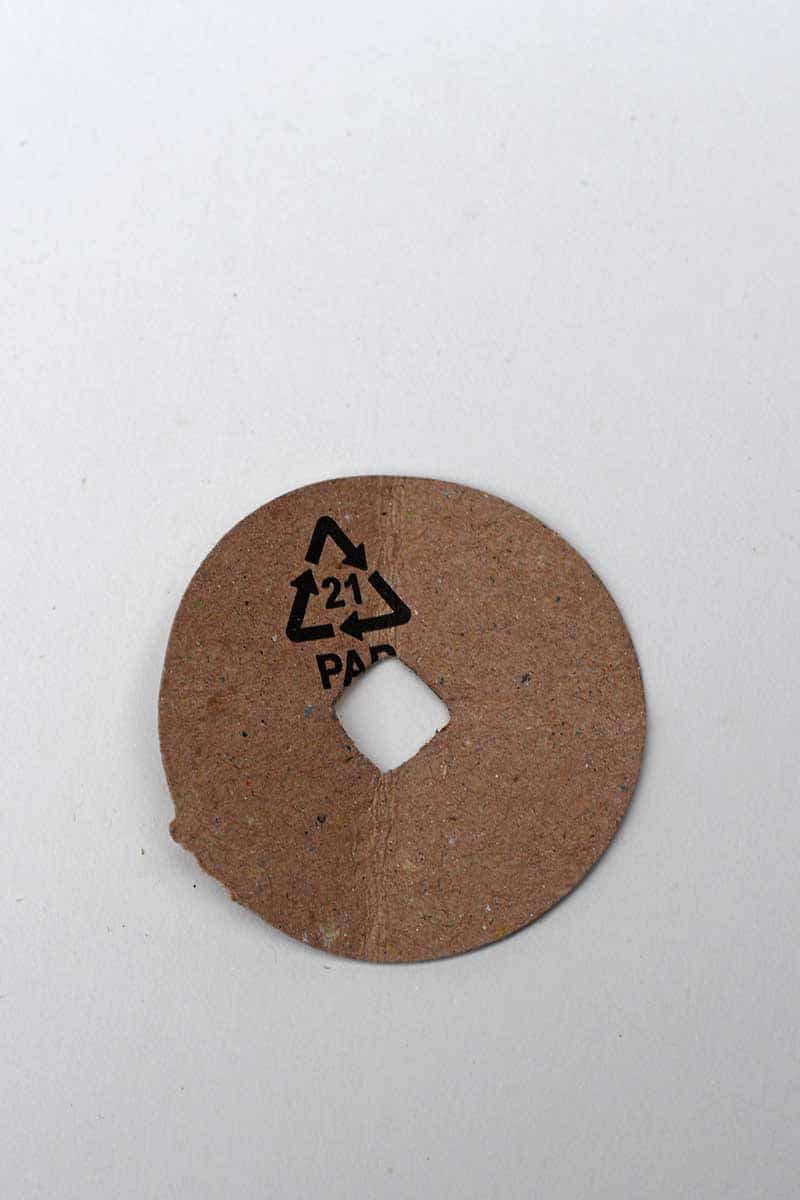
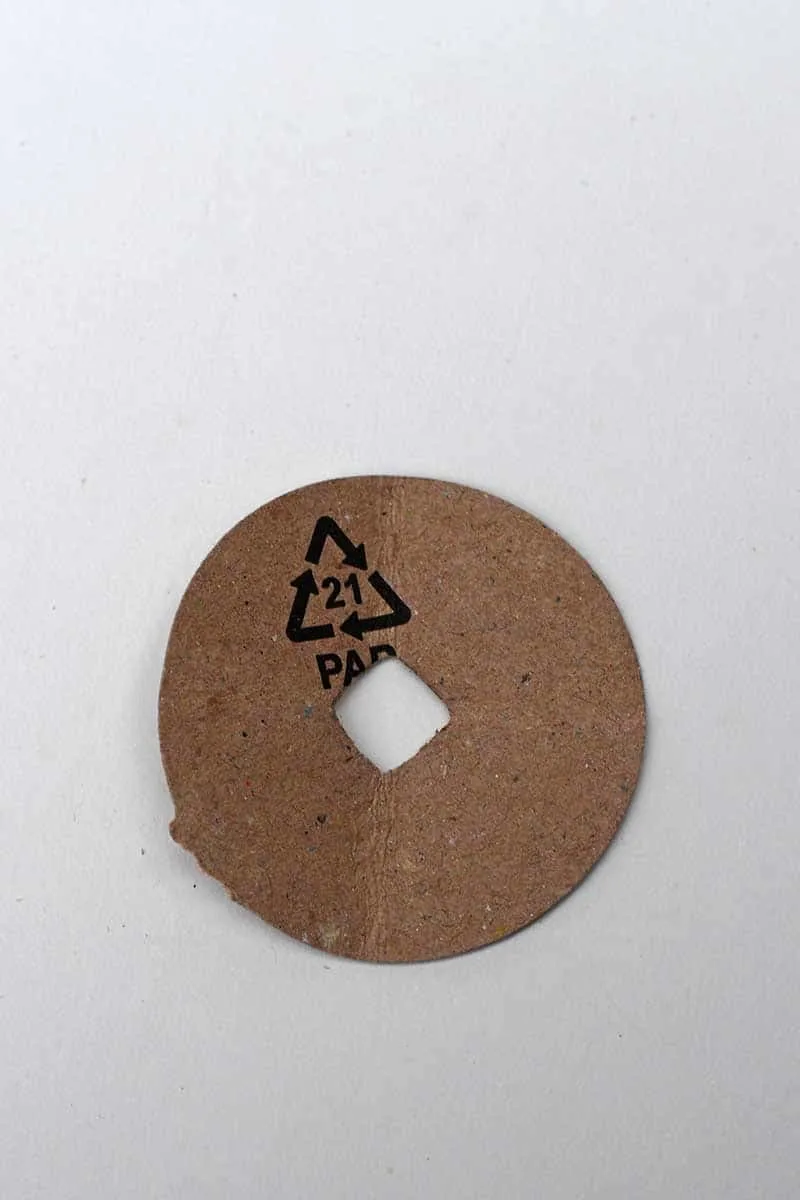
Step 4: Fold the cardboard circle into quarters and snip a hole into the centre. The cardboard will help the finished mushroom/fungi to hold its shape.
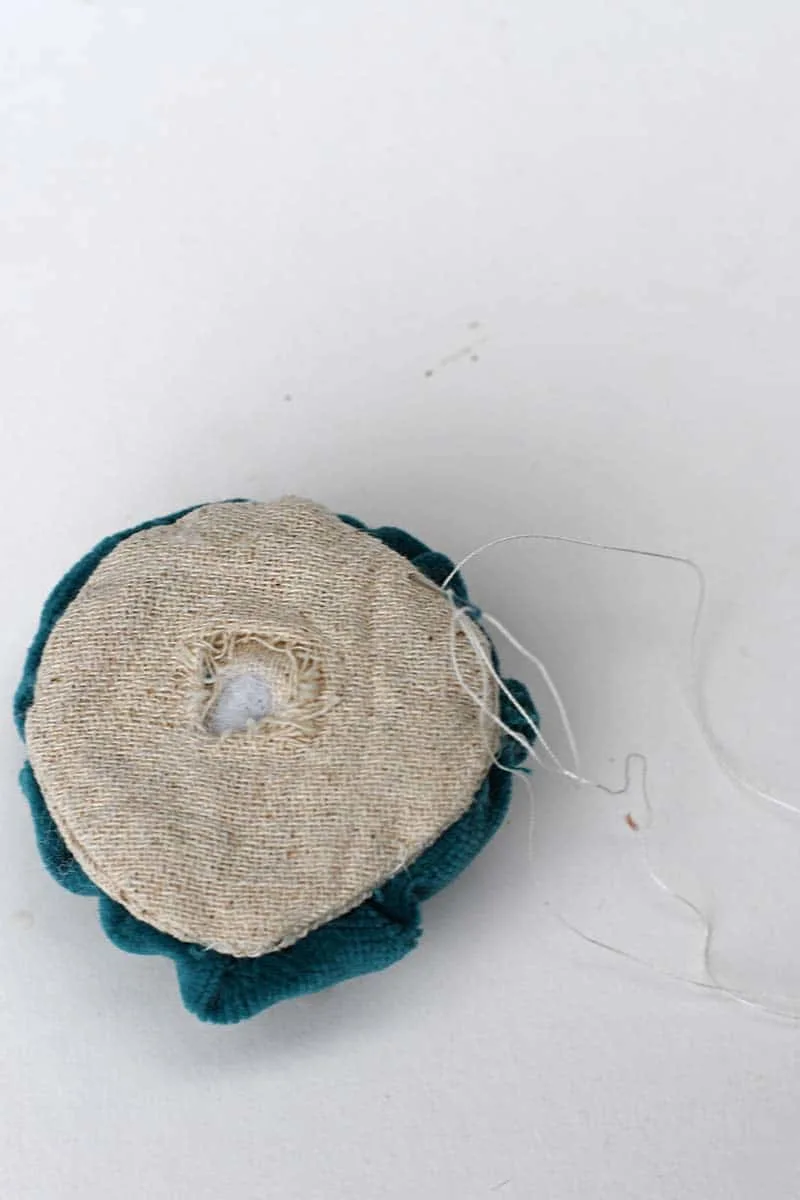
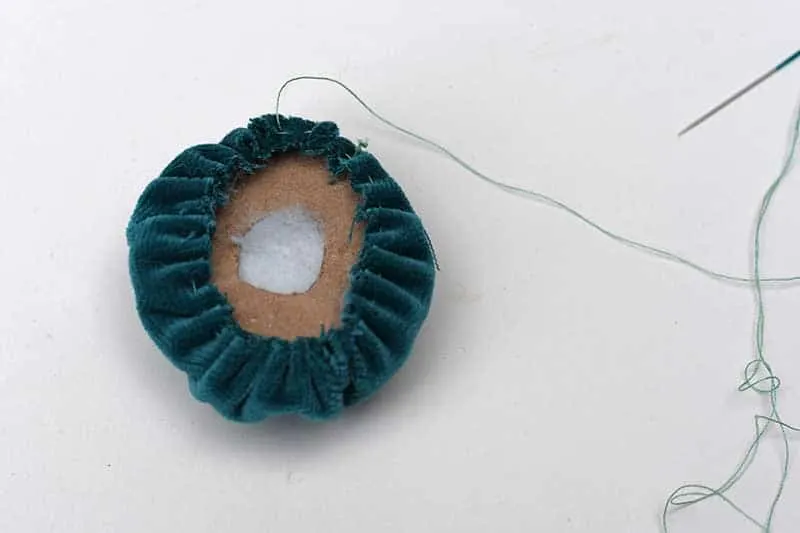
Step 5: Next, with a needle and thread, tie a knot at the end of the thread so that it will not pass through the velvet. Then stitch a running stitch around the circle’s edge (about 3mm from the edge). Pulling and gathering the fabric as you go. (like with these sweater balls).
Then stuff the top with fiberfill and insert the cardboard disc so it sits on top of the fiberfill while keeping the pulled thread taught.
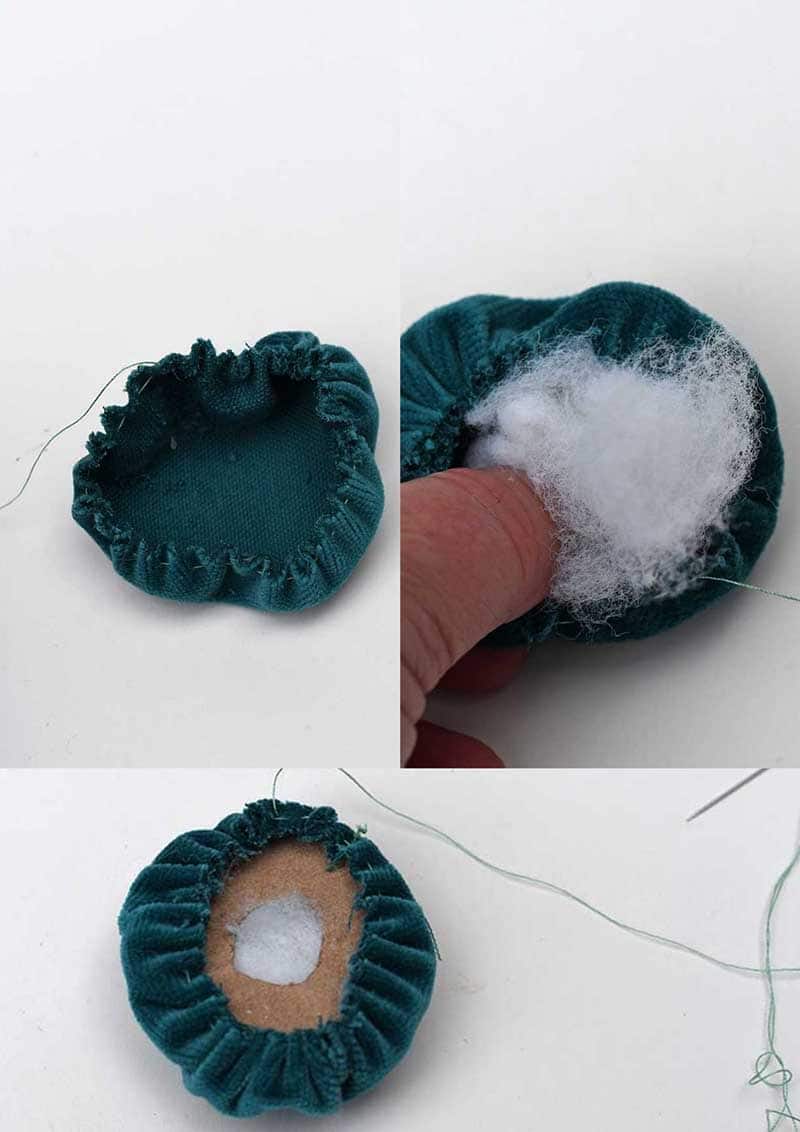

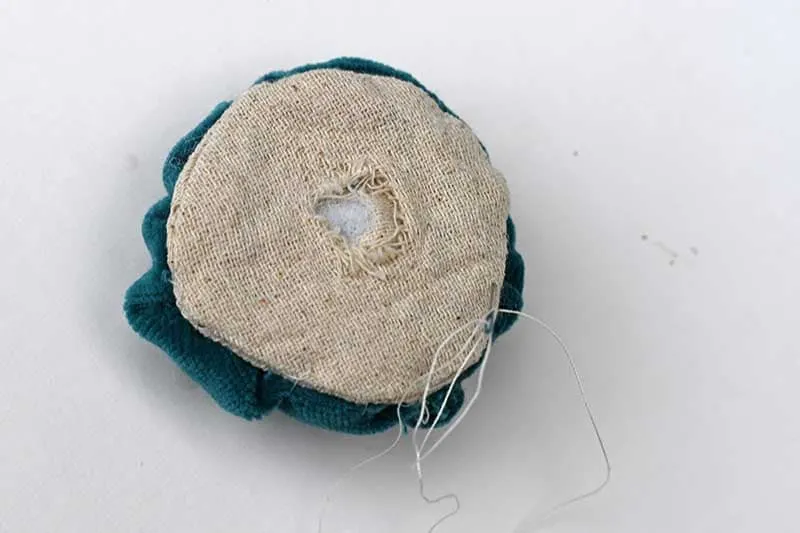
Step 6: Next, pin the linen circle onto the underside of the velvet and stitch it in place. Then, through the hole in the middle, add more fiberfill until the mushroom top is nice and plump.

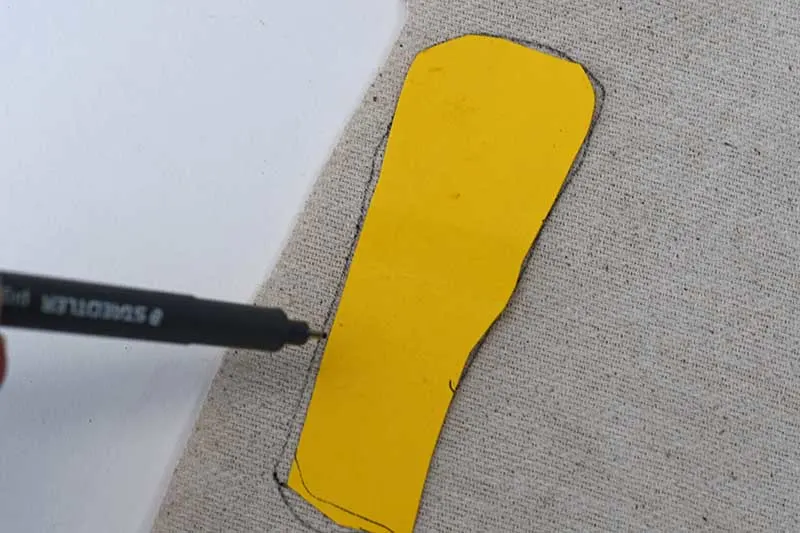
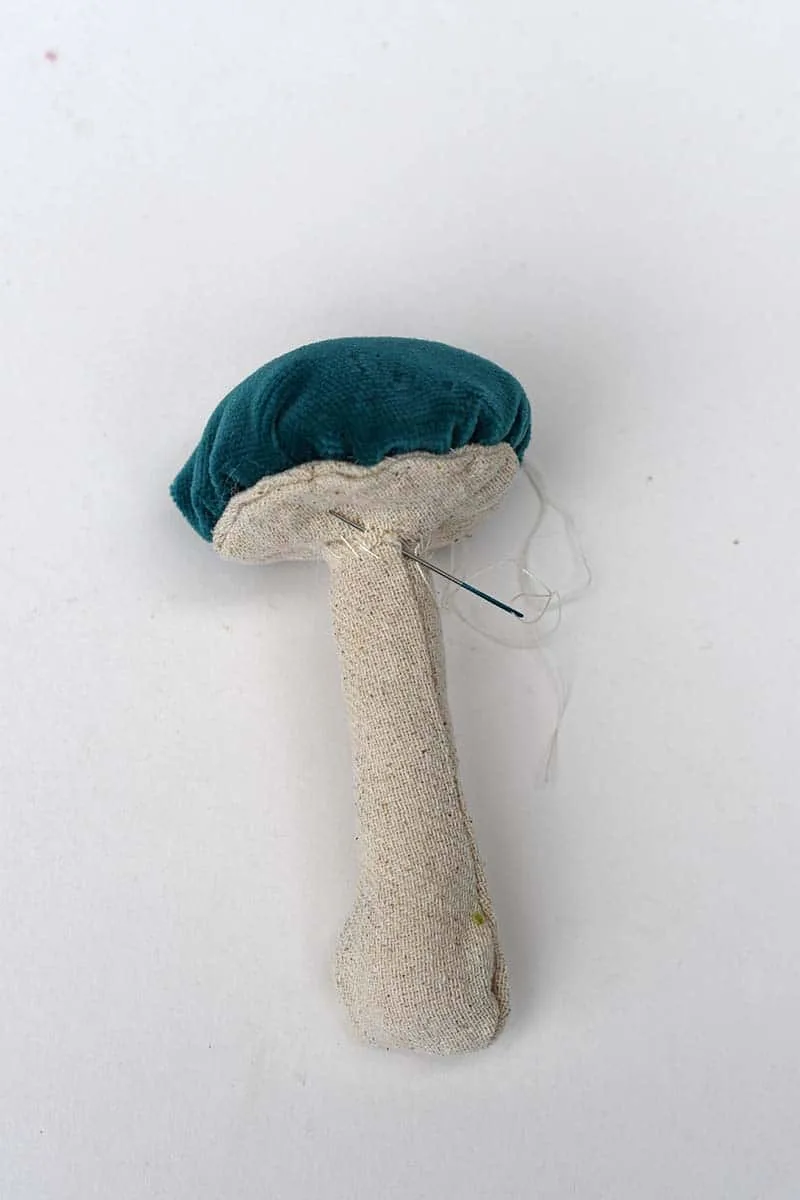
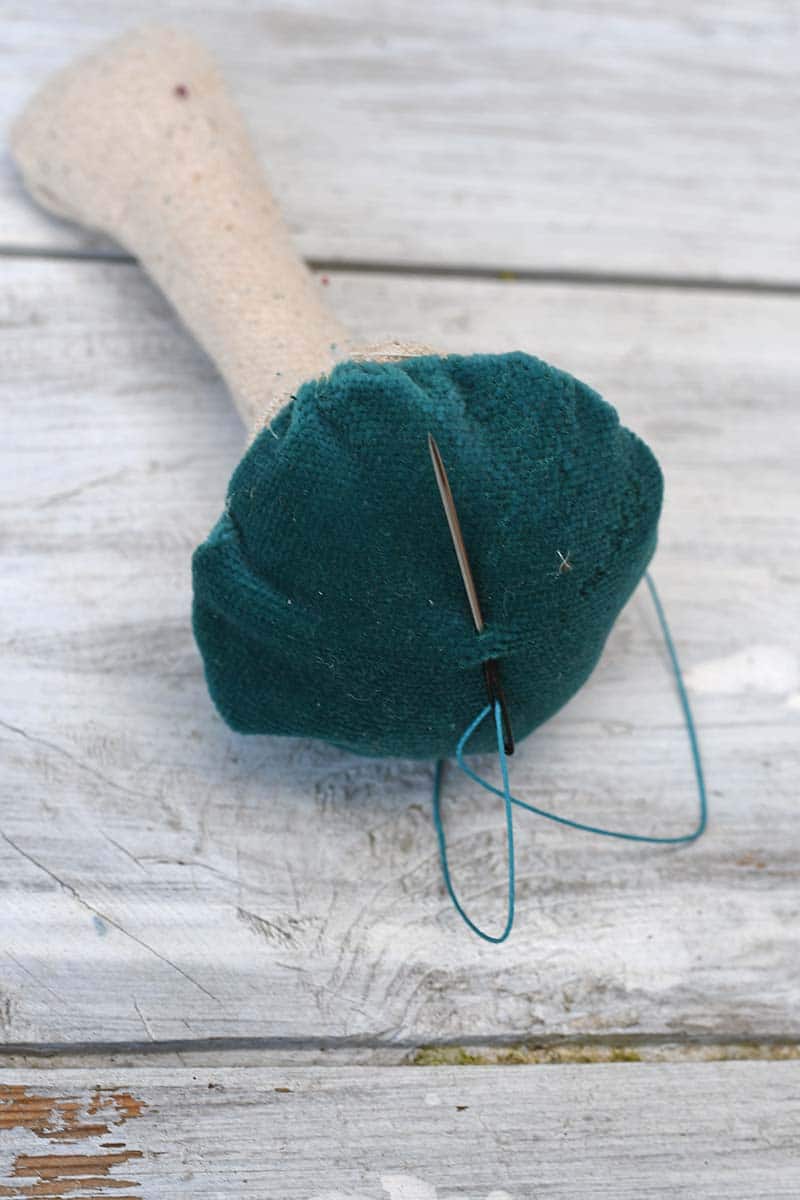
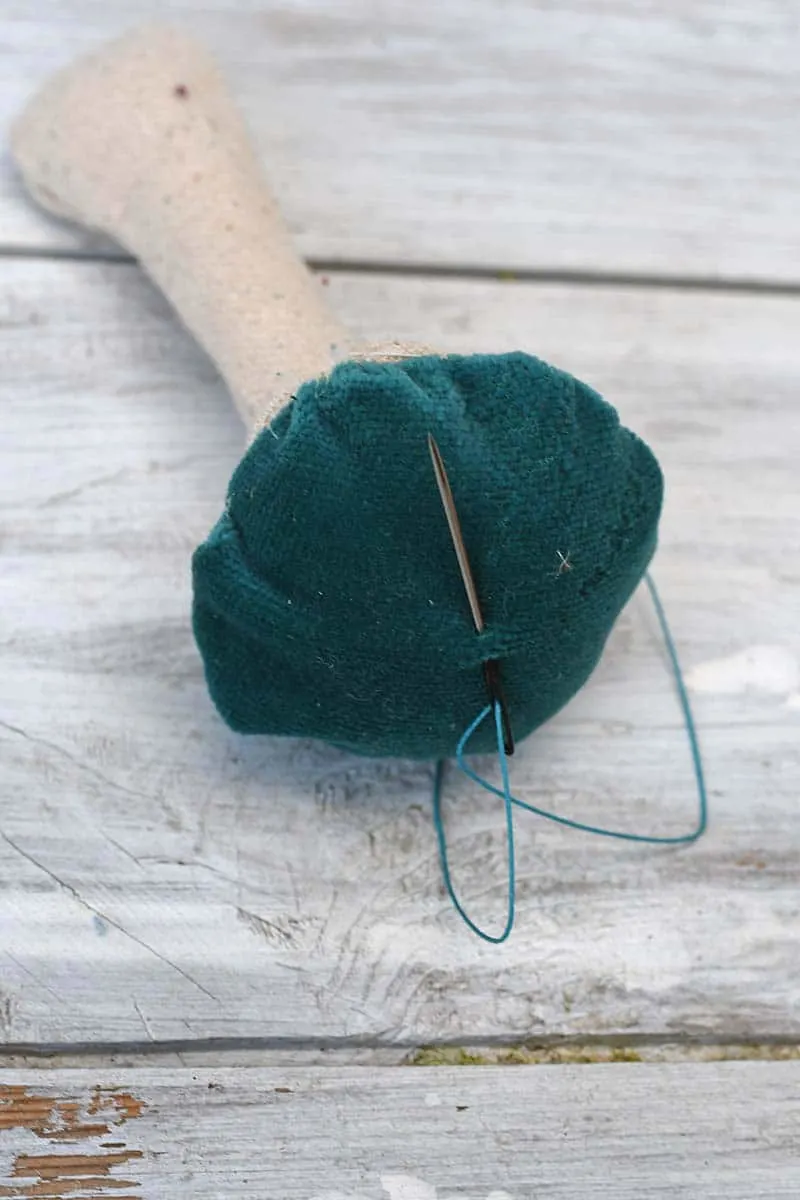
Step 7: Draw around the mushroom stalk template. Cut out two pieces. Pin and sew them together. Then turn the stalk right sides out.
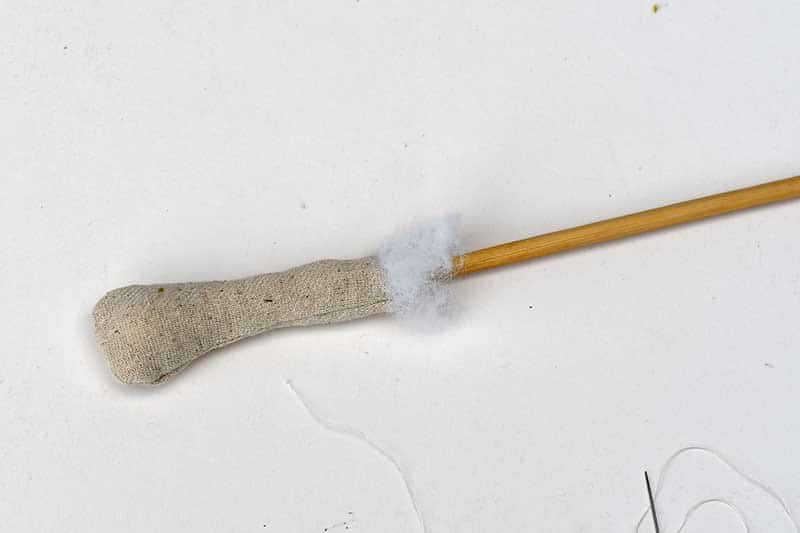
This is probably the most tricky bit of this DIY fabric mushroom craft. It can be very fiddly turning out the fabric; this is where the tweezers and chopsticks come in handy.
Next, stuff the stalk with fiberfill. The chopstick will be handy to ensure the fiberfill reaches the end of the stem. Make sure it is stuffed firmly; this will help the fabric mushroom stand up.


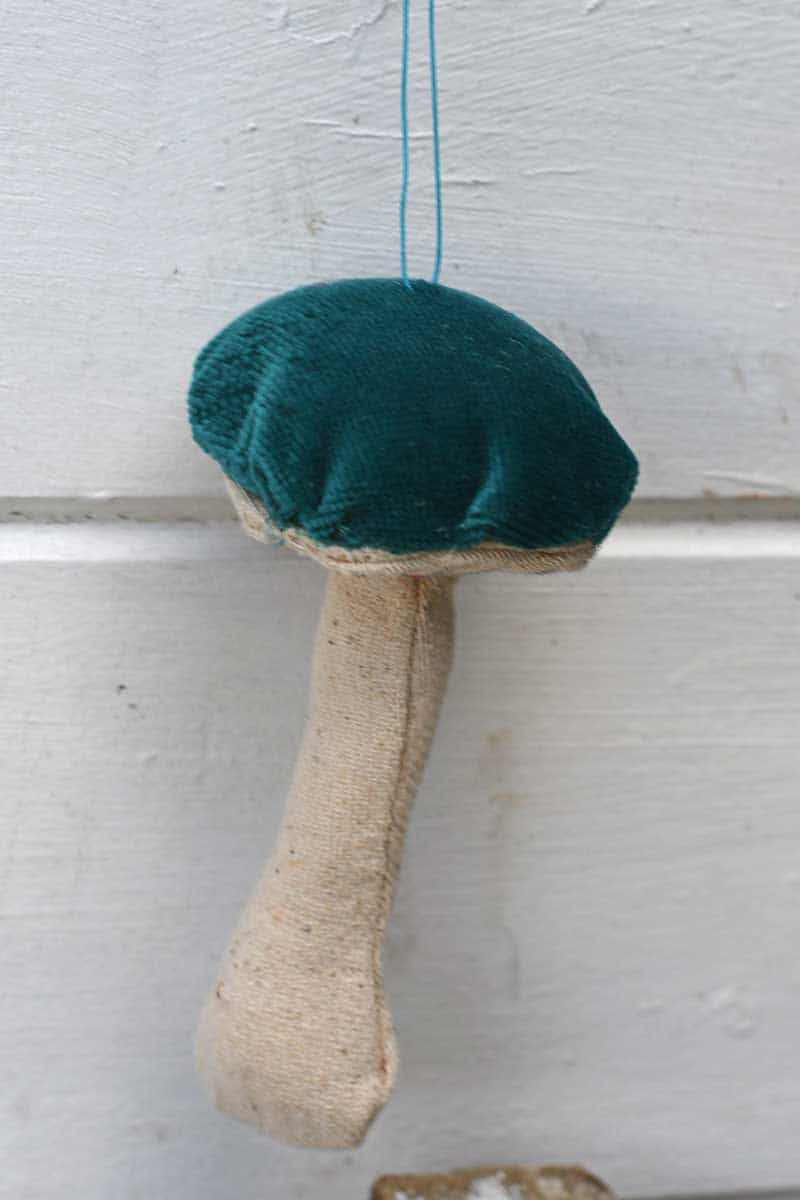
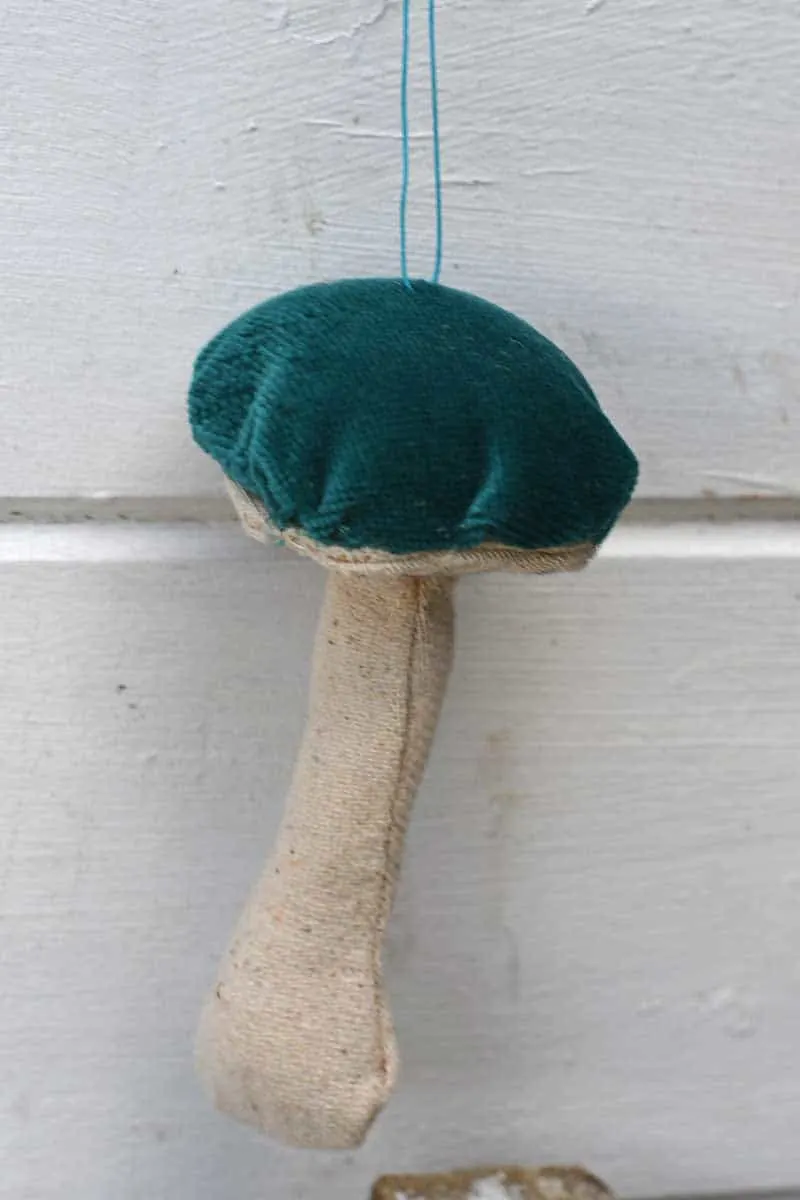
Step 8: Stitch the stalk to the underside of the mushroom, covering the hole. Use a thread the same colour as the linen fabric to help hide the stitches.
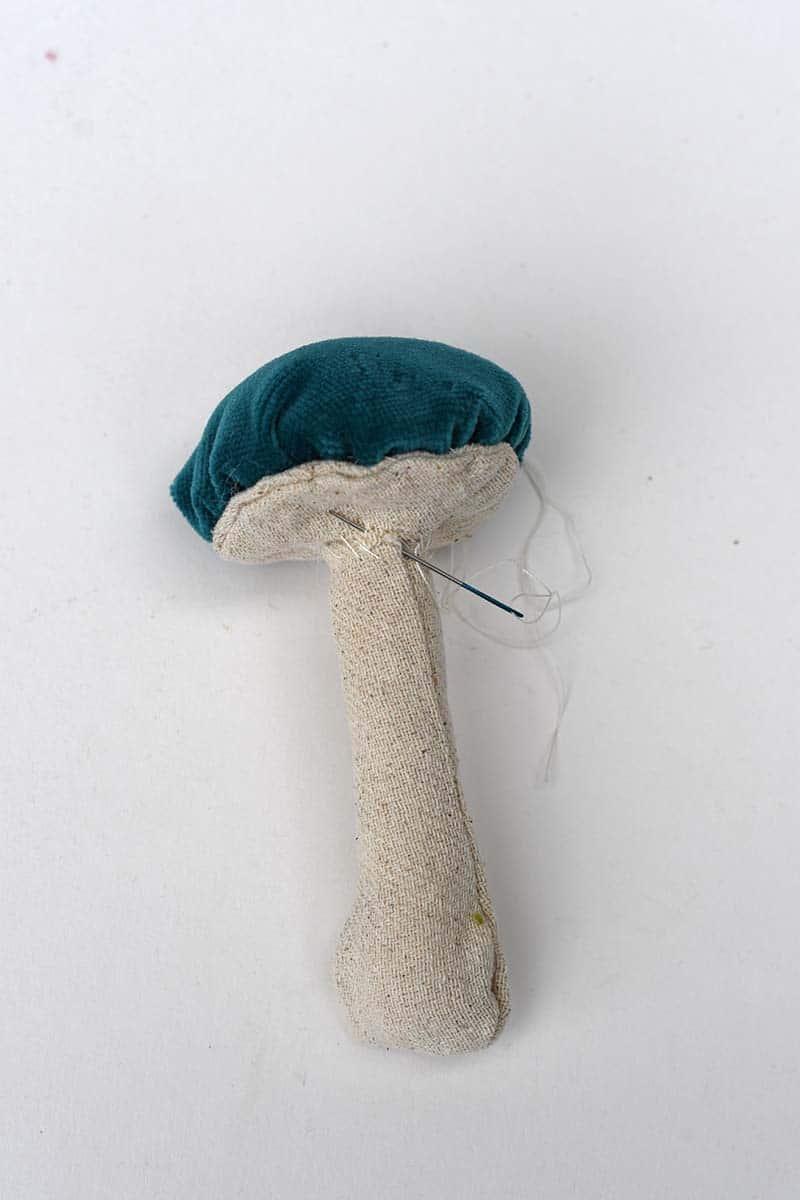
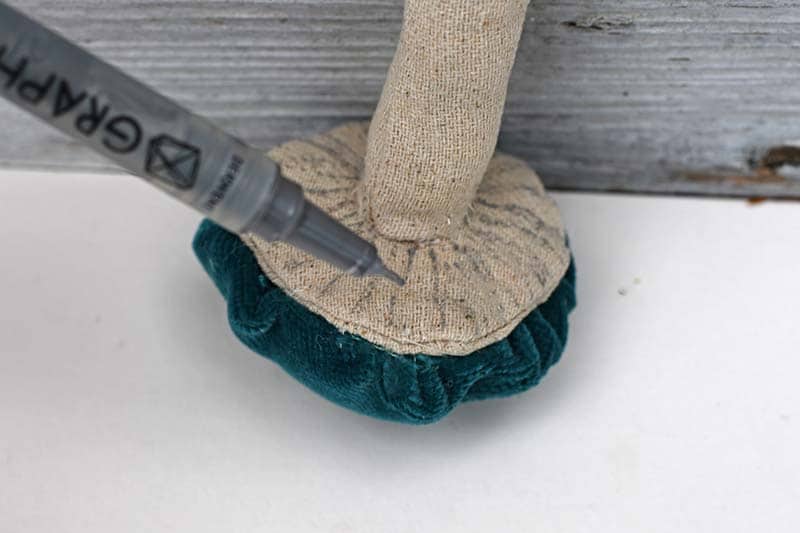
Step 9: This step is optional, but with a grey pen, you can draw lines on the underside of the mushroom/fungi to look like gills.


Ideas For Decorating And Displaying the Fabric Mushrooms/fungi
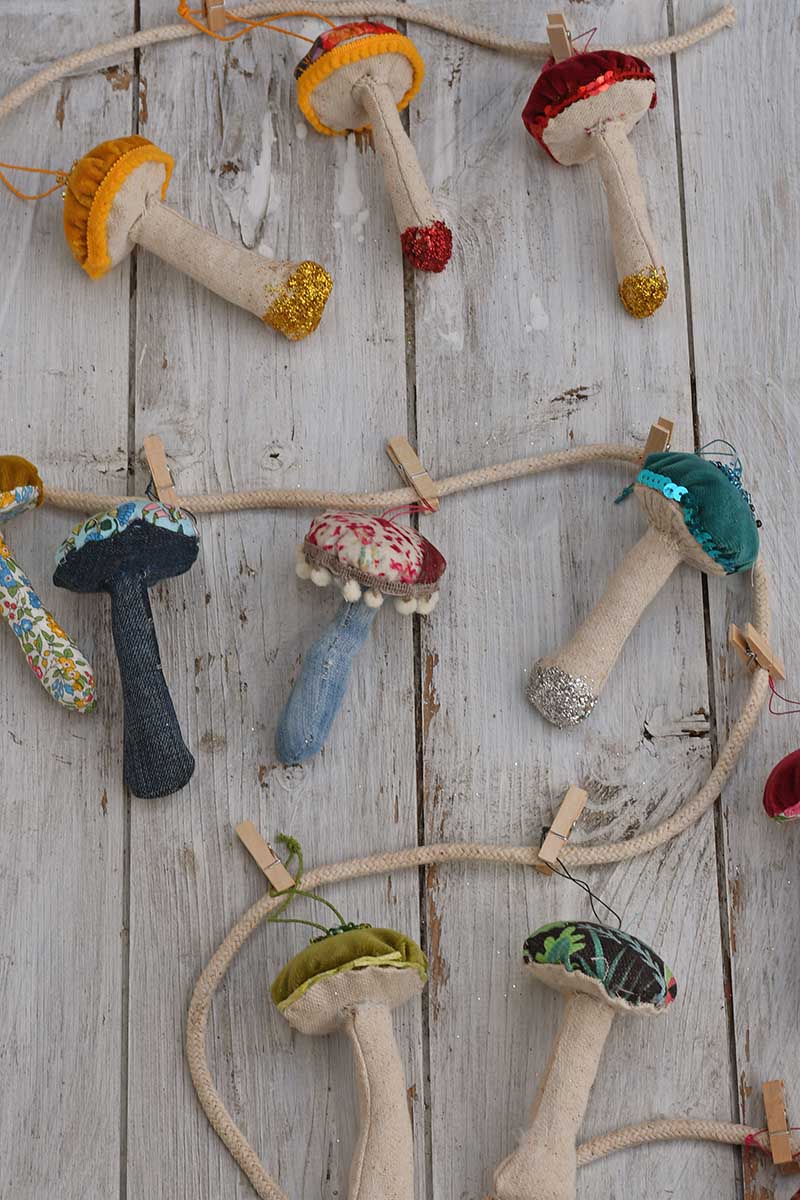
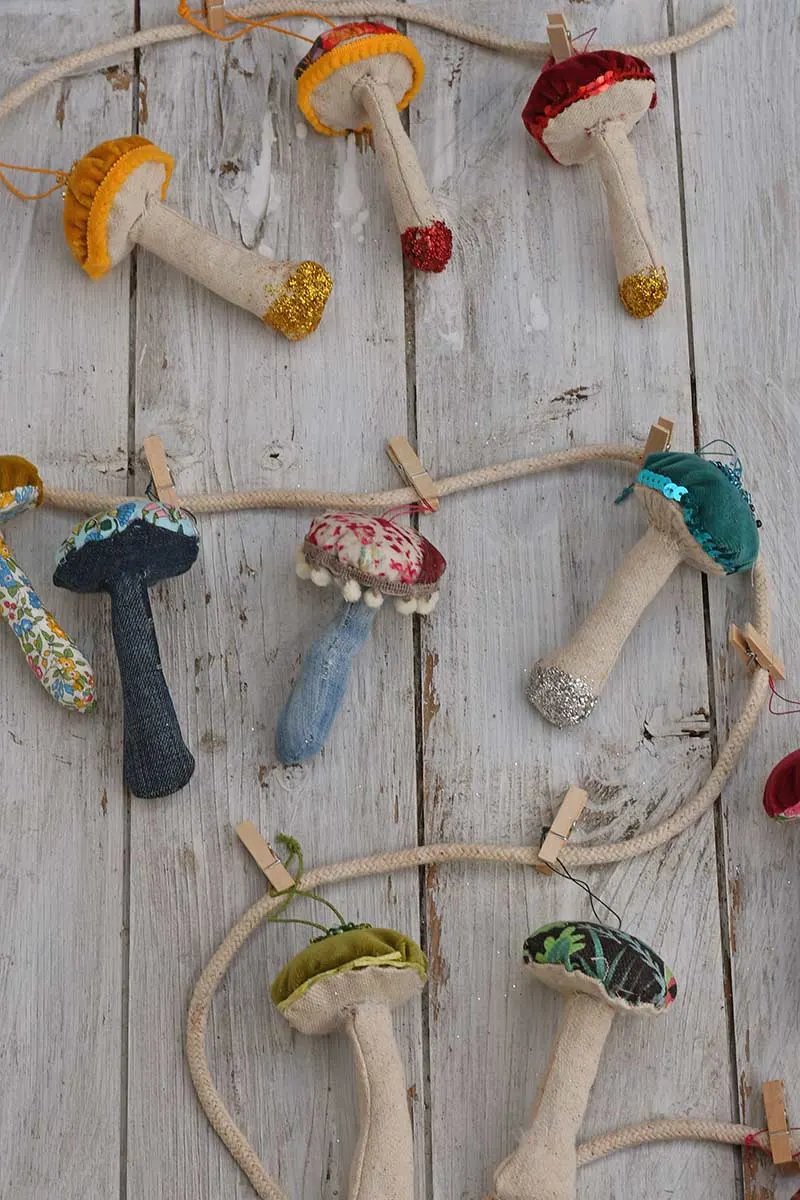
As you can see, I got a bit carried away with making these fabric fungi! I made over 25 of them and tried other fabrics, including denim.

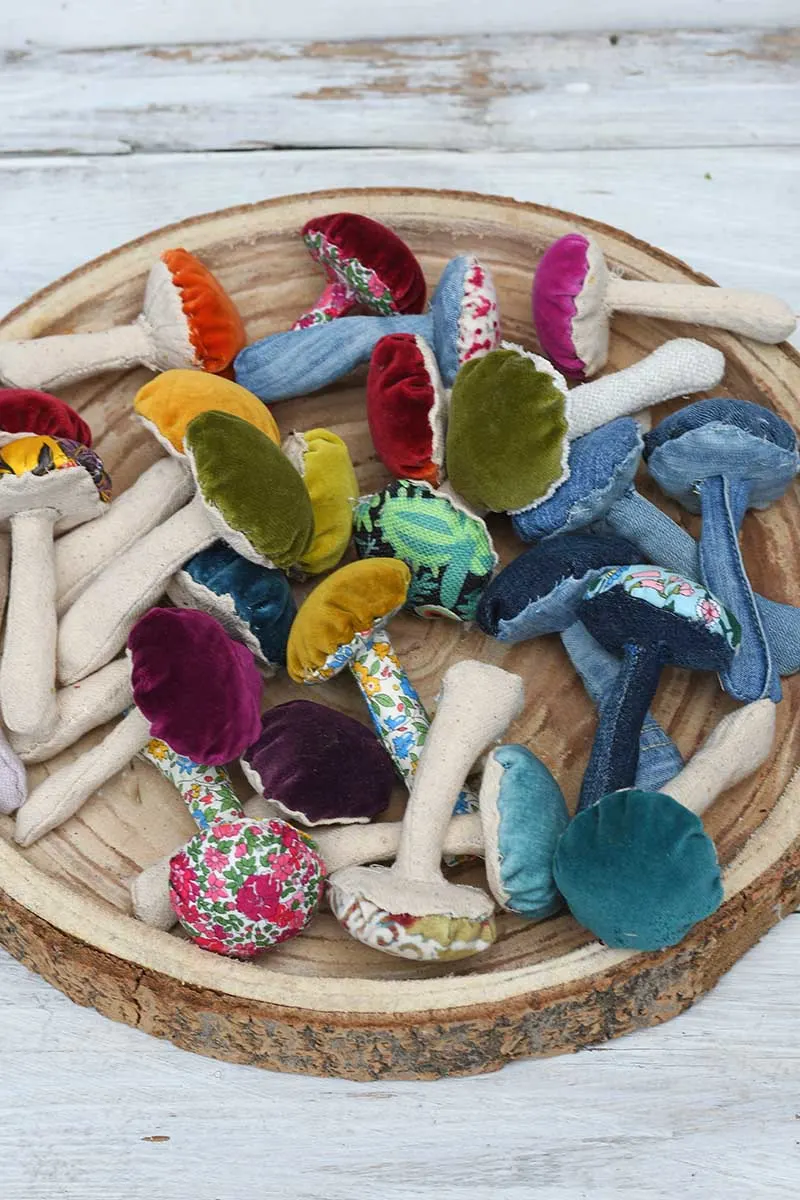
I even ended up with a rainbow of velvet mushrooms. These will look great in a garland; I love a bit of rainbow home decor.

Displaying and Decorating the mushrooms
- Wood slice
- Hot glue gun
- Coloured flax thread
- Assorted ribbons and small pom pom trim
- Assorted seed beads
- Glitter in various colours
- Hi-tack trim it glue
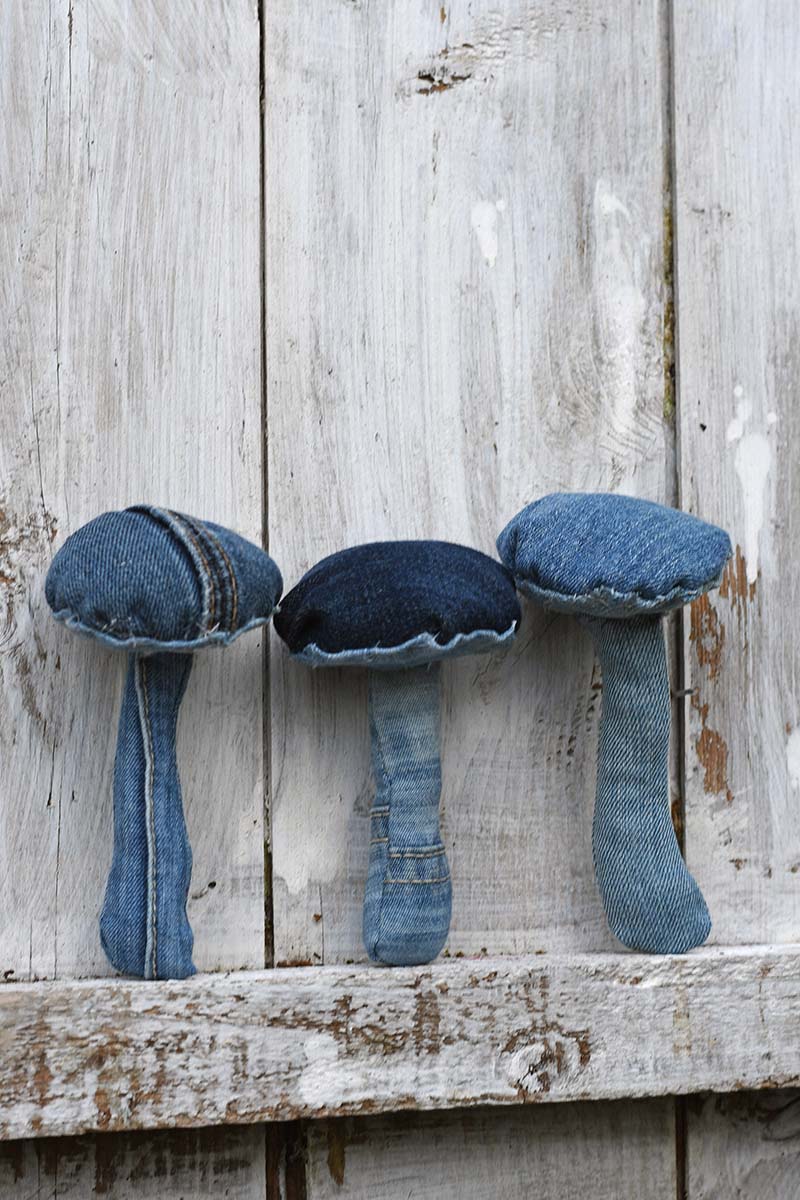
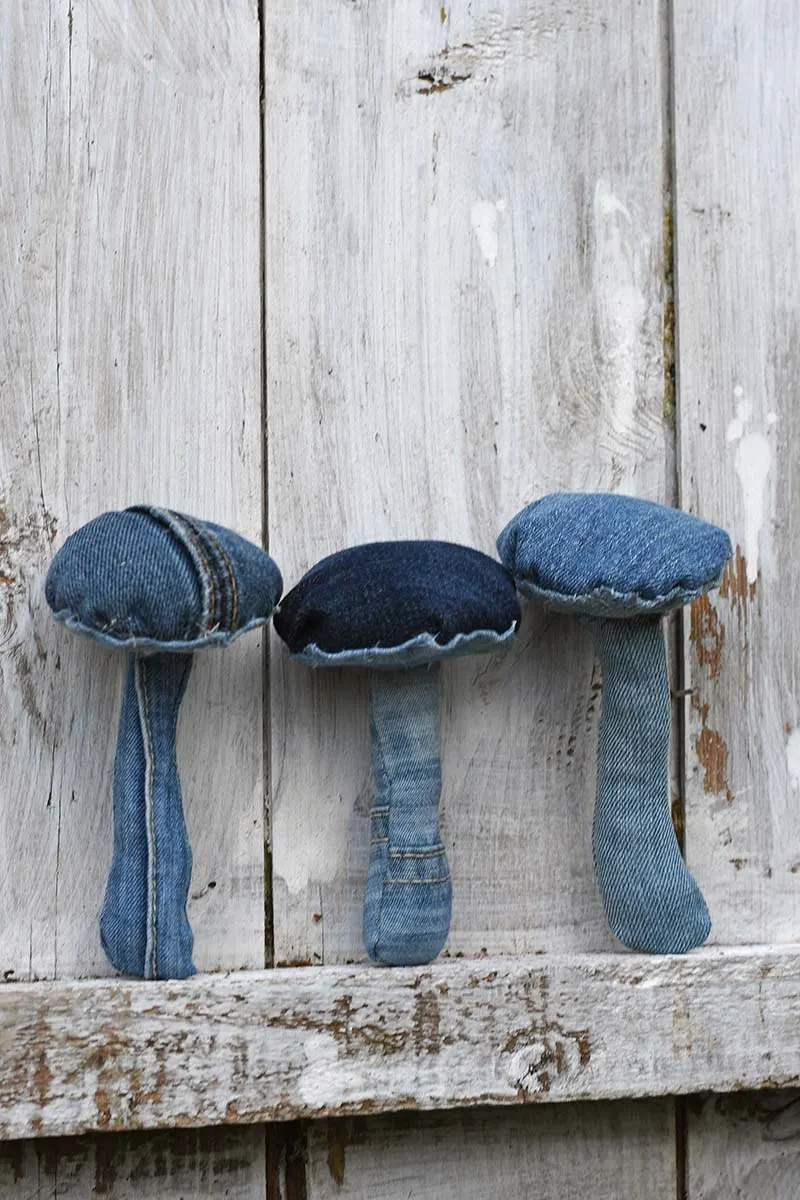
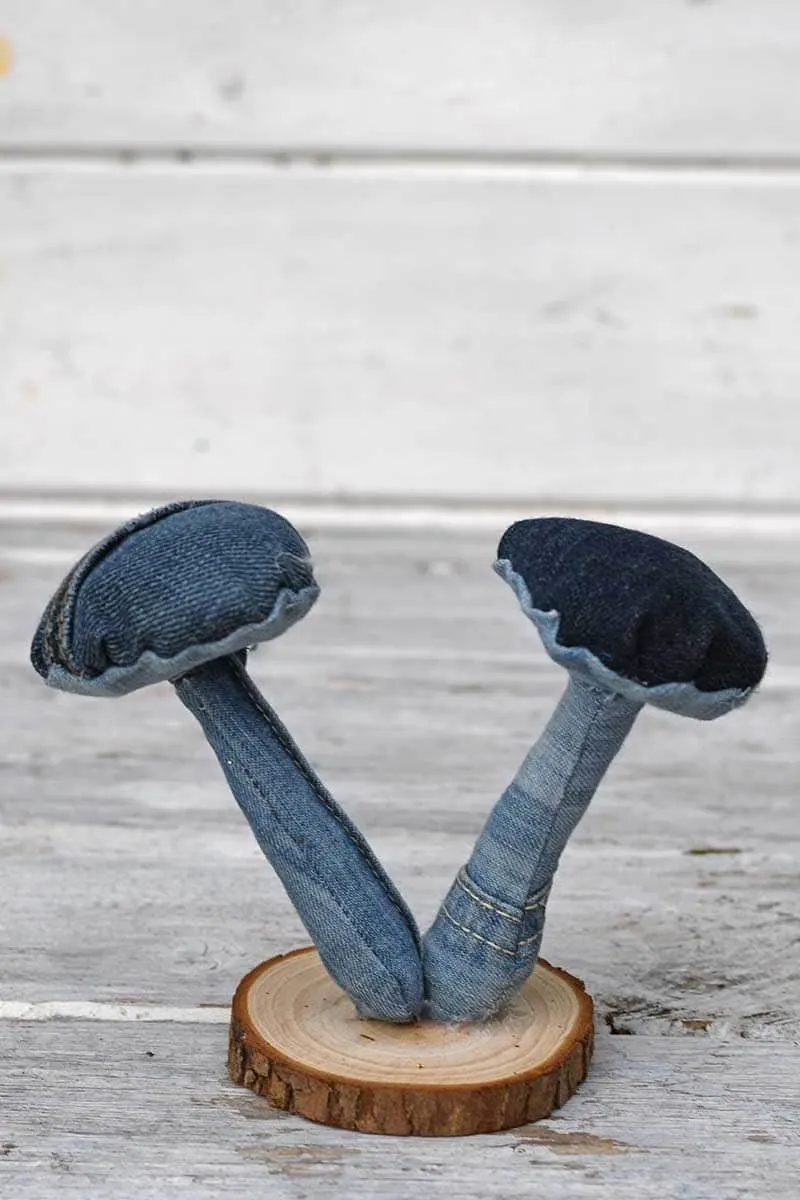
Making Denim Mushrooms/Fungi
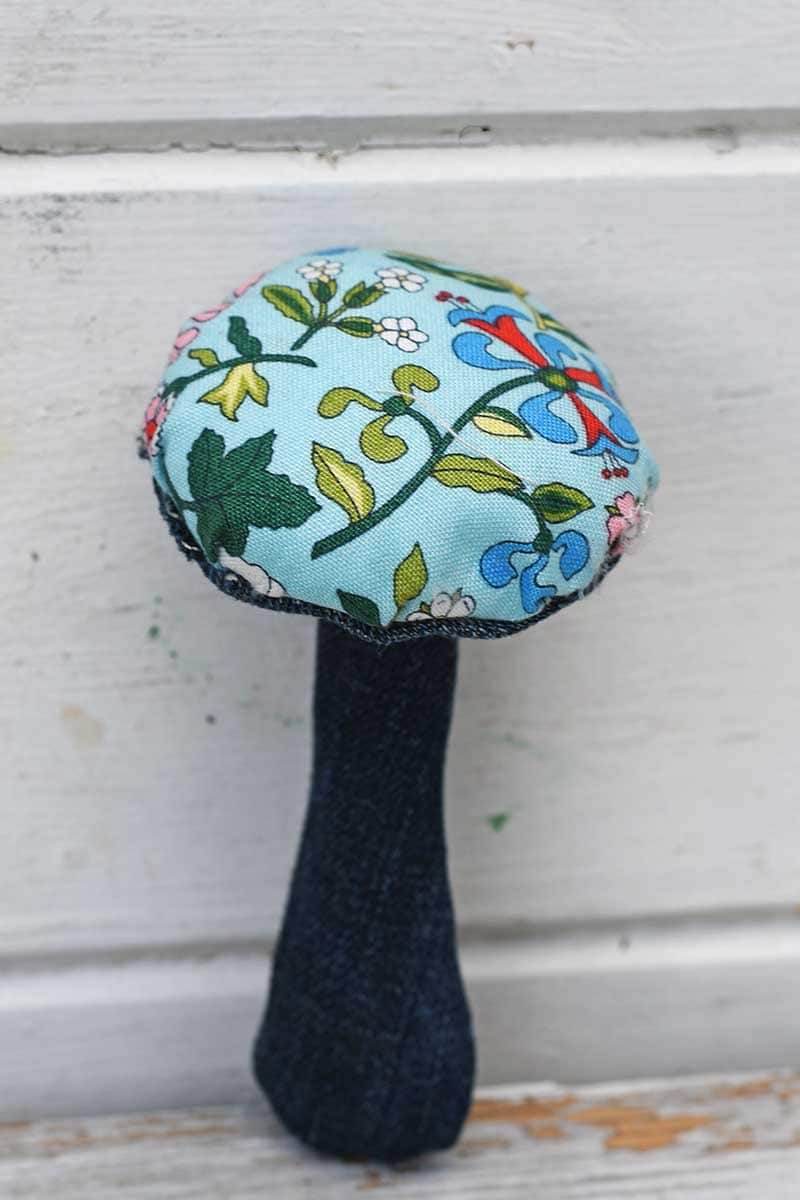
These were made in the same way as the fabric swatch mushrooms. The main difference is I used denim fabric from old jeans. If making a double denim mushroom, use denim in shades of indigo. Or use a patterned fabric for the top and denim for the base.
It’s best to use soft, worn denim from old jeans. The mushrooms will be harder to make if the fabric is too stiff. However, They look good on the mantle with my DIY denim bunnies.
Standing the Mushrooms Up on A Wood slice
To display the fabric mushrooms on a mantle, add them to a wood slice. All you need to do is use hot glue to fix them to the top of the wood slice. They look best when displayed at an angle or use fabric mushrooms of different heights.

And yes, I have a mushroom to match my sofa/couch. I went with the Paprika (orange) velvet for the sofa, and I love it. The mushrooms on the wood slice will sit on my mantle as they match.

I also made a denim wood slice version to match my denim moths and denim pear that sit on the mantle.

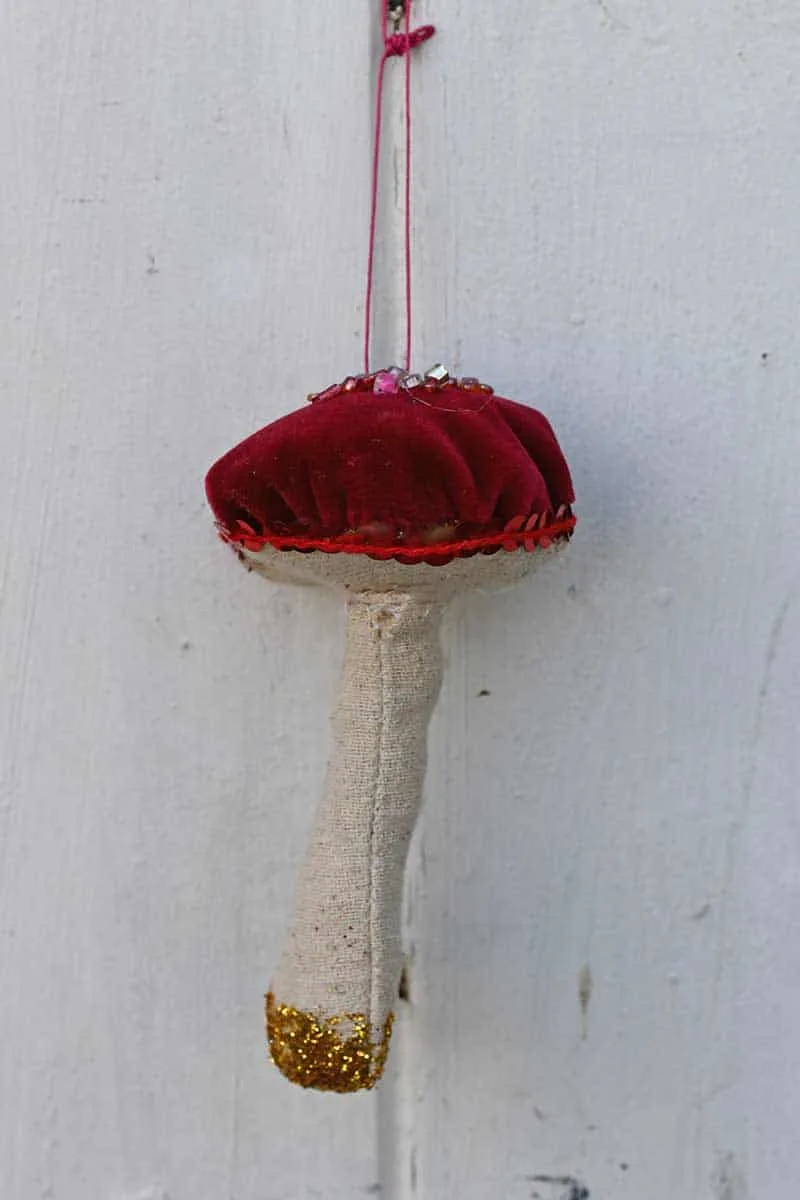
Decorate the Fabric Mushrooms to Make Christmas ornaments
The first thing to do to make these fabric mushrooms into an ornament is to add twine to the top to hang them from. The decorations will look better if you match the cord to the mushroom colour fabric.
I almost enjoyed decorating the DIY fabric mushrooms as much as I did making them in the first place.
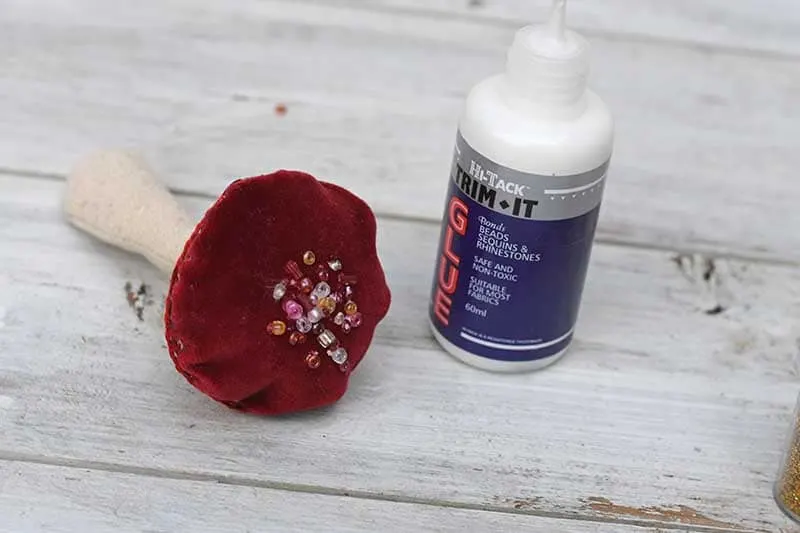
Next, give the mushroom ornaments a bit of Christmas bling. Add trim, seed beads on the top and glitter on the base.
Use the trim glue to stick the ribbon around the edge. Use pins to keep the trim in place as the glue dries.
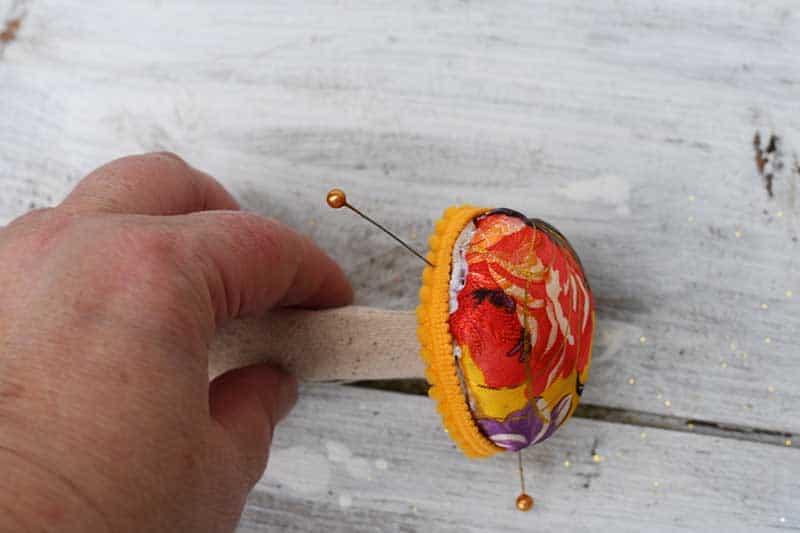

Then use the same glue to add seed beads to the top of the fungi.

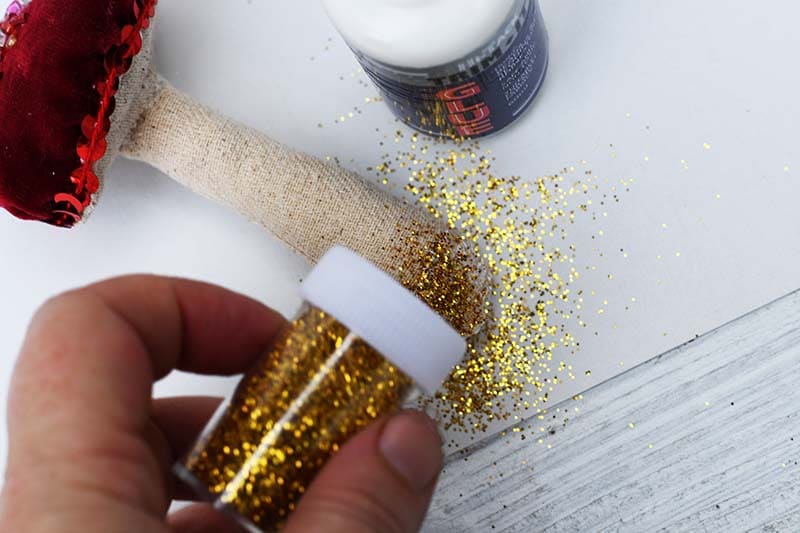
Finally, add a bit of glitter to the base of the stalk. Cover the last 1cm of the stem in the glue. Then either sprinkle the stalk with glitter or dip it into a pot of glitter.

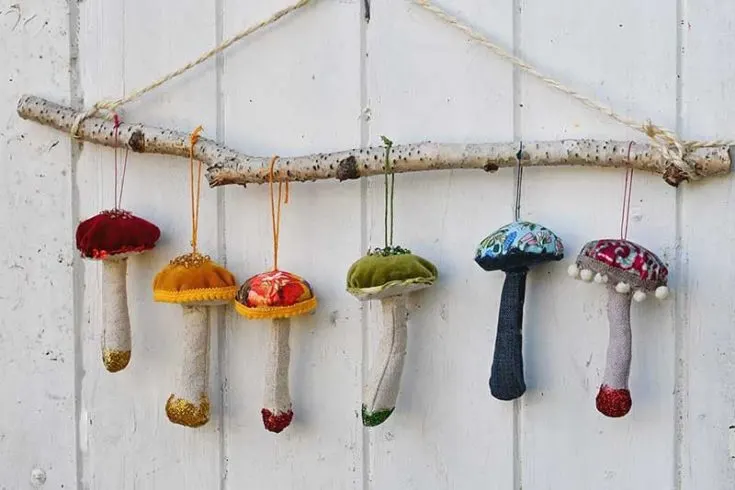
The mushrooms can be hung individually as Christmas ornaments for the tree or pegged to the twine to make a festive garland. Check out these other Christmas sewing crafts.

I made so many fabric mushroom decorations that I had enough to make a fun garland for my mantle.
Other Fungi & Crafts
Not surprisingly, these aren’t my first mushroom/fungi craft. I created a stunning mushroom display by printing vintage fungi images onto old bed sheets. I’ve also used applique and free motion embroidery to make this gorgeous mushroom garland with snails.
If you like these mushrooms, you’ll love my free pattern for fabric fig ornaments. Both would make a lovely gift idea for friends.
These mushroom drawings are a great resource for designing your own mushroom patterns.
I’ve also noticed that mushrooms are a popular theme with home decor. I’ve seen vintage mushrooms and fungi printed on plates and fabrics for wall decor. Because fungi are so popular, these mushrooms make a great craft for making, selling, and gifting.
There are some gorgeous free vintage prints of the mushroom and fungi drawings of James Sowerby, and a collection of vintage mushroom charts here.
Don’t forget to check out my other easy hand sewing projects, cool adult craft ideas and other ideas for upcycling fabrics and velvet crafts. Including these quirky beetroot brooches.
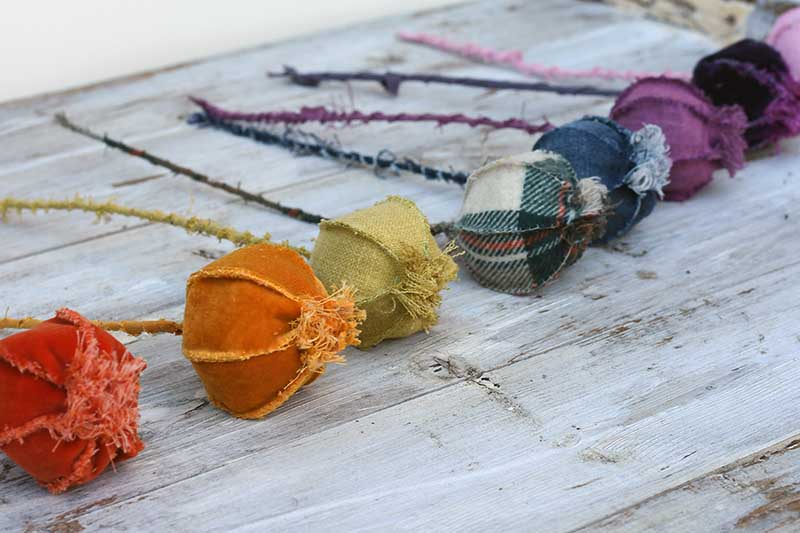
These mushrooms will look good on the mantle with these hen and duck embroidered figures.
If you like these mushrooms, you’ll love the pattern for these denim thistles and fabric poppy seed heads.

DIY Fabric Mushrooms

Cute DIY fabric mushrooms made from scrap pieces of fabric, such as sofa/couch swatches and scraps of denim from old jeans. They can then be left plain, or decorated with glitter beads and trimmings to make pretty Christmas ornaments. This is an addictive craft. Soon you'll have enough fabric mushrooms for a garland.
Materials
- Colourful fabric scraps - such as velvet sofa swatches.
- Plain linen fabric for stalks - an old tea towel would do.
- Scrap cardboard
- Fiberfill - I use old pillows
- Fray stop glue and trim glue
- Twine for hanging
- Trims, ribbons, seed beads and glitter for decoration.
- Free sewing pattern visit the site to download.
Tools
- Needle and thread
- Compass fabric cutter (optional)
- Sewing machine (optional)
- Chop stick and a pair of tweezers
Instructions
- Cut the velvet fabric into a 3.5" (9.5cm) circle. Then cut two circles of plain linen fabric into 2.5" (6.5cm) circles. Finally cut a cardboard disc 2" (5cm).
- Sew the two linen circular pieces of fabric together. Cut a small hole in the middle to make a doughnut shape. Then turn the fabric right sides out.
- Cut a small hole into the middle of the cardboard disc.
- Next, make one long running stitch along the inside edge of the velvet fabric and pull it tight. This will gather the fabric into a bowl shape.
- Whilst holding the bowl shape stuff the velvet with fiberfill. Then place the cardboard disc on top.

- Next, sew the linen fabric doughnut to the velvet fabric. Use a chopstick to add more fiberfill, through the hole.

- Cut out the stalk shape from the free pattern and make a cardboard template. Draw around the cardboard stalk onto the linen fabric and cut out 2 pieces.
- Sew the two stalk pieces together, leaving them open at the top. Then turn the stalk right sides out.
- Stuff the stalk with fiberfill and then sew it to the underside of the mushroom head, covering the hole.
- Add some hanging twine to the top of the mushroom.
- Then using trim glue add decorations to the mushroom, such are a pom pom trim and seed beads on the top.
- Paste the bottom tip of the stalk in glue and then dip it into a pot of glitter.

Lilly
Thursday 17th of April 2025
Thank you for sharing this. I would have never thought of the cardboard. I’m convalescing in bed and this is such a fun project. Thank you thank you thank you xo
Claire Armstrong
Saturday 19th of April 2025
Thank you, they are a lovely project to make by hand. Hope you get well soon.
Krystal
Wednesday 17th of April 2024
So excited to make these with my daughter but am having trouble downloading the pattern
Claire Armstrong
Wednesday 17th of April 2024
Thank you they are fun to make. The link seems fine to me for the pattern but try it here to see if it works https://www.pillarboxblue.com/wp-content/uploads/2021/10/fabric-mushroom-template.jpg
Ann Mellows
Saturday 6th of April 2024
Great fun ! I am just about getting over health and blank ideas hole. This got my creative juices going . Thank you.
Claire Armstrong
Monday 8th of April 2024
I hope you get fully better soon and enjoy your crafting.
Scrap Fabric Mushroom Ornaments Sewing Tutorial – Sewing
Wednesday 28th of June 2023
[…] is perfect for decorator fabric samples and other small pieces of richly textured fabrics. Go to Pillar Box Blue for the sewing […]
Lynn
Friday 25th of February 2022
These are so incredibly adorable and just brilliant. I love the variety of fabrics you put to use and what a great way to use up the fabric scraps we have. Thanks so much for sharing. I can't wait to make a bunch myself!!!
Claire Armstrong
Saturday 26th of February 2022
Thank you, they are fun and addictive to make, I have quite a collection now.