
Easy Upcycled Decorative Decoupage Tin Can Planters

Inside: A tutorial on the easy way to decoupage tin cans for outdoor and indoor use. With a list of different decoupage materials, you can use at the end.
I partly made these decorative tin can planters to use up some of my paper napkin stashes!
Whenever I go into a Scandinavian/Nordic interior shop, I wander around swooning over all the beautifully designed furniture. I can't afford the furniture but don't want to leave empty-handed, so I buy a pack of Marimekko paper napkins.
Marimekko prints are a favourite of mine and have used their designs in lots of nordic crafts and DIYs. I even have a Marimekko wallpapered staircase in my home and a unique decoupaged Marimekko bench in the garden.
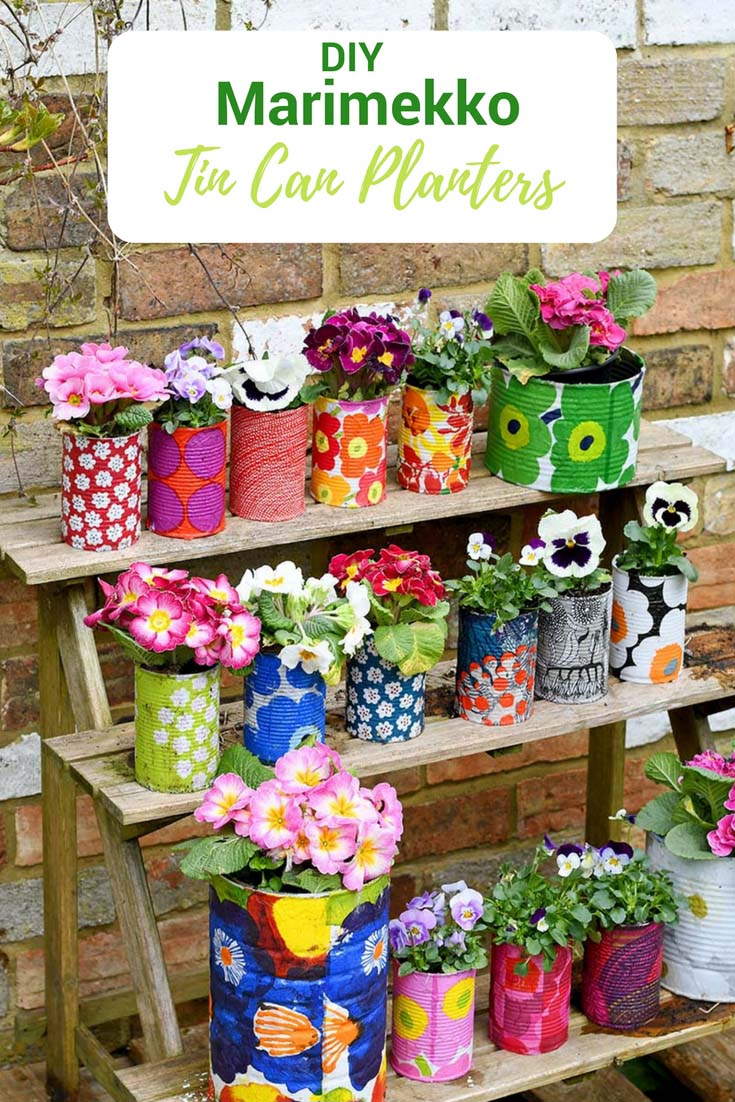
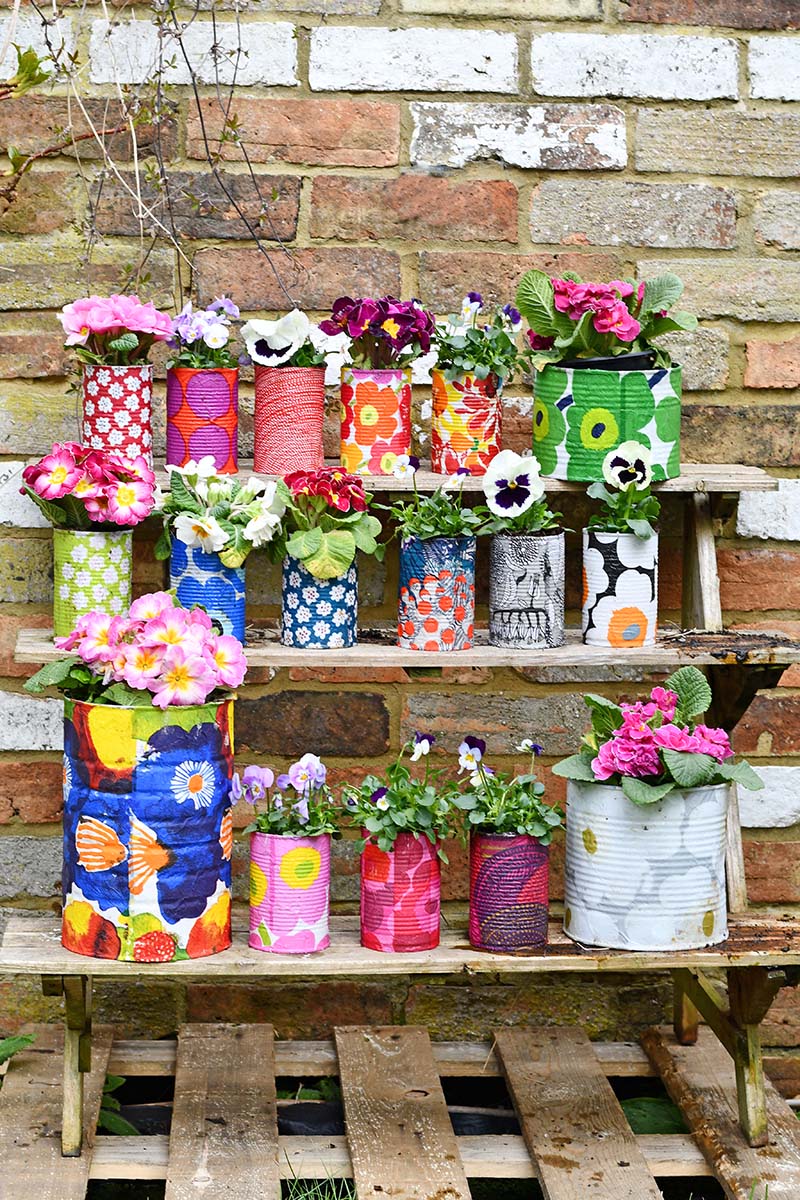
DIY Colourful Spring Decorative Tin Can Planters
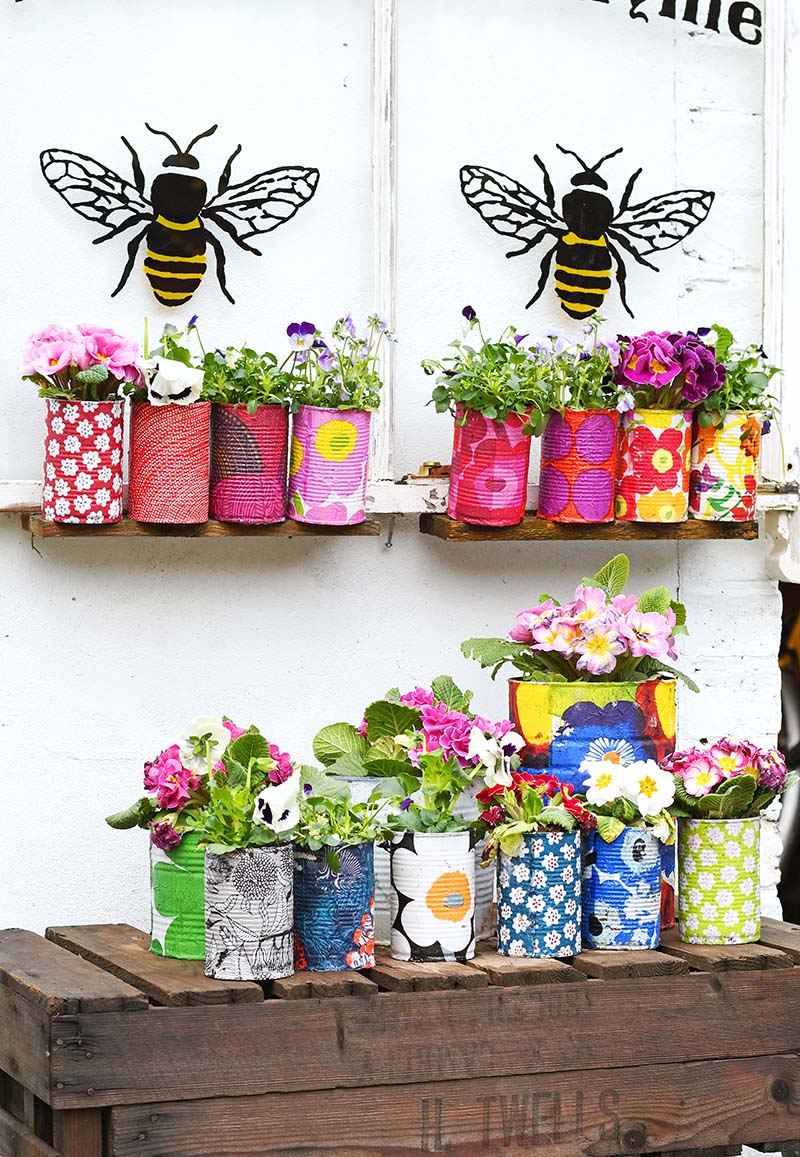
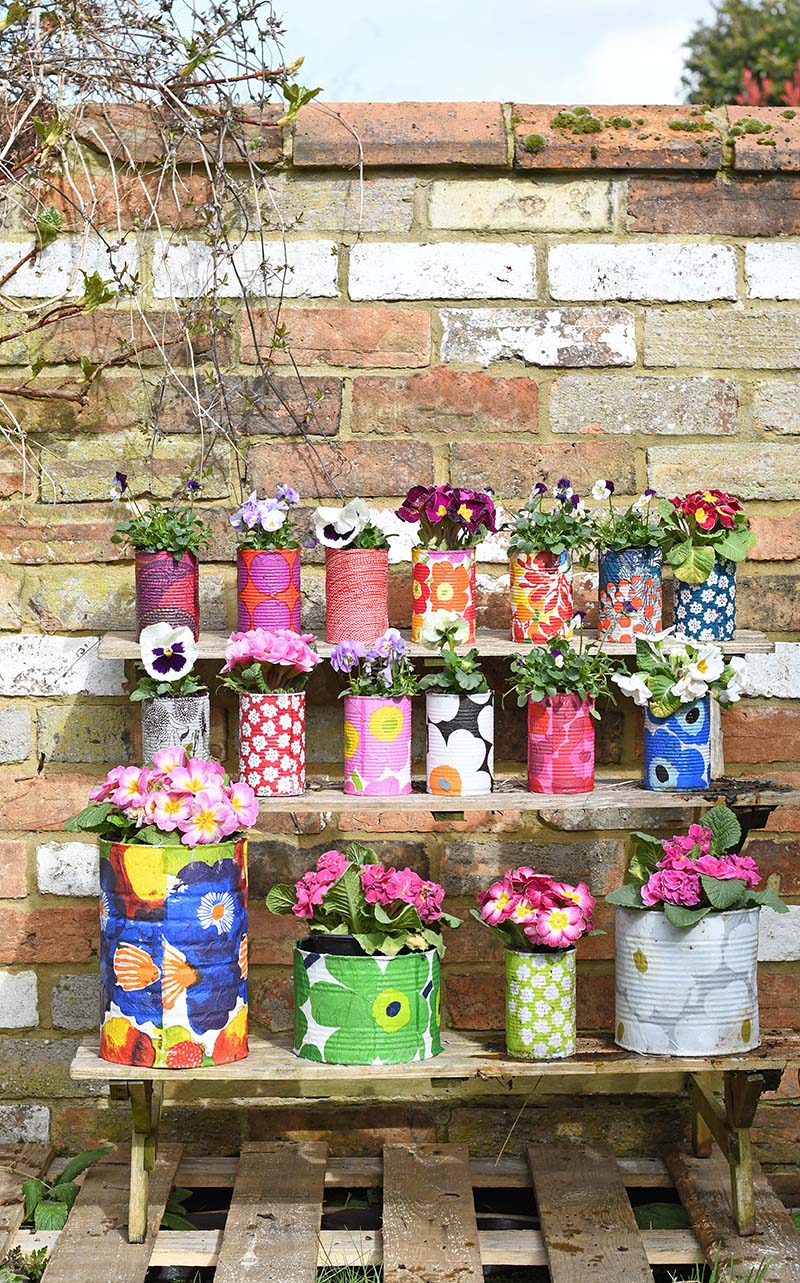
This time I thought it would be fun to show off lots of the Marimekko designs in one go. That's when I got the idea for making a load of upcycled decorative tin can planters for the garden with paper napkins. I love repurposing tin cans into planters and collecting them throughout the year.
You may think you aren't a paper napkin decoupage addict like me. And you, I don't want to buy lots of packets of paper napkins, to make some decorative tin can planters.
Well, you don't have to; many sellers on eBay sell paper napkins in small amounts specifically for decoupage. You can easily buy a variety of Marimekko paper napkins without having to buy lots of packets.
We're a participant in the Amazon Services LLC Associates Program, an affiliate advertising program designed to provide a means for us to earn fees by linking to Amazon.com and affiliated sites. As an Amazon Associate, I earn from qualifying purchases.
Materials Needed For Decoupage
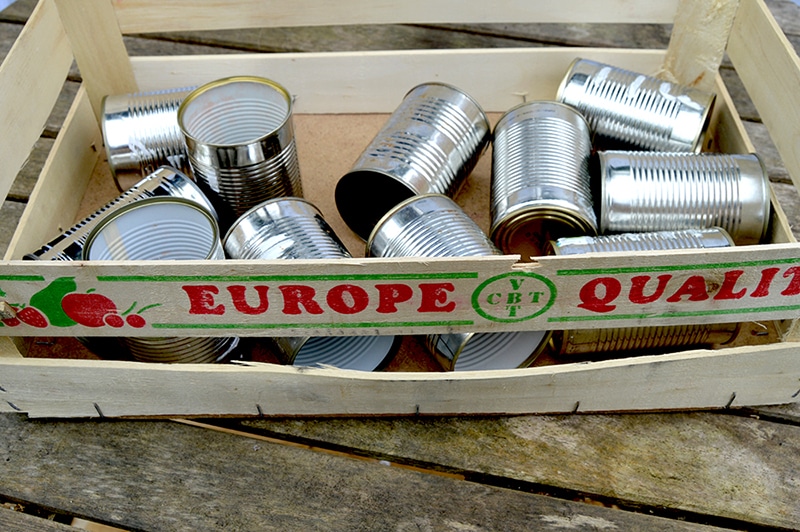
- Empty tin cans - I used lots of the normal soup-sized cans and a few big catering tin cans.
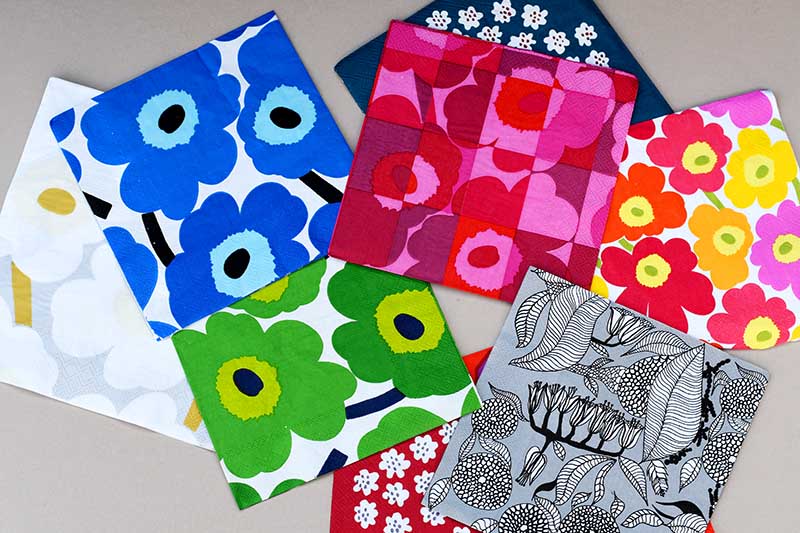
- Marimekko Paper Napkins - As I have mentioned on eBay, you can buy just a few napkins at a time rather than a whole packet for each design. You only actually need one napkin per tin can.
For planting
- Drill with a steel drill bit
- Small Stones
- Potting soil
- Bedding plants
How To Decoupage Tin Can
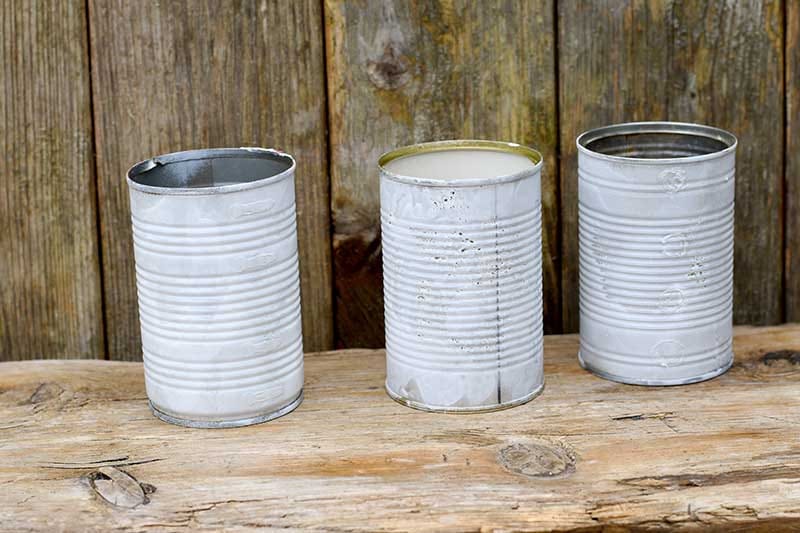
Step 1: Spray paint the tin can planters white before decoupaging them. The paper napkins are very thin, and the planters will look better with a white background.
I think tin cans in various sizes look great with this upcycle.
Step 2: Next, cut up the Marimekko paper napkin to the size of the can to be covered. I used a rotary cutter and mat for this.
With the larger cans, you may need to use more than one paper napkin per can.
Step 3: Next, cover the whole of the tin can in Mod Podge or other decoupage glue. It is best to add glue to the can, not the napkins, as they are very thin and likely to tear.
Step 4: Then, separate the cut three-ply napkin from the top printed ply. Gently rub the paper napkin between your thumb and forefinger to separate the ply layers more easily.
Carefully lay the paper napkin onto the Mod Podge-covered tin and press down using a large foam brush. Wrap the napkin around the tin until it is all covered.
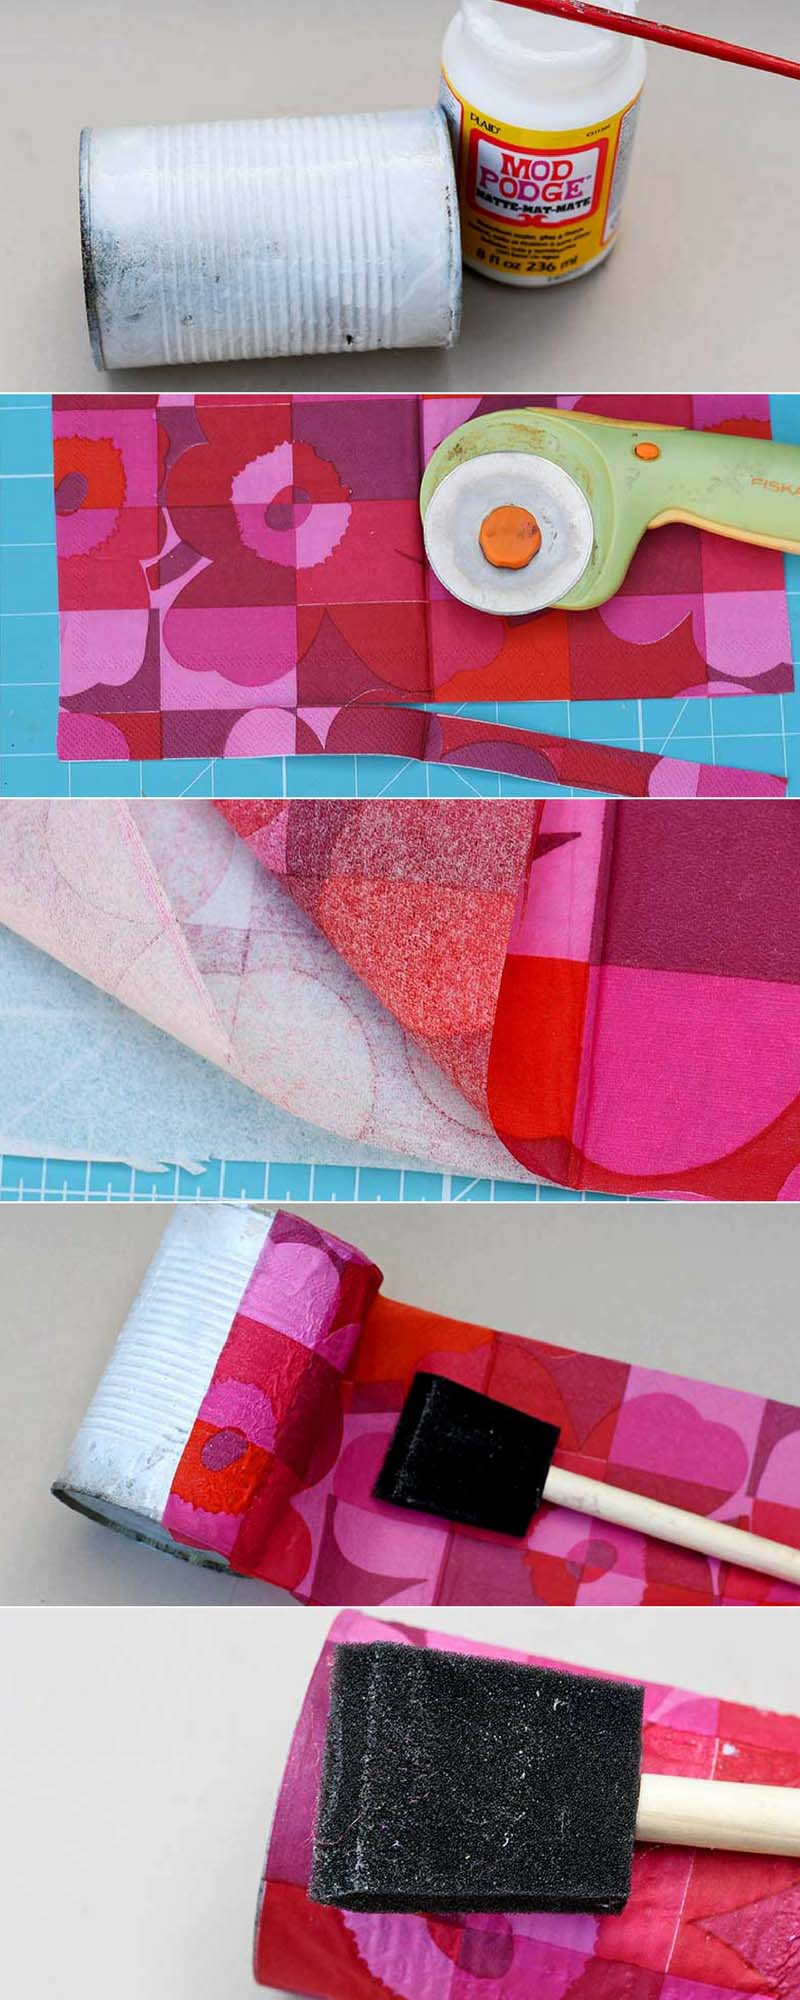
Step 5: Once the glue has dried, spray paint the decorative tin can with at least two coats of acrylic varnish. Allowing the varnish to dry in between coats. This will help protect the decorative tin can planters from the elements,
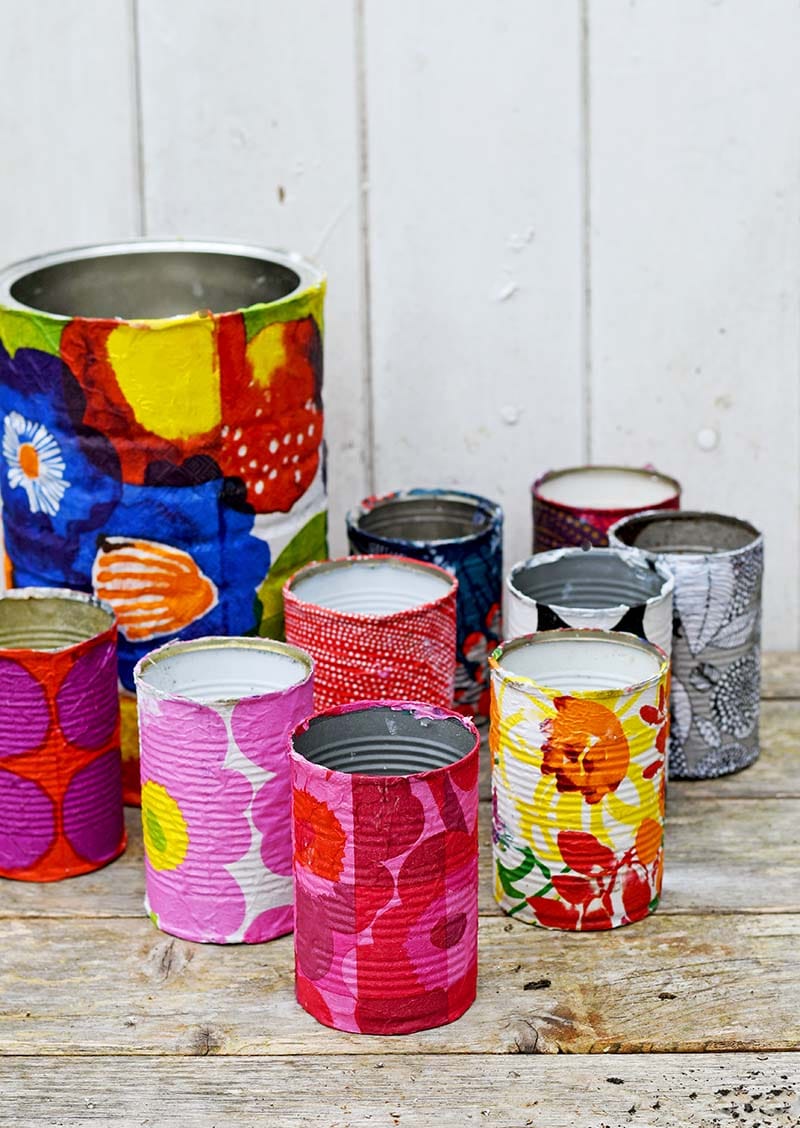
Making The Tin Can Planters
I planted the Marimekko tin cans the same way I planted my colourful tin can planters.
First I drilled holes in the bottom of the cans for drainage. I then added a layer of stones before the potting soil and bedding plants.
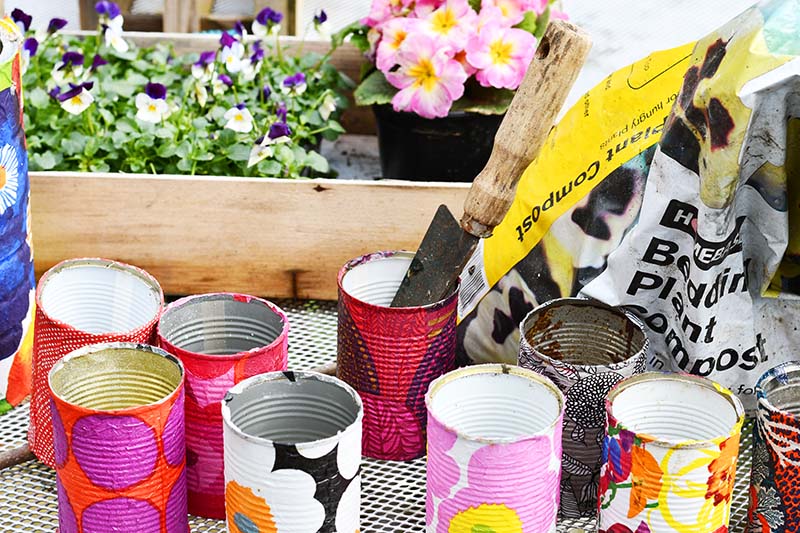
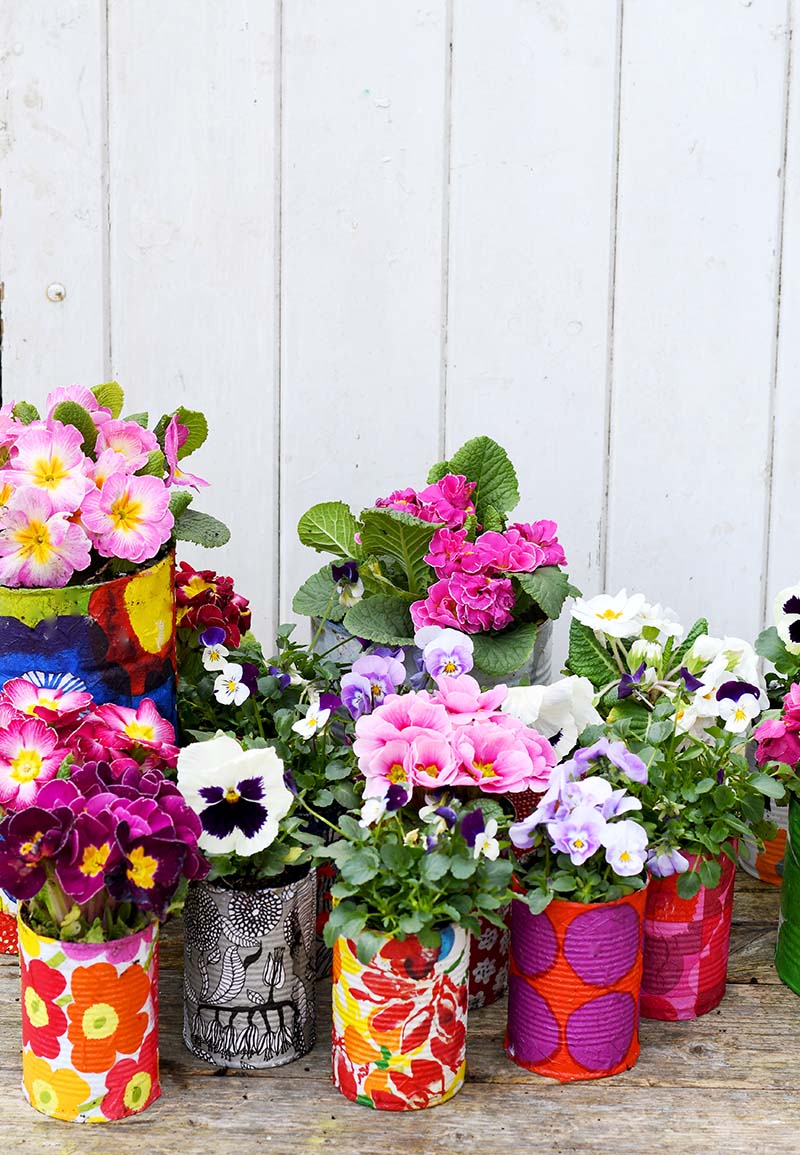
Now, all that is left is deciding how to display the decorative tin can planters. I sprayed my Marimekko planters with acrylic spray as I wanted them outdoors in the garden rather than indoors.
They brighten up the brick wall in my traditional Victorian walled garden.
Decoupaging with Other Materials.
Even though paper napkins work well when decoupaging tin cans, other papers and materials can also work well, such as;
- Gift wrap - check out these tin can Easter baskets.
- Old road maps - Maps can make a tin can upcycle special if you use maps of places relevant to you
- Fabric - Fabric decoupage can look vibrant; check out this fabric vase.
- Wallpaper samples are just the perfect size to wrap around a standard tin can.
- Book pages, newspapers and magazines
Other Related Craft Ideas
I also have a tutorial for a cool Marimekko indoor plastic bottle herb garden which is great for the kitchen. There is also a Marimekko version of these hanging soda can planters.
One thing is for sure these Marimekko planters are a cheap and easy way to add a lot of colour to my garden. I'm busy saving more tin cans to upcycle into decorative planters.
I think the more, the merrier. I've even made some oriental vase tin can planters for the garden to add to this collection.
Other Related Posts
Check out these seed packet planters and this window tin can herb garden for more decoupaged tin can ideas.
If you are looking for an even easier tin can planter idea that doesn't involve decoupage check out these gold crushed tin can planters. Or you can find more upcycled planter ideas on Favecrafts.
I have an indoor version of this craft with the Marimekko mini bud vases made from upcycled Yakult bottles.
Another way to give tin cans a Marimekko makeover is to use wallpaper samples. I did this when I made a cool Marimekko desk caddy, and with these beautiful paper vases.
This post was featured in the 50 best upcycles for the garden and in the collection of summer crafts.
These take me back to the '70's when I saw my first Marimekko giant pillows in a house in San Francisco! So bright and cheerful. Loved it then. Love these now.. And easy to do!
Thank you, I’m actually making some Marimekko pillows at the moment. So very 70’s.
Love these, so bright and effective.
Thank you so much ?
Hi,
I love what you did with these old tins cans. What a great way to recycle and they look so pretty. Congratulations of being featured on #GoingGreenLinky> sharing on twitter and pinning. Have a healthy, happpy & blesse day!
Thank you so much. They certainly brightened up the garden.
I absolutely adore these and could also see them being used in the office, kitchen and bathroom etc to store things in. Bookmarking this to come back to in winter! #GoingGreen
Yes they would certainly brighten up the home.
Claire these are the prettiest most colorful planters EVER!! Thank you for sharing with us at Create and Celebrate...you are one of our features for the next party!!
Thank you so much Susanne. I look forward to seeing the feature.
These look AMAZING Claire!! I just love all the bright colours with the primulas and pansies — so beautiful! You never cease to amazing me with your creativity — where on earth do you find the time!!!! xx #HomeEtc
Thank you, Caro. They certainly brightened up the garden over the dull spring we had, and they look even better now the sun is shining.
I am in love with this colorful idea and it's going to be great for my herbs. Thanks for joining us again at Celebrate Your Story, have a great weekend.
Thank you so much, Sandra. I think they will look lovely with herbs.
So pretty, I have done this with cans as well but I made them into pencil and paper clip holders. I love the idea of adding the color for flowers. Thanks for sharing on To Grandma's House We Go!
Thank you. Yes they would make lovely craft caddies too.
These are so colourful and pretty. Before Easter some friend, their kids and my family had a crafternoon and made these as pencil jars. One friend has been collecting tin cans ever since for decoupage projects. It is such fun. #homeetc
Thank you, they would make lovely craft storage caddies too.
I love these. I love how bright and cheerful they are. I think you have introduced me to a new project.
Ahh, thank you so much. They do make me smile.
These are so effective! They’ll really brighten up the garden, especially since the sun doesnt seem to be doing the job! x #HomeEtc
Thank you, Kimberley. They are certainly brightening up the garden on these dull days, I can't wait for the sun to shine again.
Oh, they are so pretty!
Thank you so much!
Just lovely, you can't go wrong with colour in the garden, especially if the weather isn't playing ball!
Thank you Julie, they brighten up the garden even on these dull days.
wow, wow, wow, you have done it again, Claire! Just love this idea, and am now kicking myself for tossing that large can I had......will just have to get some more! Thanks so much for sharing on craft schooling Sunday!
Thank you Sara. I know you're a Marimekko fan too!
Claire, I love all of the color and the bee too! Thanks for sharing at Vintage Charm!
Thank you, Cecilia.