
Easy DIY Giant Paper Mache Cactus
Learn how to make giant paper mache cacti for stunning home or event decor! Our step-by-step guide will show you how to craft these eye-catching decorations from simple materials, perfect for adding a unique touch to any space.
I have a bit of a thing about cacti and succulents and love cactus-themed crafts. My cactus crafting went supersized with this giant paper mache cactus.
I love the giant, but I can't justify the cost of buying one, real or artificial, and I don't have the greenest fingers.
So I decided that I would only get a giant cactus by making one. I've made mini plastic bottle succulents, and a repurposed felt succulent garden before, but never something on this scale.
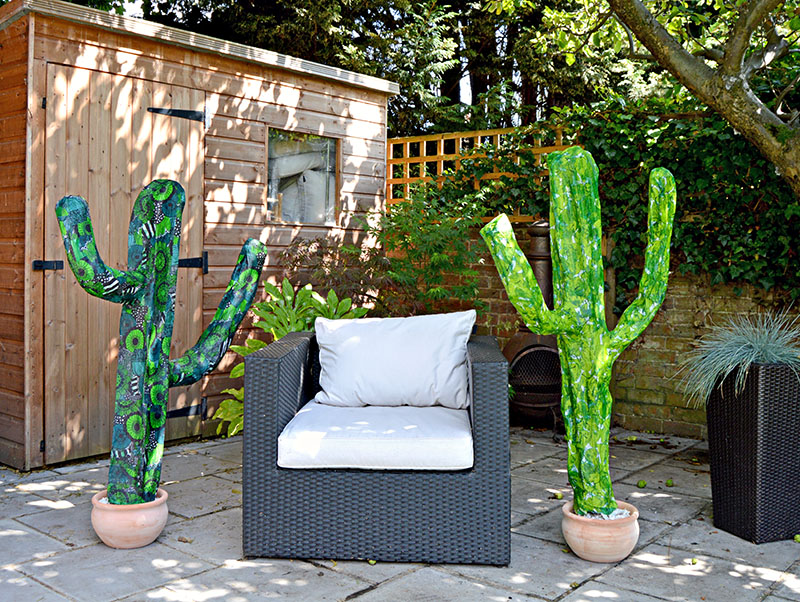
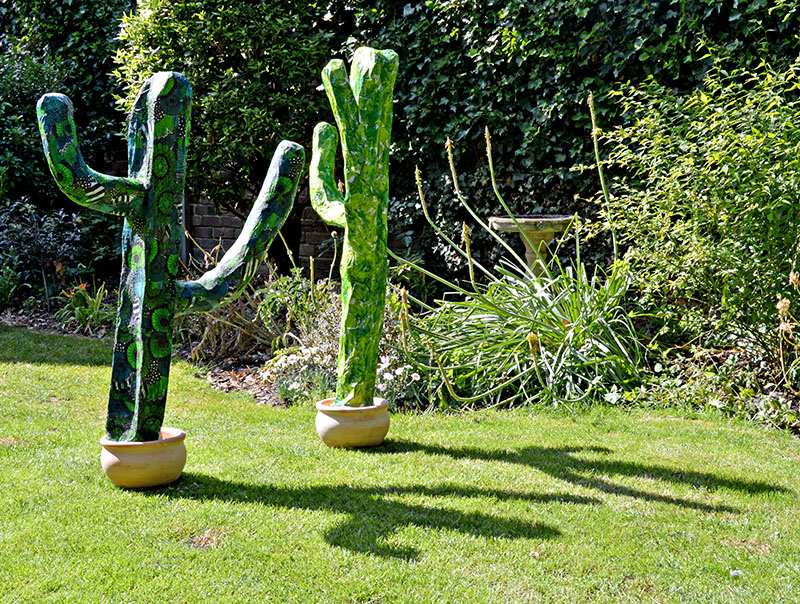
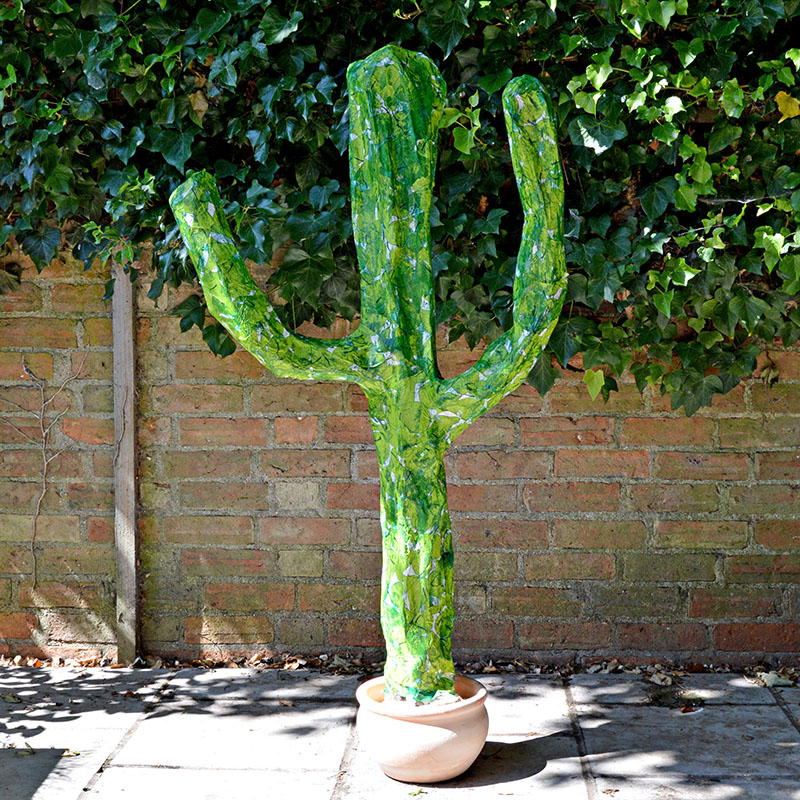
This is such a fun craft that I shared the experience with my friend Wendy on one sunny day. We made a giant paper mache cactus each. These weren't ordinary cacti; we pimped them with paper napkins.
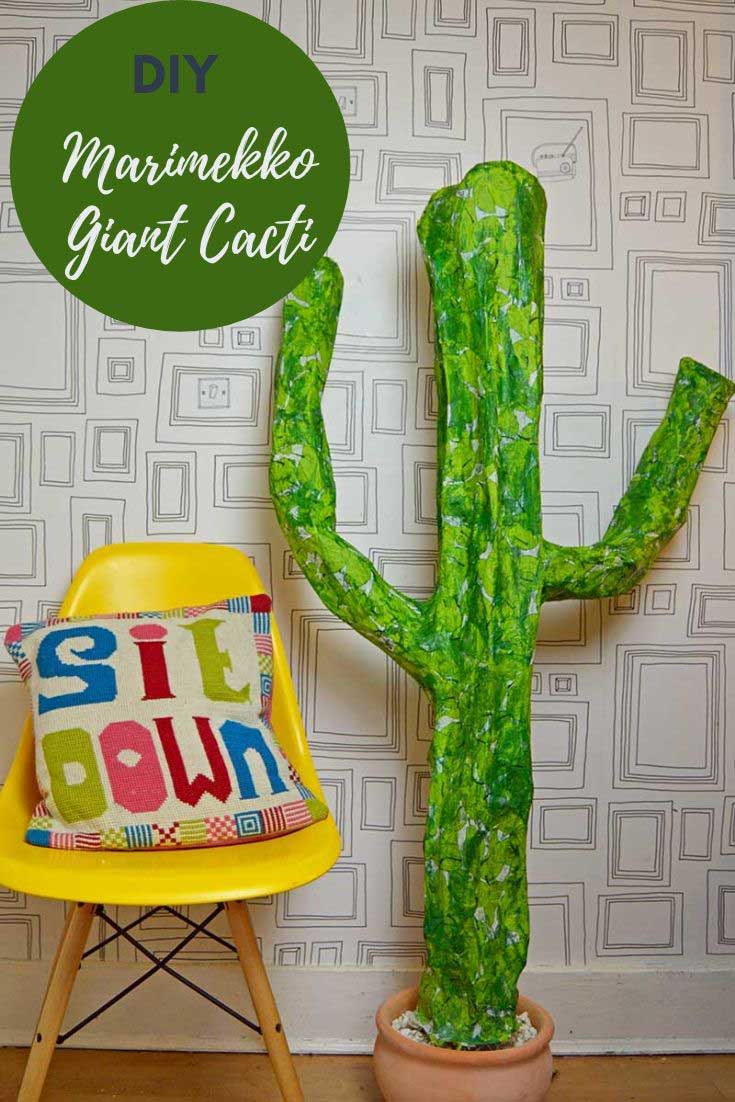
After making Marimekko shoes a couple of weeks ago, we thought decorating our cacti with Marimekko paper napkins would be fun.
DIY Giant Paper Mache Cactus
We're a participant in the Amazon Services LLC Associates Program, an affiliate advertising program designed to provide a means for us to earn fees by linking to Amazon.com and affiliated sites. As an Amazon Associate, I earn from qualifying purchases.
What You Need
- Plaster of Paris
- Plant pot for mixing the plaster
- Old bucket
- Large stick (broom handle)
- Chicken wire
- Craft wire or thin wire
- Masking tape
- Newspapers
- Green tissue paper
- Napkins for decoration - I used Marimekko ones. (optional)
- PVA glue / white craft glue
- Waterproof PVA Glue or Mod Podge
- Glue brush/ foam pad
Any old stick or broom handle will do. Bear in mind this will determine the height of your cactus.
The chicken wire I used was just an old roll I scrounged from my local junk shop. As I use a lot of PVA/white glue for my crafts, I buy it in large tubs from the DIY store as that's much cheaper than buying it from craft stores.
For these cacti, we used Marimekko napkins and some green pear print napkins from IKEA; one packet should be plenty for each cactus.
How to Make a Giant Paper Mache Cactus
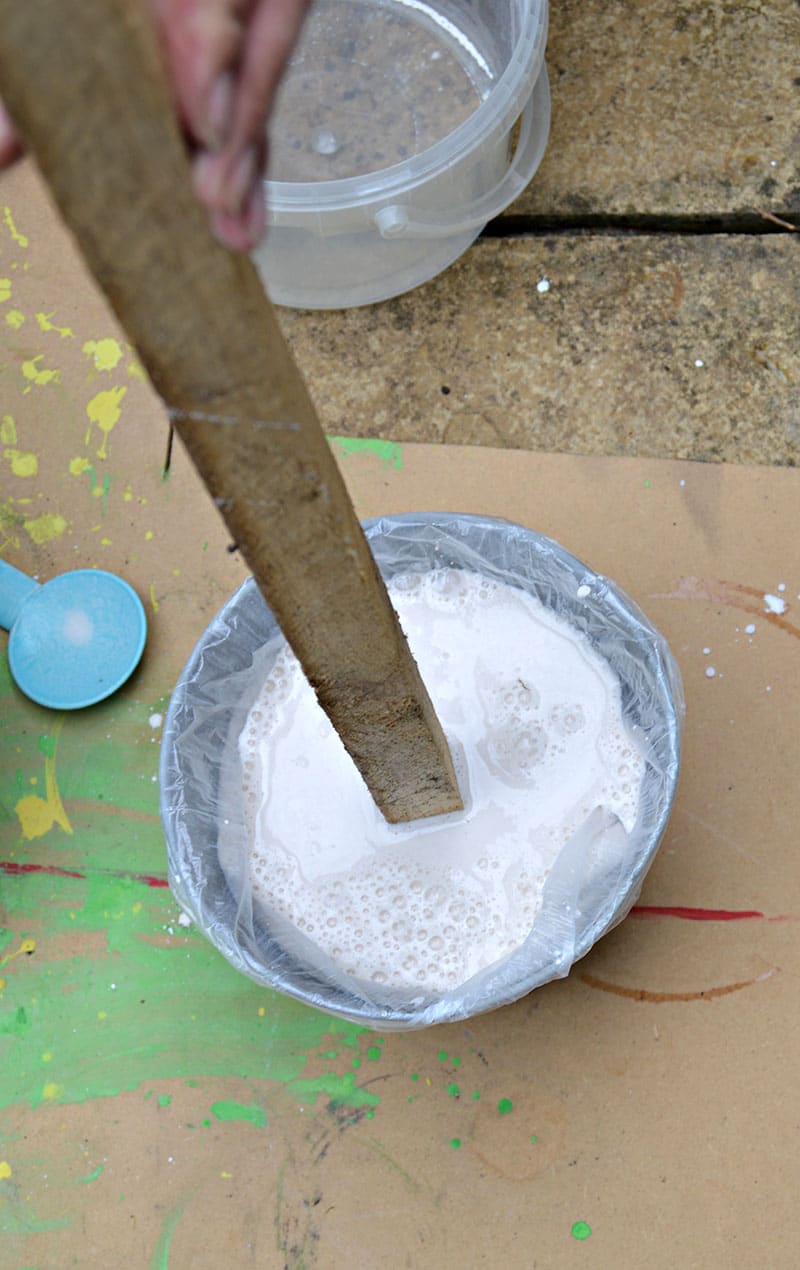
Step 1: First, to create a firm base, you need to set your stick in Plaster of Paris into a pot/small bucket.
To do this, mix Plaster of Paris according to the packet's instructions. Pull your stick up in the creamy mixture, use a table or chair, and tie it with string.
You want to make sure your stick remains upright as the plaster sets.
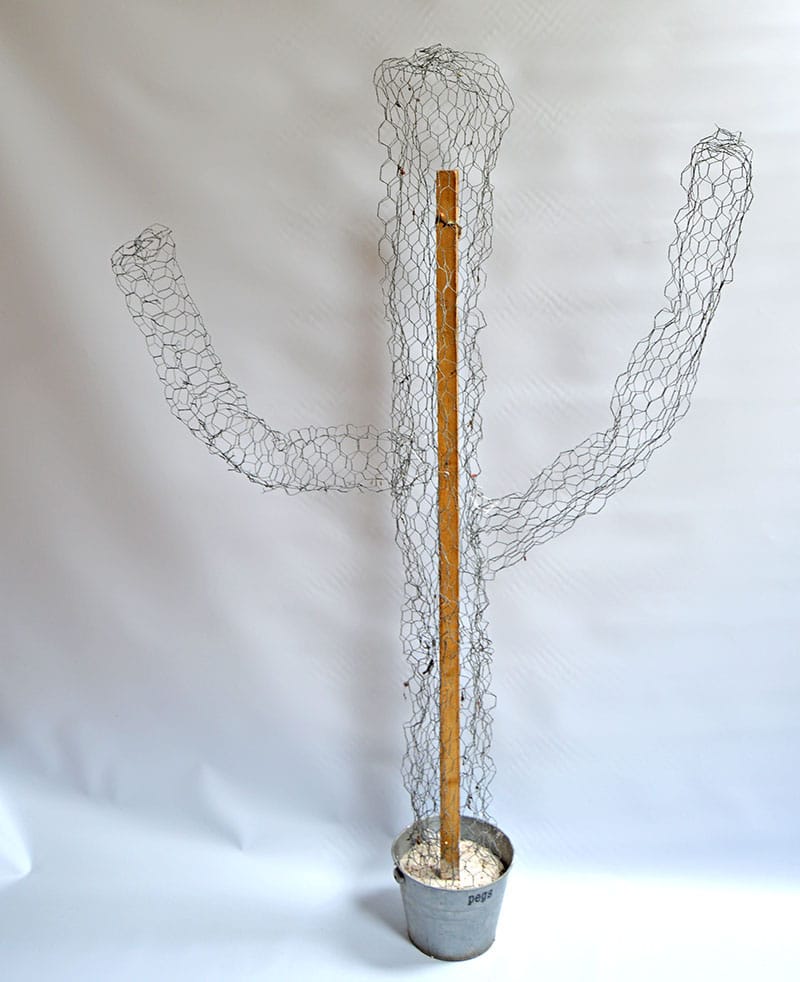
Step 2: Once the stick has been set, use the chicken wire to create a frame.
To do this, wrap the chicken wire around the stick to the desired thickness and taper the top. Then with more chicken wire, create two arms and attach them to the frame with loose bits of wire.
Chicken wire is straightforward to manipulate into shape.
Step 3: Next, the gaps in the chicken wire can be pretty large and, thus, challenging to paper mache straight onto the frame. To fix this, use masking tape.
Cover the wire cactus frame in strips of masking tape about 2 cm apart. This will then provide a surface for the newspaper to adhere to the structure.
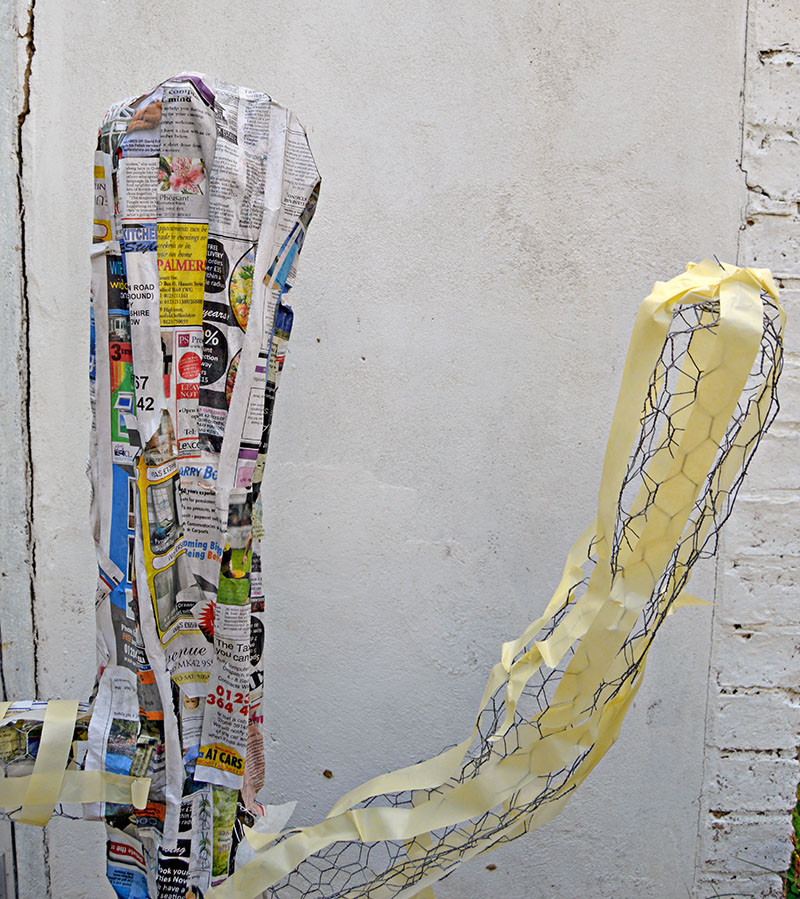
Step 4: Cut the newspaper into strips approximately 3cm X 20cm. Paste the PVA glue onto the newspaper strips and stick them to the frame until covered.
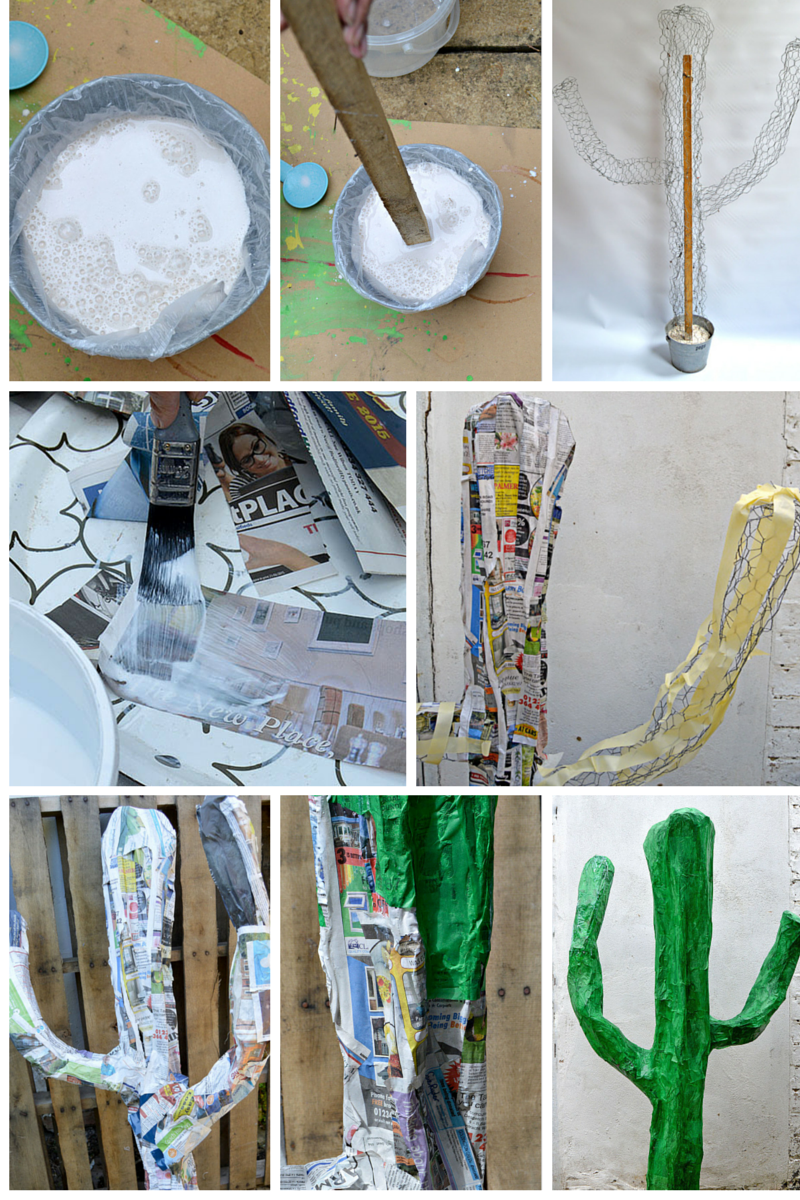
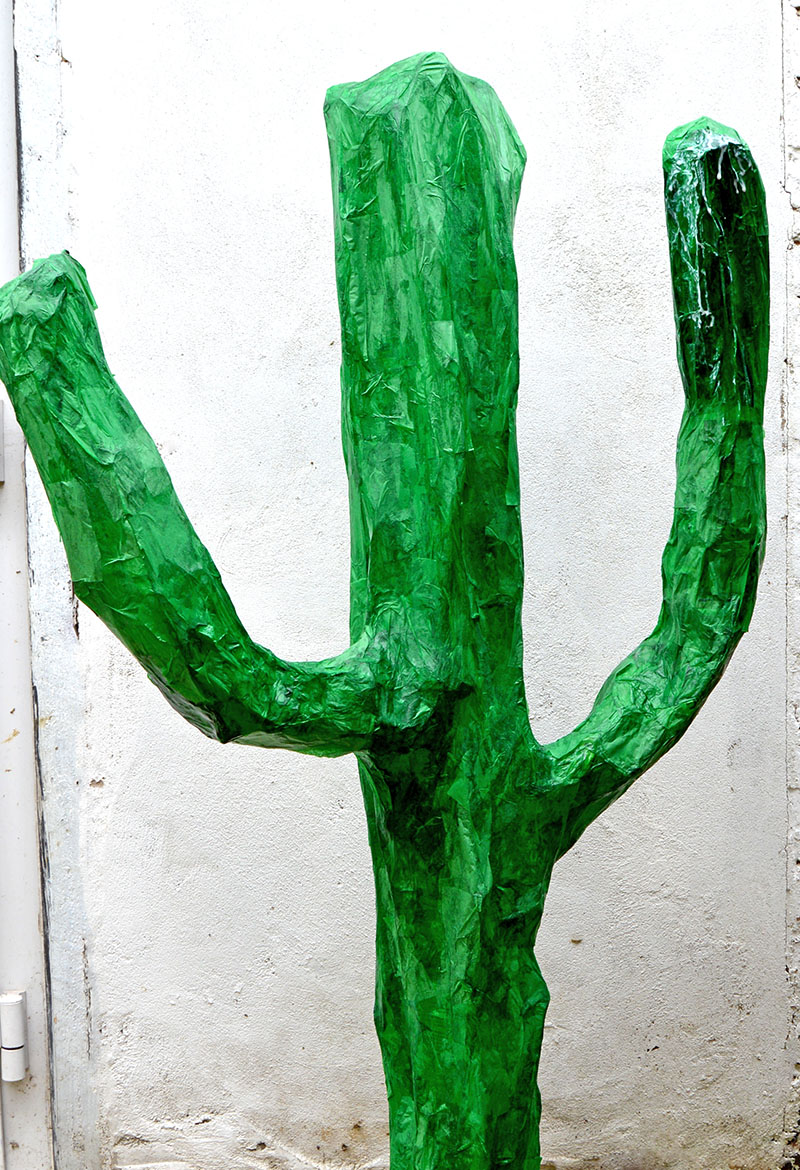
Step 5: Once the paper mache has dried, dilute your PVA glue two parts glue to 1 part water. Cut your tissue paper into strips approx 3cm X 10cm. This time paint the diluted glue onto the newspaper layer and then place the tissue paper on top until completely covered. Leave to dry.
Top Tip: Tissue paper decoupage is very delicate, so it's best to use diluted glue. Also, apply the glue to the object rather than the tissue paper.
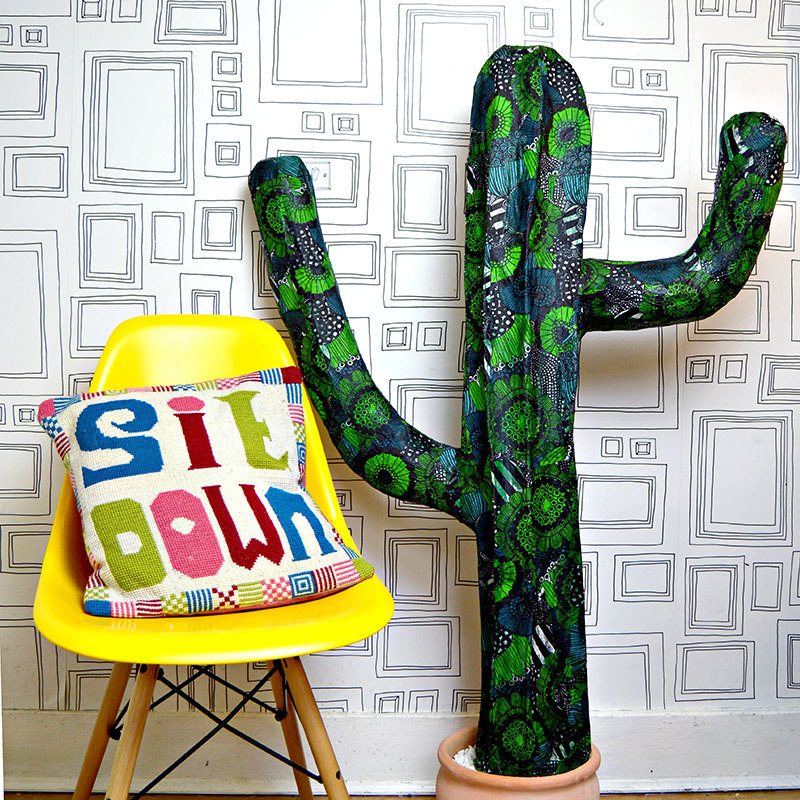
Step 6: Use the paper napkins for the final paper mache layer/decoupage. Most napkins are three-ply; separate your napkins to use only the top printed ply.
This time doesn't cut the napkins into strips but tears them to get a feathered edge. (Wetting the napkins with a brush makes them easier to tear). Find more about paper napkin decoupage here.
Cover your cactus in the napkins using the same glue mixture and method with the tissue.
Step 7: Finally, when the napkin layer is dry, cover the whole cactus with waterproof PVA/ Mod Podge. This will give it a protective finish.
Waterproof glue is thicker than regular glue. It's best to apply with a foam brush to avoid tearing the napkins. The glue will appear white when applied but don't worry, as it dries clear.
Conclusion & Other Posts
These cactus are a fun decoration; they look great in the garden for a summer party. You could have them casually in your home for a unique decoration.
The cacti could be used as an unusual hat/coat stand. The green pear one is for my son's room, which has just been revamped with a cacti theme.
The Marimekko cacti are my favourite as I love a Marimekko craft even more than cacti crafts. This one will look great with my Marimekko tin can planters in the garden.
If you want to start smaller with your paper mache projects, then perhaps try these paper mache teacups first. I also have a tutorial on how to make a paper mache bowl and then decoupage it. There is also a tutorial for a stunning watercolour 3D paper Mache heart wall decoration.
There are many more Marimekko crafts here, paper decoration ideas and other fun adult summer crafts.

These are fantastic. I have been pondering how to go about making a really, properly large cactus. Thank you for showing me the way forward.
Thank you, it was fun to make and has stood the test of time.
I just made this! It’s great! Thanks so much for sharing
Wow that’s awesome to hear. I hope you had fun making it.
Love these! I see you mixed the plaster of paris in a metal bucket, but then your cacti are in the ceramic pots. Did you just lift it out? Or is the metal pot inside of the ceramic one?
Thanks for sharing!
Thank you ? Well spotted Kate the metal bucket is inside the ceramic pots.
Love these, I started to make two of them for our school fundraiser. Wondering what you mean by diy store vs craft store... what is a diy store? Did you use elmers glue-all (pva glue) I understand that prevents mold? Thank you! You can get a mold
Hi Sarah, DIY stores are what we call home improvement stores/builders stores in the UK. You can often buy white glue (PVA glue) in larger quantities in these stores so it's cheaper. As I use a lot of white glue I buy a 5lt bucket from my DIY store. You should be able to get mold resistant glue or an additive to add to it to make it mold resistant in your home improvement store.
I made 2 cactus avout 5.5 feet tall and pur lights in tgem abd drillwd smalled holes all over for a friends mexican theme party looked great!
Wow I bet they did look good. I love my cactus, and they'll be a good excuse to throw a Mexican themed party in the summer.
These are amazing! What a fun and crazy crazy craft 😀
I hope you will share your cacti with Idea Box this week:
http://milaslittlethings.com/2015/07/idea-box-thursday-link-party-21.html
xx
Mila
Thank you
Those are so creative...I LOVE them!!! They add such a whimsical touch!
Visiting from Mom Blogs Party
xoxo
Lisa @ Fun Money Mom
Thank you
Reminds me of an art project I had to do in college--something big made of paper mache. I think I did a dinosaur or something. I hope you had more fun than I did.
Oh my goodness Claire! This is an awesome prop for a western party!!! Perhaps for my next one I throw, I will venture to make this. 🙂 Definitely pinned! Thanks for sharing this tutorial.
Cheers!
AJ
Thanks my son has one of them in his room as a hat stand and it makes me smile every time I go in.
You are just the best crafter ever, LOVE this! The results are fantastic, though I would recommend putting those little pots into bigger pots for a more realistic look, as a cactus that size could never sit in such a small pot. You could even use some rustic buckets or trash bins that you may already have! Thanks so much for sharing on craft schooling Sunday, I think this might be something I could actually get my boys interested in doing!
Thanks and thanks for the potting suggestion I think I will look out for a bigger pot.
You continue to dazzle me with your uses for napkins. These are SO cool.
Thanks, we didn't intend to pimp our cacti with napkins when we started making them but the idea just came to us awhile we were making them and we really liked the end result.
What a quirky and fun idea! I love it!
Thanks they are a bit quirky that's why I love them
So pleased with the end result, everyone comments when they see it. It just makes me smile x
I know they are just a bit of fun that brightens the place up.
Haha love these, what a fab idea!
Alison At Home!
Thanks